
Today we're going to get some more essential Java programming under our belts. We'll see three crucial techniques here—branching, looping, and creating methods. These are all basic skills for the JSP programmer, and we'll need them in our programming arsenal throughout the book. Here's an overview of today's topics:
Branching statements—.
ifandswitchLooping statements—.
for,while, anddo-whileCreating methods
Passing data to methods
Returning data from methods
<HTML>
  <HEAD>
    <TITLE>Using Logical Operators</TITLE>
  </HEAD>

  <BODY>
    <H1>Using Logical Operators</H1>
    <%
        int temperature = 70;

        if (temperature < 90 && temperature > 60) {
            out.println("Picnic time!");
        }
     %>
  </BODY>
</HTML>
You'll see more about branching statements like this one today.
We'll also see how to create our own methods today. We've seen methods ever since Day 1, where we used the out object's println method to write text to the Web page being sent back to the browser. Here, we're going to see how to write our own methods. Dividing your code into methods is a good idea when your code gets long; it helps keep things organized. Unless you break your code up into smaller units, you could end up with many pages of tangled Java. If you divide that code into methods, each of which is called to execute a specific, discrete task, things stay manageable.
That's it for the introduction—let's get programming, starting with branching statements.
The next step up from using the simple operators we saw in Day 2 is to use branching statements in your code. You use branching statements to make decisions based on the value of your data, and to make the flow of the program go in different directions accordingly.
There are two branching statements in Java—the if statement, and the switch statement.
When you want to test conditions and execute code accordingly, it's a good idea to use a statement like the if statement. Here's how you use this statement in general:
if (condition) statement1;
[else statement2;]
If condition evaluates to true, statement1 is executed. Otherwise, if there is an else clause to the statement, the code in it (statement2) is executed.
In Java, statement1 and statement2 can both be compound statements, which means that they can be made up of a number of statements enclosed in curly braces, like this:
if (condition){
    statement;
    statement;
        .
        .
        .
}
else {
    statement;
    statement;
        .
        .
        .
}
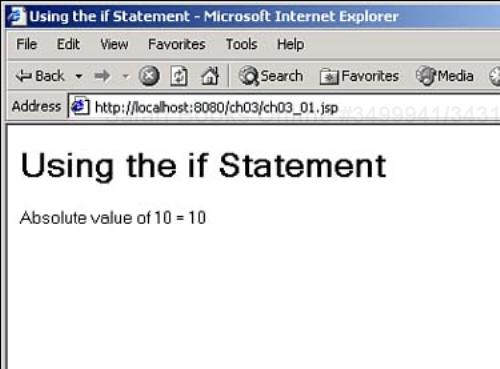
Let's take a look at some examples to see how this works. For example, what if you wanted to find the absolute value of a number? One way to get an absolute value is to start by checking whether the value is greater than 0, and if so, just print out the value itself. Listing 3.1 shows how to make that test with an if statement.
Note the if statement's condition here, value > 0, where the code is using the > relational operator (see the section “Relational Operators” in Day 2), which will be true if the value is greater than 0, and false otherwise. You can see the results of this code in Figure 3.1.
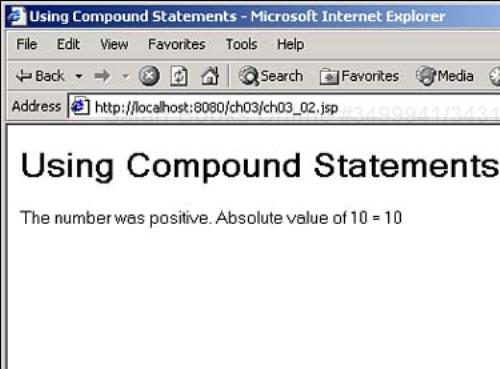
Note that in this case, the statement that's executed if the if statement is true is a single statement, but you can also execute multiple statements if you make them part of a compound statement surrounded by { and }, as you see in Listing 3.2.
You can see the results of this code in Figure 3.2.
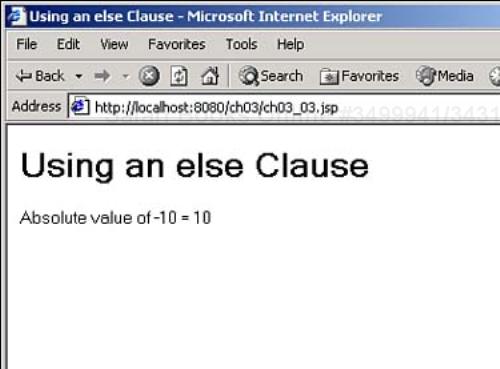
So far, our if statement only displays an absolute value if the value is greater than 0. You can expand that if statement by adding an else clause, which is executed if the if statement's condition is false. You can see how that looks in Listing 3.3. This enables us to find the absolute value of negative numbers as well as positive ones (note that the code is also using the Java negation operator (-) to change the sign of value if needed; see the topic “Operators” in Day 2 for more on this operator).
You can see the results of this code in Figure 3.3.
You can also nest if statements inside each other; here's an example showing how that works. In this case, say that you want to display the reciprocal of a number—but only if that number is positive. Also, you don't want to even try to get the reciprocal if the number is zero, because the reciprocal of zero is not defined. Listing 3.4 shows how you can put all this into code using a nested if statement (note that the code is using the relational operator != here, which means “not equal to,” as you saw in Day 2).
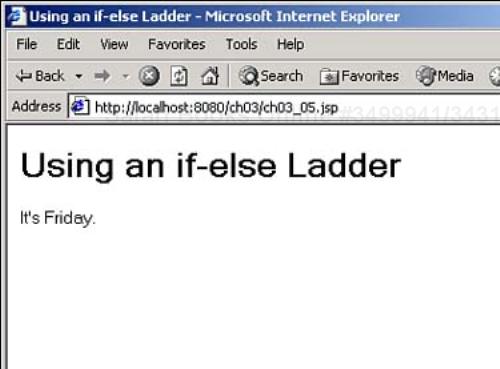
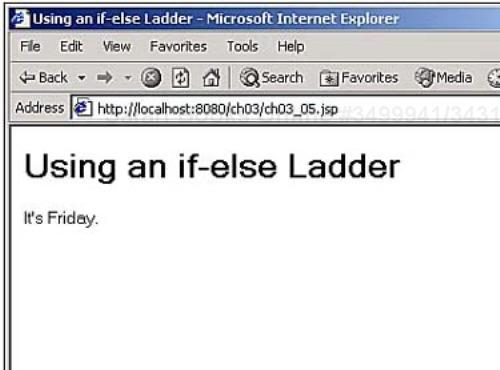
It's possible to create an entire sequence of if-else statements called an if-else ladder. You can see an example showing how this works in Listing 3.5; in this case, the code keeps testing the value in a String variable until it finds a match to the current day of the week.
Example 3.5. Using an if-else Ladder (ch03_05.jsp)
<HTML>
  <HEAD>
    <TITLE>Using an if-else Ladder</TITLE>
  </HEAD>

  <BODY>
    <H1>Using an if-else Ladder</H1>
    <%
        String day = "Friday";

        if(day == "Monday")
            out.println("It's Monday.");
        else if (day == "Tuesday")
            out.println("It's Tuesday.");
        else if (day == "Wednesday")
            out.println("It's Wednesday.");
        else if (day == "Thursday")
            out.println("It's Thursday.");
        else if (day == "Friday")
            out.println("It's Friday.");
        else if (day == "Saturday")
            out.println("It's Saturday.");
        else if (day == "Sunday")
            out.println("It's Sunday.");
    %>
  </BODY>
</HTML>
You can see the results of this code in Figure 3.4, where we see that it's Friday.
Although it's possible to create if-else ladders like this, Java actually includes a statement expressly for situations like this: the switch statement.
The switch statement is Java's multiway branch statement, and it provides the same kind of functionality as an if-else ladder, but in a much easier form. Here's what the switch statement looks like in general:
switch (expression) {
    case value1:
        statement1;
        [break;]
    case value2:
        statement2;
        [break;]
    case value3:
        statement3;
        [break;]
            .
            .
            .
    default:
        default_statement;
}
Here, the value of the expression, which must be of type byte, char, short, or int, is compared against the various test values in the case statements: value1, value2, and so on. If the expression matches one of the test values in the case statements, the code associated with that case statement is executed. If execution reaches a break statement, the switch statement ends.
Listing 3.6 shows an example in which the code displays the day of the week based on a numeric value using a switch statement.
Example 3.6. Using the switch Statement (ch03_06.jsp)
<HTML>
  <HEAD>
    <TITLE>Using the switch Statement</TITLE>
  </HEAD>

  <BODY>
    <H1>Using the switch Statement</H1>
    <%
        int day = 3;

        switch(day) {
            case 0:
                out.println("It's Sunday.");
                break;
            case 1:
                out.println("It's Monday.");
                break;
            case 2:
                out.println("It's Tuesday.");
                break;
            case 3:
                out.println("It's Wednesday.");
                break;
            case 4:
                out.println("It's Thursday.");
                break;
            case 5:
                out.println("It's Friday.");
                break;
            default:
                out.println("It must be Saturday.");
        }
    %>
  </BODY>
</HTML>
You can see the results of this code in Figure 3.5.
Take a look at this switch statement; note that each case statement in the switch statement matches a particular value of the day variable. If the value in day matches that given in a specific case statement, the code in that case statement is executed, up to the break statement, which ends the switch statement:
int day = 3;

switch(day) {
    case 0:
        out.println("It's Sunday.");
        break;
    case 1:
        out.println("It's Monday.");
        break;
    case 2:
        out.println("It's Tuesday.");
        break;
    case 3:
        out.println("It's Wednesday.");
        break;
    case 4:
        out.println("It's Thursday.");
        break;
    case 5:
        out.println("It's Friday.");
        break;
    default:
        out.println("It must be Saturday.");
}
You can have multiple statements in each case statement if you so desire:
case 1:
    out.println("It's Monday.<BR>");
    out.println("Have you had your coffee yet?<BR>");
    out.println("Time to go to work...<BR>");
    break;
Note also the (optional) default statement at the end of the switch statement in the example—if no case statement is executed, the code in the default statement, if there is one, is executed. You can even nest switch statements, just like if statements.
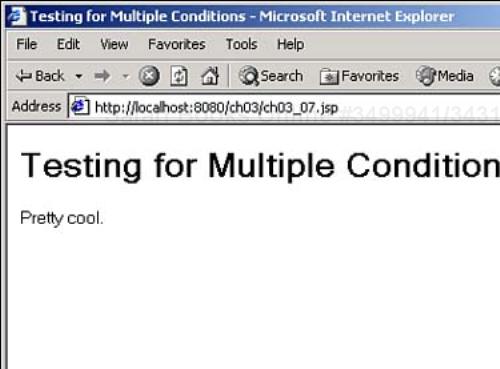
If you don't place a break statement at the end of a case statement, execution will continue with the code in the next case statement. Sometimes that's useful, as when you want to execute the same code for multiple case test values, as you see in Listing 3.7.
Example 3.7. Testing for Multiple Conditions (ch03_07.jsp)
<HTML>
  <HEAD>
    <TITLE>Testing for Multiple Conditions</TITLE>
  </HEAD>

  <BODY>
    <H1>Testing for Multiple Conditions</H1>
    <%
        int temperature = 64;

        switch(temperature) {
            case 60:
            case 61:
            case 62:
                out.println("Sorry, too cold!");
                break;
            case 63:
            case 64:
            case 65:
                out.println("Pretty cool.");
                break;
            case 66:
            case 67:
            case 68:
            case 69:
                out.println("Nice!");
                break;
            case 70:
            case 71:
            case 72:
            case 73:
            case 74:
            case 75:
                out.println("Fairly warm.");
                break;
            default:
                out.println("Too hot!");
        }
    %>
  </BODY>
</HTML>
You can see the results of this code in Figure 3.6, where we see that the temperature is pretty cool.
That completes our look at branching statements; next, we'll look at loops.
Loops are basic programming constructs that let you handle tasks by executing specific code over and over. For example, you might want to handle the items in a set of data by working with each item in succession, or keep performing a task until a particular condition becomes true.
There are a number of different loop statements in Java, and we'll take a look at them all here, starting with the for loop.
In Java, the basic loop statement is the for statement, which is a very general loop statement. It's usually used to let you execute code using a loop index. Each time through the loop, the loop index will have a different value, and you can use the loop index to access a different data item in your data set; such as when you use the loop index as an index into an array.
Here's what the for loop looks like in general:
for (initialization_expression; end_condition; iteration_expression) {
    statement;
}
The initialization_expression is executed before the loop is executed the first time; end_condition is checked every time through the loop, and when it becomes false, the loop ends; and iteration_expression is executed after each time through the loop. statement makes up the body of the loop, holding the code you want executed each time through the loop (note that statement can be a compound statement, including several single statements inside curly braces).
For example, you can initialize a loop index in the initialization_expression, provide a test for ending the loop when that test becomes false in the end_condition, and provide some way of changing—usually incrementing—the loop index in the iteration_expression.
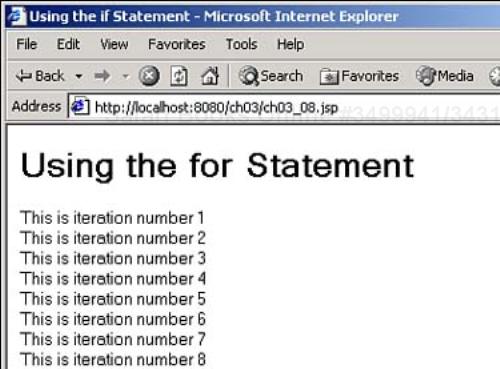
Let's make this concrete with an example. In this case, the code will execute a for loop 10 times. Here, the code assigns a loop index variable named loopIndex the value 1 to start (as you can see in the initialization expression loopIndex = 1) and end the loop when that loop index exceeds 10 (as you can see in the end condition loopIndex <= 10, which becomes false when loopIndex is greater than 10). This means that the loop body will execute exactly 10 times. Each time after the code in the body of the loop executes, the code increments loopIndex by one (in the iteration expression, which is loopIndex++ here), as you see in Listing 3.8.
You can see the results of this code in Figure 3.7.
Here's another example, showing how for loops and arrays naturally go together. In this case, the code will use a for loop to sum up the grades of a number of students in an array and compute the students' average grade. In this case, the code starts loopIndex at 0 and increments it each time through the loop, so you can access a new student's grade each time through the loop. Note that in addition to initializing the loop index to 0 in the initialization expression of the for loop, the code also declares the loop index at the same time via int loopIndex = 0, which is a handy shortcut that Java allows (otherwise, you'd have to declare loopIndex before using it in the loop), as you see in Listing 3.9.
Example 3.9. Finding Average Grades (ch03_09.jsp)
<HTML>
  <HEAD>
    <TITLE>Finding Average Grades</TITLE>
  </HEAD>

  <BODY>
    <H1>Finding Average Grades</H1>
    <%
        double grades[] = {88, 98, 73, 56, 86, 64};
        double sum, average;

        sum = 0;

        for (int loopIndex = 0; loopIndex < grades.length; loopIndex++) {
            sum += grades[loopIndex];
        }

        average = sum / grades.length;

        out.println("Average grade = " + average);
    %>
  </BODY>
</HTML>
Take a look at the for statement in this example:
for (int loopIndex = 0; loopIndex < grades.length; loopIndex++) {
    sum += grades[loopIndex];
}
This code loops over all items in the grades array and adds them, leaving the result in the variable named sum. The loop index starts at 0 (because of the initialization expression int loopIndex = 0) and is steadily incremented each time through the loop, ending after the last item in the array is processed (because of the end condition loopIndex < grades.length—as we saw in Day 2, you can use the length data member to find the length of an array). You can see the results of this code in Figure 3.8.

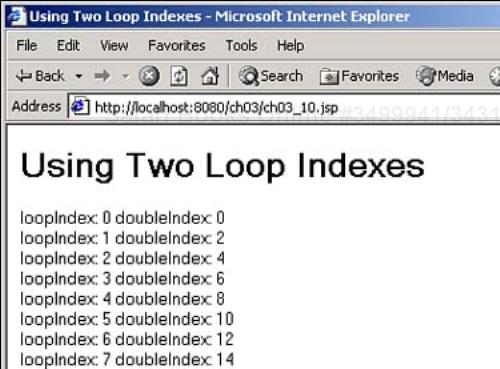
You can use very general expressions in the expressions in a for loop. For example, Java lets you separate expressions in the parentheses in a for loop with commas, as you see in Listing 3.10, where the code supports two loop indexes.
Example 3.10. Using Two Loop Indexes (ch03_10.jsp)
<HTML>
  <HEAD>
    <TITLE>Using Two Loop Indexes</TITLE>
  </HEAD>

  <BODY>
    <H1>Using Two Loop Indexes</H1>
    <%
        for (int loopIndex = 0, doubleIndex = 0; loopIndex <= 10;
            loopIndex++, doubleIndex = 2 * loopIndex) {
            out.println("loopIndex: " + loopIndex +
                " doubleIndex: " + doubleIndex + "<BR>");
        }
    %>
  </BODY>
</HTML>
You can see the results of this code in Figure 3.9.
You can be even trickier if you want—for instance, you don't have to give a for loop any body at all. You can see an example in which the code averages all the elements of an array in a for loop without any code in its body in Listing 3.11.
Expertise with this loop comes in time; for now, we have what we need to know. That takes care of the for loop—next up is the while loop.
A while loop keeps executing the statement in its body (which may be a compound statement, with a number of single statements inside curly braces) while a particular condition evaluates to true. Here's what a while loop looks like in general:
while(condition)
    statement
Note that if the condition is not true, the body of the loop is not even executed once.
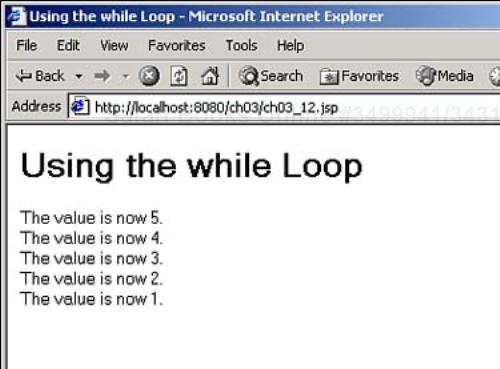
Here's an example putting the while loop to work; in this case, the code will display a value, then subtract one from it the next time through the loop, as long as that value stays positive. When the value becomes 0, the while loop stops, because the condition used (value < 0) has become false, as you see in Listing 3.12.
You can see the countdown in Figure 3.10.
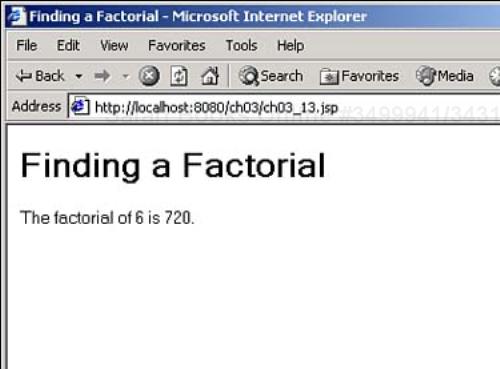
You can see how to find the factorial of 6 with a while loop—each time through the loop's body, the code finds the current product and moves on to the next lower integer until it has found the whole factorial, as you see in Listing 3.13.
Example 3.13. Finding a Factorial (ch03_13.jsp)
<HTML>
  <HEAD>
    <TITLE>Finding a Factorial</TITLE>
  </HEAD>

  <BODY>
    <H1>Finding a Factorial</H1>
    <%
        int value = 6, factorial = 1, temporaryValue = value;

        while (temporaryValue > 0) {
            factorial *= temporaryValue;
            temporaryValue--;
        }

        out.println("The factorial of " + value + " is " + factorial + ".");
    %>
  </BODY>
</HTML>
You can see the results of this code in Figure 3.11.
There's another type of while loop in Java—the do-while loop, and that's next.
The do-while loop is just like a while loop, except that the test condition is evaluated at the end of the loop, not at the beginning. Here's what the do-while loop looks like (as before, statement can be a compound statement with a number of single statements inside curly braces):
do
    statement
while(condition);
One situation in which you would use a do-while loop instead of a while loop is when you need the body of the loop to be run at least once. For example, the following is a case in which the value the code is testing is not even available for testing until the end of the loop, which means a while loop would not be appropriate:
int values[] = {1, 2, 3, 0, 5}, test, index = 0;

do {
    test = 5 * values[index++];
} while (test < 15);
On the other hand, there are times when you should use a while loop instead of a do-while loop, as in cases in which the body of the loop shouldn't even run once if the test condition is not true. Take a look at this case, where a do-while loop evaluates the reciprocal of a value, but can only test if the value at the end of the loop is nonzero:
<HTML>
  <HEAD>
    <TITLE>Finding Reciprocals</TITLE>
  </HEAD>

  <BODY>
    <H1>Finding Reciprocals</H1>
    <%
        double values[] = {4, 3, 2, 1, 0, 1, 2, 3, 4};
        int loopIndex = 0;

        do {
            out.println("The reciprocal = " + 1 / values[loopIndex] + ".<BR>");
        } while (values[loopIndex++] != 0);
    %>
  </BODY>
</HTML>
This way we won't avoid attempting to find the reciprocal of 0, which will cause mathematical problems. It's better here to use a while loop to test for 0 before the body of the loop is executed, as you see in Listing 3.14.
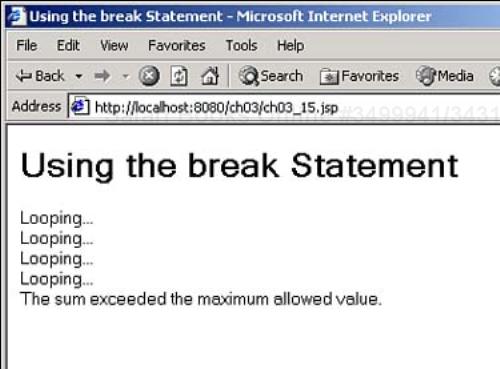
You can also use the break statement to end a loop, as in Listing 3.15, where the code ends a loop if a sum becomes greater than 12.
Example 3.15. Using the break Statement (ch03_15.jsp)
<HTML>
  <HEAD>
    <TITLE>Using the break Statement</TITLE>
  </HEAD>

  <BODY>
    <H1>Using the break Statement</H1>
    <%
        double array[] = {1, 2, 3, 4, 5, 6, 7, 8, 9, 10};
        int sum = 0;

        for(int loopIndex = 0; loopIndex <
            array.length; loopIndex++) {

            sum += array[loopIndex];
            if (sum > 12) break;
            out.println("Looping...<BR>");
        }
        out.println("The sum exceeded the maximum allowed value.");
    %>
  </BODY>
</HTML>
You can see the results of this code in Figure 3.12, where the loop keeps looping until the value in sum exceeds 12, when we use the break statement to end the loop.
As you can see, the break statement gives you control over the execution of a loop. In fact, Java also has another statement that gives you similar control—the continue statement.
You can use the continue statement to skip to the next iteration of a loop. Why would you want to do that? You might encounter some data in the data set you're working on that you don't want to process, for example, so you can use the continue statement to move on to the next loop iteration.
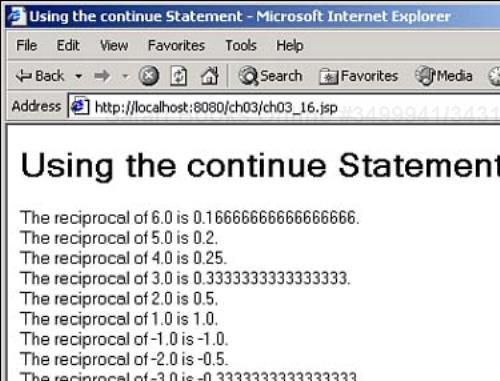
Here's an example to show how that works—here, the code is printing out reciprocals, and it should avoid trying to print out the reciprocal of 0. If the current loop index equals 0, you can just skip the current iteration and move on to the next one, as you see in Listing 3.16.
Example 3.16. Skipping an Iteration (ch03_16.jsp)
<HTML>
  <HEAD>
    <TITLE>Using the continue Statement</TITLE>
  </HEAD>

  <BODY>
    <H1>Using the continue Statement</H1>
    <%
        for(double loopIndex = 6; loopIndex > -6; loopIndex--) {
            if (loopIndex == 0) continue;
            out.println("The reciprocal of " + loopIndex +
                " is " + (1 / loopIndex) + ".<BR>");
        }
    %>
  </BODY>
</HTML>
You can see the results of this code in Figure 3.13—note that the display skips over the line where it would try to calculate the reciprocal of 0.
And that completes our look at loops in Java. We've taken a look at for loops, while loops, and do-while loops, and we've seen the break and continue statements to break out of loops and continue on to the next iteration for extra power. Now let's turn to the last topic for today—creating methods.
We've been using methods ever since printing out our first message with out.println, so we're familiar with the concept—a method contains code that you can execute by calling that method:
<% out.println("Hello there!"); %>
In this case, the code is passing the text "Hello there!" to out.println, and that method writes that text to the Web page.
Now it's time to get this power for ourselves. Here's how you create a method in Java:
[access] [static] type methodName (argument_list)
    .
    .
    .
}
Next, you give the method's name and place the list of the arguments you intend to pass to the method after that name. Note that you must specify the type of each argument, as in this case, in which the code is declaring the addem method (to which you pass two integers), and it's naming those integers op1 and op2 (for “operand 1” and “operand 2”):
int addem(int op1, int op2)
The actual body of the method—the code that will be executed when you call the method—is enclosed in a code block (delimited with curly braces, { and }) following the method's declaration. Note in particular that you must declare methods in JSP declarations (surrounded by <%! and %>), and not in scriptlets (which are surrounded by <% and %>):
<HTML>
  <HEAD>
    <TITLE>Creating a Method</TITLE>
  </HEAD>

  <BODY>
    <H1>Creating a Method</H1>
    <%!
    int addem(int op1, int op2)
    {
        .
        .
        .
    }
    %>
  </BODY>
</HTML>
The code has named the two integers passed to this method part of the method declaration, and now you can refer to those integers in the body of the method with those names. To return their sum from this method, you can use the return statement:
<HTML>
  <HEAD>
    <TITLE>Creating a Method</TITLE>
  </HEAD>

  <BODY>
    <H1>Creating a Method</H1>
    <%!
    int addem(int op1, int op2)
    {
      return op1 + op2;
    }
    %>
  </BODY>
</HTML>
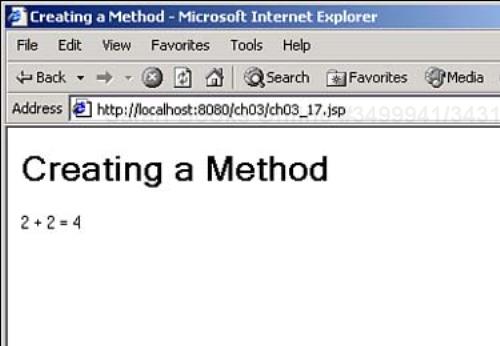
The code in a method like addem isn't run until you call it. On the other hand, the code in a general scriplet, outside any method, is run as soon as the page is loaded. Listing 3.17 shows how to call the new addem method, add 2 + 2, and display the result.
You can see the results of this code in Figure 3.14, where we're using the full power of Java to tell us that 2 + 2 = 4.
Here's something to note—because you must declare methods in JSP declarations, not scriplets, the code in your methods does not have access to the built-in JSP objects like out. That might appear to be a serious drawback if you want to send text to a Web page from a method, but you can get around this problem if you pass the out object to a method. We'll see how this works later today.
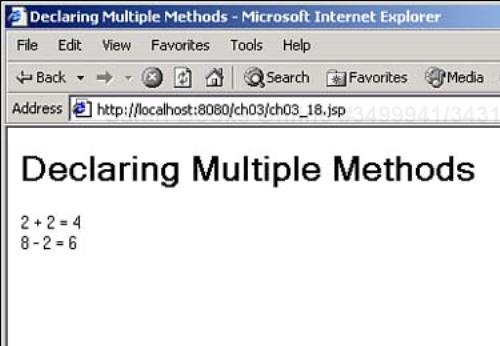
You can declare multiple methods in the same JSP declaration, as seen in Listing 3.18. This example declares a method named subractem that subtracts one integer from another and returns the difference.
Example 3.18. Declaring Multiple Methods (ch03_18.jsp)
<HTML>
  <HEAD>
    <TITLE>Declaring Multiple Methods</TITLE>
  </HEAD>

  <BODY>
    <H1>Declaring Multiple Methods</H1>
    <%!
    int addem(int op1, int op2)
    {
      return op1 + op2;
    }

    int subtractem(int op1, int op2)
    {
      return op1 - op2;
    }
    %>

    <%
    out.println("2 + 2 = " + addem(2, 2) + "<BR>");
    out.println("8 - 2 = " + subtractem(8, 2) + "<BR>");
    %>
  </BODY>
</HTML>
You can see the results of this code in Figure 3.15.
The Java class that JSP pages are built on, HttpJspBase, has two methods built into it that are automatically called at specific times in the lifecycle of a JSP-enabled page. The first method, jspInit, is automatically called when the page is first created, and the second, jspDestroy, is automatically called when the page is unloaded and destroyed by the server.
And that's all it takes—now this page has both initialization and clean-up code that the server runs automatically at the right time.
You've already seen how factorials work (for example, the factorial of 6 is 6 × 5 × 4 × 3 × 2 × 1 = 720), and factorials lend themselves to recursion. This example supports a method named factorial that you pass an integer to, and it returns an integer. If the integer we're passed is 1, we're all done, because the factorial of 1 is 1, so we return that value:
int factorial(int n)
{
    if (n == 1) {
        return n;
    }
        .
        .
        .
}
Otherwise, all we have to do is return the current number—say that's n, multiplied by the factorial of n-1 (which we can find by calling the factorial method again):
int factorial(int n)
{
    if (n == 1) {
        return n;
    }
    else {
        return n * factorial(n - 1);
    }
}
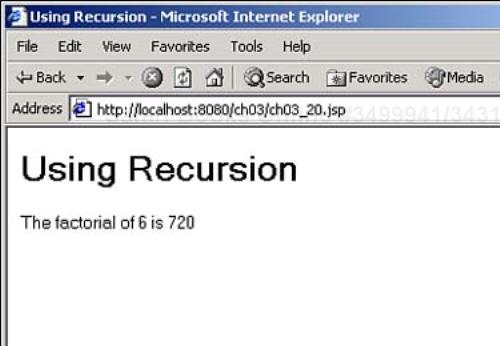
Here's how this method looks in an example, in which the code is calling it to find the factorial of 6, as you see in Listing 3.20.
Example 3.20. Using Recursion (ch03_20.jsp)
<HTML>
  <HEAD>
    <TITLE>Using Recursion</TITLE>
  </HEAD>

  <BODY>
    <H1>Using Recursion</H1>
    <%!
    int factorial(int n)
    {
        if (n == 1) {
            return n;
        }
        else {
            return n * factorial(n - 1);
        }
    }
    %>

    <%
        out.println("The factorial of 6 is " + factorial(6));
    %>
  </BODY>
</HTML>
You can see the results of this code in Figure 3.16, where we see that the factorial of 6 is 720.
<%!
int number;

public void jspInit()
{
  number = 5;
}

public void jspDestroy()
{
  number = 0;
}
%>
However, if you had declared number inside a method, it would be private to that method, and you couldn't access it in the other method:
<%!

public void jspInit()
{
  int number;
  number = 5;
}

public void jspDestroy()
{
    //Can't use number here!
    .
    .
    .
}
%>
In this way, declaring variables in methods limits the scope of those variables, which compartmentalizes your code—if a variable is limited to a method, there's less chance that other code might inadvertently affect its value.
Note
You'll see more on scope later in the book—for example, in Day 6, “Creating JSP Components: JavaBeans,” you'll see how to limit the scope of your data to a Web page or an entire Web application.
That's important to know, because when an object is passed by reference, you then have direct access to that object—if you change some data in the object in your method, you'll be changing the data in the original object passed to the method (which doesn't happen when you pass by value).
Let's take a look at an example to make this clearer—here, you can pass an array (remember that arrays and strings are both objects) to a method named doubler. That method won't return anything, but it will double the value of each element in the array. Because the array was passed by reference, that will double each element in the original array as well. Here's how that looks when you declare doubler to take an integer array:
void doubler(int a[])
{
        .
        .
        .
}
And in the body of doubler, you might loop over the array and double each value:
void doubler(int a[])
{
    for (int loopIndex = 0; loopIndex < a.length; loopIndex++) {
        a[loopIndex] *= 2;
    }
}
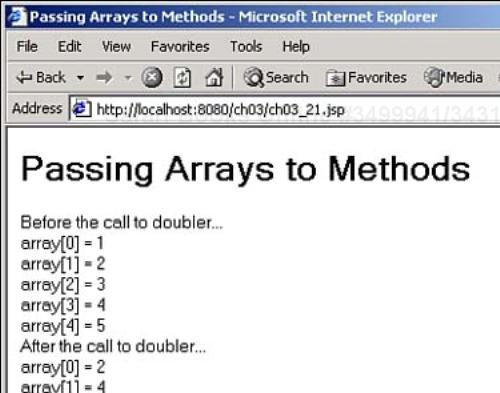
And that's all it takes—the final code displays both the original values in the array and values after the call to doubler, as you see in Listing 3.21.
Example 3.21. Passing Arrays to Methods (ch03_21.jsp)
<HTML>
  <HEAD>
    <TITLE>Passing Arrays to Methods</TITLE>
  </HEAD>

  <BODY>
    <H1>Passing Arrays to Methods</H1>
    <%!
    void doubler(int a[])
    {
        for (int loopIndex = 0; loopIndex < a.length;
            loopIndex++) {
            a[loopIndex] *= 2;
        }
    }
    %>

    <%
        int array[] = {1, 2, 3, 4, 5};

        out.println("Before the call to doubler...<BR>");
        for (int loopIndex = 0; loopIndex < array.length;
            loopIndex++) {
            out.println("array[" + loopIndex + "] = " +
                array[loopIndex] + "<BR>");
        }

        doubler(array);

        out.println("After the call to doubler...<BR>");
        for (int loopIndex = 0; loopIndex < array.length;
            loopIndex++) {
            out.println("array[" + loopIndex + "] = " +
                array[loopIndex] + "<BR>");
        }
    %>
  </BODY>
</HTML>
You can see the results of this code in Figure 3.17—note that each element in the array that we passed to doubler was indeed doubled, even though doubler didn't return any values.
Passing objects to methods is especially valuable when it comes to working with built-in objects like the out object (which are otherwise not accessible to you in methods, because methods have to be declared in JSP declarations, not scriptlets).
As you can see in Figure 3.18, you can use the out object in a method.
Here's another easier way of doing this—you can simply declare a new variable, such as out2, in the JSP declaration, copy out to out2 in scriptlet code, then use out2 in the methods in the declaration as you see in Listing 3.23.
And that's it for branching, looping, and creating methods today. This discussion was all about adding more power to your Java arsenal.
We started by taking a look at branching statements that enable you to make decisions in code. You can use if statements in JSP for this purpose: if the condition given in an if statement is true, the code in the body of the if statement is executed, and not otherwise. We also saw that if statements could have else clauses, and that the body of an else clause is executed if the if statement's condition is false. And we saw how to create if-else ladders that could handle multiple true/false conditions.
The switch statement takes up where if-else ladders leave off, because such ladder statements can become very awkward to program when they get large. The switch statement lets you check a data item against one or more case statements, and if there's a match, the code in the body of the matching case statement is executed. We also saw that switch statements could have a default statement with code to execute if no case matched.
You also took a look at the available loop statements today—the for loop, the while loop, and the do-while loop. loop statements let you loop over your code, executing that code multiple times on your data.
As we've seen, the for loop is a very general loop that is most often used with a loop index that you can increment (or decrement) each time through the loop. The while loop keeps executing the code in its body while the condition you give it remains true, and the do-while loop is the same as the while loop, except that the loop's condition is checked at the end of the loop, not at the beginning as in the while loop.
Finally, we took a look at creating methods in JSP. Methods let you organize your code into discrete units, which is great when your code gets long. Ideally, each method should handle one discrete task. You can pass data to methods, process that data, and return other data from methods.
You also took a look at using the built-in methods jspInit and jspDestroy today, which can be used for initializing and cleaning up a Web page. We also saw that when you pass an object to a method, that method is passed by reference, which means that you have direct access to the object.
Tomorrow you're going to start working with a very popular JSP topic—reading the data the user sends you (as typed into text fields in a Web page, for example) in your JSP code. To do that, we're going to start creating some real-world JSP pages.
A JSP declaration element is good for declaring data and methods—anything else? | |
A1: | Yes, as you'll see in Day 8, you can also declare Java classes in a JSP declaration element. |
Can a method return multiple values? | |
A2: | Some languages like Perl let you return multiple values from a method. In Java, you can do that by returning an array, or by creating a custom object that holds the data values you want, but you can't return multiple single values from a method in Java. |
This workshop tests whether you understand all the concepts you learned today. It's a good idea to master today's concepts by honing your knowledge here before starting tomorrow's material. You can find the answers to the quiz questions in Appendix A.