
Creating an ASP.NET Application for Deployment
To test the different methods of deploying ASP.NET applications, you must create a new ASP.NET application that you'll use in each of the three methods of deployment today.
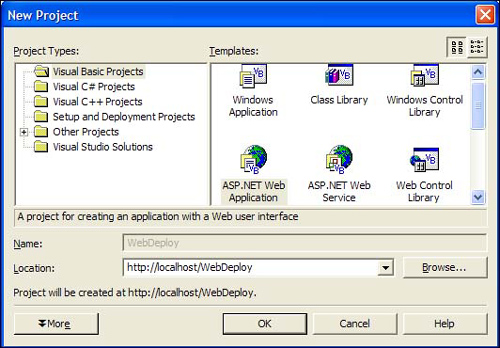
Start Visual Studio .NET and click the New Project button on the Start Page. After the New Project dialog pops up, select Visual Basic Projects from the Project Types pane, and then select ASP.NET Web Application from the Templates pane. Change the name of the project to http://localhost/WebDeploy.
Figure 6.1 demonstrates what your New Project dialog should look like. Click the OK button to create the application.
Figure 6.1. New Project dialog for the WebDeploy project.
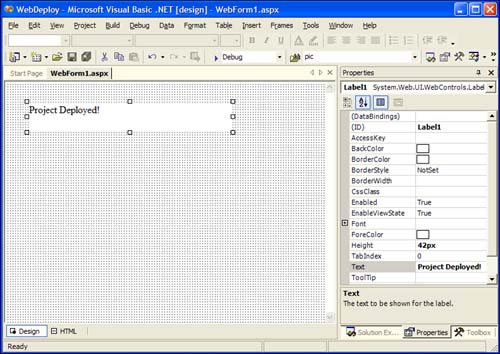
When the application is created, you should see the default WebForm1.aspx page in the Web Forms Designer.
Drag a Label Web Forms control from the Toolbox to the form, and change its Text property to Project Deployed!.
Your completed WebForm1.aspx should look like Figure 6.2.
Figure 6.2. Completed WebDeploy solution.
Now you can save and build the project by selecting Build Solution from the Build menu.