Special iPad Features
The iPad technically no longer runs iOS, but rather a new operating system called iPadOS. They’re mostly similar, but iPadOS offers a few unique features.
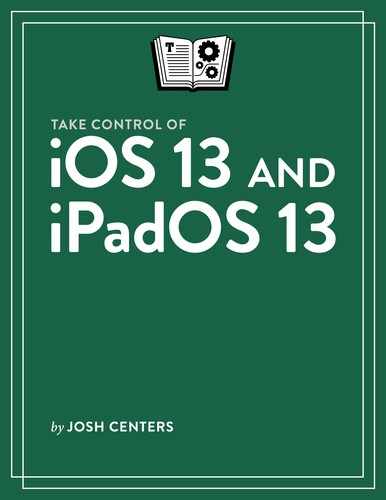
Pin Today View on the Home Screen
In iPadOS, you can pin the Today View on the Home Screen so that you don’t have to swipe to bring it up (Figure 33).
To pin Today View to the Home screen, go to edit the widgets in Today View—see Wrangle Widgets—and flip the Keep on Home Screen switch.
You can choose two widgets to always keep at the top of Today View by dragging them to Pinned Favorites. To see the other widgets in Today View, swipe up on Today View to scroll down.
Manage the Dock
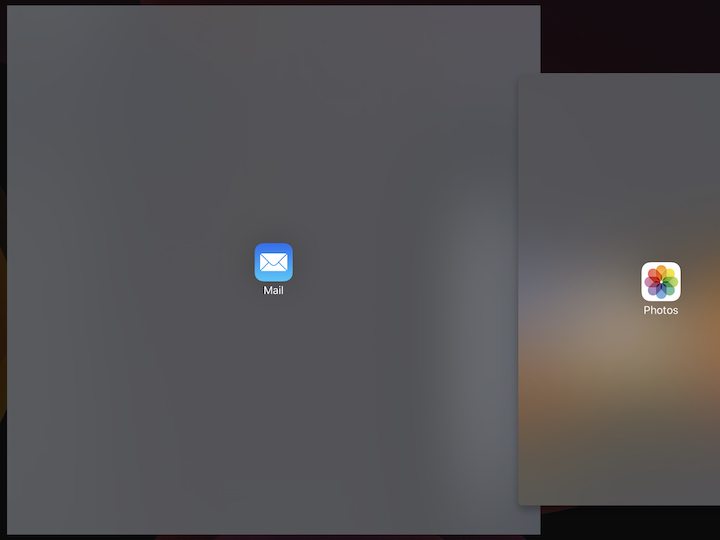
The iPad Dock functions more like the Mac Dock than the iPhone Dock. It’s split into two sections. The left-hand section holds the apps you place there—up to 15 of them. The right-hand side presents recently and frequently used apps and Handoff apps, denoted by the Handoff ![]() icon on the app (see Learn About Handoff—Figure 34). You can turn that off with the Show Suggested and Recent Apps setting in Settings > General > Multitasking & Dock.
icon on the app (see Learn About Handoff—Figure 34). You can turn that off with the Show Suggested and Recent Apps setting in Settings > General > Multitasking & Dock.

Apple has a video showing how to use the iPad Dock.
Reveal the Dock
The Dock is always visible on the Home screen, but is hidden when viewing an app. Swipe up from the bottom of the screen to reveal it. In some apps, you must first swipe up to reveal an arrow ![]() , and then swipe up again to reveal the Dock.
, and then swipe up again to reveal the Dock.
Tapping an app in the Dock switches from the current app to the app you tap.
Adding and Removing Dock Apps
To add an app to the Dock, simply touch and hold an app icon until they all begin to shake, and then drag the app icon to the Dock—see Move Apps. Items added to the Dock are removed from the Home screen.
Removing an app from the Dock works the same way: drag the app out of the Dock. Note that you cannot do this in an app—you must be viewing the Home screen.
Multitask on the iPad
The iPad offers gestures to help you switch between apps. Also, unlike the iPhone, the iPad lets you use multiple apps at once.
Multitasking Gestures
On the iPad, there are three gestures you can use to switch between apps:
Return to the Home screen: Quickly swipe up from below the bottom of the screen.
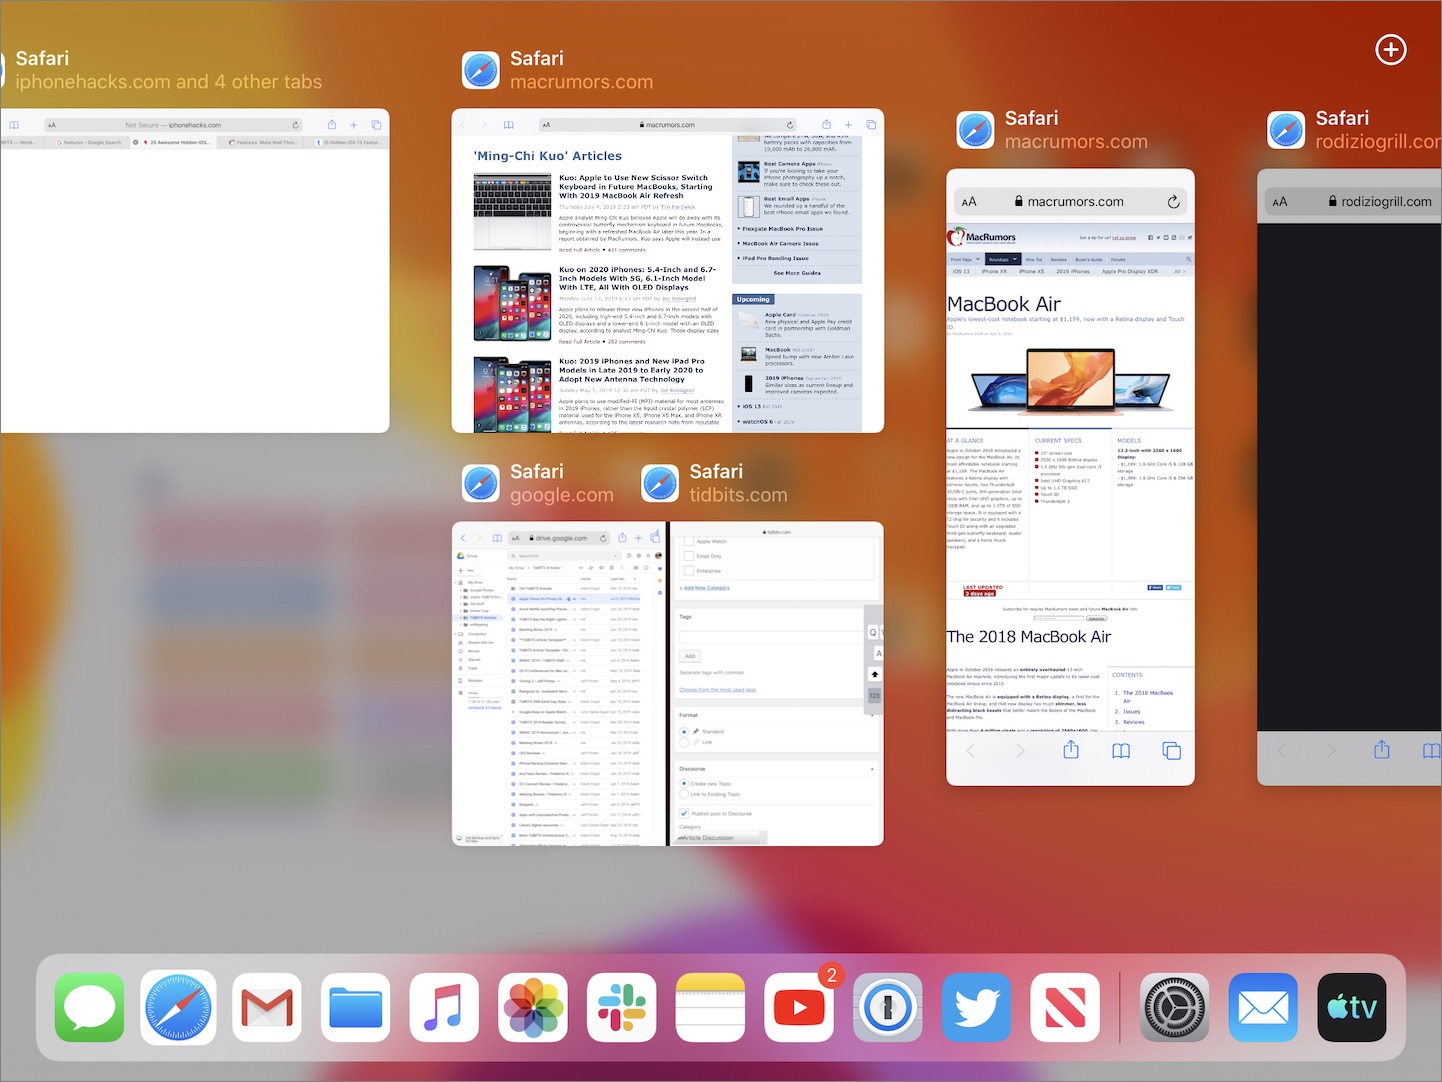
Bring up the App Switcher: Swipe up from below the bottom of the screen and hold your finger in place briefly.
Switch between apps: While viewing an app, place four or five fingers on the screen and move them left or right.
You can turn these gestures on and off in Settings > General > Multitasking & Dock.
Use Two Apps at Once
The iPad lets you use two apps on screen at the same time (plus an optional video using Picture in Picture), assuming the apps support those features. There are two distinct, yet interconnected, ways to do this: Slide Over and Split Screen.
Using Apps in Slide Over
Slide Over lets you place a secondary app in a window off to either side of the screen (Figure 35).

To try it, reveal the Dock and drag an app from the Dock onto the app you’re viewing. If the app you want isn’t in the Dock, open it and then switch away so it shows up in the suggested apps on the right side of the Dock.
Alternatively, you can drag an item out of the primary app and drop it as a Slide Over window, such as a web link from Safari or a note in the Notes app.
Drag the item to the left or right of the screen (not all the way to the edge or you’ll put the app into Split Screen) until it turns into a rounded rectangle and then release.
Here’s how to work with Slide Over:
Switch between Slide Over apps: You can use multiple Slide Over windows at once and switch between them by swiping up on the gray bar at the bottom of the Slide Over window (Figure 36). You can also swipe left or right on that bar to quickly cycle through apps.
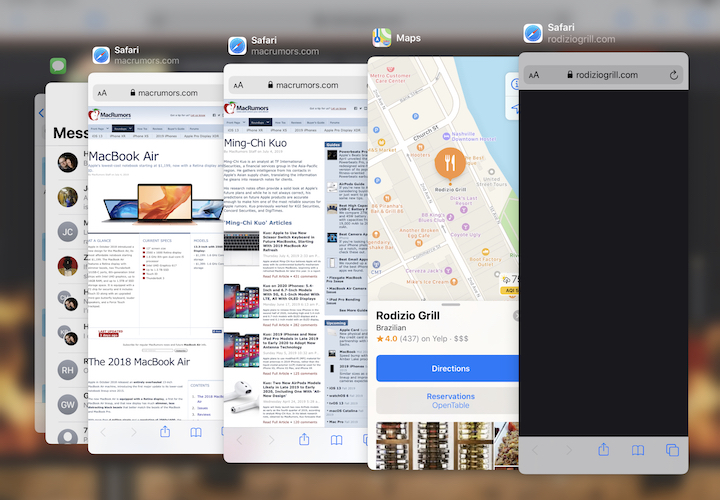
Figure 36: You can switch between multiple Slide Over apps. Move the Slide Over window: You can move the Slide Over window to the left or right edge of the screen by swiping the gray bar at the top of the window.
Dismiss Slide Over: To dismiss Slide Over, make sure the window is on the right edge of the screen and swipe the top or outermost edge of the window to the right.
Summon Slide Over: To bring Slide Over back, swipe left on the right edge of the screen. In apps where this is an existing gesture, such as Safari, you may see an arrow appear that you’ll have to swipe to bring back Slide Over.
Switch to Split Screen: Drag the gray bar at the top of the Slide Over window to the edge of the screen until the primary app shifts over, and then release.
View Apps in Split Screen
Split Screen lets you use two apps side by side simultaneously. A divider in the middle lets you adjust how much screen space both apps get (Figure 37).
You activate Split Screen the same way as Slide Over, except you drag the item all the way to the edge of the screen. You’ll know you’ve triggered Split Screen when the primary app shifts out of the way to make room for the secondary app (Figure 38). Release the item to open Split Screen.
Here’s how to work with Split Screen:
Adjust Split Screen panes: Touch and hold the handle in the center of the screen and slide it left or right. You can adjust it so either app fits into one column—making more room for the other app—or you can split the screen equally between the two apps.
Close a Split Screen app: Drag the center handle and move it left or right until the desired app fills up the entire screen.
Convert a Split Screen app to Slide Over: Drag the top handle down until the other app again fills up the screen.
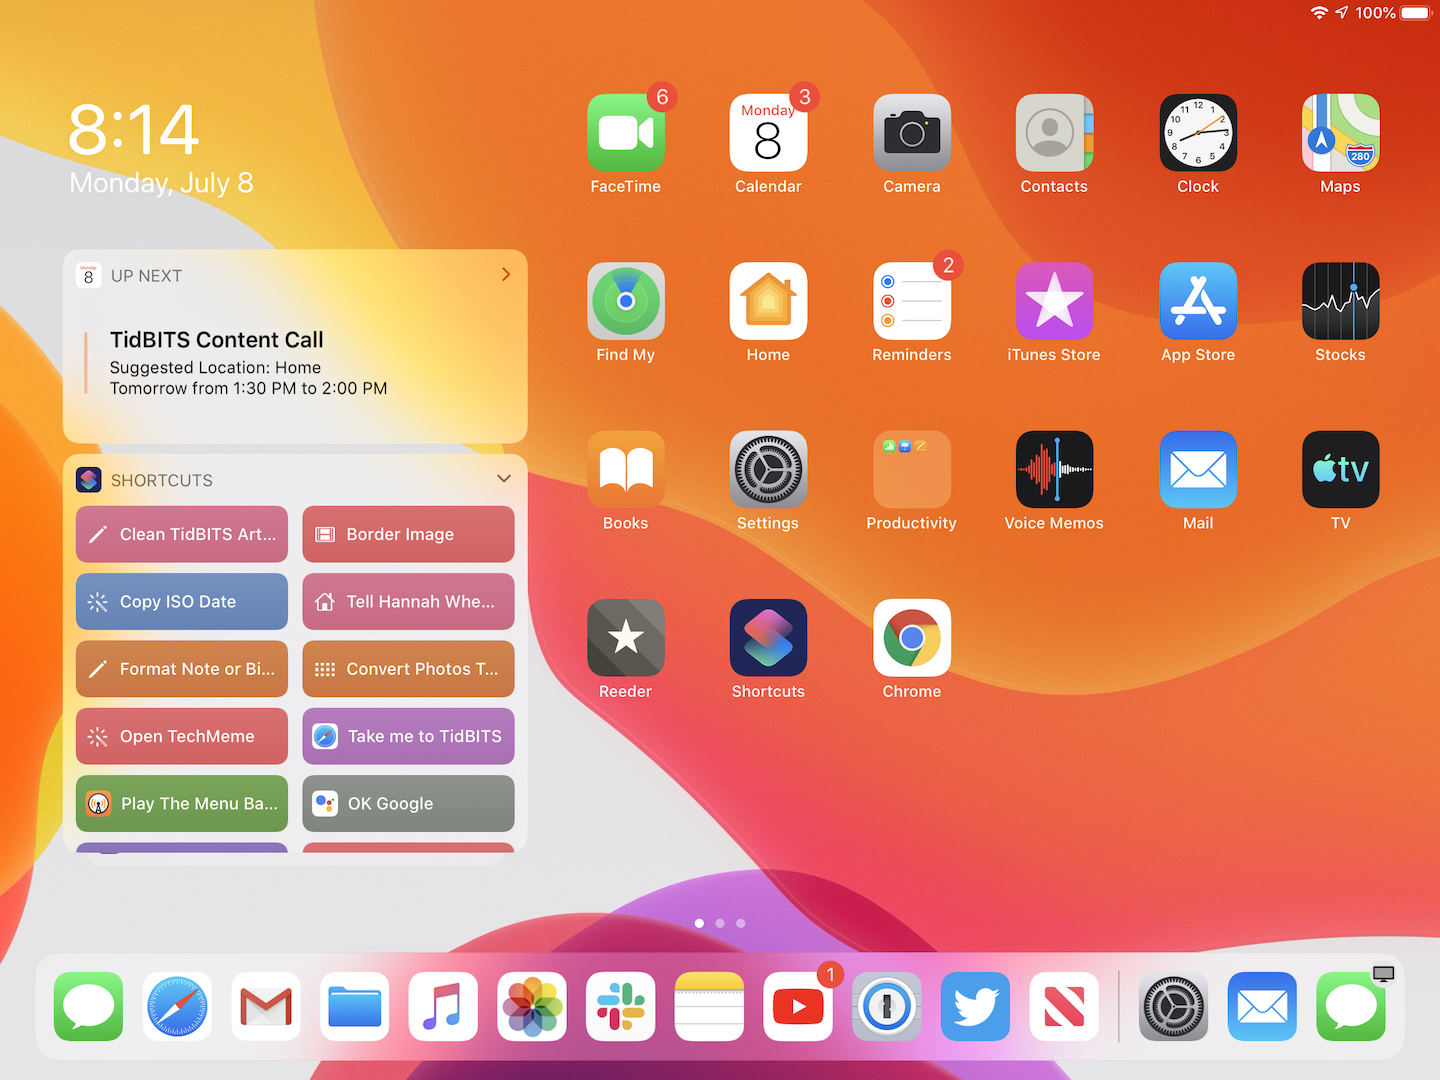
Use App Exposé
In iPadOS, you can now have several instances of one app. For example, you might have a single Safari window, Safari in Split Screen, and a couple of Slide Over Safari windows. You can manage these with App Exposé (Figure 39).
To trigger App Exposé, open the app you want to manage, bring up the Dock, and tap the app’s icon. Every instance of that app appears on the screen. Just like in the App Switcher, you can swipe up on an instance to close it.
Drag and Drop
iPadOS lets you drag and drop elements between apps and even within apps. Here are some examples of what you can drag and drop:
A headline from News into Notes
Maps locations into messages
Attachments between threads in Messages
Selected text into Notes
To use drag and drop, open the apps in Slide Over or Split Screen, touch and hold an item until it seems to lift off the background, and then drag it onto the other app. You can also use this to open an additional instance of an app in Slide Over or Split Screen by dragging the item to the edge of the screen until the desired mode triggers.
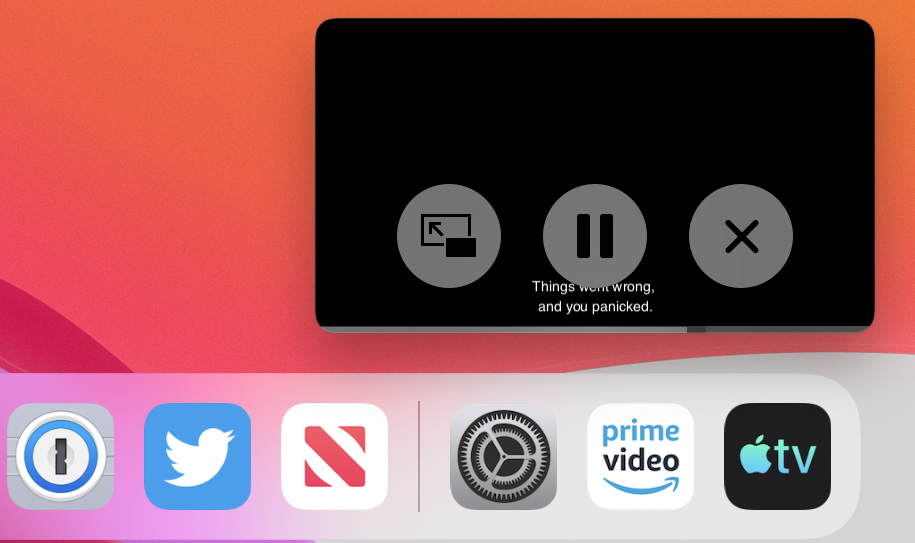
Watch Picture-in-Picture Videos
Picture in Picture (PiP) lets you watch a video on your iPad while you use other apps (Figure 40). As with the other multitasking features, to work with Picture in Picture, video apps must explicitly support it.
Here’s how to use Picture in Picture:
Activate PiP: While watching a video in a supported app (such as TV or FaceTime), switch away from the app and PiP kicks in automatically. In some apps, you can or should tap the Picture in Picture
 button in the video player. The video reappears in a small window.
You can drag the PiP window around the screen to suit your tastes, though it always snaps to the edge of the screen. If you just want to listen to the audio, you can even drag the PiP window off the left or right edge of the screen. iPadOS replaces the window with a small handle. To retrieve it, tap or drag the handle.
Adjust the PiP window size: Pinch out with two fingers to enlarge the window or pinch in to shrink it.
Pause the PiP video: Tap the PiP window and then tap the Pause
 button.
Resume watching in fullscreen: Tap the PiP window and then tap the Fullscreen
 button.
Close PiP: Tap the PiP window and then tap the Exit
 button.
Keyboarding on the iPad
The iPad’s large screen size affords some special keyboard features that wouldn’t make sense on an iPhone.
Flick Down for Special Characters
iOS makes typing alternative characters more efficient, by allowing you to “flick” down on a key to type an alternative character instead of having to cycle through keyboard layouts.
Look at each keyboard key. Tapping the key inserts the black character. Most keys also display a light gray character above the primary character. To type these, flick down on the key instead of merely tapping it. Think of it like flicking down a light switch.
If you flick slowly, you’ll notice the key rotating down and becoming the key you’re typing (Figure 41).

Split the iPad Keyboard
The standard iPad keyboard is fine if you’re resting the iPad in your lap, but if you’re holding the iPad in your hands and typing with your thumbs, it can be impossible to reach the middle keys. Thankfully, iOS lets you split the onscreen keyboard so you can type with your thumbs:
Touch and hold the Hide Keyboard
 key, and then tap Split (Figure 42).
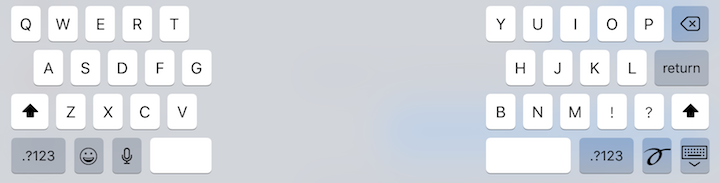
Figure 42: You can split the iPad’s keyboard, making it easier to type with your thumbs. Or, touch and hold the Hide Keyboard
key and immediately drag it up.
Either way, the keyboard splits and moves up to the middle of the screen.
To put the keyboard back together, either drag the Hide Keyboard key down, or touch and hold the Hide Keyboard key and tap Merge or Dock and Merge.
Shrink the iPad Keyboard
In iPadOS, you can shrink the keyboard down to a floating keyboard roughly the size of an iPhone keyboard, which is ideal for one-handed typing (Figure 43). Also, the floating keyboard allows the use of QuickPath to type by swiping between keys—see Save Time Typing. You can even swipe between keys with an Apple Pencil.
There are two ways to shrink the keyboard:
Pinch in with two fingers on the big keyboard. This doesn’t work on the split keyboard.
Touch and hold the Hide Keyboard
key, and then tap Floating.
You can move the floating keyboard to anywhere on the screen you want by dragging on the gray bar at the bottom of the keyboard. To expand the floating keyboard, pinch out on it with two fingers.
Work with Instant Notes
iOS lets you quickly create or edit a note in the Notes app from the Lock screen—Apple calls this Instant Notes. Contrary to Apple’s marketing, this isn’t an iPad-specific feature, as I explain in Discover Control Center Functions, since you can use the Notes button in Control Center to summon an Instant Note.
However, if you use an Apple Pencil with a compatible iPad, there is an actual instant way to create an Instant Note. Wake your iPad and tap the tip of the Apple Pencil on the Lock screen to create or open an Instant Note—be sure to tap the tip directly down on the screen.
By default, Instant Notes brings up the last note you viewed in the Notes app. To instead create a new note every time you summon Instant Notes, go to Settings > Notes > Access Notes from Lock Screen and select Always Create New Note.
If you keep it set to Resume Last Note, the Create New Note setting dictates how long you can return to that note without authenticating with Touch ID or a passcode. The default is 15 minutes. You can also choose whether to continue editing the last note created on the Lock screen or the last note viewed in the Notes app.