
1. An Introduction to AWS
Activity 1.01: Putting the Data into S3 with the CLI
Solution:
- Verify the configuration is correct by executing aws s3 ls to output your bucket name (the bucket name will be unique):

Figure 1.46: Command line showing the list of files in an S3 bucket
Note
The list you will see maybe a little different from the preceding screenshot. It depends on what activities or exercises you have done; you might see a few more files in S3.
- Let's create a new S3 bucket. mb is the command for creating a bucket:
aws s3 mb s3://lesson1-text-files-20200217

Figure 1.47: Command to create an S3 bucket
If it is successful, you will see the make_bucket : message.
Note
Your bucket name needs to be unique, so it is easier to append YYYYMMDD to the name (or something similar) to make it so. You will see this technique in later chapters as well. If you take a look at the earlier ls command, you will see the bucket names used — even used YYYYMMDDHHMM to ensure the names were unique. Refer to the S3 "Rules for Bucket Naming" for specific details https://docs.aws.amazon.com/awscloudtrail/latest/userguide/cloudtrail-s3-bucket-naming-requirements.html).
- Import your text file into the S3 bucket.
For these exercises, we have prepared some fun-sounding text excerpts for you from Dracula and Peter Pan. These files are on GitHub https://packt.live/31WESlK Assuming you have cloned the repository locally, navigate to the local directory using the command line. In our case, the files are in ~/Documents/aws-book:
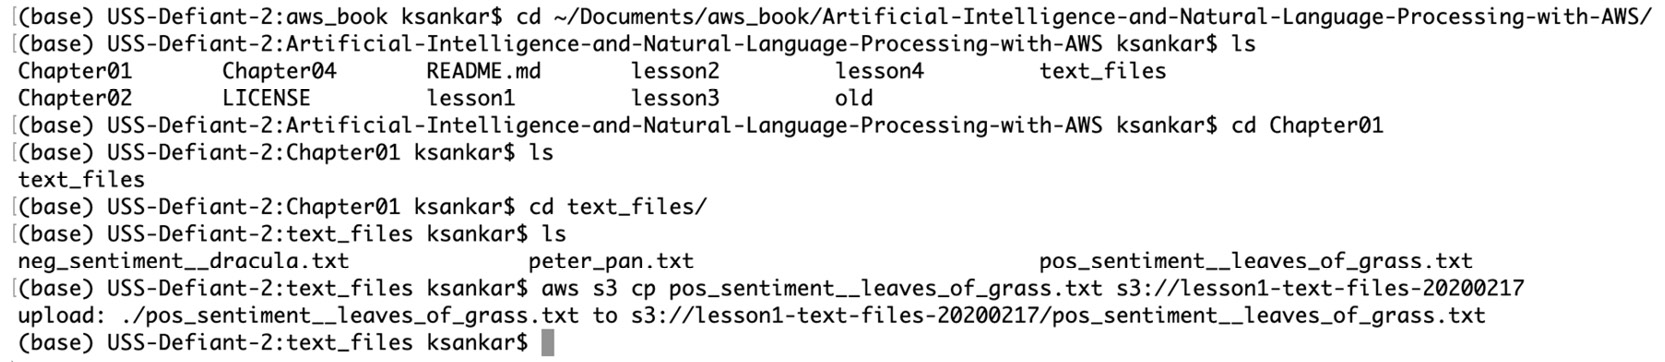
Figure 1.48: Navigating to the local directory in the command line
- To copy the files from the local directory to S3, use the command aws s3 cp pos_sentiment__leaves_of_grass.txt s3://lesson1-text-files-20200217 to import the text file into your S3 bucket as shown at the end of Figure 1.48:
- Similarly, export the neg_sentiment__dracula.txt and peter_pan.txt files to the S3 bucket:

Figure 1.49: Copying the file from the local directory in the command line
- Navigate to your desktop in the command line. Create a new local folder named s3_exported_files with the mkdir s3_exported_files command:

Figure 1.50: Navigating to the desktop in the command line
- Next, recursively export both files (neg_sentiment__dracula.txt and peter_pan.txt) from the S3 bucket to your local directory with the - -recursive parameter. The following is the output of the command:

Figure 1.51: Command line to copy files from an S3 bucket
- Verify the objects were exported successfully to your local folder with the dir or ls command, as shown in the following screenshot. This is the expected output:

Figure 1.52: Output of the multi-file copy from the S3 bucket
2. Analyzing Documents and Text with Natural Language Processing
Activity 2.01: Integrating Lambda with Amazon Comprehend to Perform Text Analysis
Solution:
- Upload the test_s3trigger_configured.txt file to our S3 bucket to verify the Lambda s3_trigger function was configured successfully.
- Navigate to the S3 page: https://console.aws.amazon.com/s3/.
- Click the bucket name you are using to test the s3_trigger function (in my case, aws-ml-s3-trigger-202001181023):
Figure 2.55: S3 bucket list
- Click Upload:
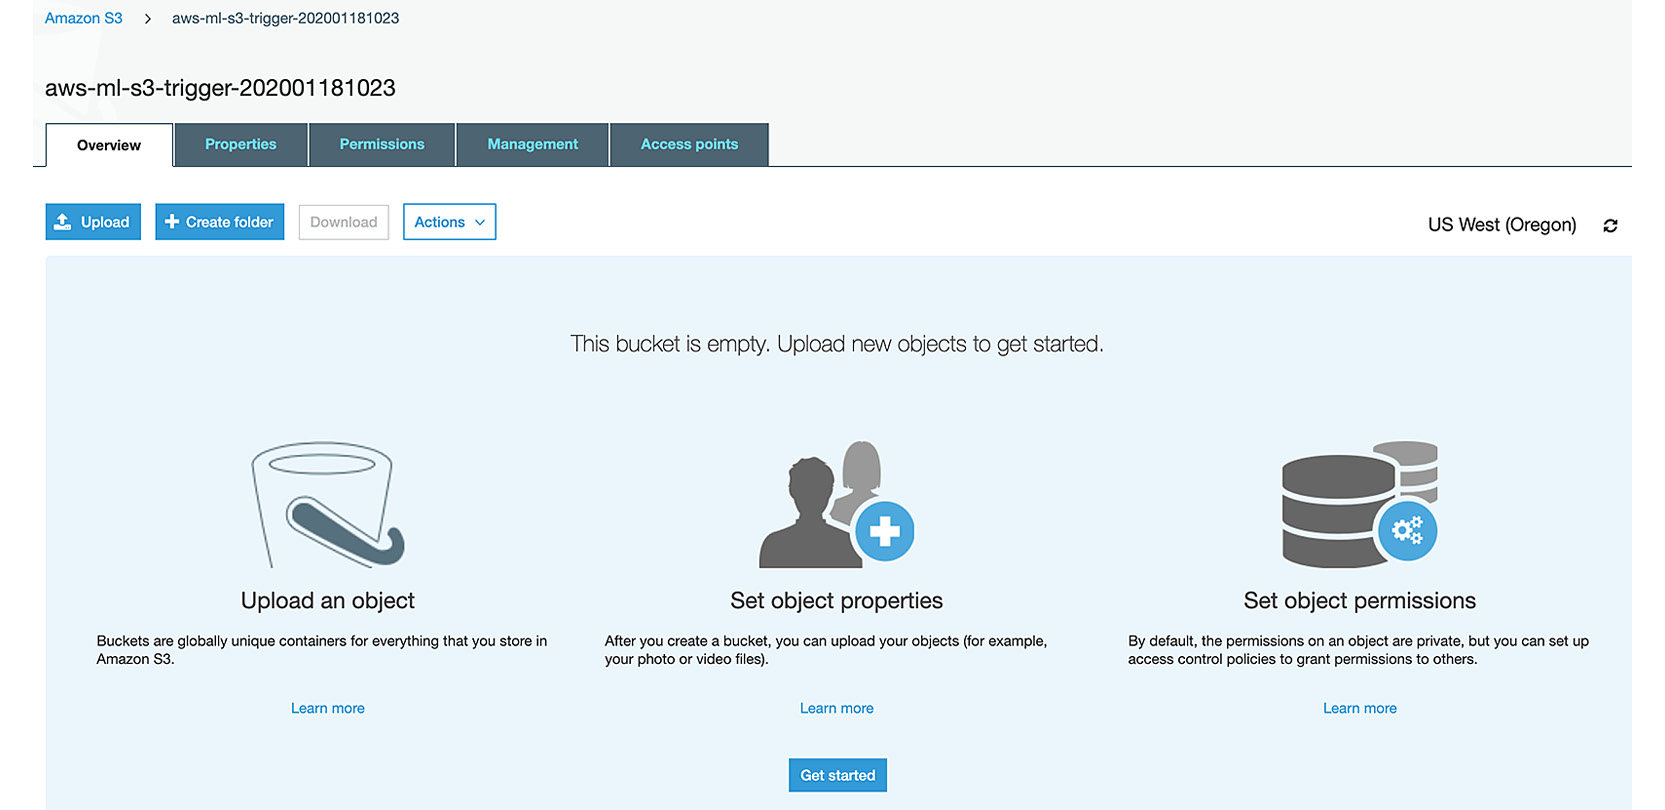
Figure 2.56: S3 bucket list upload screen
The following screen will display:
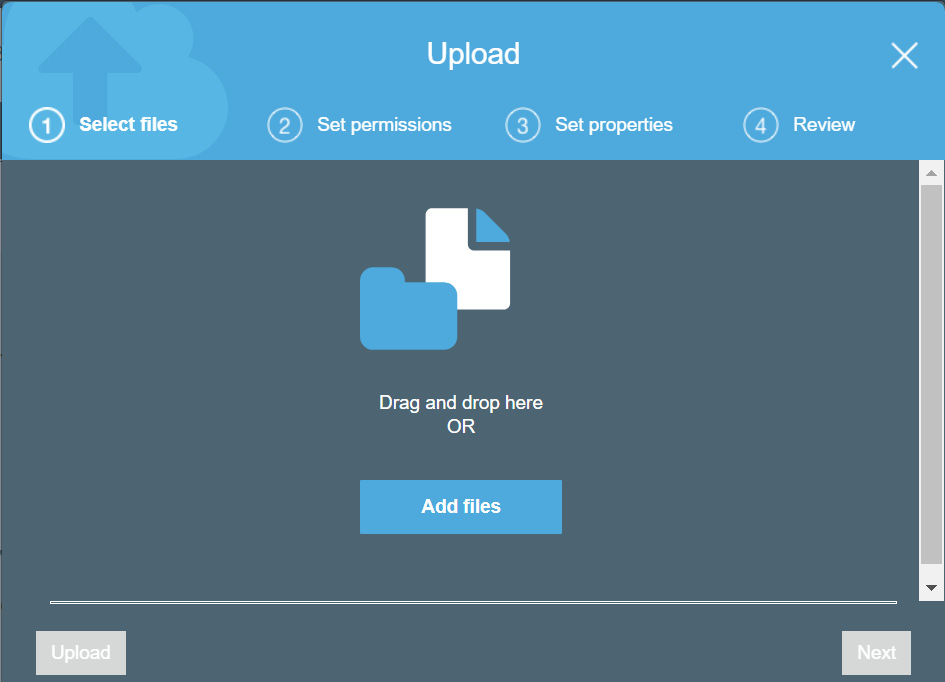
Figure 2.57: S3 Upload bucket Add files screen
- Click Add files:
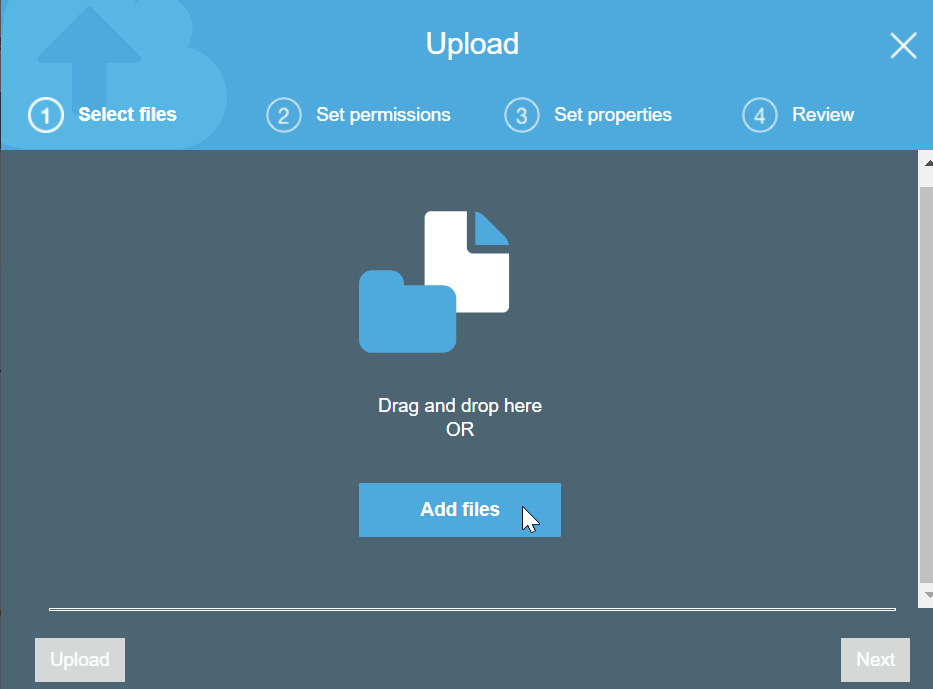
Figure 2.58: S3 Add files selection screen
- Navigate to the test_s3trigger_configured.txt file location. Select the file.
The file contains the following text:
I am a test file to verify the s3 trigger was successfully configured on 1/20/2020 at 1:34 PM and tried 3 times!
Before we execute the s3_trigger, consider the output based on the following aspects of the text: sentiment (positive, negative, or neutral), entities (quantity, person, place, and so on), and key phrases.
Note
test_s3trigger_configured.txt is available at the following GitHub repository: https://packt.live/3gAxqku.
- Click Upload, then Next:
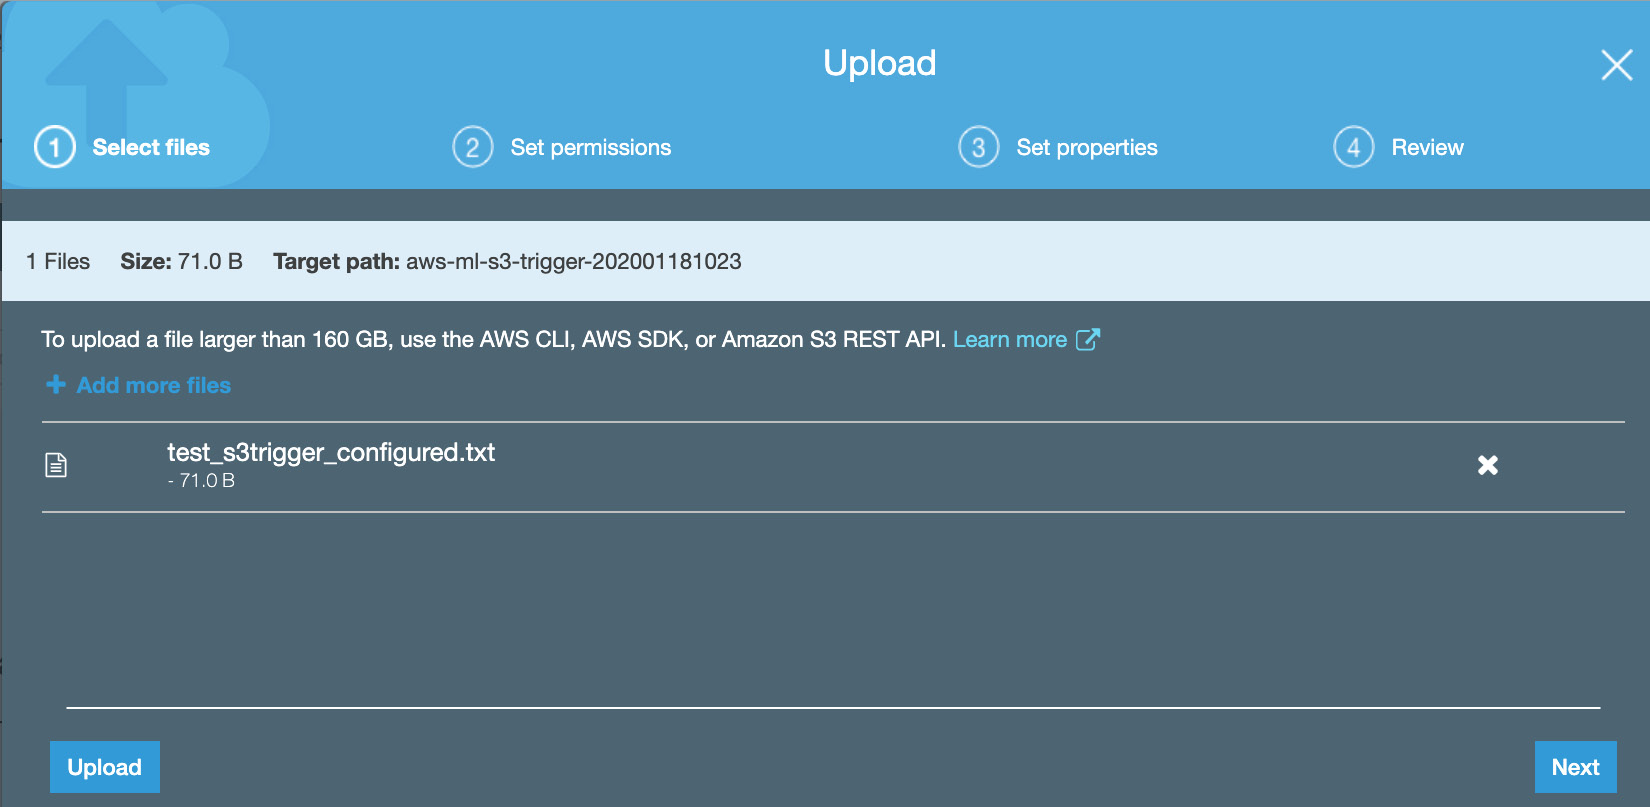
Figure 2.59: S3 file added to the bucket for the Lambda trigger test
- Click Next in the Set Permissions tab:

Figure 2.60: S3 file added to the bucket for the Lambda trigger test—object permissions
- Keep the default Standard Storage class and click Next:
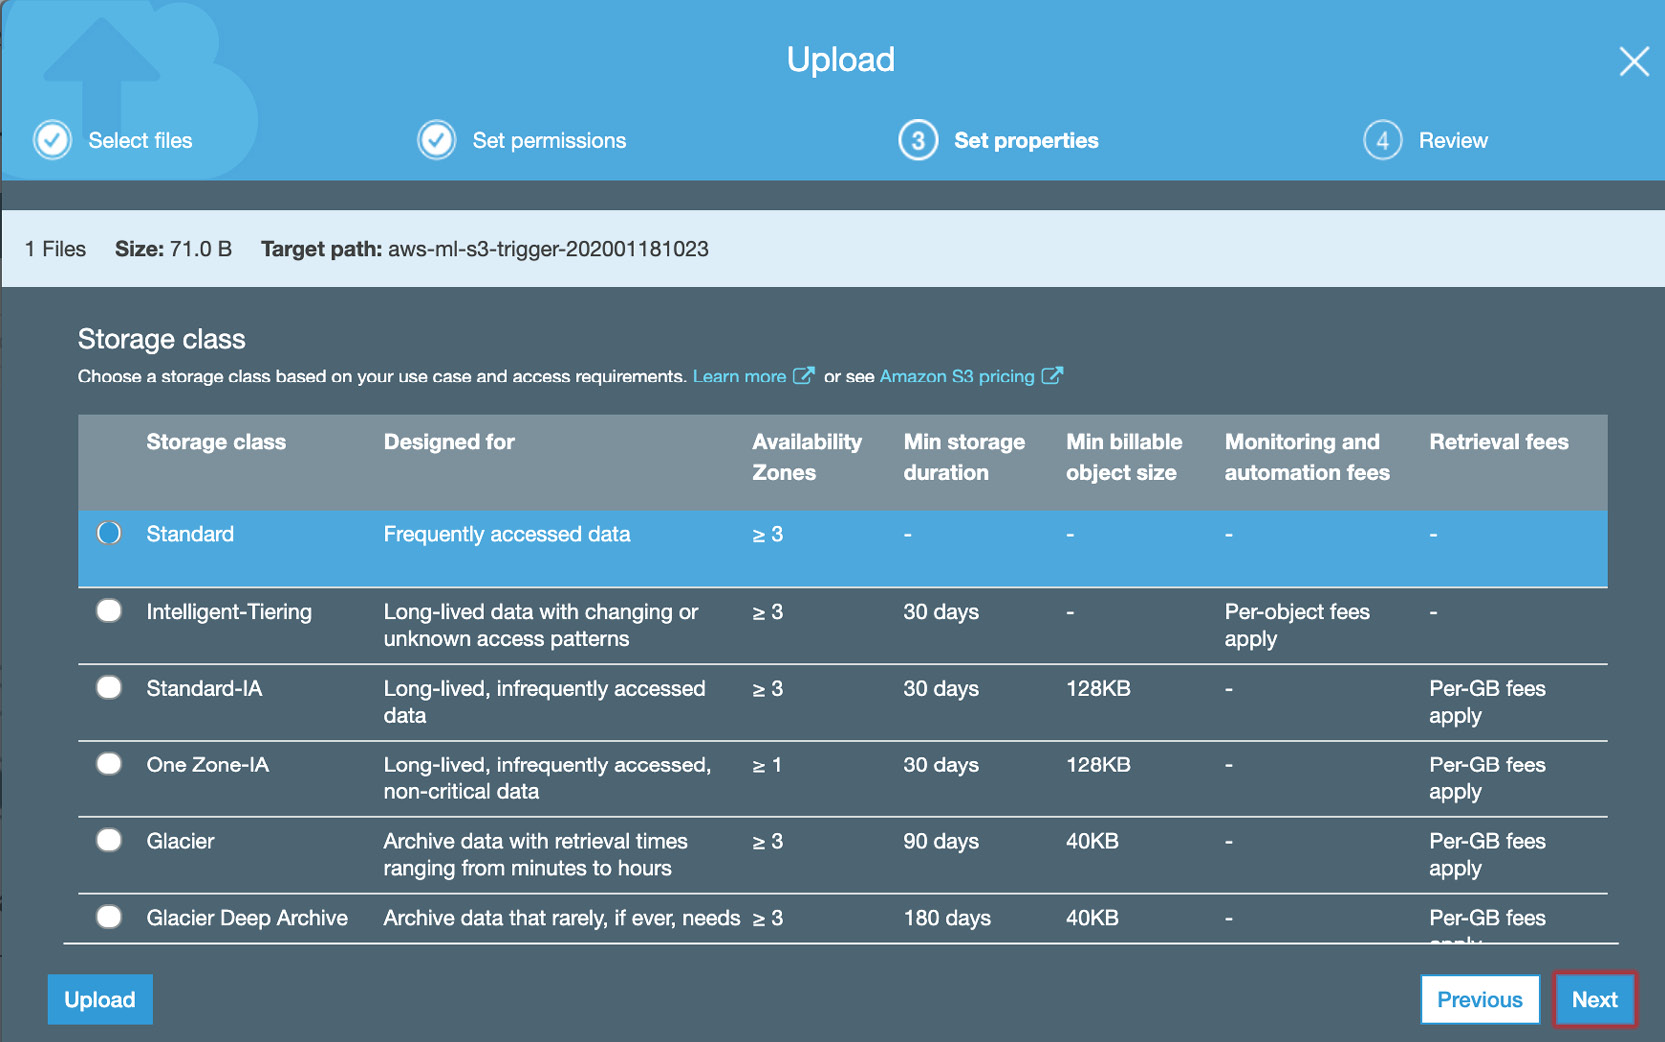
Figure 2.61: S3 file added to the bucket for the Lambda trigger test—Storage class
- Select Upload:
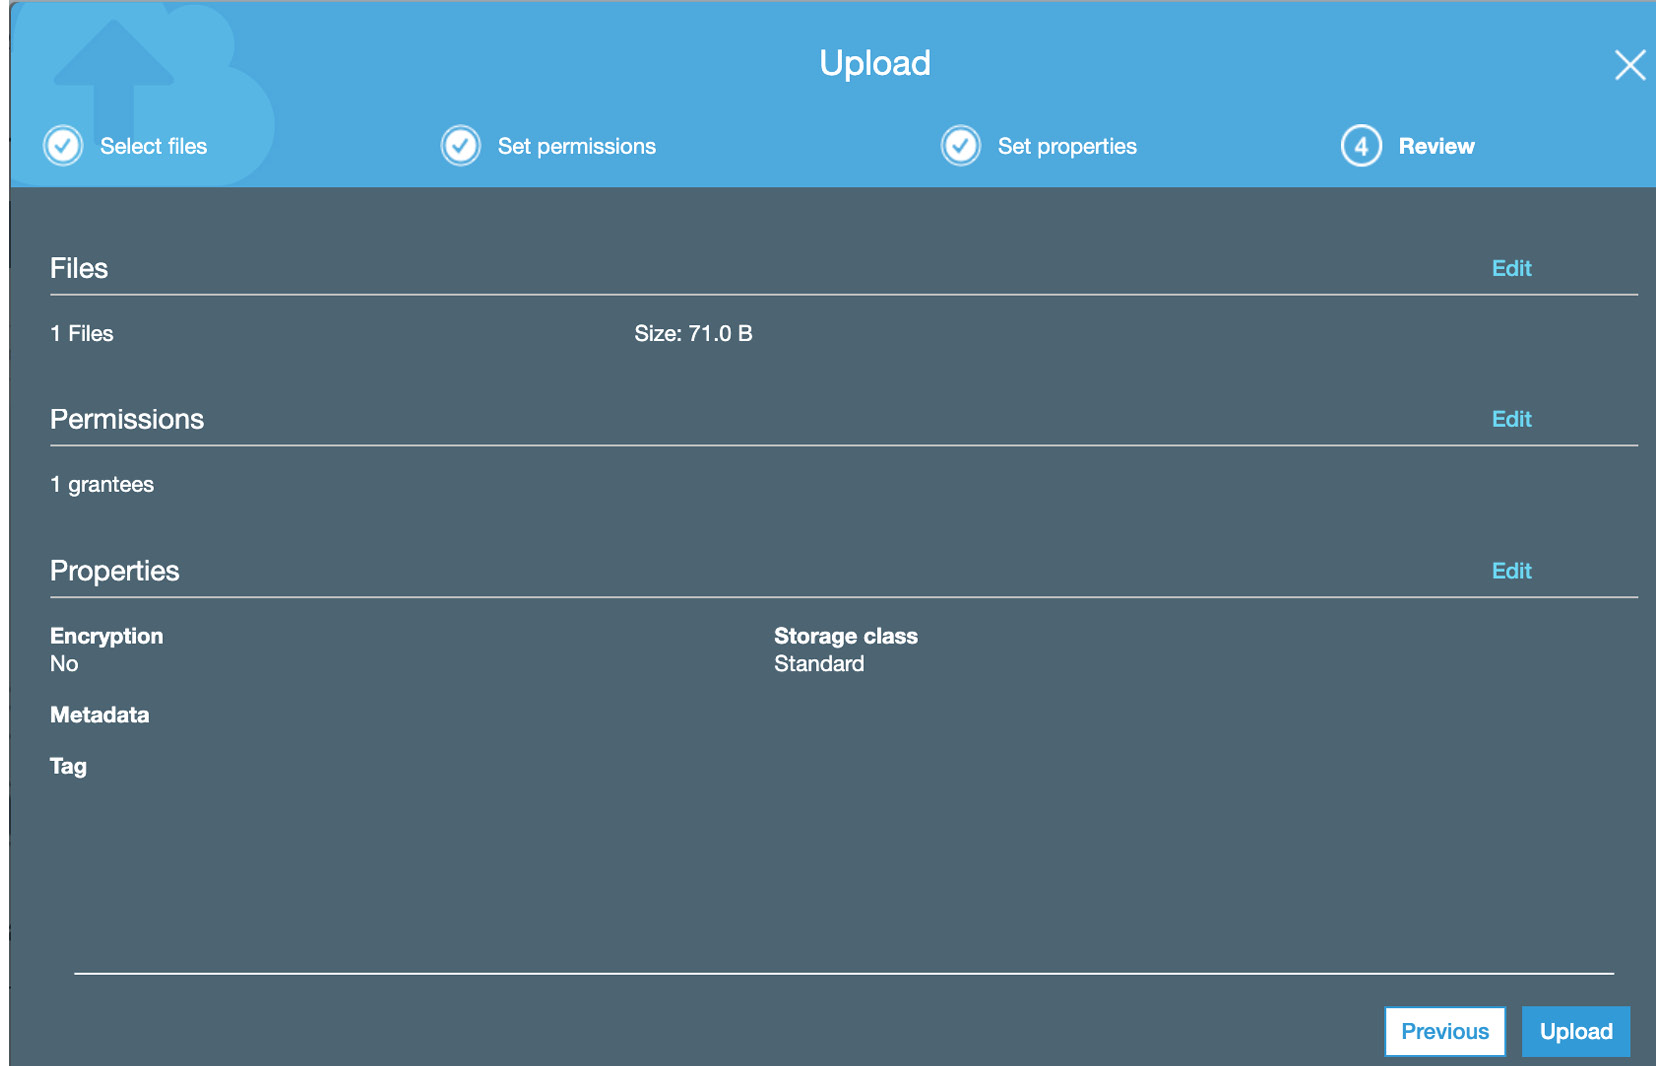
Figure 2.62: S3 file added to the bucket for the Lambda trigger test—Upload
- You will see the file in the file list:
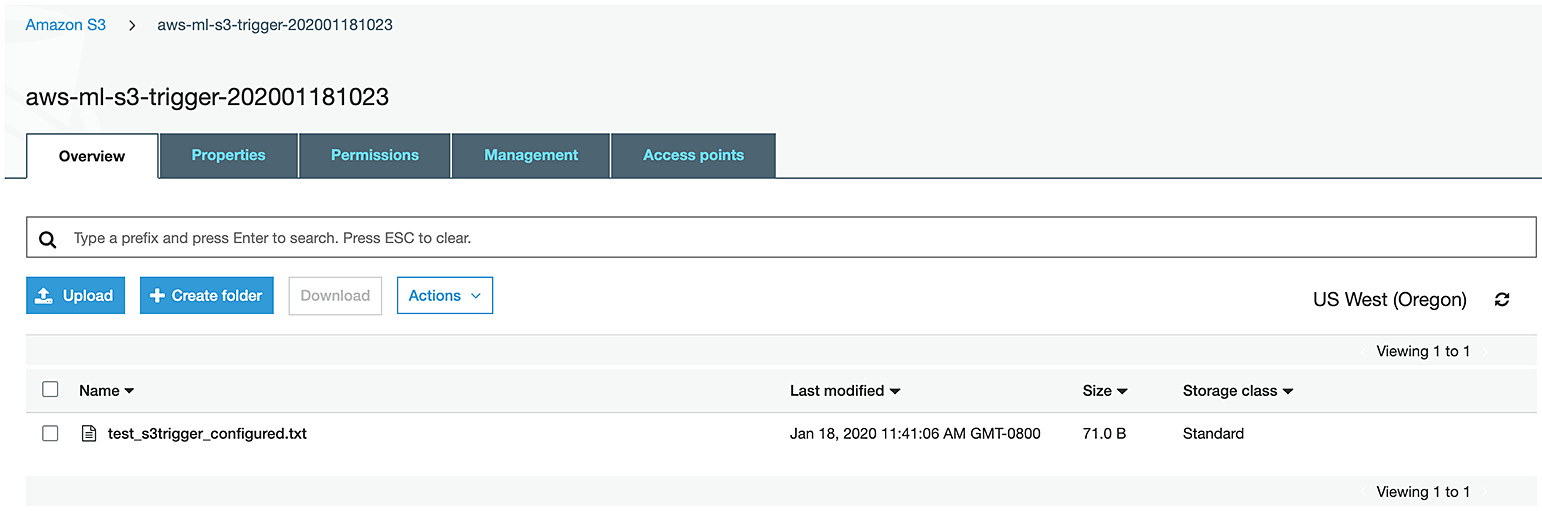
Figure 2.63: S3 file added to the bucket for the Lambda trigger test – file list
- Now let's see if our Lambda was triggered. Navigate back to the Lambda via Services>Compute>Lambda>Functions>s3_trigger. Click Monitoring:
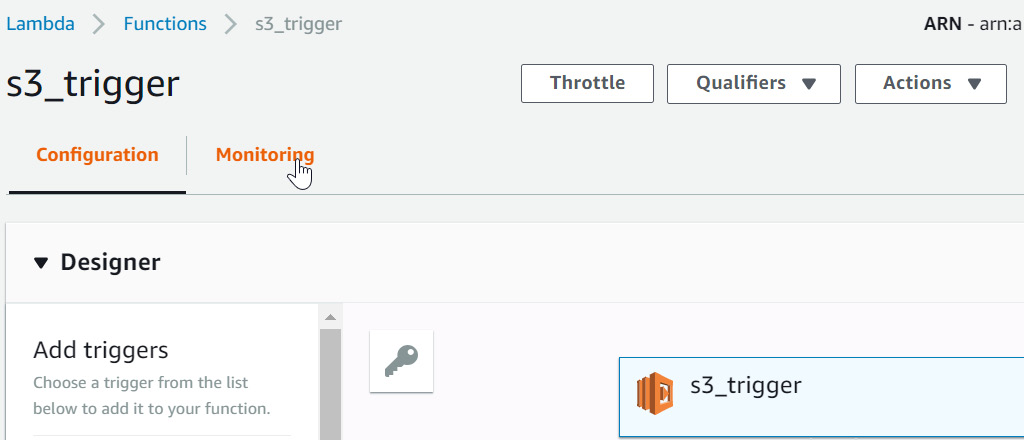
Figure 2.64: Select the Monitoring tab
- Click View logs in CloudWatch:
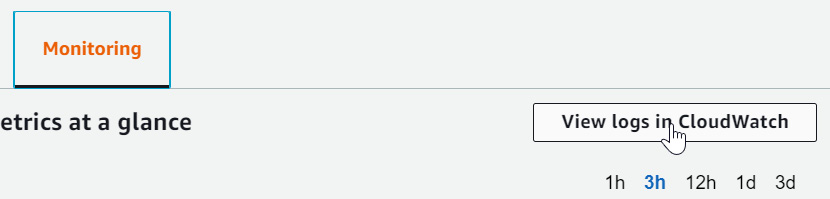
Figure 2.65: Select View logs in CloudWatch
- Click the log stream:
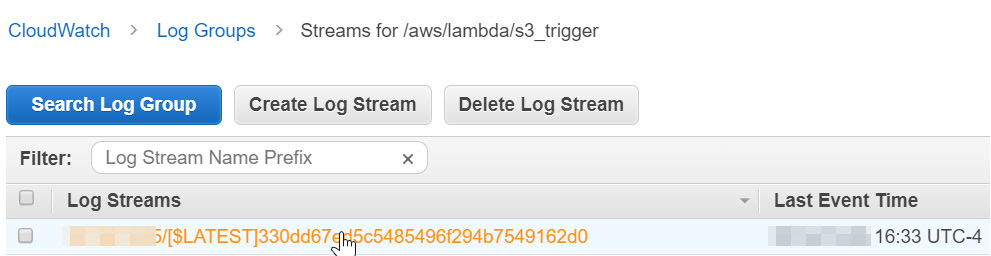
Figure 2.66: Select the log stream
- Select the radio button next to Text to expand the output:

Figure 2.67: Click the radio button to expand the Lambda output
The following is the first few lines of the output. To see the entire output, you need to scroll down to view all of the results (see the following). We will interpret the total output in the next step:

Figure 2.68: The top portion of the s3_trigger output
Note
If you encounter permission errors, check the permissions for s3TriggerRole from Services>Security, Identity, & Compliance-IAM-Roles. The policy list should look as follows. If one of them is missing, you can add them.
- Also, if you delete and recreate your Lambda, you can reuse the role—just select Use an existing role instead of Create a new role. It is always good to play around with the various configurations and understand how they all fit together:
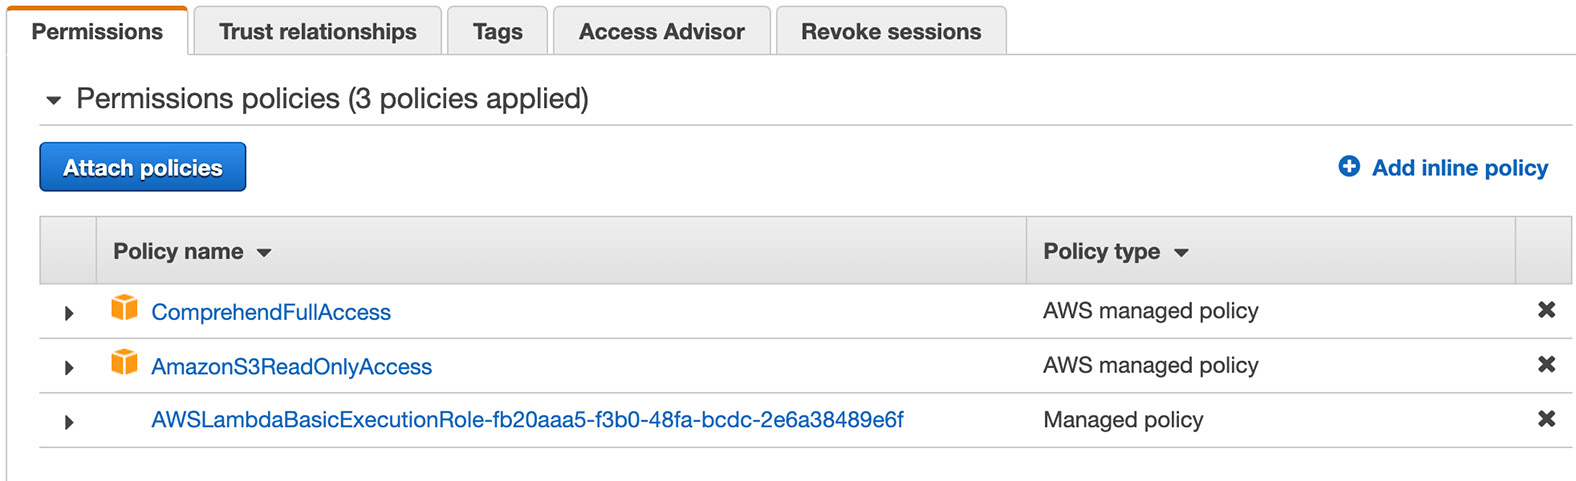
Figure 2.69: The policies for s3TriggerRole
- Now let's examine the results of our Lambda from AWS Comprehend. You might see slightly different confidence levels because Amazon trains its algorithms periodically.
Sentiment_response -> Classified as 51.0% likely to be neutral. This is a statement, so neutral is fine.
Sentiment_response:
{ {'Sentiment': 'NEUTRAL',
'SentimentScore': {'Positive': 0.21022377908229828,
'Negative': 0.27646979689598083,
'Neutral': 0.5132954716682434,
'Mixed': 1.0932244549621828e-05},
entity_response -> It did find the date and the quantity from the text
entity_response:
{ 'Entities': [{'Score': 0.9891313314437866,
'Type': 'DATE', 'Text': '1/20/2020 at 1:34 PM',
'BeginOffset': 76, 'EndOffset': 96},
{'Score': 0.9999986290931702, 'Type': 'QUANTITY',
'Text': '3 times', 'BeginOffset': 107,
'EndOffset': 114}],
key_phases_response -> It found the key phrases and the scores are close to 100% confidence
key_phases_response:
{'KeyPhrases': [{'Score': 0.9992266297340393,
'Text': 'a test file', 'BeginOffset': 8,
'EndOffset': 19},
{'Score': 0.9999999403953552,
'Text': 'the s3 trigger', 'BeginOffset': 30,
'EndOffset': 44},
{'Score': 0.9999963045120239,
'Text': '1/20/2020', 'BeginOffset': 76,
'EndOffset': 85},
{'Score': 0.9960731863975525,
'Text': '1:34 PM', 'BeginOffset': 89,
'EndOffset': 96},
{'Score': 0.9999966621398926, 'Text': '3 times',
'BeginOffset': 107, 'EndOffset': 114}],
3. Topic Modeling and Theme Extraction
Activity 3.01: Performing Topic Modeling on a Set of Documents with Unknown Topics
Solution:
- For this activity, we are going to use 1,000 movie review files. Navigate to the following link (or to your local directory where you have downloaded the GitHub files) to obtain the text data files that contain movie review comments: https://packt.live/3gISDZL. It is definitely better to download the GitHub repository rather than download 1,000 files by hand.
- Navigate to the S3 dashboard at https://s3.console.aws.amazon.com/s3/home.
- Click the bucket that you created earlier (in my case, it is "aws-ml-input-for-topic-modeling-20200301"):

Figure 3.50: The S3 home screen for 'input-for-topic-modeling'
- Click Create folder:
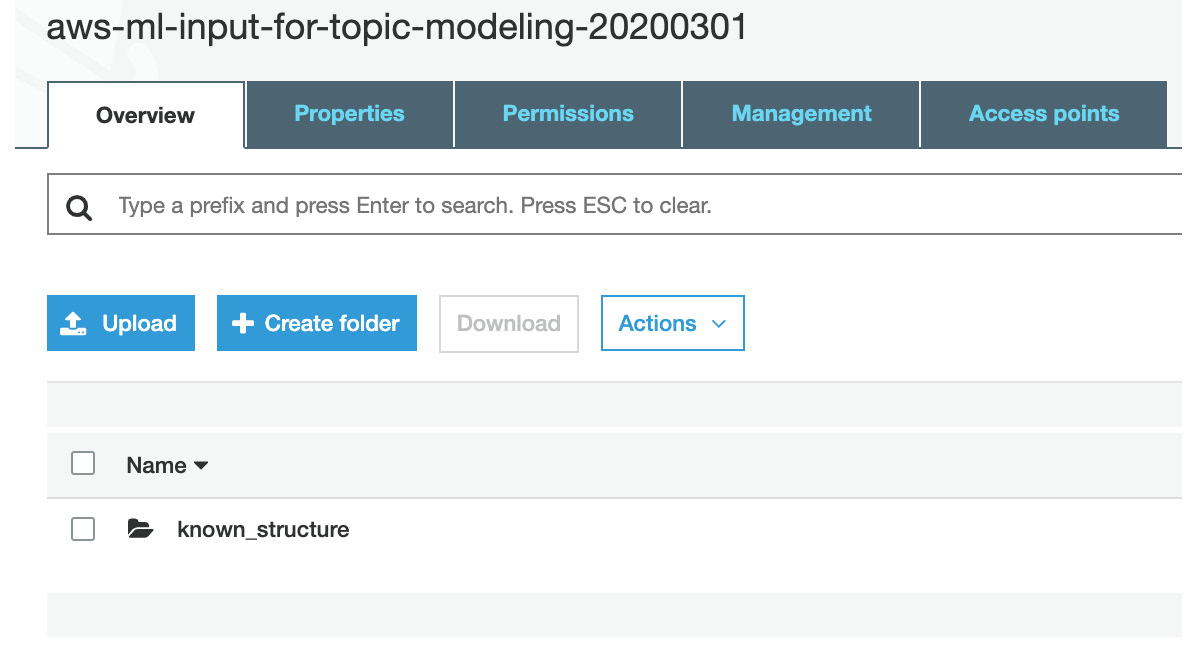
Figure 3.51: Clicking on Create folder
- Type movie_review_files and click Save:
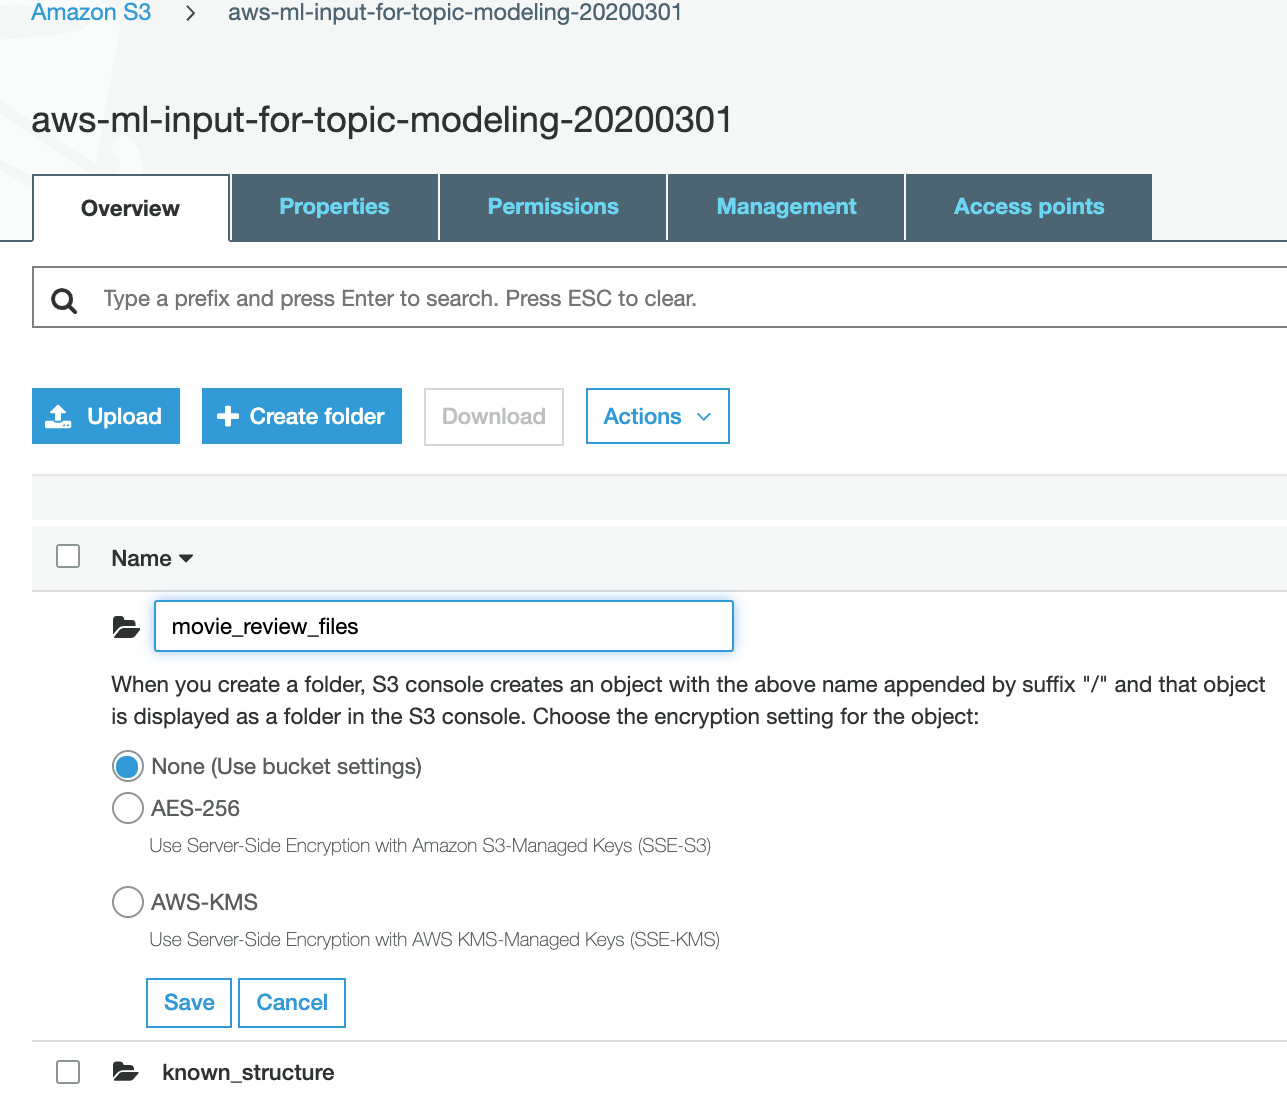
Figure 3.52: Clicking Save
Note
For this step, you may either follow along with the exercise and type in the code in a Jupyter notebook or obtain the notebook file (text_files_to_s3.ipynb) from the source code folder for this chapter: https://packt.live/2W077MR. Copy the file and paste it into the editor.
- First, you will import the os and boto3 packages using the following command:
import os
import boto3
- Create an S3 client:
# Create an S3 client
s3 = boto3.client('s3')
- Next, type in your unique bucket name in the highlighted space:
BUCKET_NAME = '<insert a unique bucket name>'
BUCKET_FOLDER = 'movie_review_files/'
- Next, get the working directory of the local path to the text files:
LOCAL_PATH = os.getcwd() +'\local_folder_movie_review_files'
Note
The os.getcwd() command will get the current path. Ensure that the movie review files are in a folder located at the same path. Based on the folder name, you have to change the highlighted value. Alternatively, you can assign a custom path to LOCAL_PATH as well.
- Create a list of all the text files:
text_files_list = [f for f in os.listdir(LOCAL_PATH)
if f.endswith('.txt')]
- Iterate on all files, and upload each to s3:
file_count = 0
for filename in text_files_list:
# print(filename)
file_count += 1
s3.upload_file(LOCAL_PATH + filename, BUCKET_NAME,
BUCKET_FOLDER + filename)
print(F"Completed uploading {file_count} files.")
- Press Shift + Enter to run the cell.
- This will take a few minutes. The result is 1,000 text files uploaded to the S3 movie_review_files folder:

Figure 3.53: movie_review_files uploaded to S3
- Refer to the following figure for the top few lines of the S3 output:
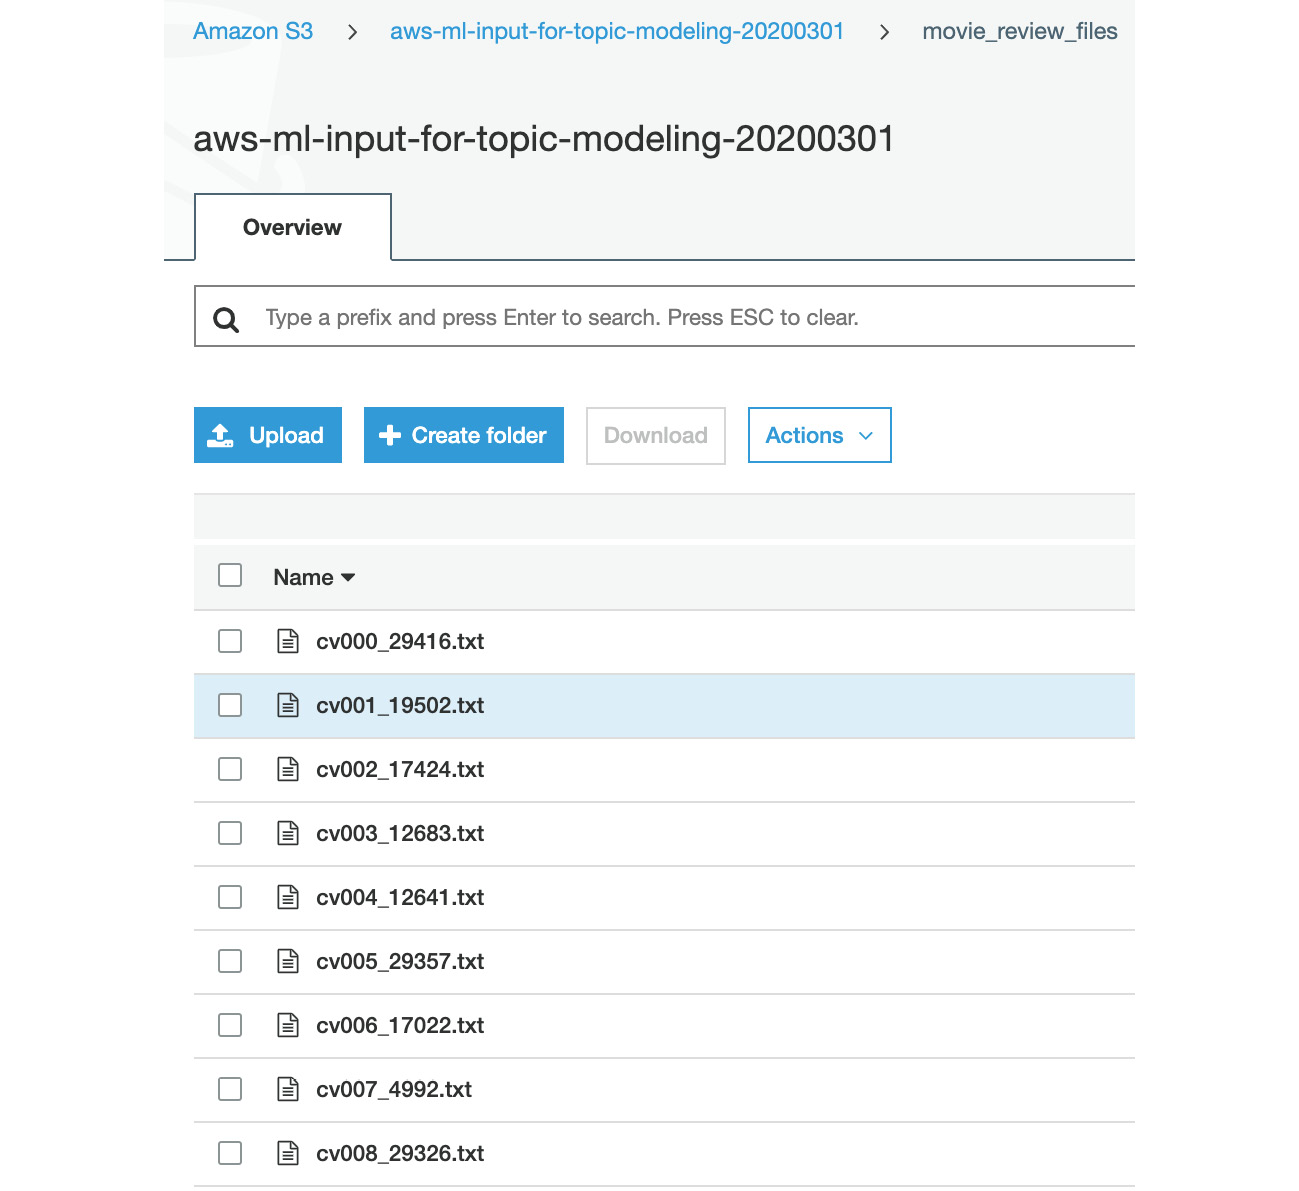
Figure 3.54: movie_review_files in S3
- Next, navigate to AWS Comprehend via the Comprehend link: https://aws.amazon.com/comprehend/. You can also get there from https://aws.amazon.com/, then clicking My account and selecting AWS Management Console. In the console, select services and then click Amazon Comprehend in the machine learning category.
- Then, click Launch Amazon Comprehend:
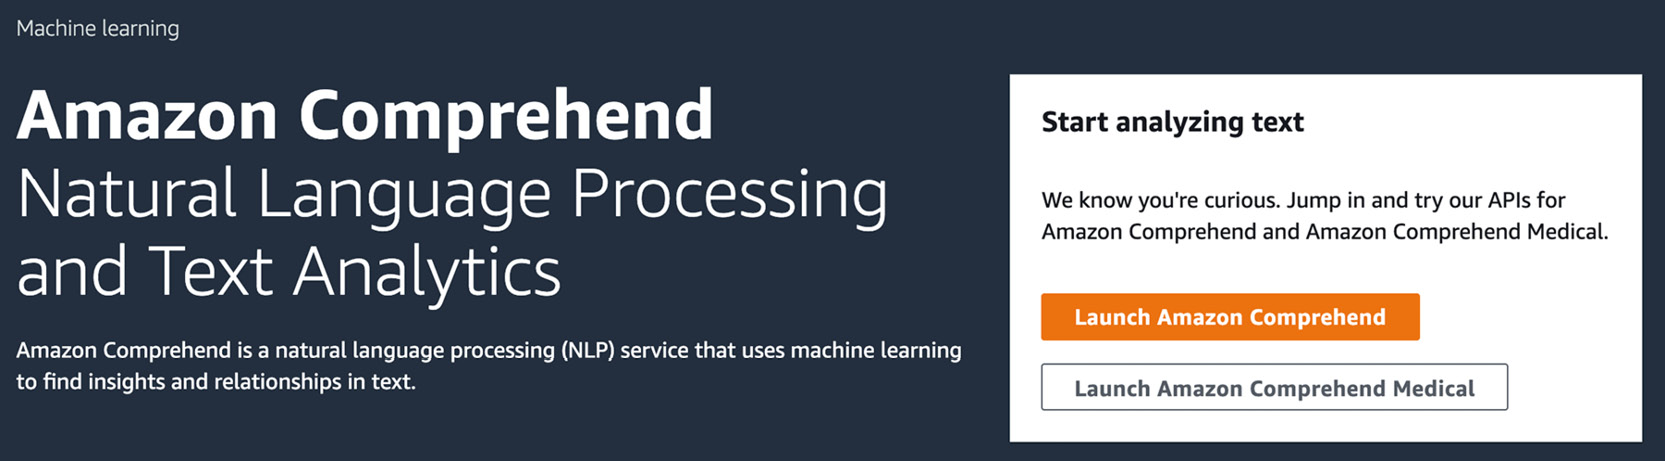
Figure 3.55: The Amazon Comprehend home screen
- Now, click Analysis jobs, the first item on the left-hand toolbar:
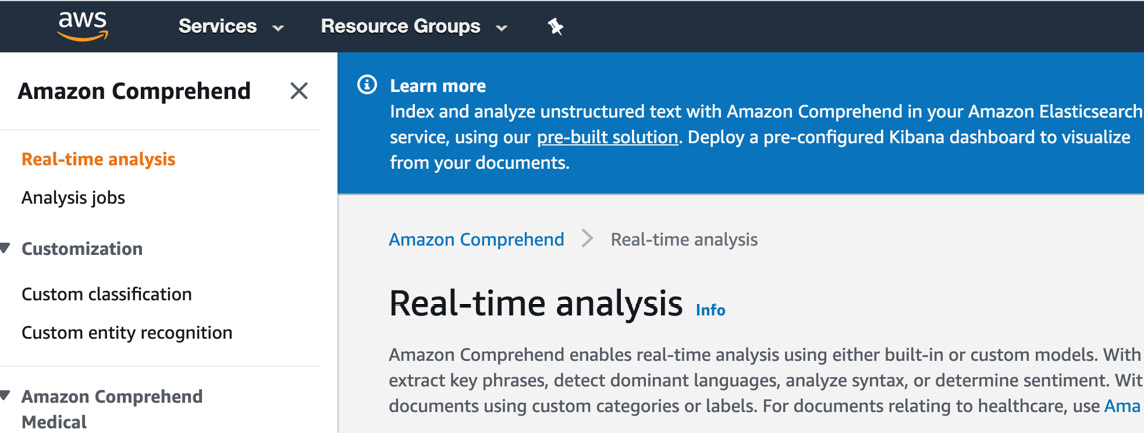
Figure 3.56: Selecting Analysis jobs
- Now, click Create job:
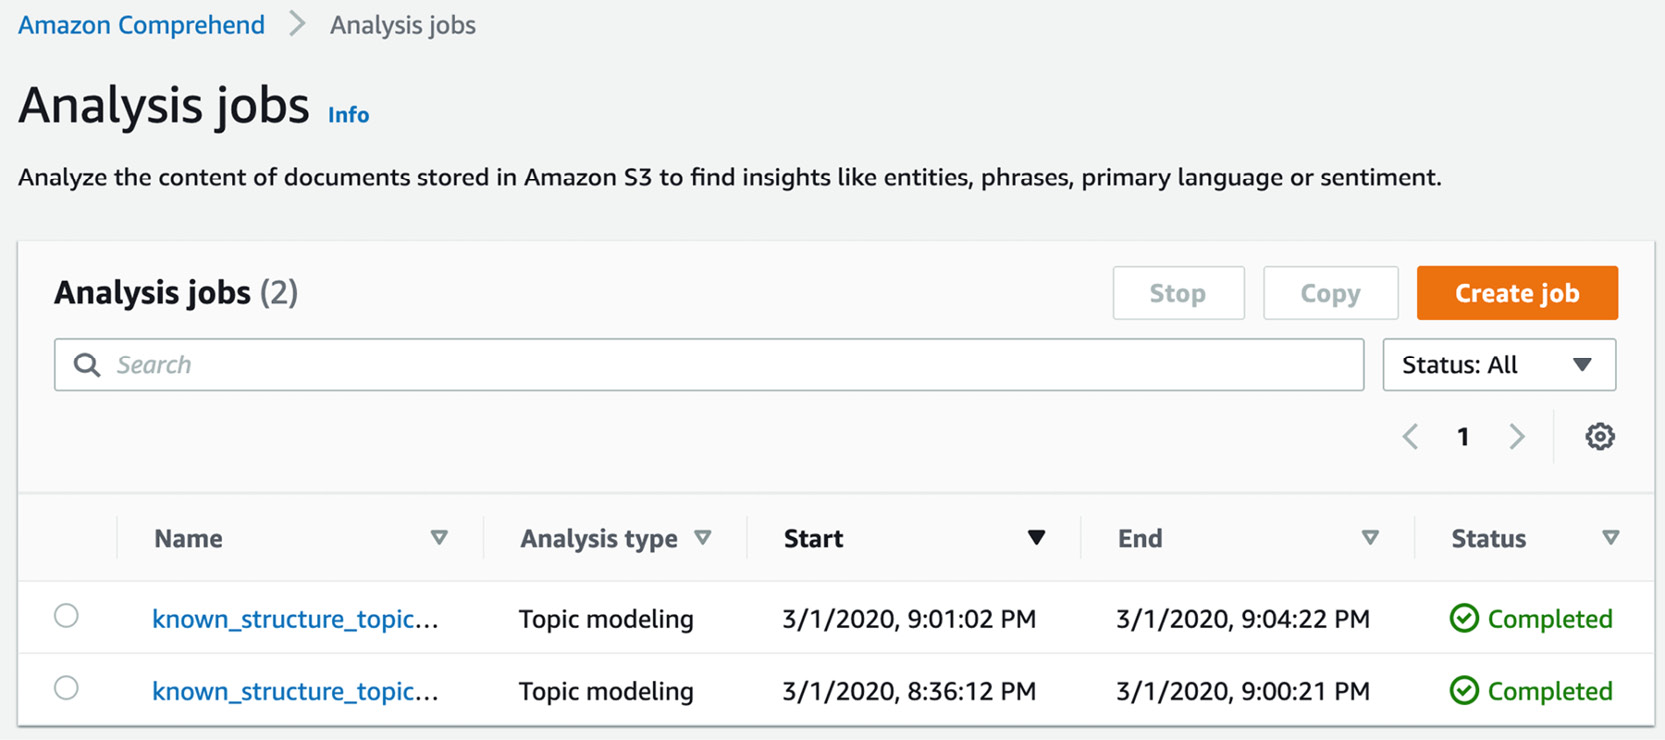
Figure 3.57: Clicking Create job
- Now, type unknown_topic_structure_job in the Name input field:
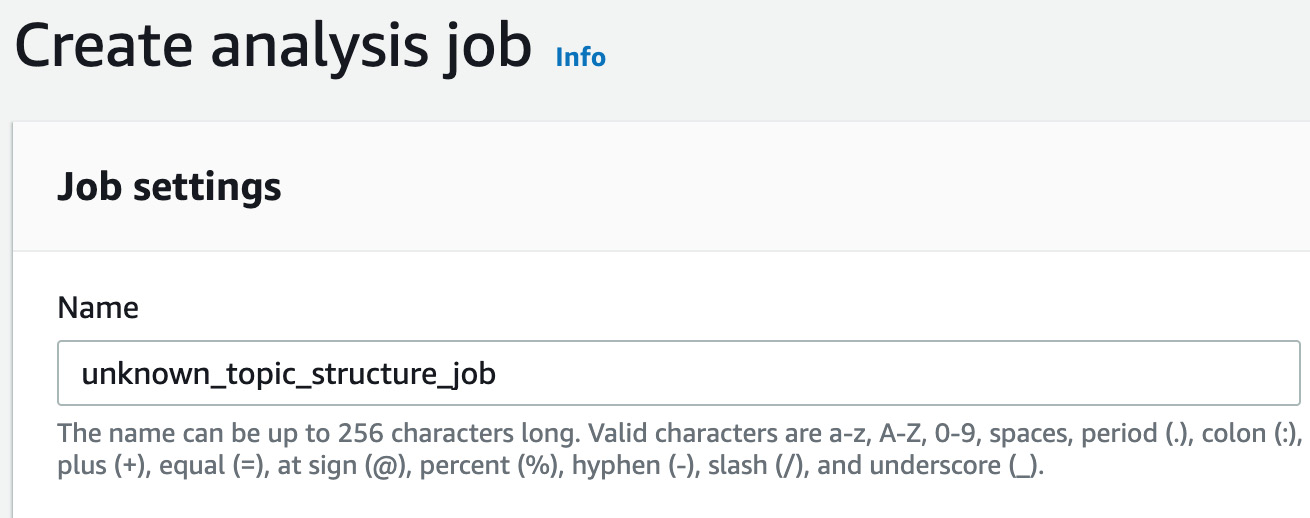
Figure 3.58: Entering unknown_topic_structure_job
- Select Topic modeling in the analysis type drop-down box:
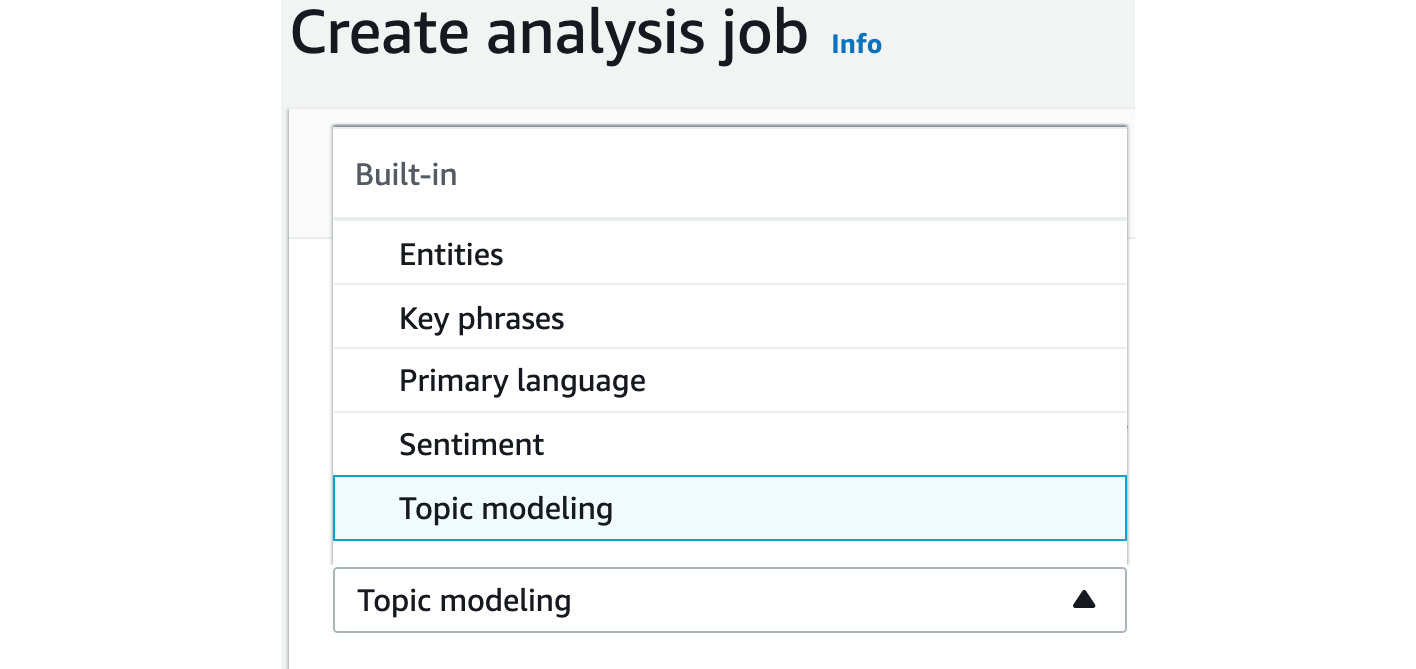
Figure 3.59: Choosing the Topic Modeling analysis type
- Now, scroll down to the Input data section and click Browse S3:
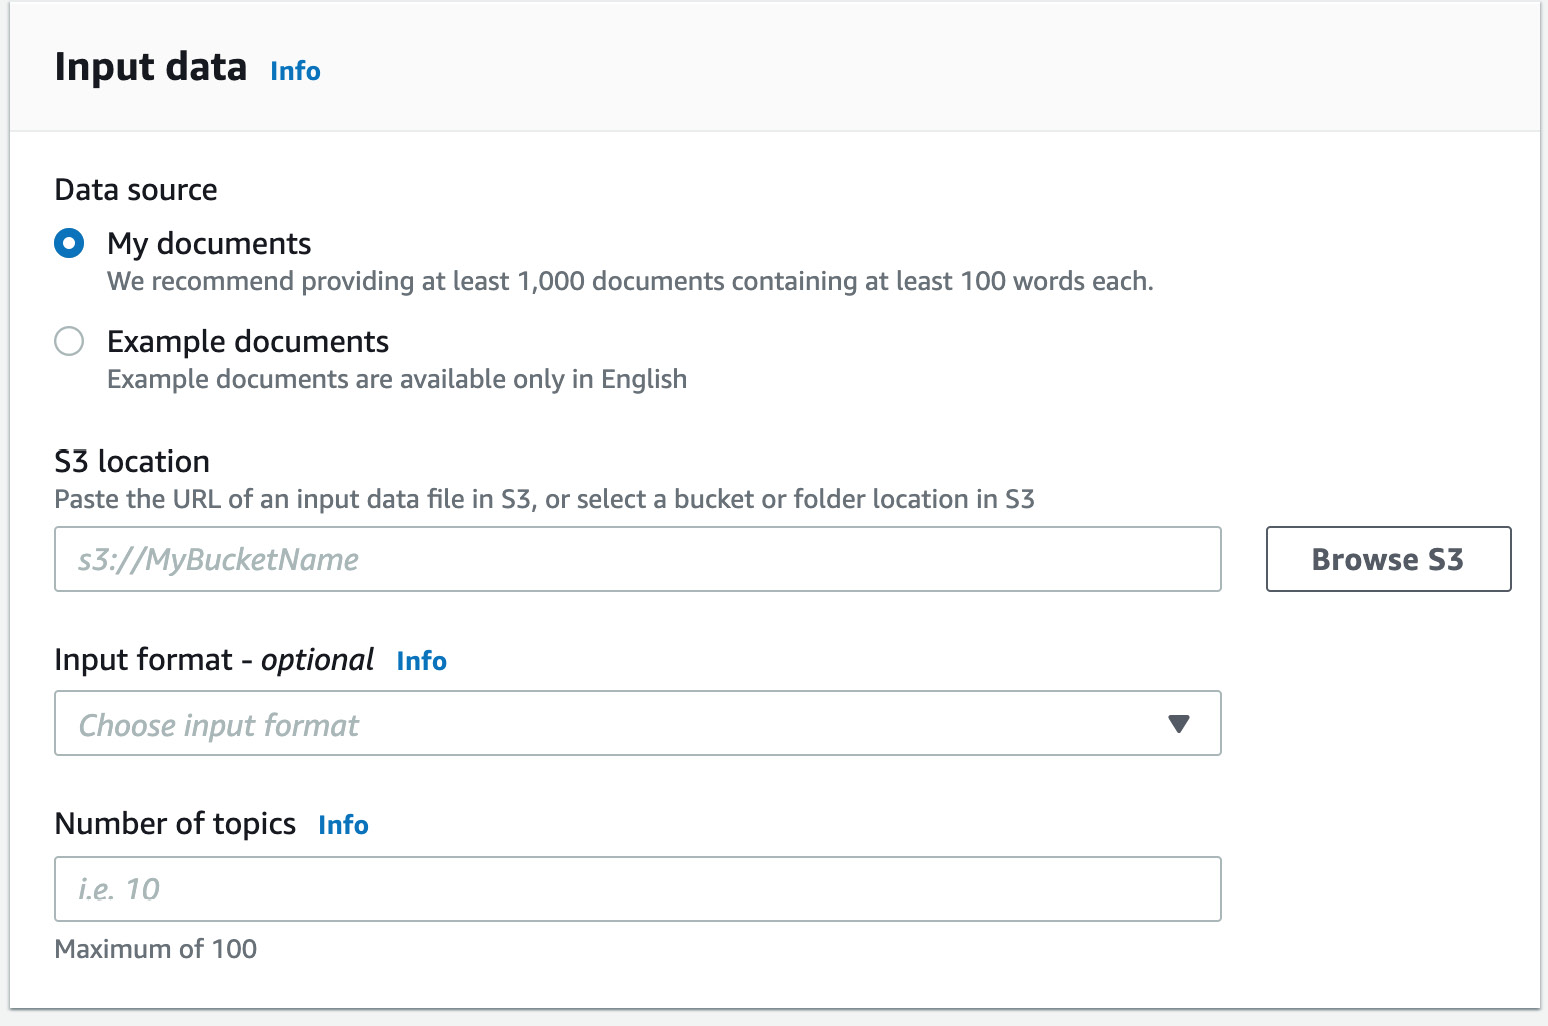
Figure 3.60: Selecting the Browse S3 button
- Click the radio button next to the bucket you selected to input files for Topic Modeling (aws-ml-input-for-topic-modeling-20200301) and then click the bucket name:
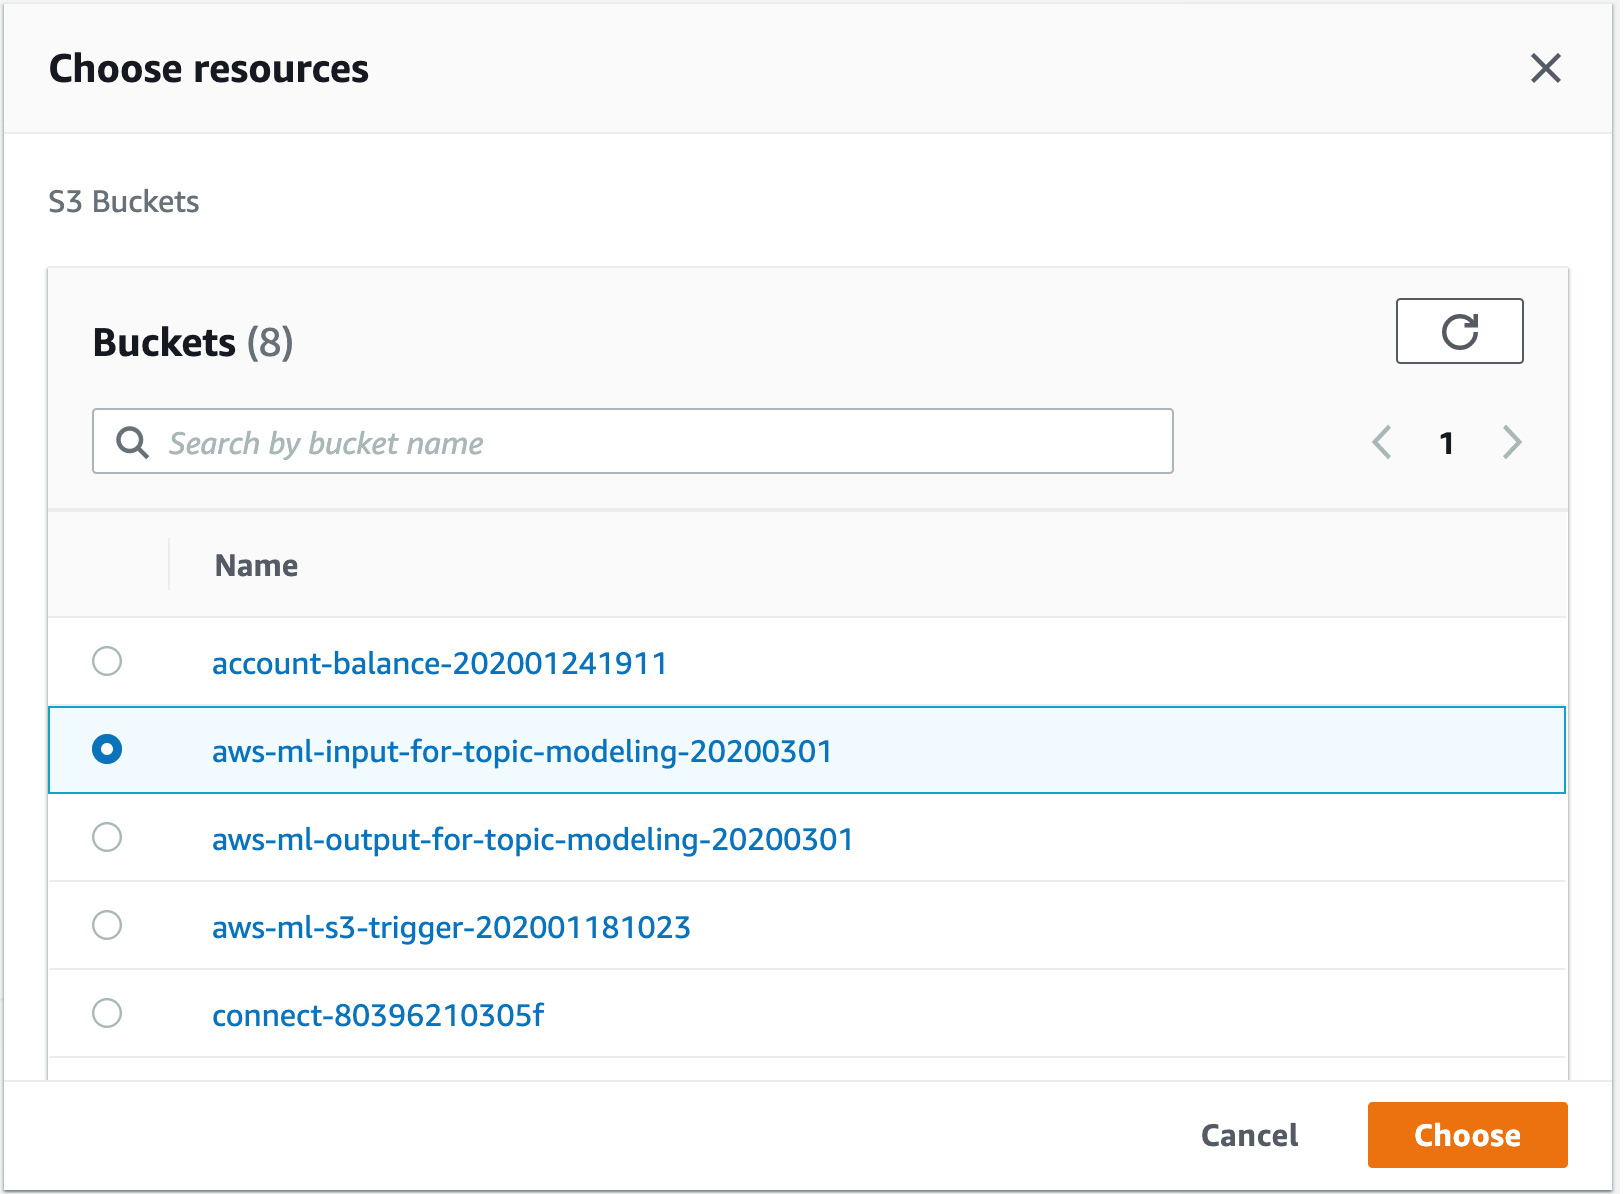
Figure 3.61: Expanding the S3 bucket sub-folders
- Click the radio button next to the "movie_review_files" folder:

Figure 3.62: Selecting the movie_review_files folder
- Now, click the Choose button.
The following figure shows the S3 location for the input data selected:

Figure 3.63: S3 location for the input data selected
- Select One document per file from the Input format dropdown:
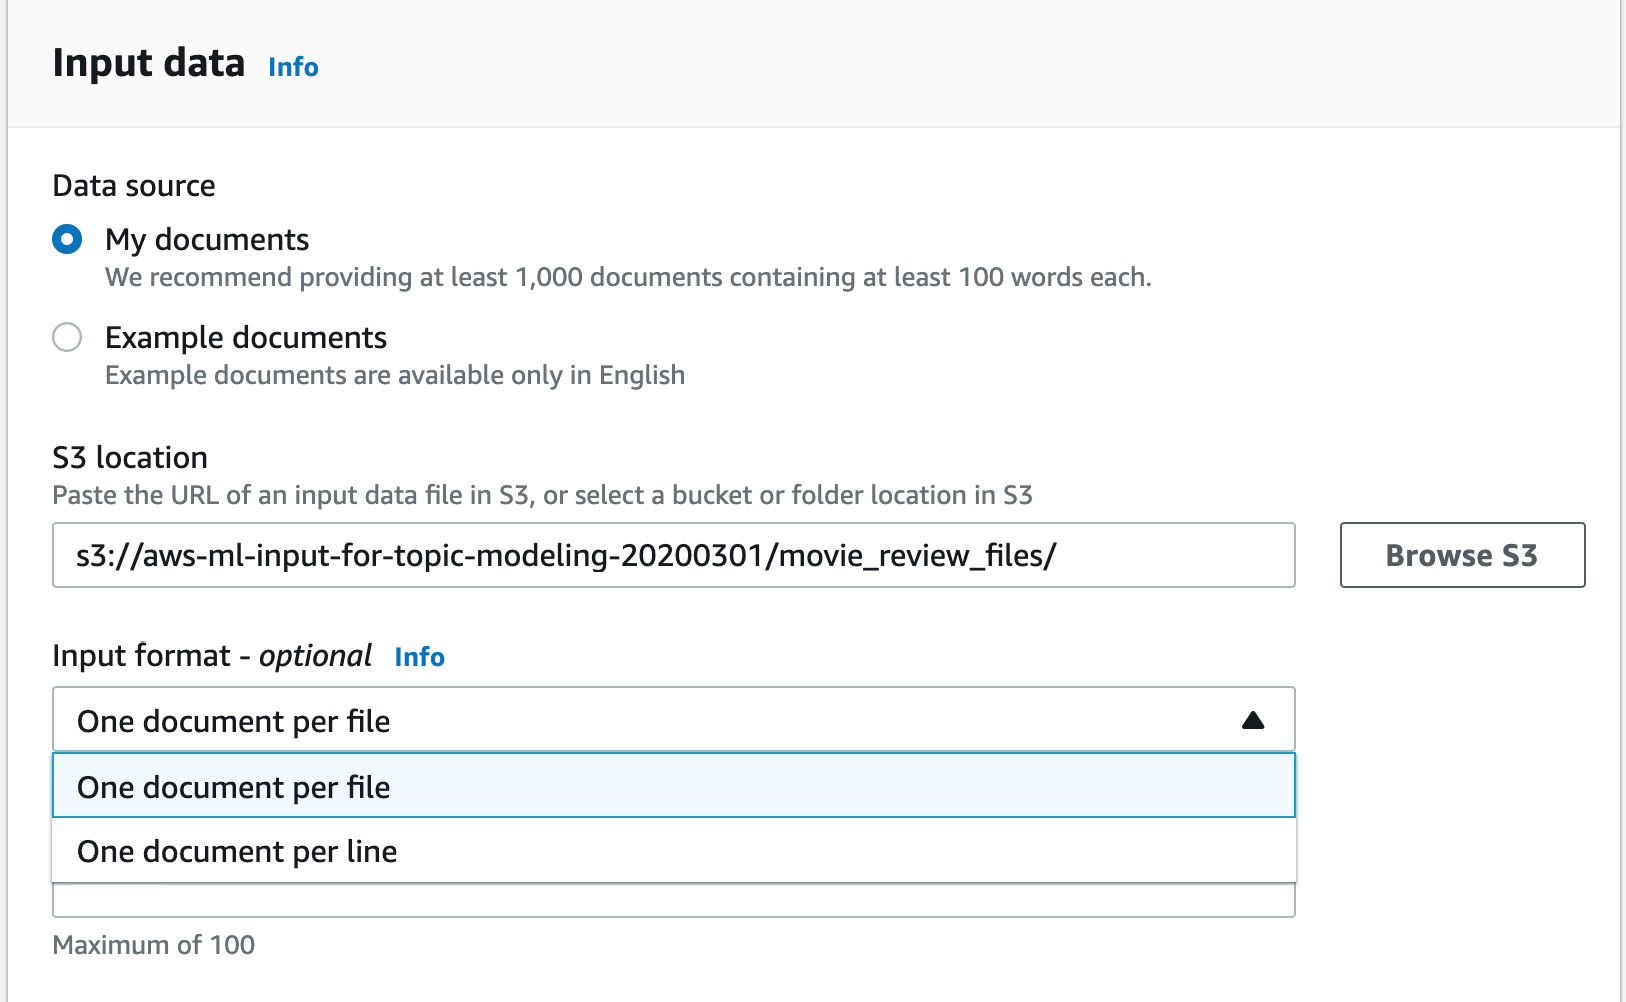
Figure 3.64: Selecting the One document per file option
- Next, enter 40 in the Number of topics input field:
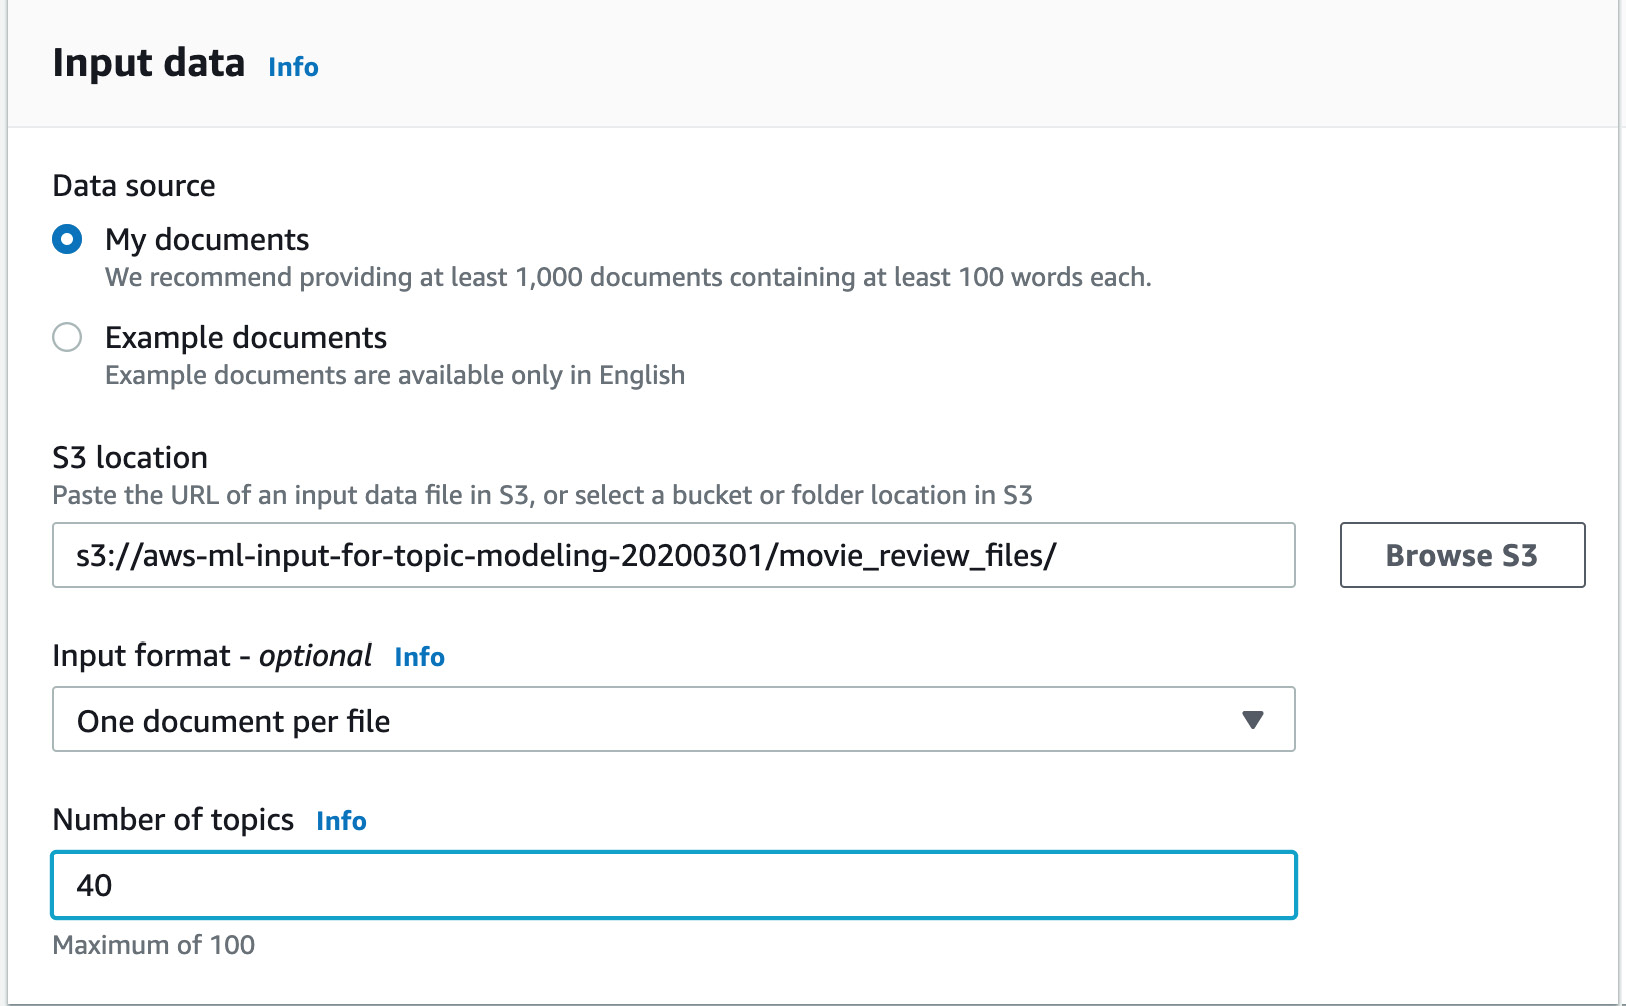
Figure 3.65: Entering 40 topics
- Scroll down to choose the output location, and then click Browse S3:
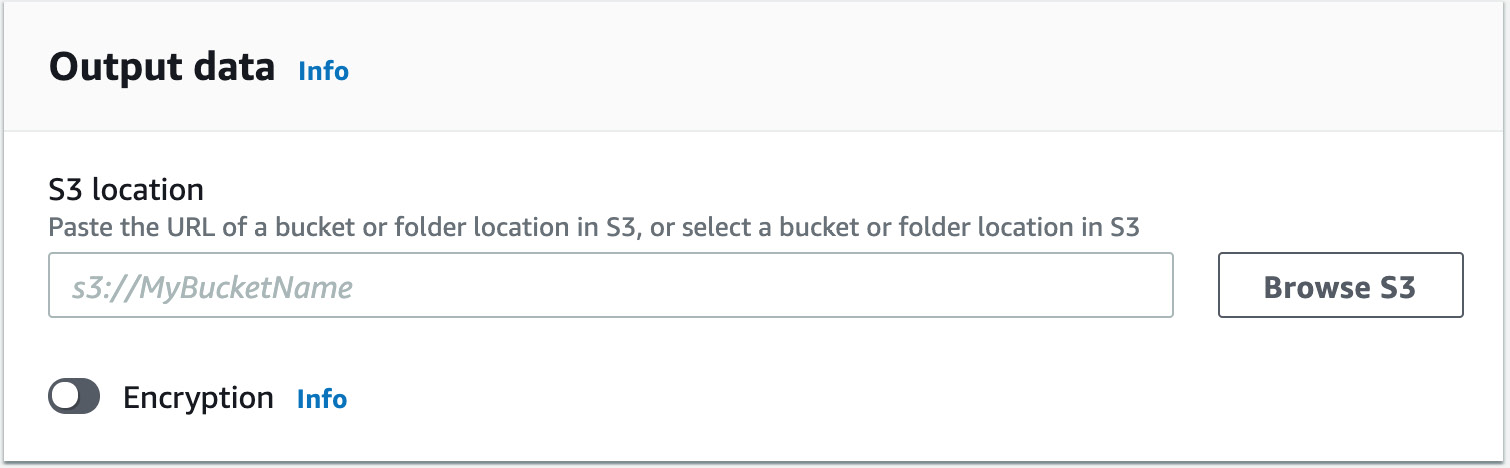
Figure 3.66: Clicking Browse S3
- Select the output bucket you uniquely named for the Topic Modeling output and click on Choose:
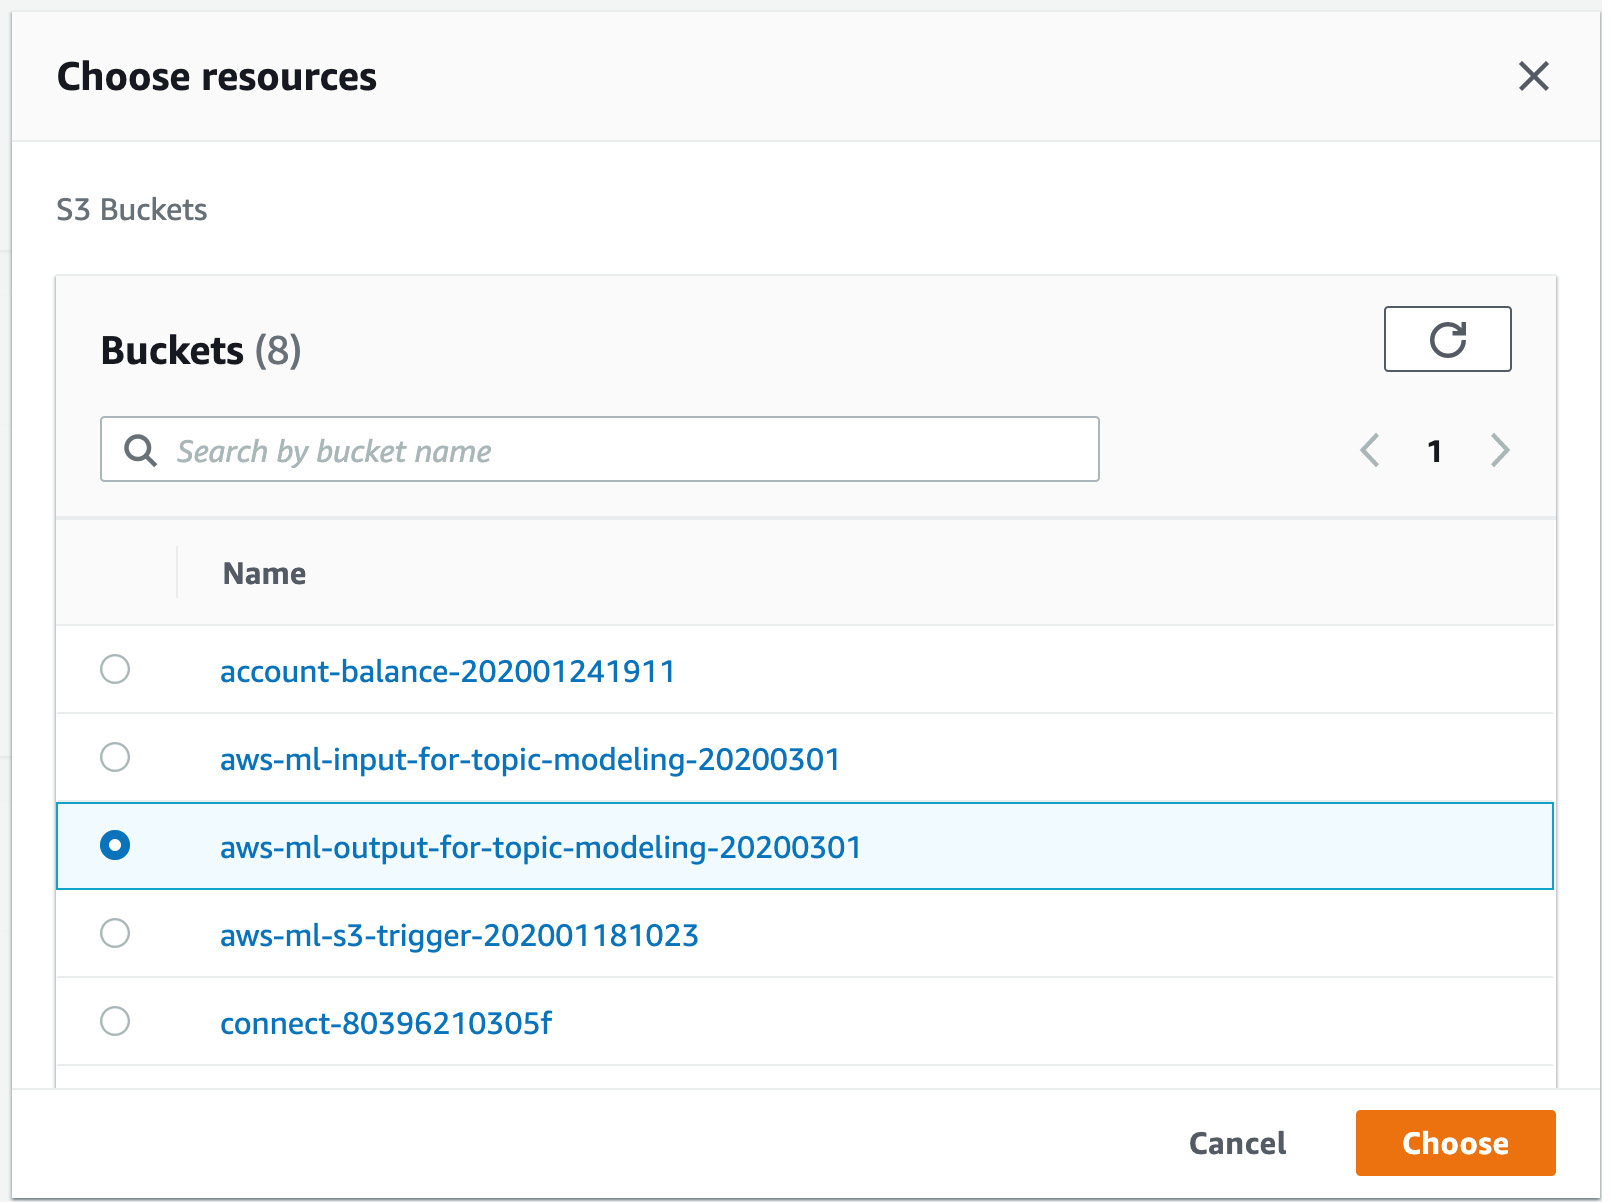
Figure 3.67: Selecting the S3 bucket for the Topic Modeling output
- Scroll down to Access Permissions and select Use an existing IAM role, as shown:

Figure 3.68: Selecting Use an existing IAM role in Access permissions
- In the Role Name dropdown, select AmazonComprehendServiceRole-myTopicModelingRole:
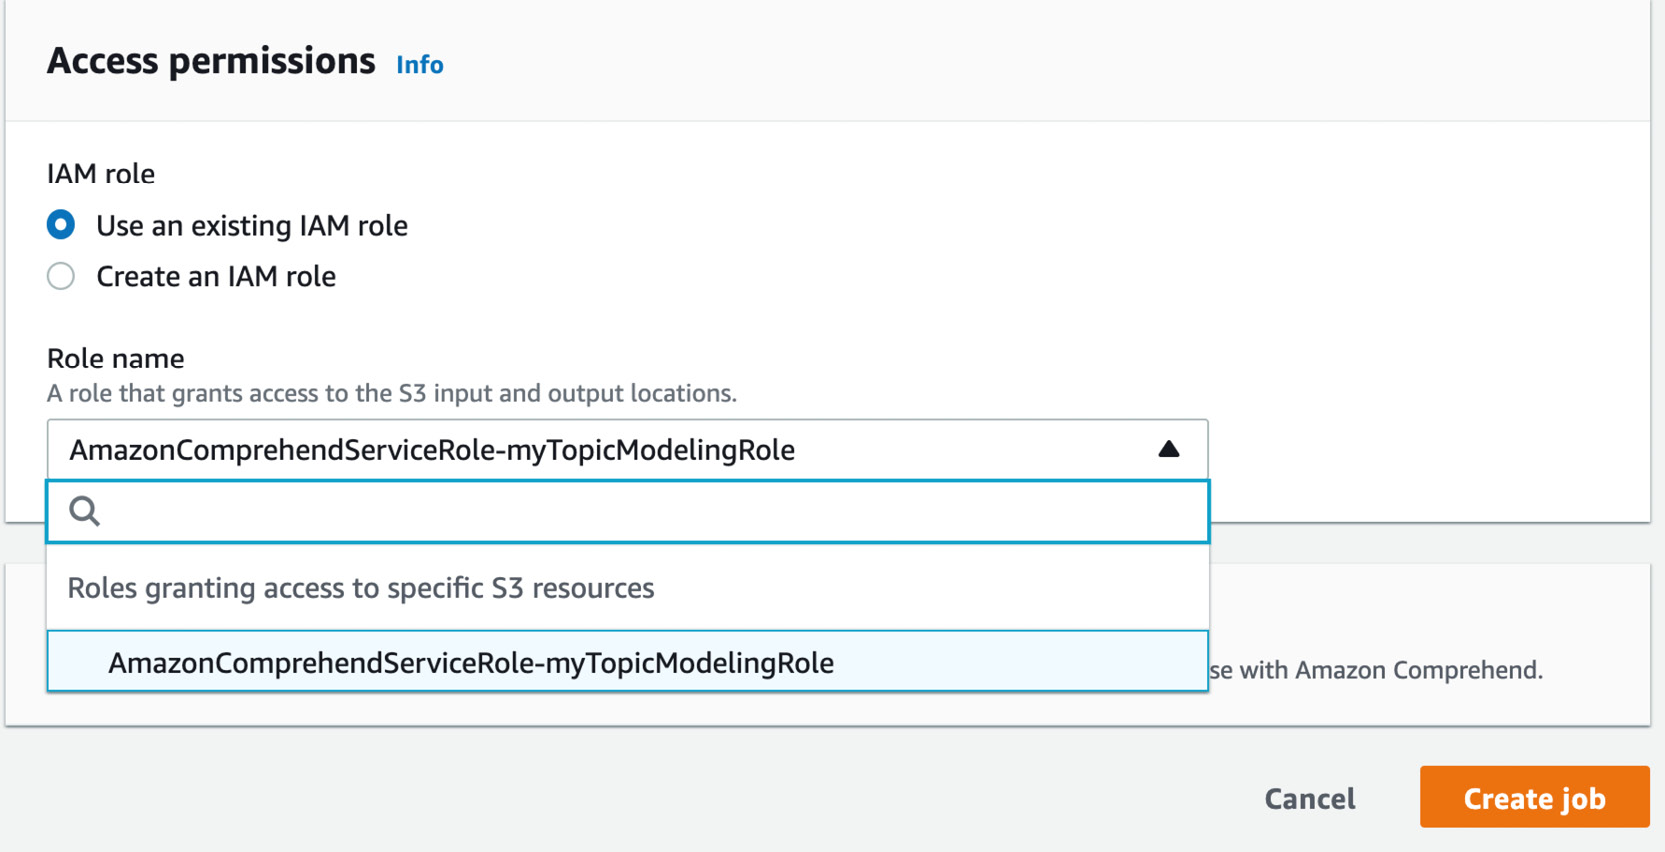
Figure 3.69: Selecting an existing IAM role
- The final screen should look like the following:
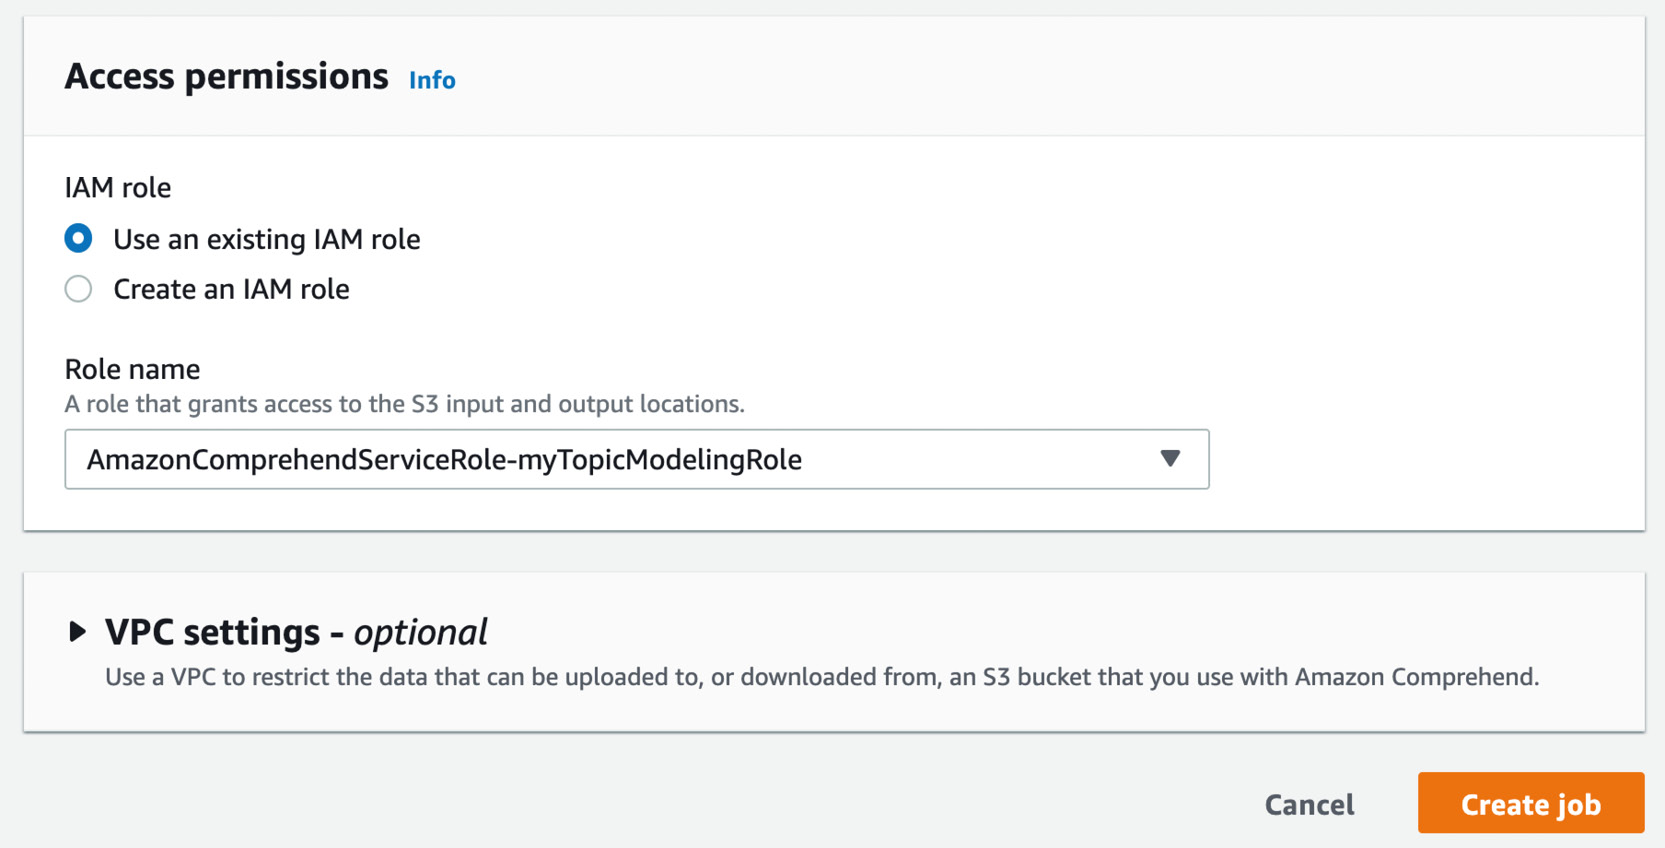
Figure 3.70: Selecting an existing IAM role
- Click the Create job button. The Topic Modeling job status will first display Submitted:
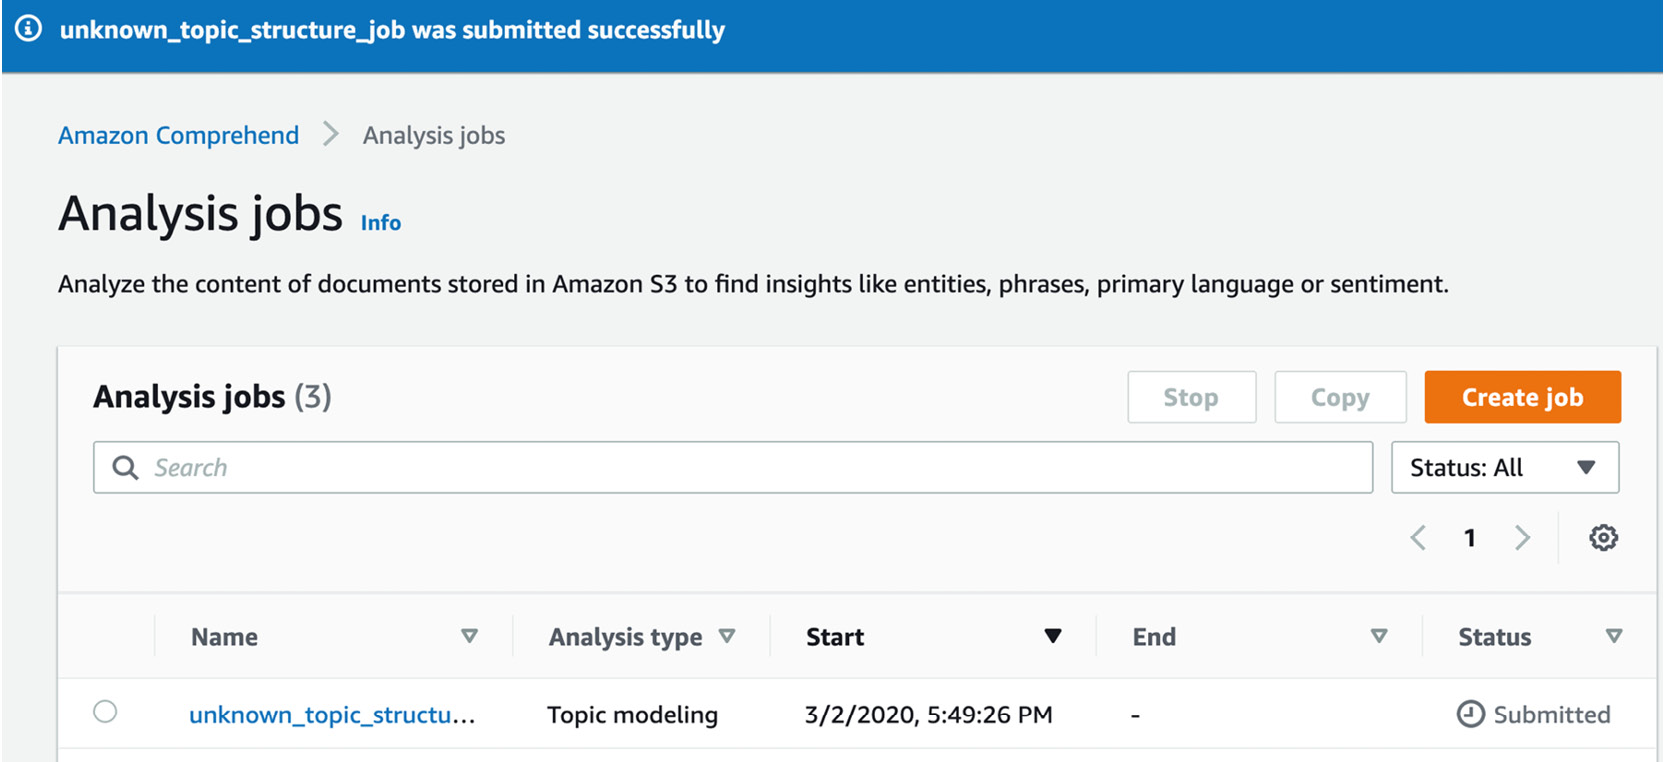
Figure 3.71: Status as Submitted
- The Topic Modeling job status will next display In progress. The Topic Modeling job takes about 20 minutes:

Figure 3.72: Status as In progress
- When the status changes to Completed, click the unknown_topic_structure_job link:
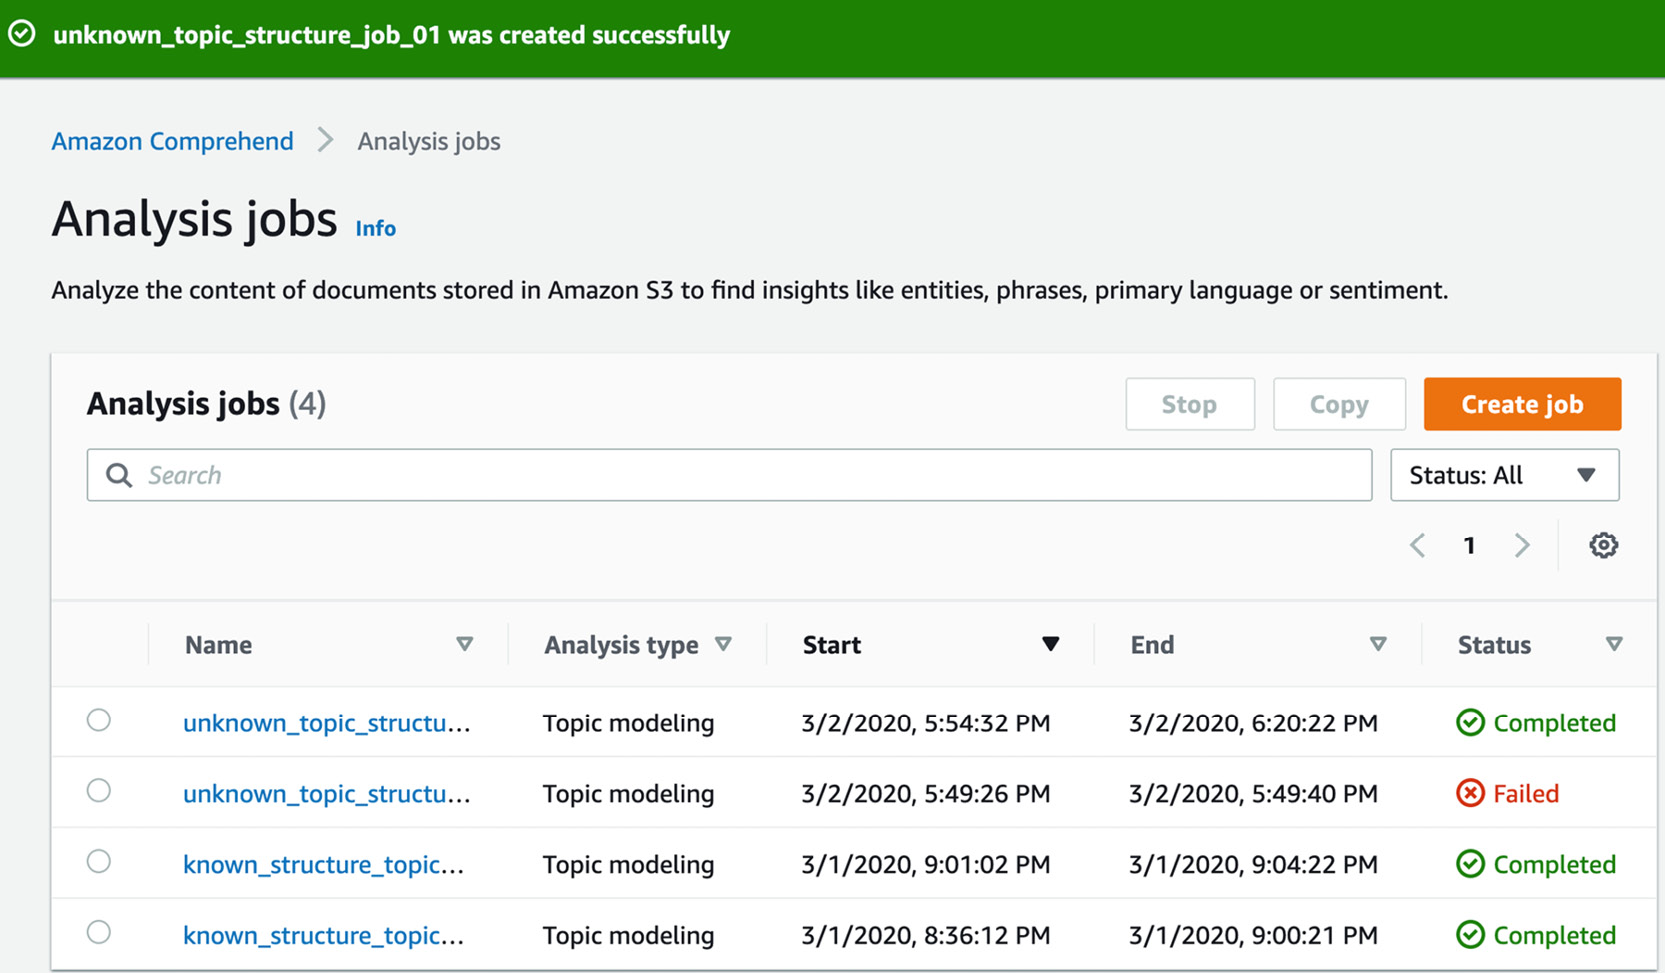
Figure 3.73: Selecting the hyperlinked Topic Modeling link
Note
As you can see, we didn't get it right the first time and the status showed Failed. It might take a few attempts for you. If a job fails, click Copy (the button to the left of Create job) and then correct the errors. As you can't have duplicate jobs, a good process would be to append the job name with a sequence number, for example, unknown_topic_structure_job_01.
- Scroll down and click the Topic Modeling output hyperlink (yours will display a different unique Topic Modeling job alphanumeric character string):
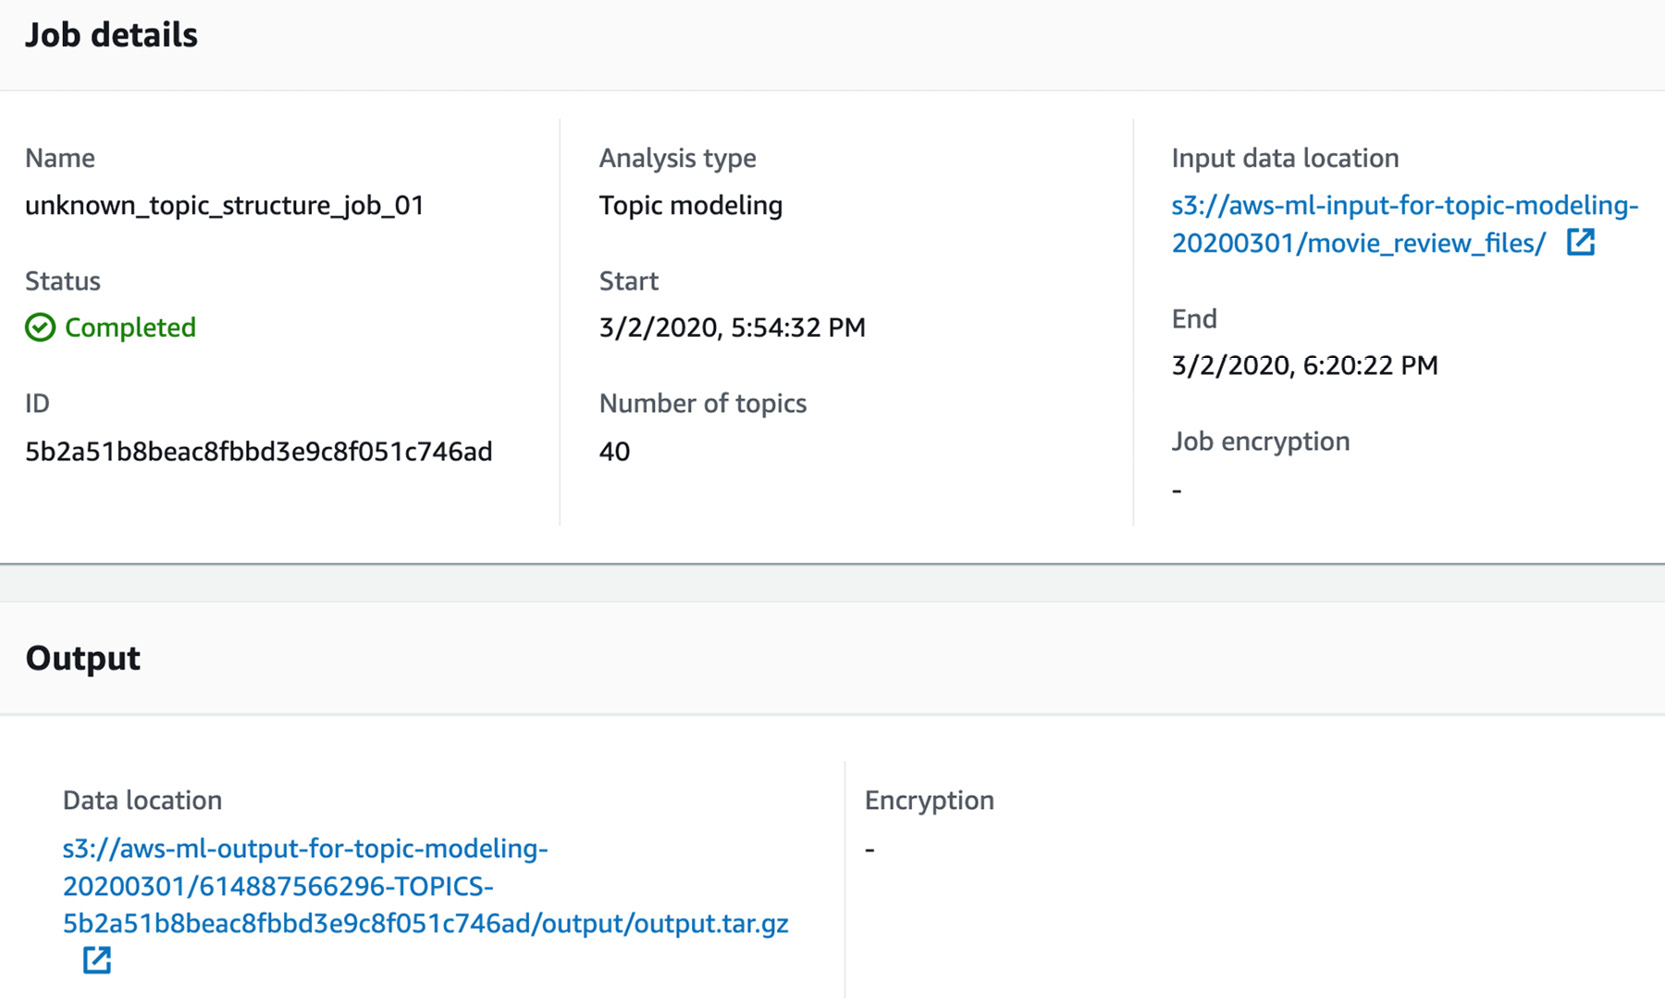
Figure 3.74: Clicking the Topic Modeling output S3 location
- You will be directed to the actual file in the S3 output folder for the Topic Modeling job. Click Download:
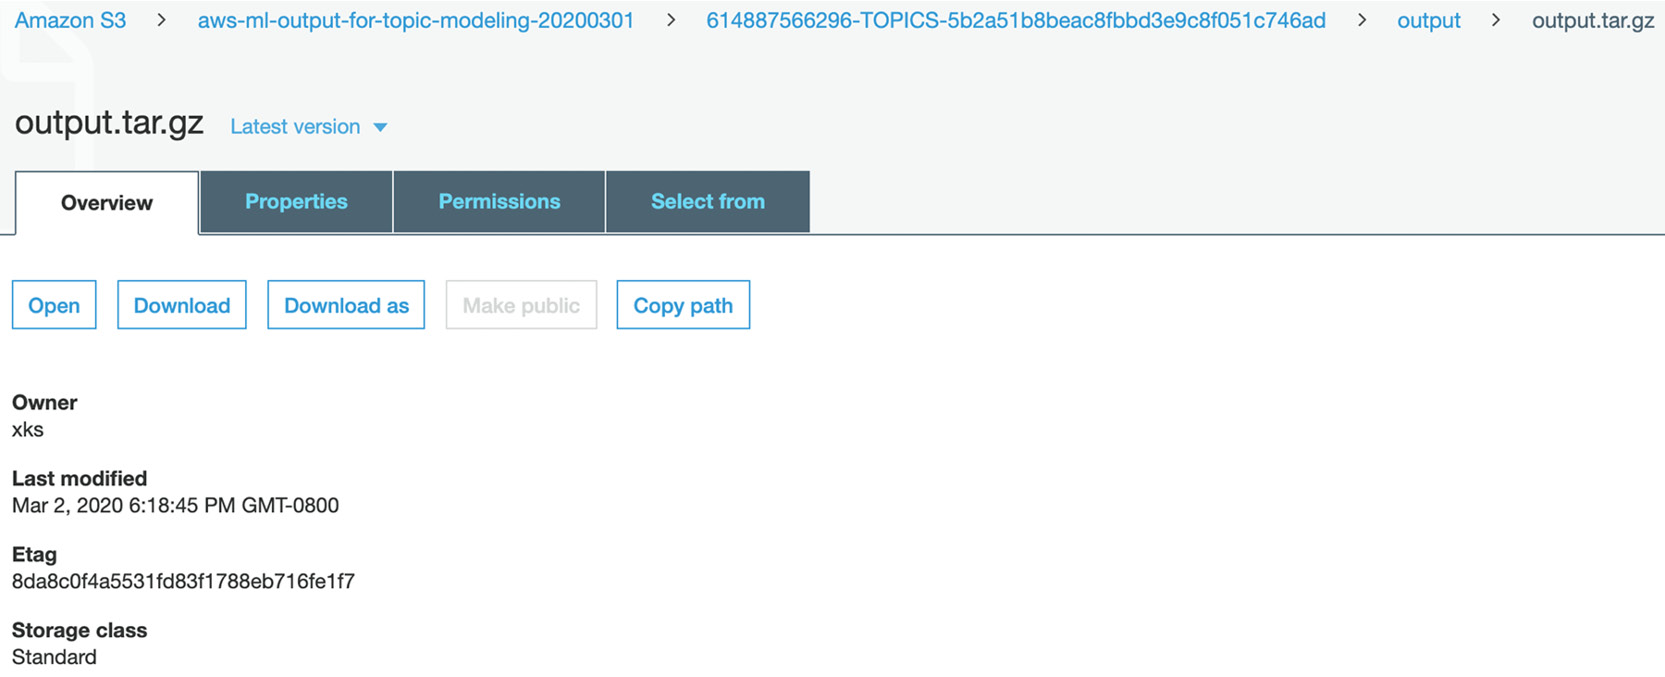
Figure 3.75: Clicking Download on the output file
- Save the file to a local directory; usually, the Downloads folder or the desktop is fine:
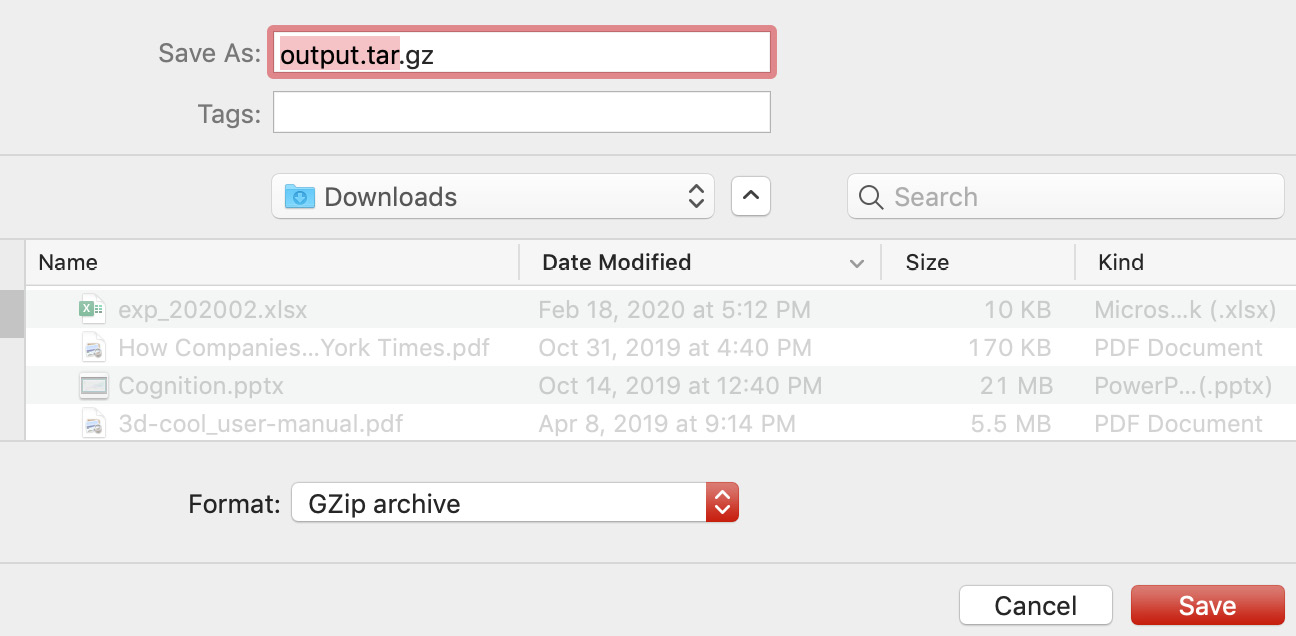
Figure 3.76: Saving the downloaded output file from S3
- Navigate to the directory where you have downloaded the file and extract the CSV files by double-clicking. In Windows, right-click the output.tar.gz file and select Extract Here:

Figure 3.77: Selecting Extract Here
The result is two CSV files: doc-topics.csv and topic-terms.csv.
For reference, the extracted CSV files are available in the following GitHub directories and where you downloaded them in the local directory (in my case, this is /Users/ksankar/Documents/aws_book/The-Applied-AI-and-Natural-Language-Processing-with-AWS/Chapter03/Activity3.01):
We have completed Part 1: Performing Topic Modeling, for this activity. Now, let's move to Part 2: Analysis of Unknown Topics.
Note
For this step, you may either follow along with the exercise and type in the code on a Jupyter notebook or obtain the local_csv_to_s3_for_analysis.ipynb file from the GitHub folder where you have downloaded the repository and paste it into the Jupyter editor. For reference, the source code is available via GitHub in the following repository: https://packt.live/3gDErks.
- Firstly, we will import boto3:
import boto3
- Next, import pandas:
import pandas as pd
- Create the S3 client object.
region = 'us-west-2'
s3 = boto3.client('s3',region_name = region)
- Next, create a unique name for the S3 bucket to store your source CSV files. Here, the bucket is named unknown-tm-analysis-20200302, but you will need to create a unique name:
#'<insert a unique bucket name>'
bucket_name = 'unknown-tm-analysis-20200302'
- Next, create a new bucket:
# Create a location Constraint
location = {'LocationConstraint': region}
# Creates a new bucket
s3.create_bucket(Bucket=bucket_name,
CreateBucketConfiguration=location)
- Create a list of the CSV filenames to import:
filenames_list = ['doc-topics.csv', 'topic-terms.csv']
- Iterate on each file to upload to S3:
for filename in filenames_list:
s3.upload_file(filename, bucket_name, filename)
- Next, check whether the filename is 'doc-topics.csv':
if filename == 'doc-topics.csv':
- Now, get the doc-topics.csv file object and assign it to the obj variable:
obj = s3.get_object(Bucket=bucket_name, Key=filename)
- Next, read the csv object and assign it to the doc_topics variable:
doc_topics = pd.read_csv(obj['Body']) else:
obj = s3.get_object(Bucket=bucket_name, Key=filename)
topic_terms = pd.read_csv(obj['Body'])
- Merge files on the Topic column to obtain the most common terms for each document:
merged_df = pd.merge(doc_topics, topic_terms, on='topic')
- Print the merged_df to the console:
print(merged_df)
- Next, execute the notebook cells using Shift + Enter.
- The console output is a merged DataFrame that provides the docnames with their respective terms and the terms' weights (refer to the following):
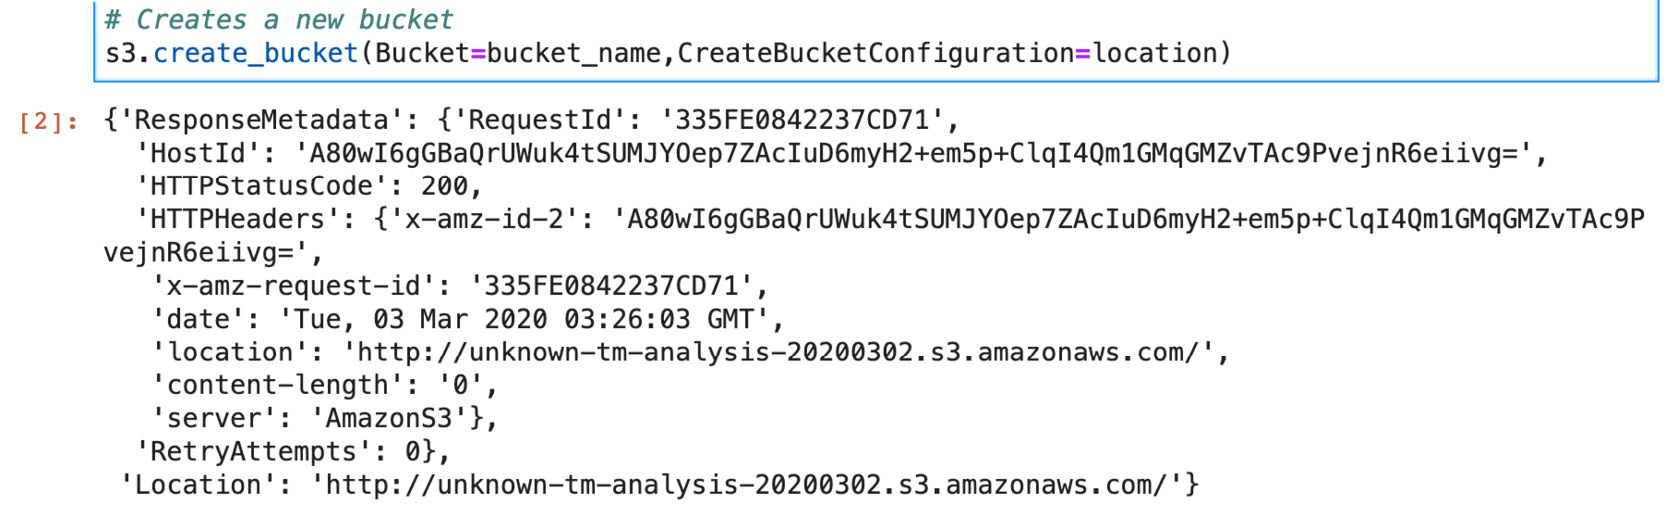
Figure 3.78: Output from the S3 Create bucket call
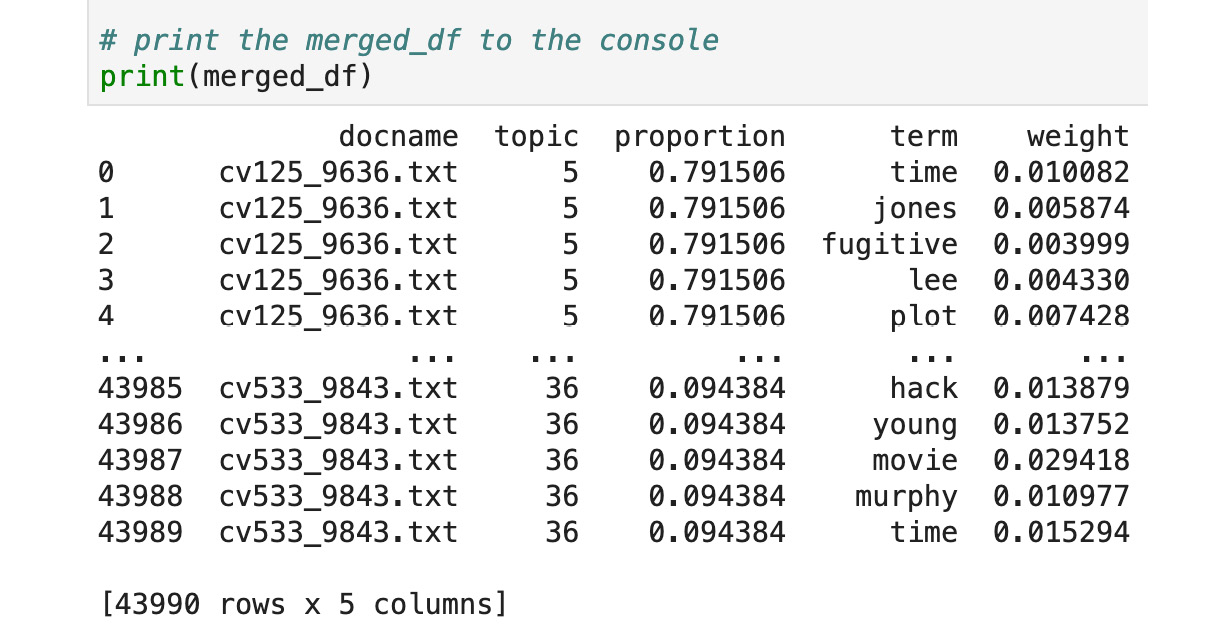
Figure 3.79: Activity merged Topic Modeling output
5. Using Speech with the Chatbot
Activity 5.01: Creating a Custom Bot and Connecting the Bot with Amazon Connect
Solution:
This is an activity that combines what we learned in the previous chapters. Try to complete the activity on your own and refer to the solution as needed. You will make mistakes and will encounter things that do not seem to work. This is all part of learning an interesting domain. If you build and test it incrementally, the development will be easier and there will be fewer moving parts.
Step 1: Creating an S3 Bucket and storing balance.txt
- First, navigate to the Amazon S3 service from https://aws.amazon.com/, and then navigate to My Account – AWS management Console-Services-Storage-S3. Click Create bucket:
Figure 5.35: S3 bucket creation for user account balance
For the Bucket name, type in account-balance, and then click Create.
Note
The bucket names in AWS have to be unique. Otherwise, you will get a Bucket name already exists error. One easy way to get a unique name is to append the bucket name with today's date plus the time, say, YYYYMMDDHHMM. While writing this chapter, we created an account-balance-202001241911 bucket and it worked.
- Your bucket will be created, and you will be redirected to the bucket list:
Figure 5.36: S3 bucket list screen
- Click the bucket name you are using (in our case, account-balance-202001241911) and then click Upload:
Figure 5.37: S3 bucket list on the Upload screen
The following screen will display:
Figure 5.38: S3 Upload bucket Add files screen
- Click Add files:
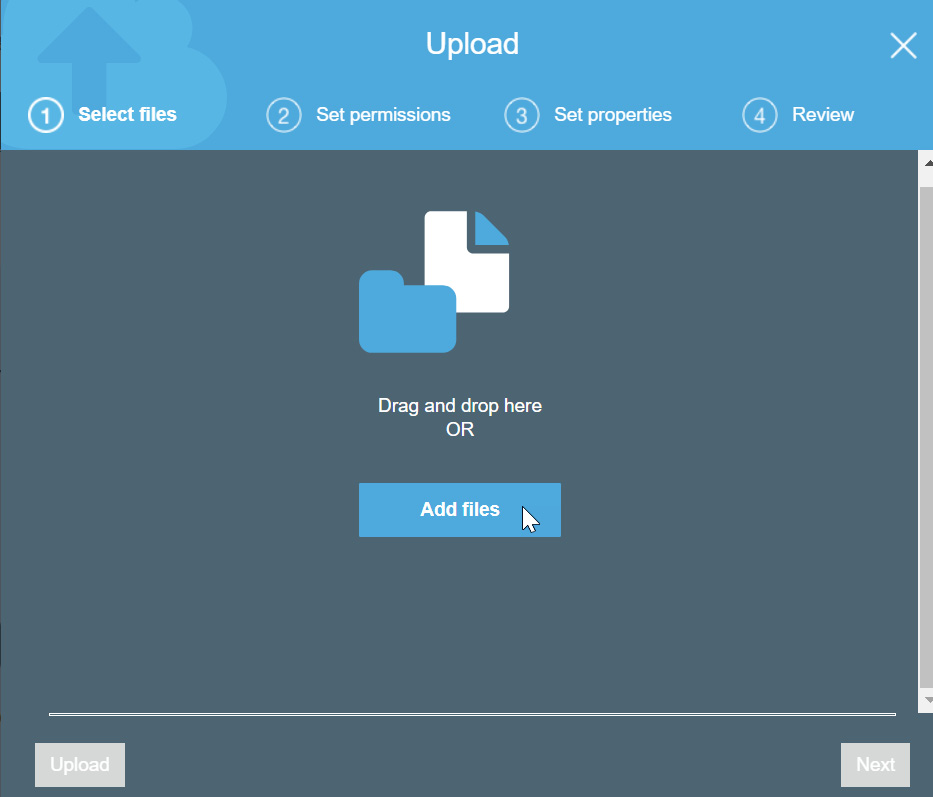
Figure 5.39: S3 Add files selection screen
- Navigate to the balance.txt file location. Select the file.
Note
The balance.txt file is available from the following GitHub repository: https://packt.live/38CipvB.
As we mentioned in Chapter 1, An Introduction to AWS, you should have downloaded the GitHub files into a local subdirectory.
As an example, download the files into the Documents/aws-book/The-Applied-AI-and-Natural-Language-Processing-with-AWS directory. As you might have guessed, the files for this exercise are in the Chapter05 subdirectory.
- Once the files have been selected, click the Open button to upload the files:
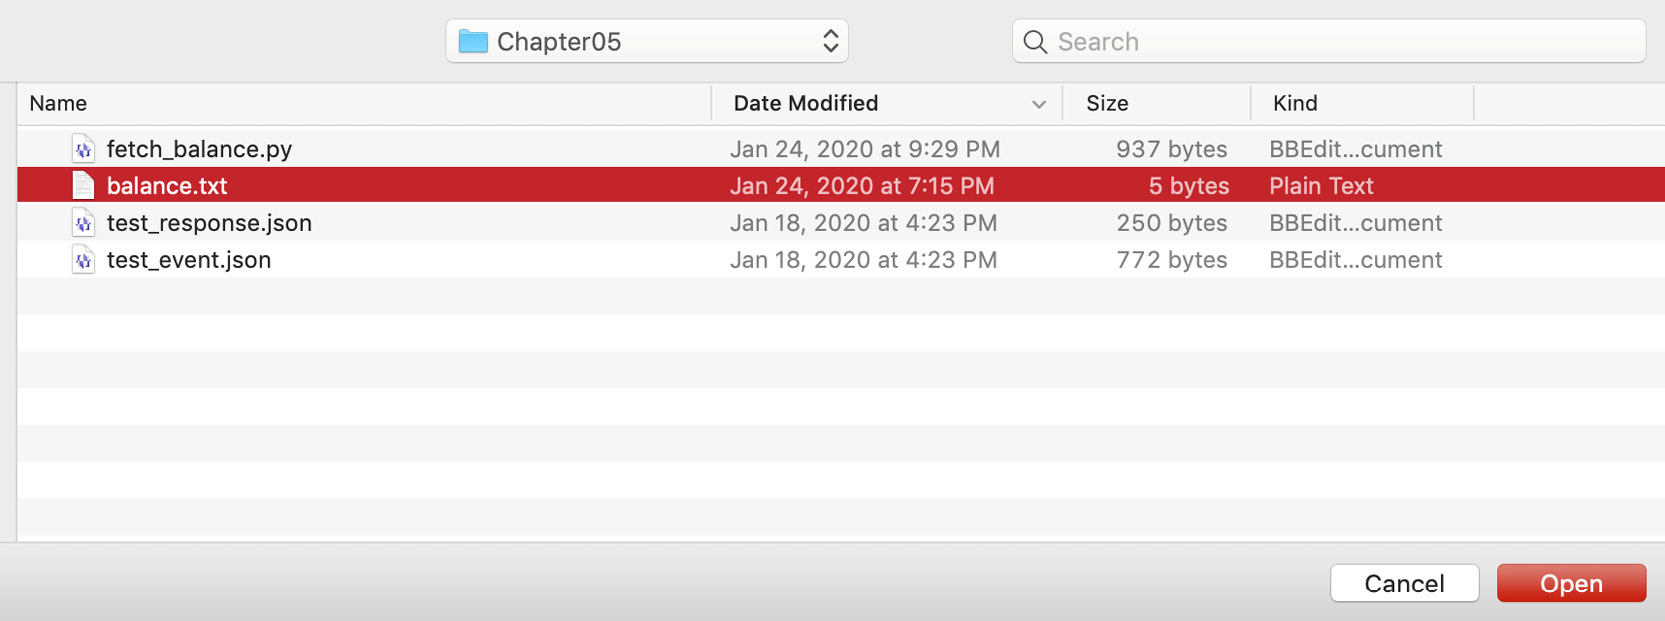
Figure 5.40: File selection window in Explorer
- Click Next:
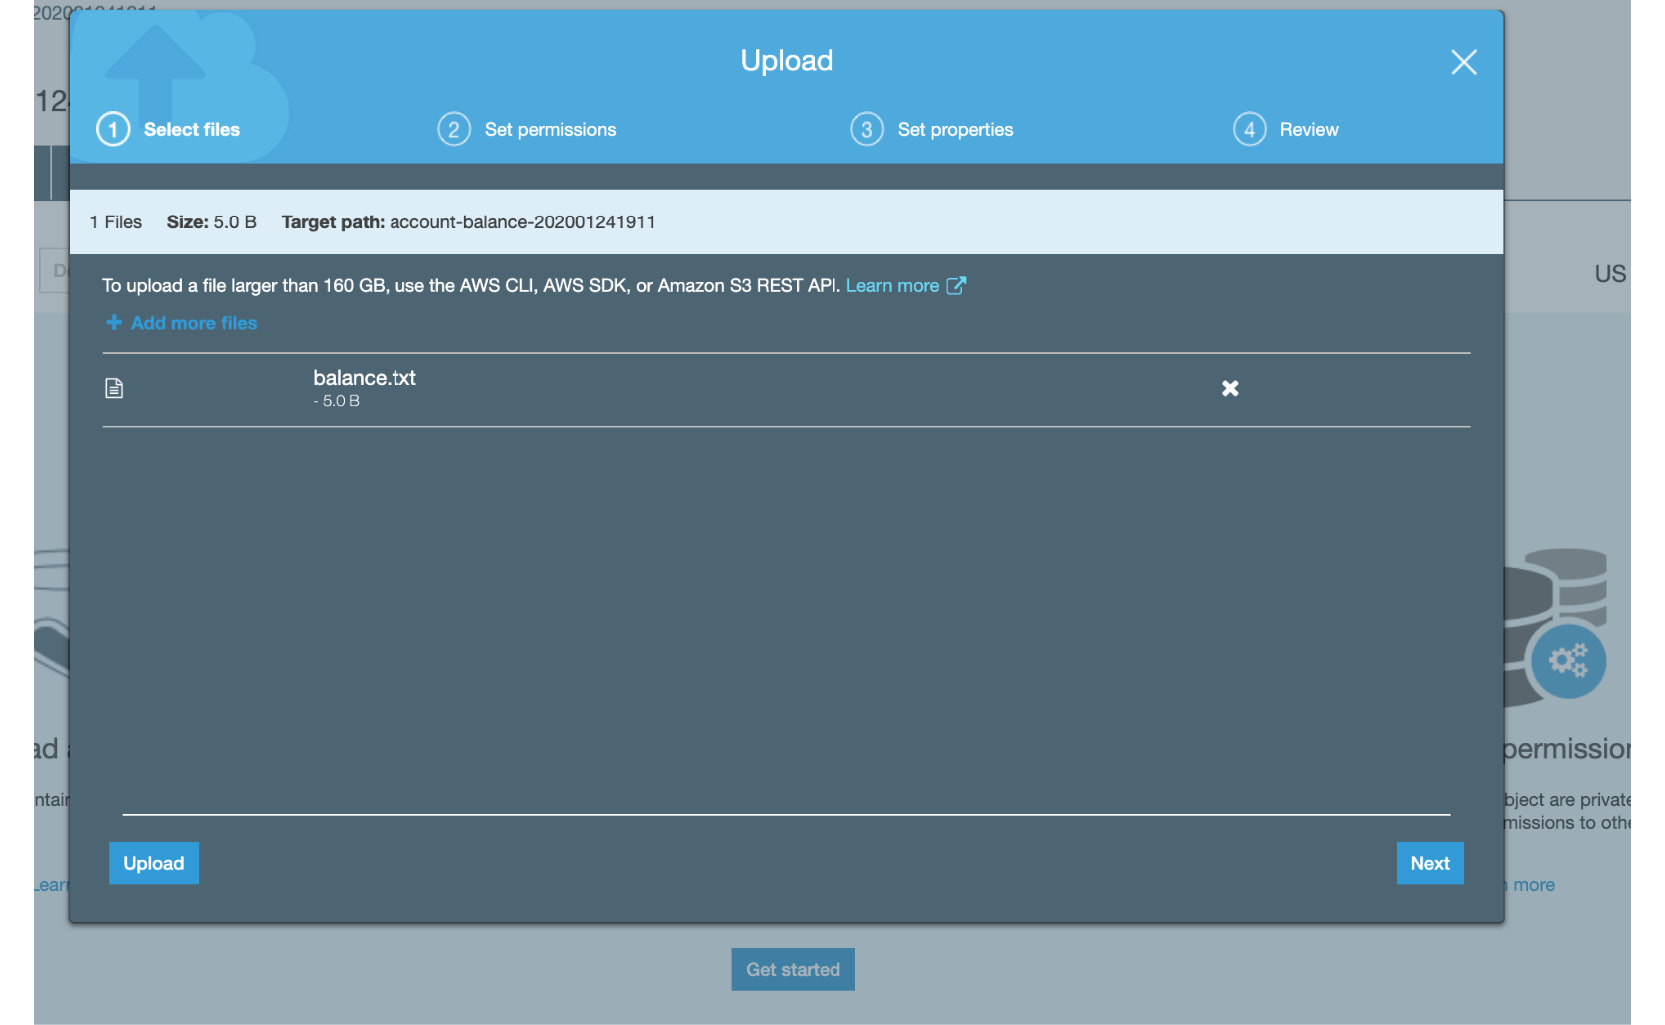
Figure 5.41: S3 Select files tab
- Set the permissions to those that are shown in the following screenshot:
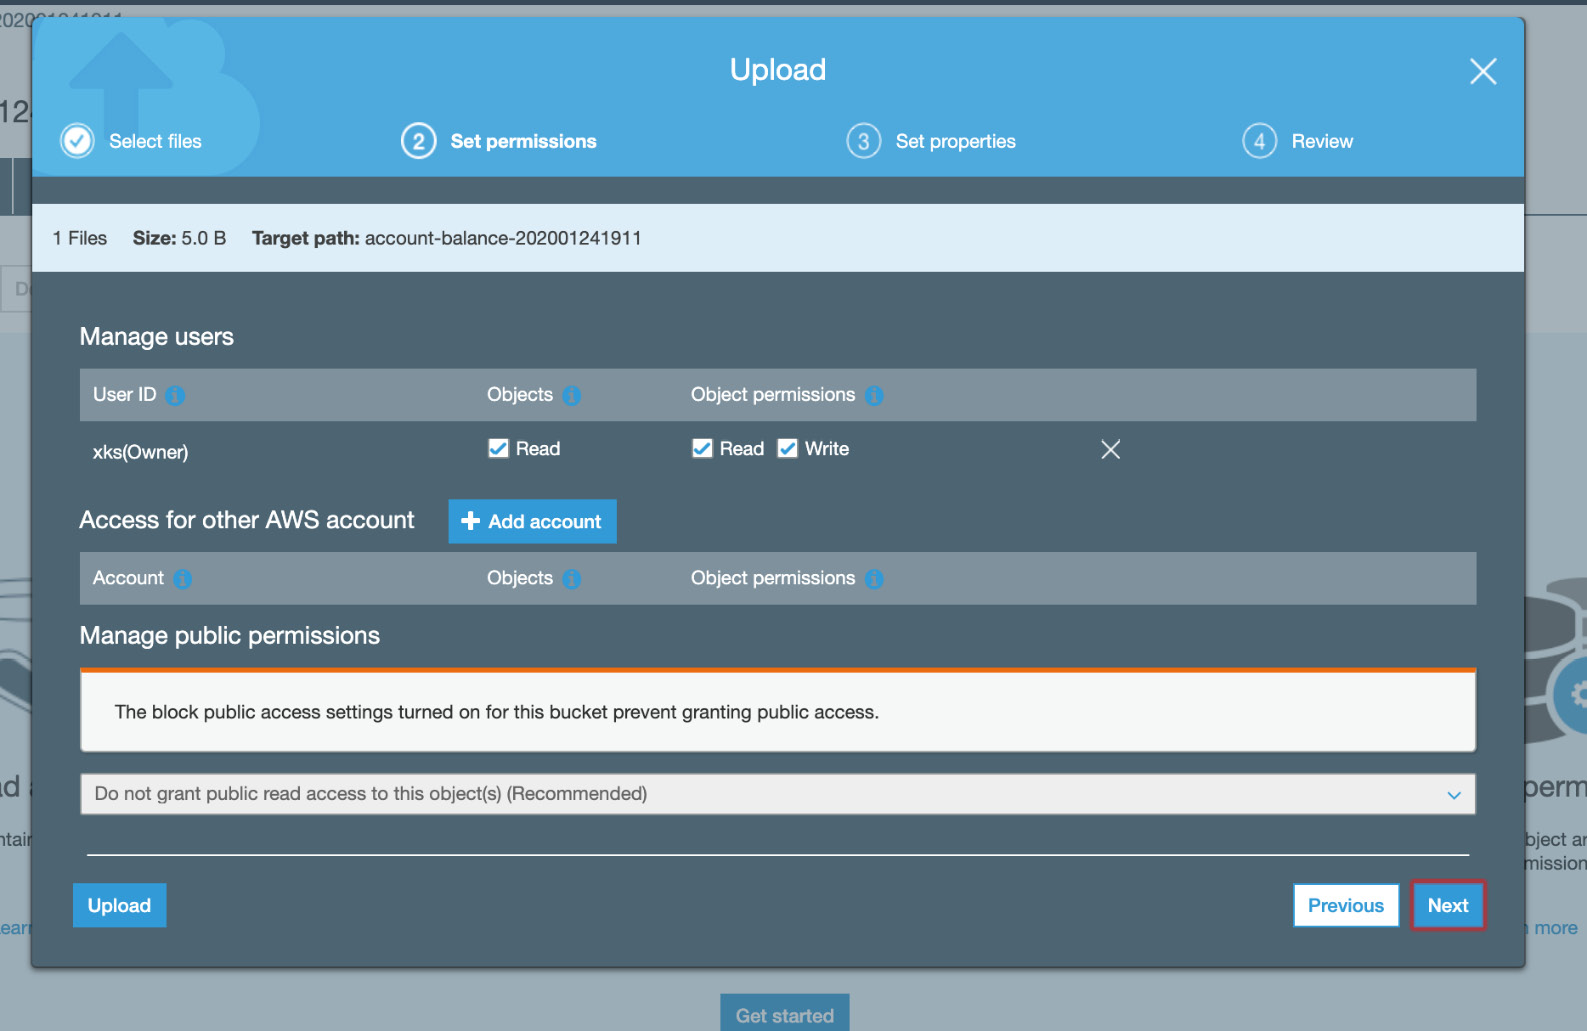
Figure 5.42: S3 Set permissions tab
- Keep the default Standard option under Storage class and click Next:

Figure 5.43: S3 Set properties tab
- Select Upload in the Review tab:
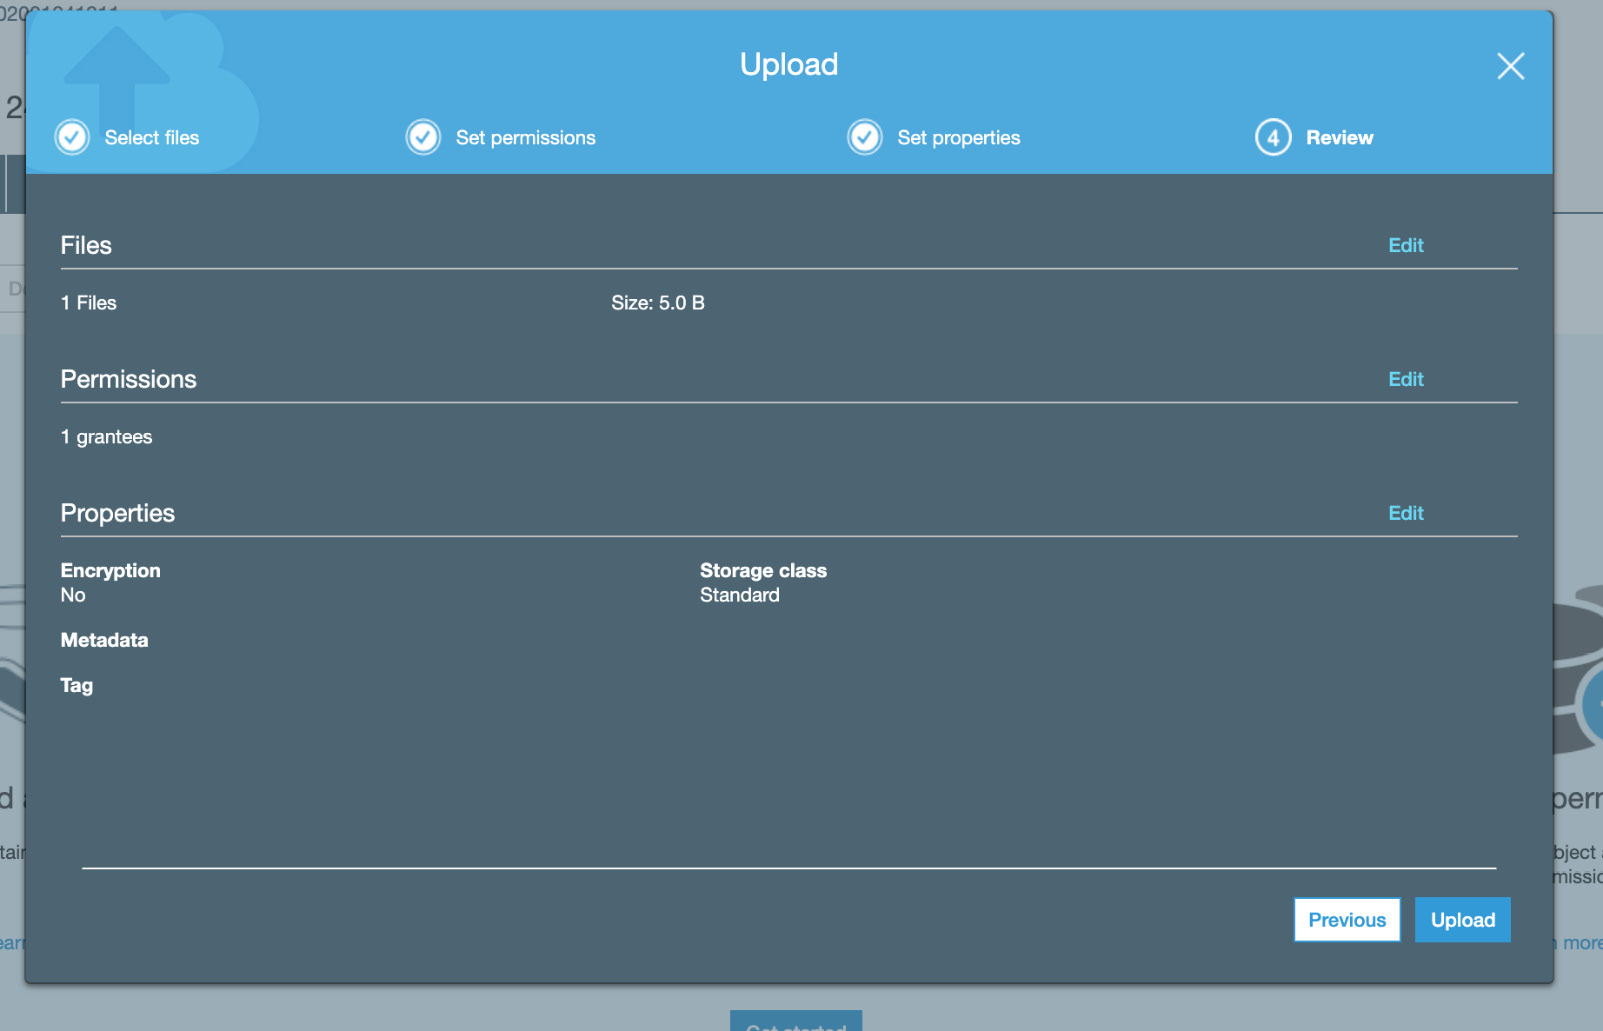
Figure 5.44: S3 Review tab
- You will see the file in the file list:
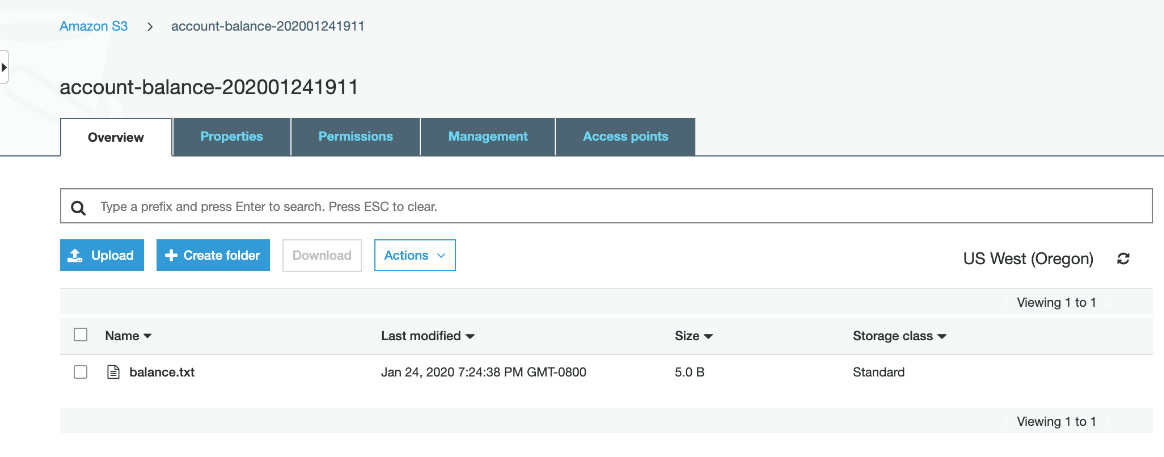
Figure 5.45: S3 file list
Step 2: Creating a Lambda function to access the S3 Bucket and read the account balance
- Navigate to Amazon Lambda, then Services, and click Lambda under Compute:
Figure 5.46: Services > Compute > Lambda
You will see the Lambda console as follows:
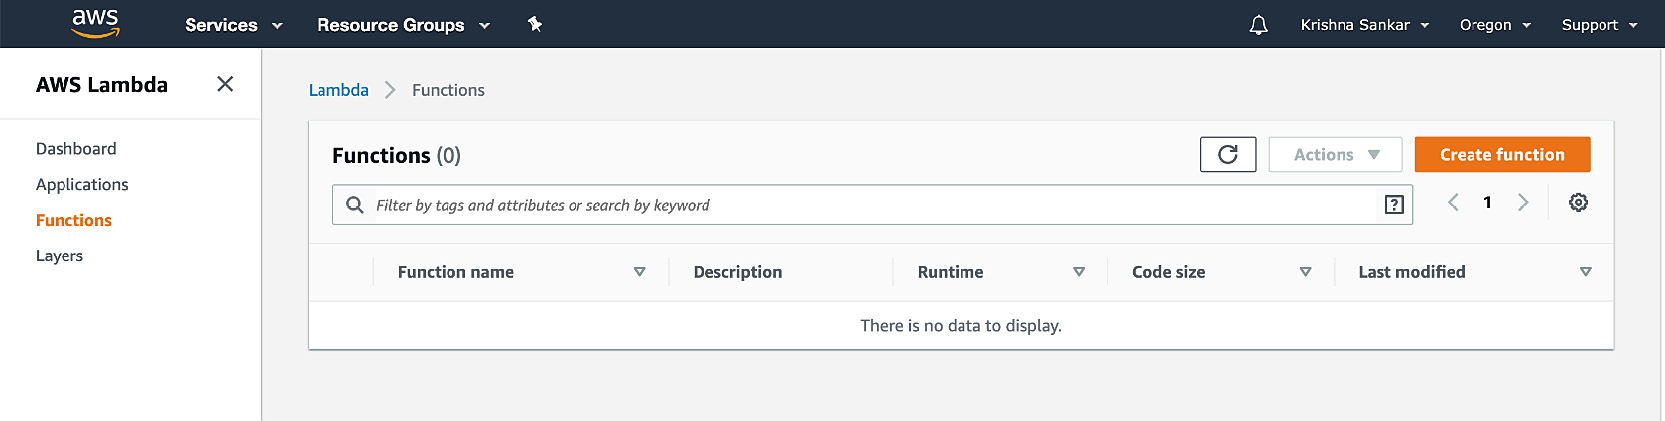
Figure 5.47: Lambda console
- On the Lambda console, click Create function.
- Choose Author from scratch from the available options. For Function name, type in fetch_balance:

Figure 5.48: AWS Lambda – creating a function with the Author from scratch selection
- For the Runtime option, choose Python 3.6 from the list:
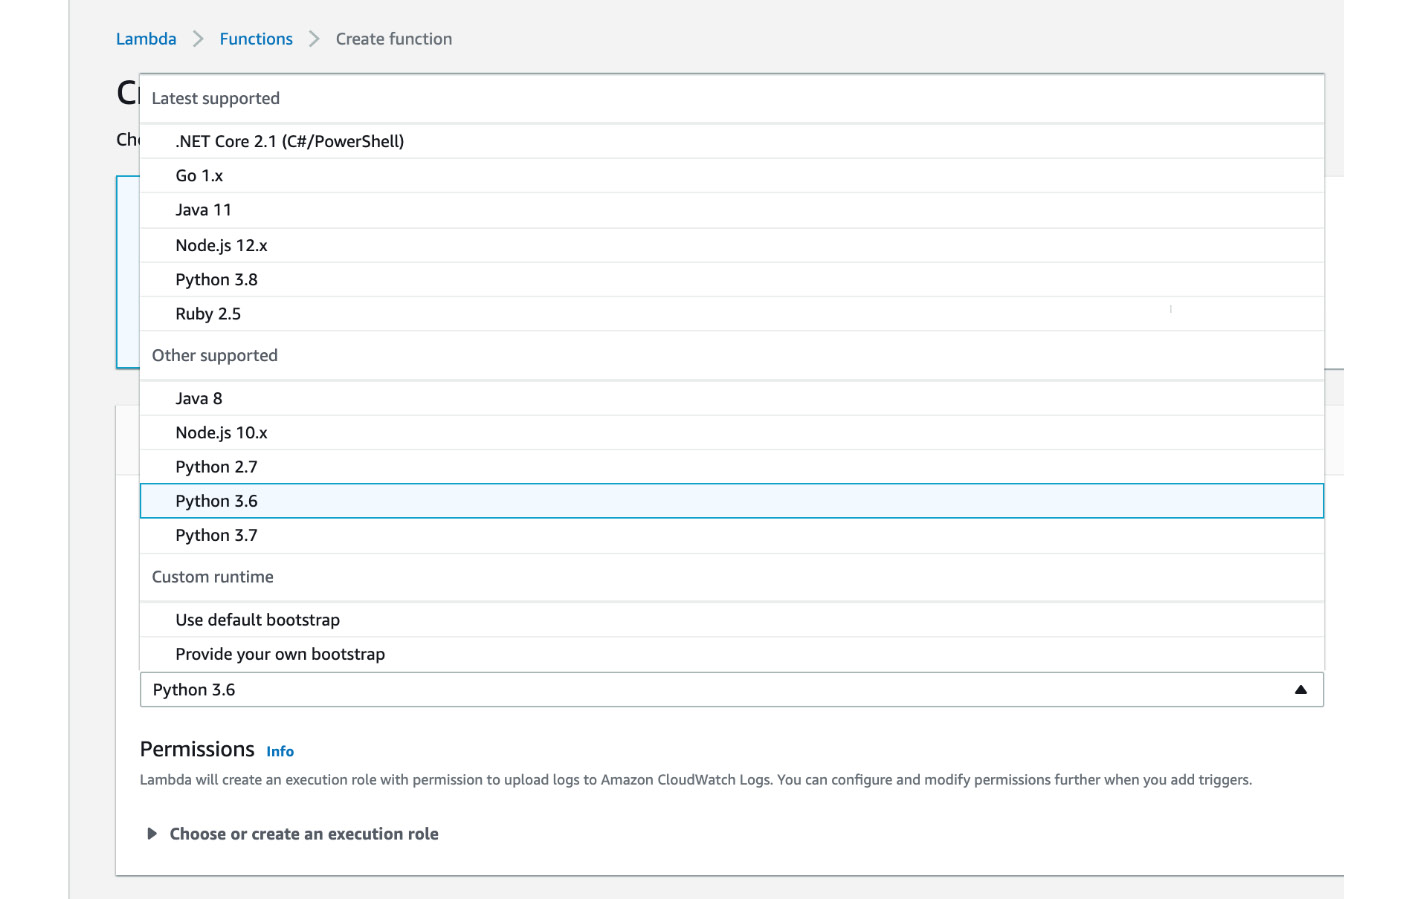
Figure 5.49: AWS Lambda—Python 3.6 selection
- Click on Choose or create an execution role and select Create a new role from AWS policy templates. Then, enter the name readBalanceRole in the Role name field.
- Click the drop-down menu under Policy templates and select Amazon S3 object read-only permissions.
- Then, click the Create function button to create the Lambda function in AWS:
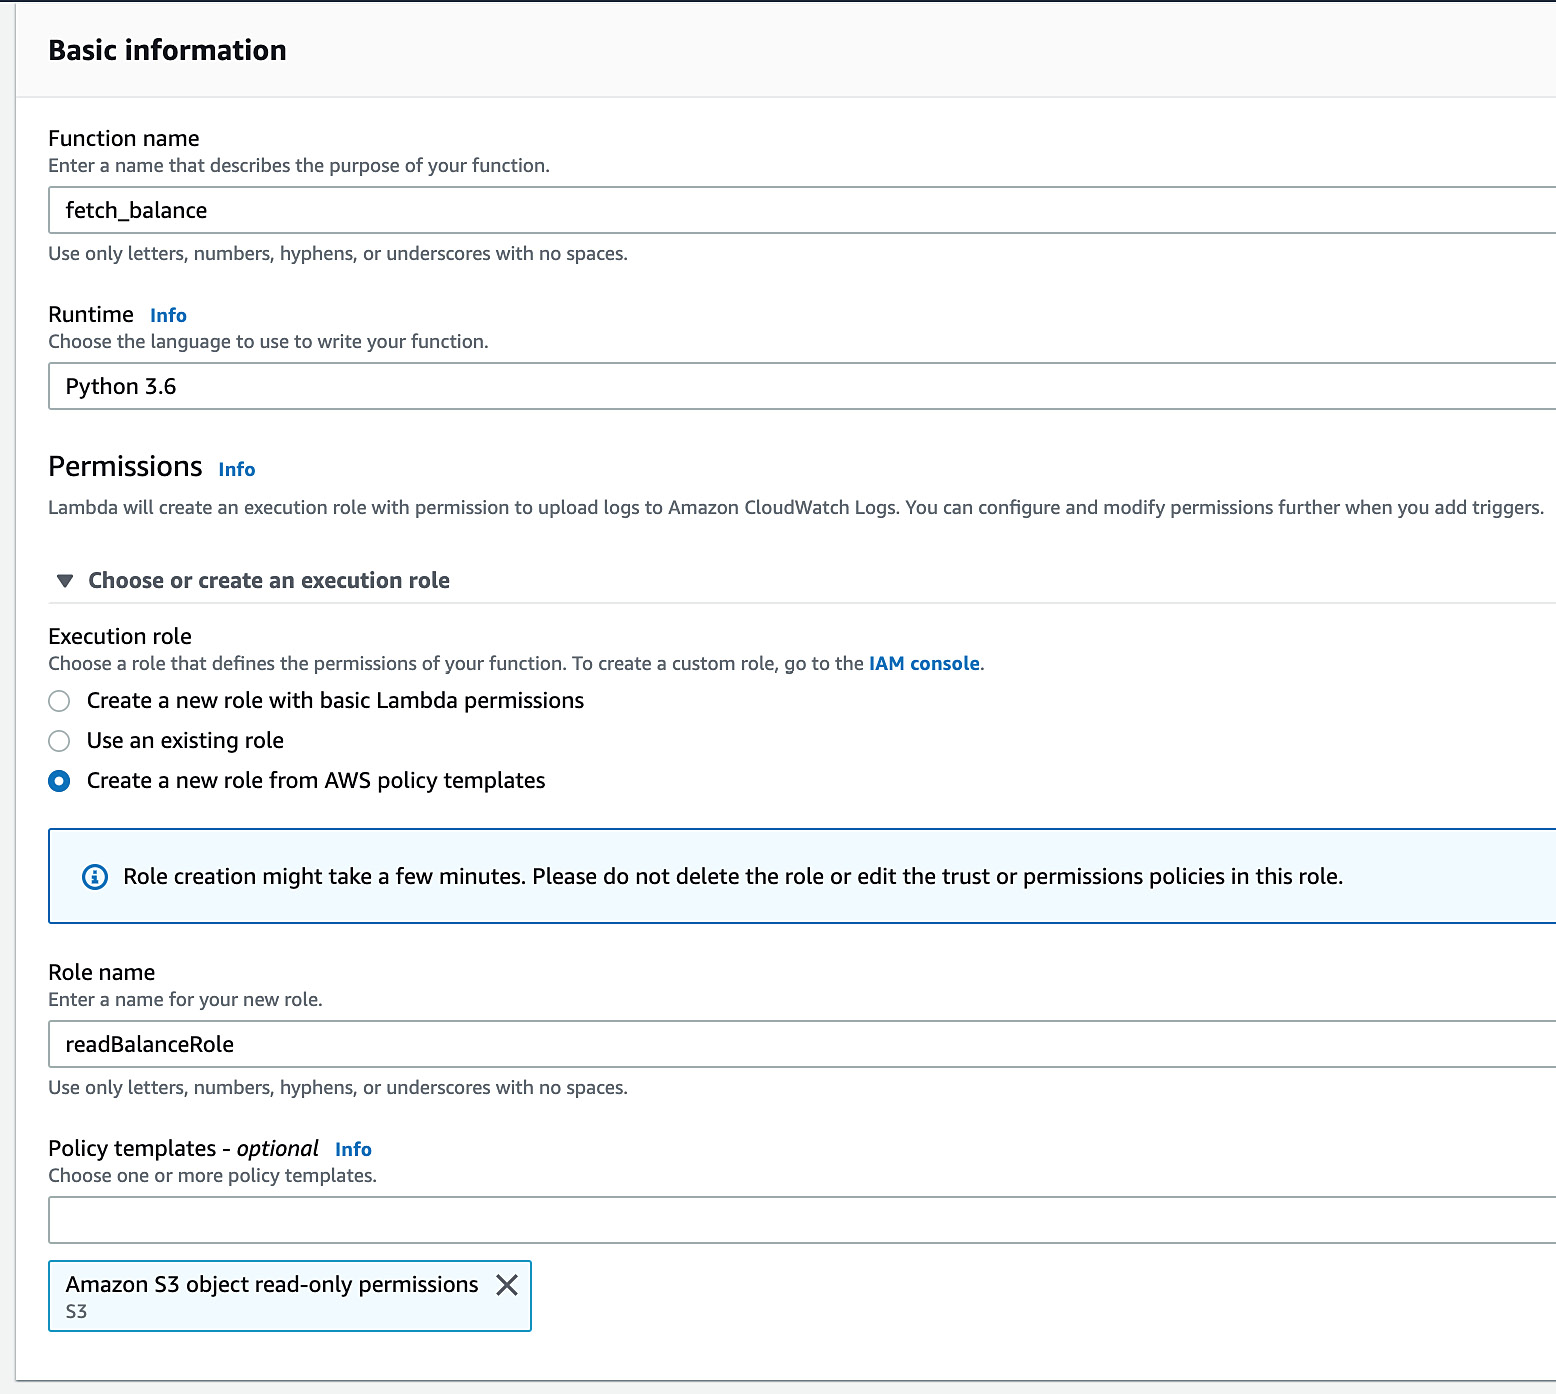
Figure 5.50: AWS Lambda—create function screen
You will see the Lambda function designer. There is a lot of information there. Let's focus on the essentials for this activity:
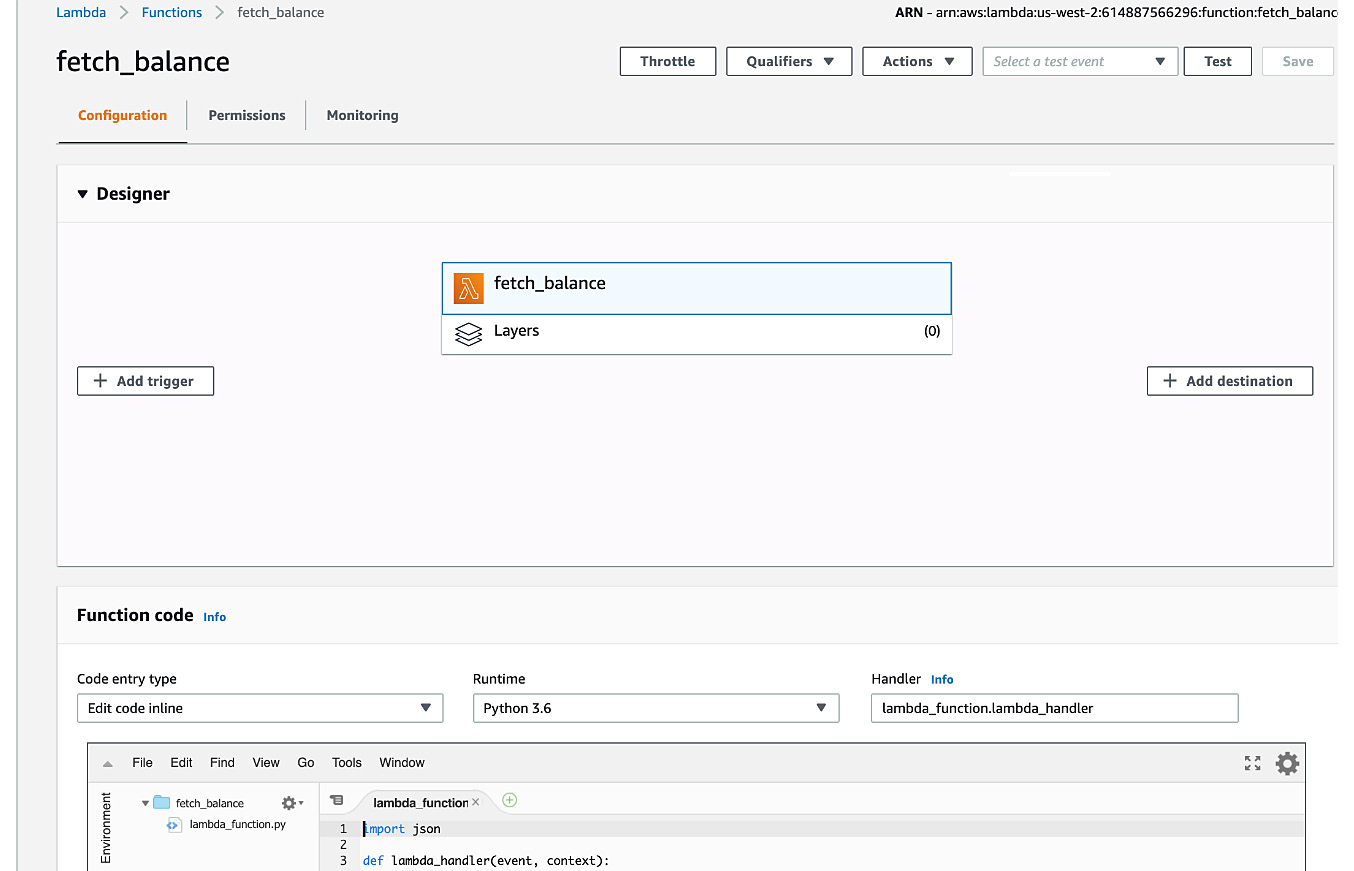
Figure 5.51: AWS Lambda—function designer
- Next, scroll down the screen to the Function code section. The default code will be the same as, or similar to, the following:
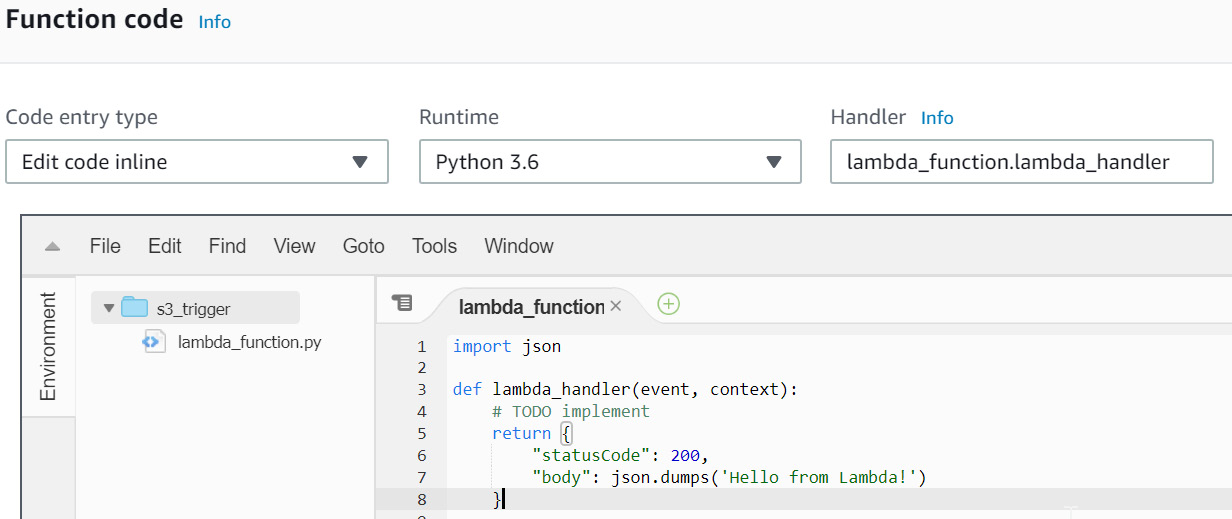
Figure 5.52: AWS Lambda—the default lambda_function screen
- Here, we can enter and edit our code entirely within the lambda_function tab (as long as Code entry type is set to Edit code inline, which is the default value in the drop-down menu):
Note
For this step, you may either follow along and type in the code or you can obtain it from the source code folder in your local disk where you downloaded the files from GitHub or https://packt.live/2ZOSJbd.
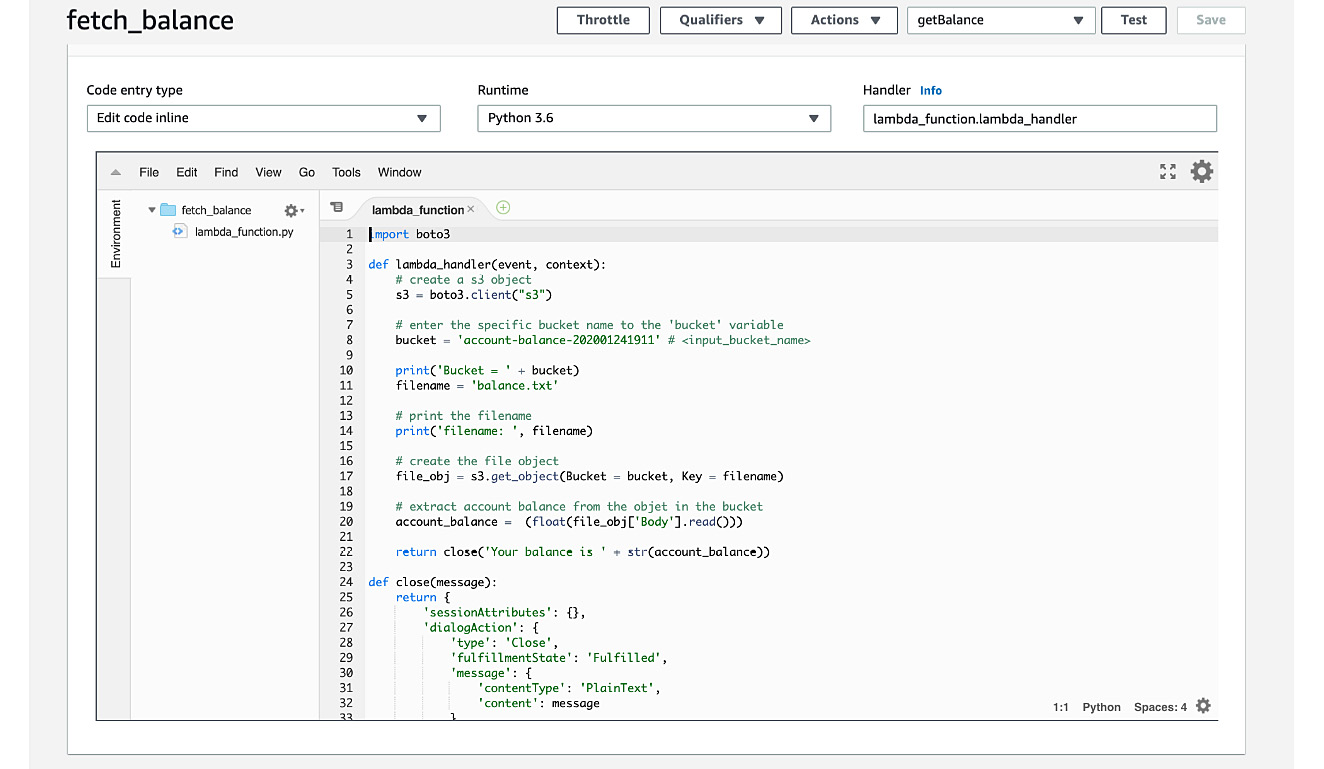
Figure 5.53: Function code for fetch_balance
- First, we import the AWS SDK for Python (boto3) from http://boto3.readthedocs.io/en/latest/:
import boto3
- Next, create a function that takes two parameters—event and context:
def Lambda_handler(event, context):
- Next, create the s3 client object:
s3 = boto3.client("s3")
- Next, replace <input Bucket name> with the bucket you created (account-balance-202001241911, in my example):
# e.g." account-balance-202001241911"
bucket = "<input Bucket name>"
- Next, assign the filename to a variable, and then print the filename:
filename = 'balance.txt'
print("filename: ", filename)
- Next, create the file object by getting the Bucket and Key:
file_obj = s3.get_object(Bucket = Bucket, Key = filename)
- Extract the account balance from the file:
account_balance = (float(file_obj['Body'].read()))
- Then, return the balance as a message:
return close('Your balance is ' + str(account_balance))
- We need the close function for our bot, which requires a well-formed JSON response:
def close(message):
return {
'sessionAttributes': {},
'dialogAction': {
'type': 'Close',
'fulfillmentState': 'Fulfilled',
'message': {
'contentType': 'PlainText',
'content': message
}
}
}
Remember to Save the function frequently:
Note
Use the Test button in the top-right corner to test and debug the code. You will see the results in Execution Results below the code pane.
- Click the Test button on the top-right corner:
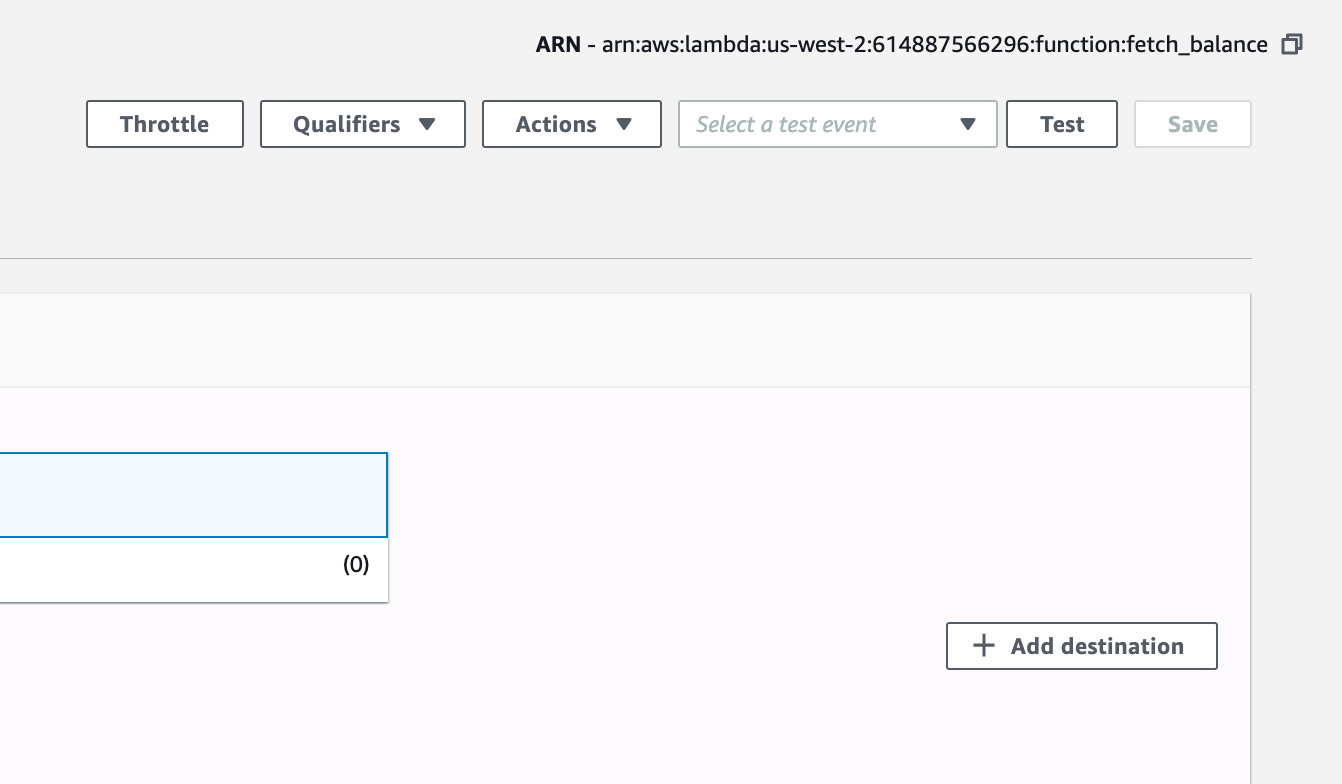
Figure 5.54: Test Button for testing Lambda function
- For every test, we need to create at least one Test Event. If this is the first time you are running a test, you will see the Configure test event screen:
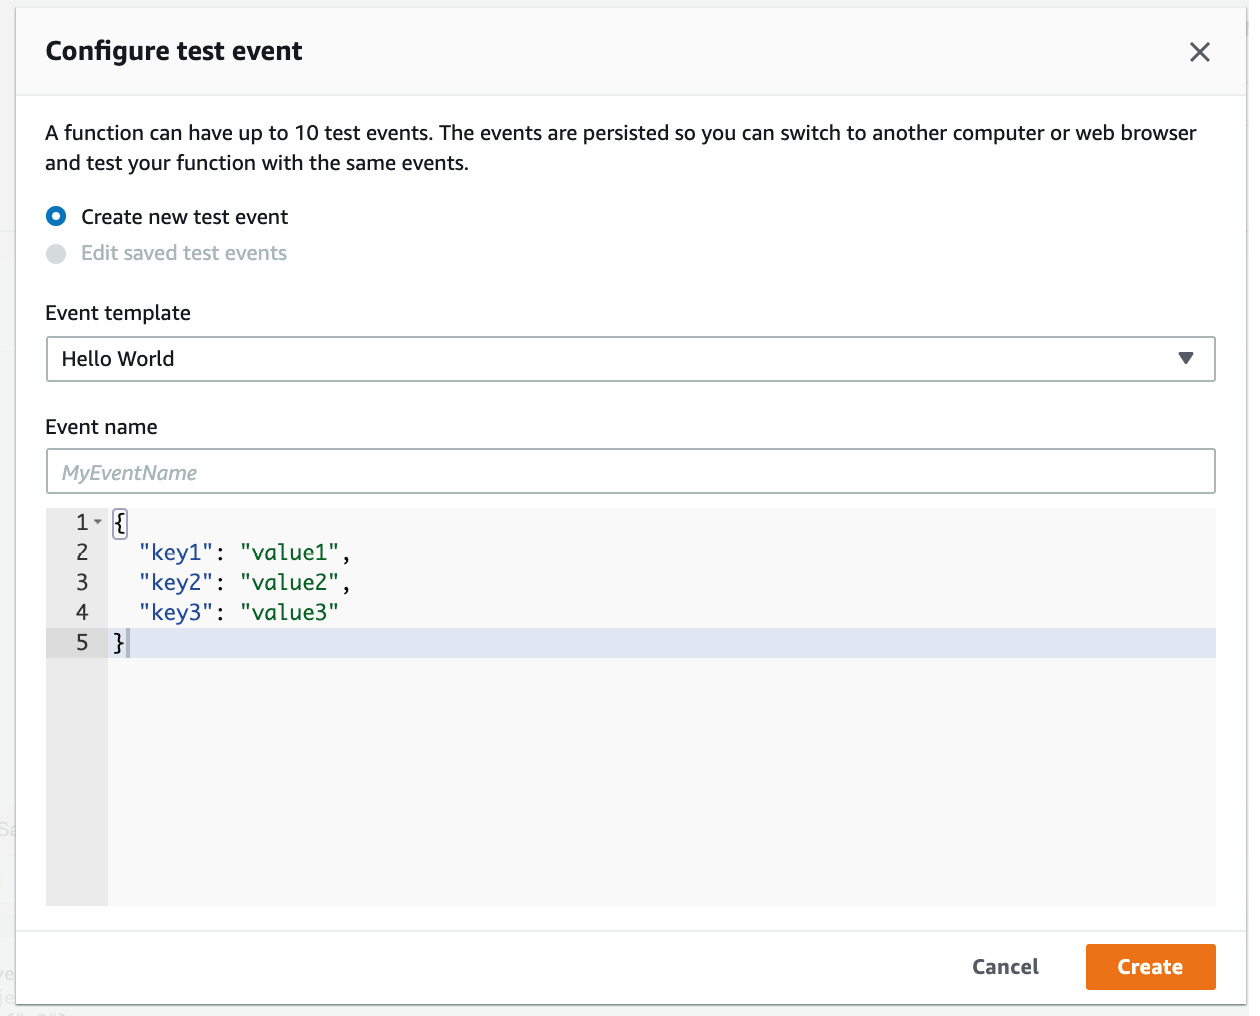
Figure 5.55: Configure Test Event to test a Lambda function
- If the event expects values, for example a stock symbol or an account number, this is the place to create a valid JSON payload for the event. And, if you have multiple actions based on what the user asks for, you can have multiple events and then invoke the lambda with any of the events. In our case, to keep the interaction simple, we do not look for any information in the event payload. So just give the event a name – for example, type getBalance and then click the Create button.
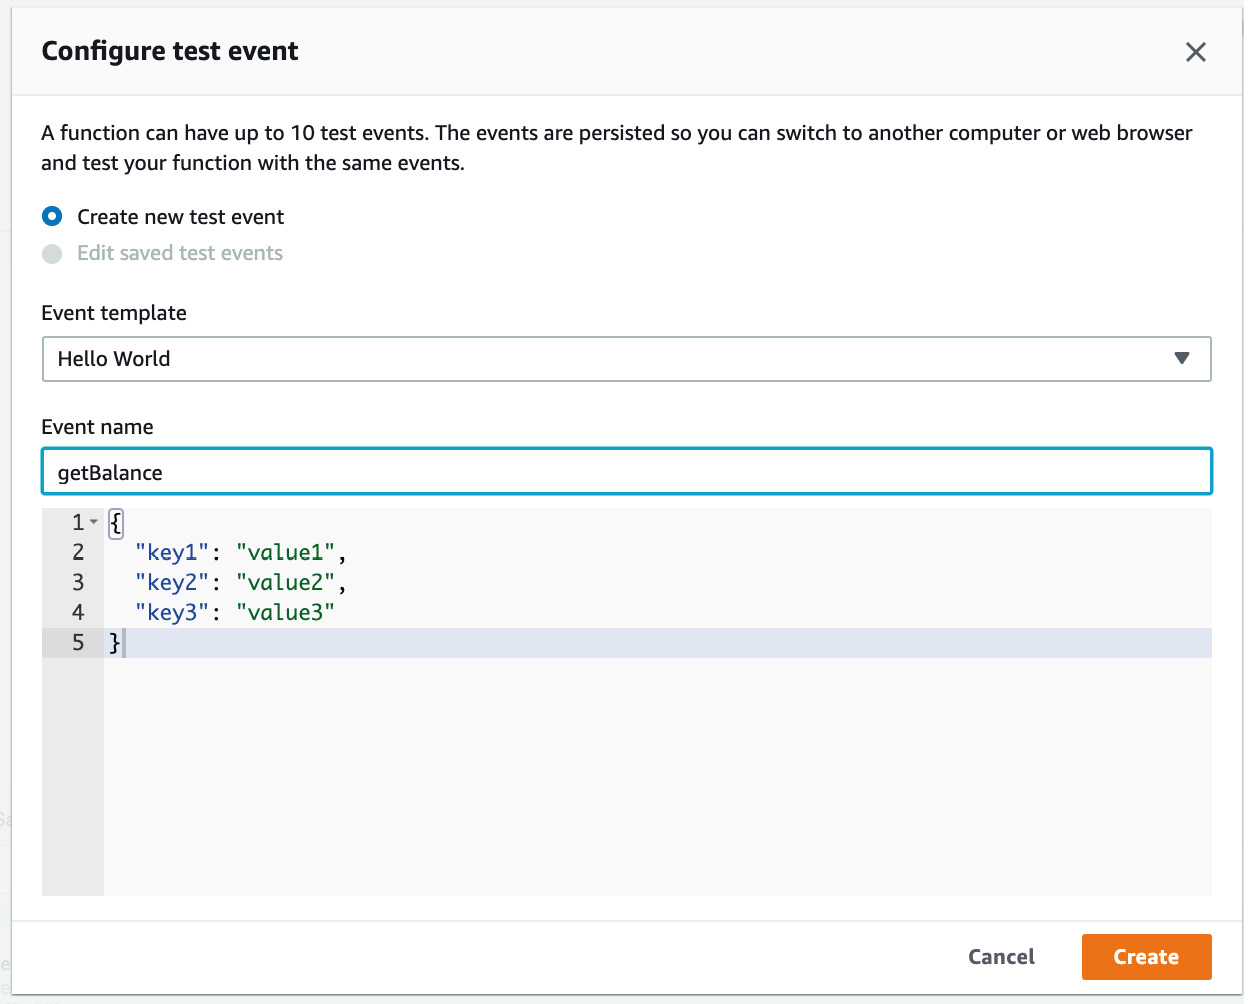
Figure 5.56: Configure Test Event with name getBalance
- You will see the results under the Execution Results tab:
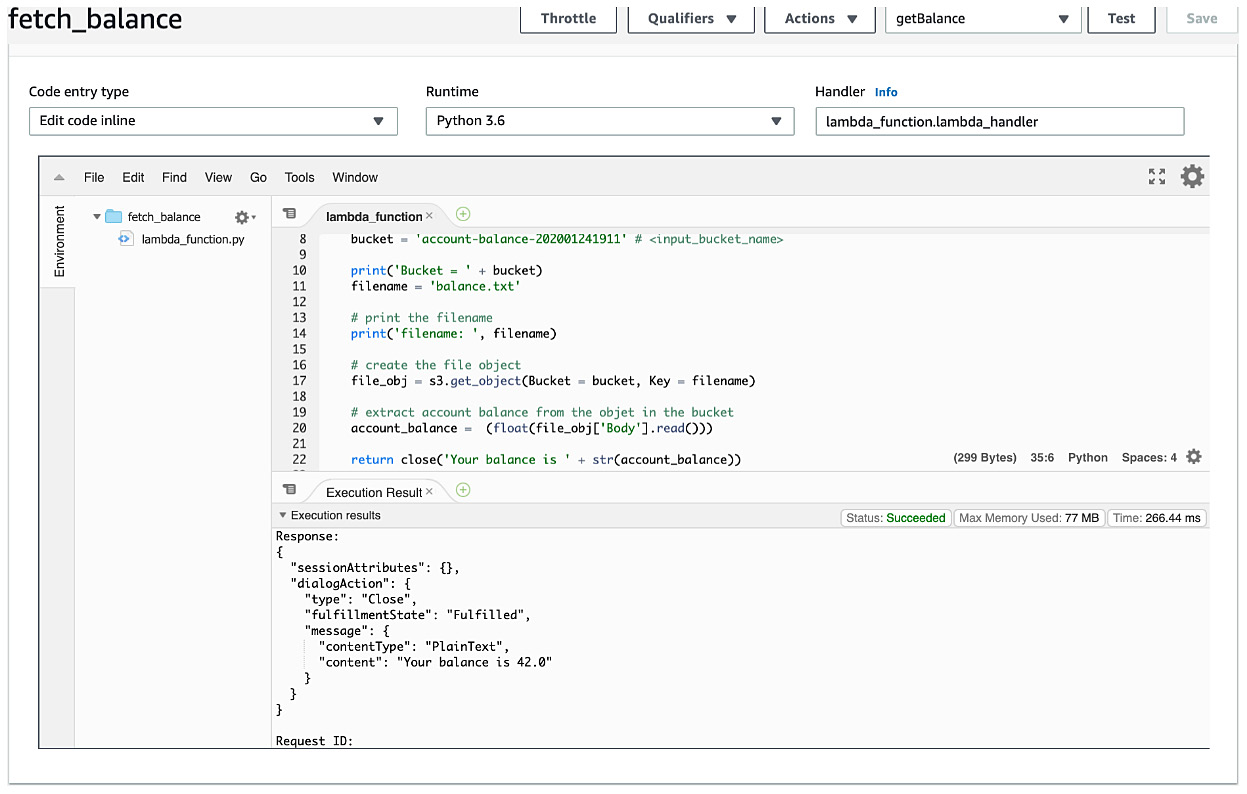
Figure 5.57: Execution results of fetch_balance - Response
- If you scroll down in the Execution results window, you will see more details and the Function Logs where you will see the diagnostic prints that you have in your code. It is always good to print diagnostic messages while developing a lambda function:
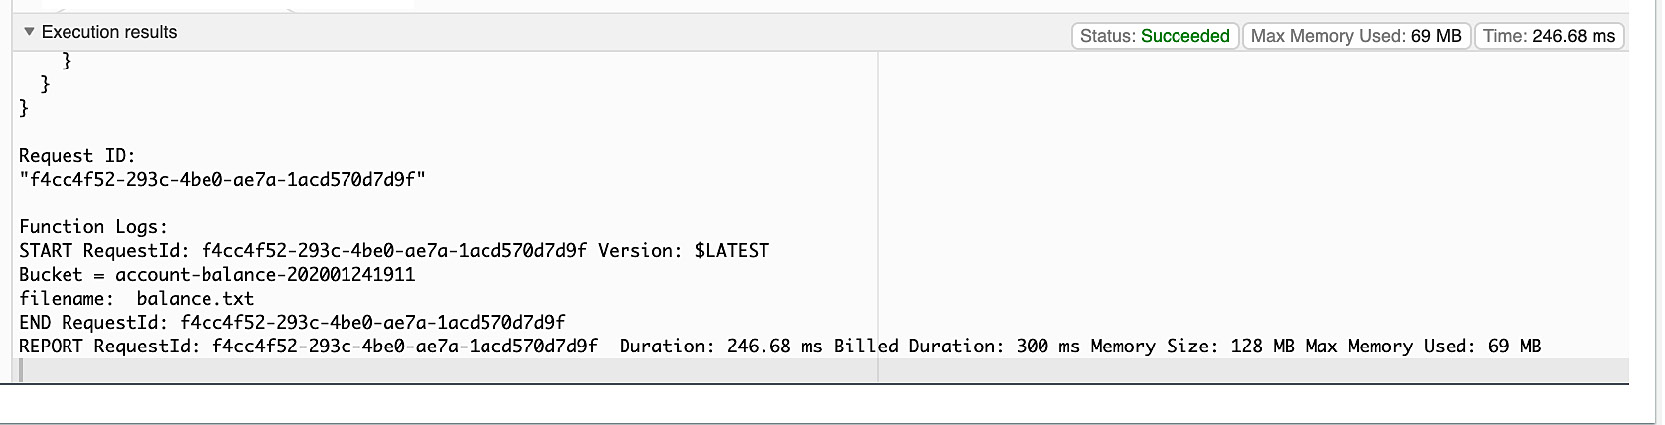
Figure 5.58: Execution results of fetch_balance – Function Logs
Step 3: Creating a Lex bot to get the balance using the Lambda function
- The first step is to navigate to the Amazon Lex service within the AWS Console. You can do so by clicking on Services | Machine Learning | Amazon Lex or navigating to https://console.aws.amazon.com/lex.
- The next step is to click on the Create button in order to get to the Bots creation screen:
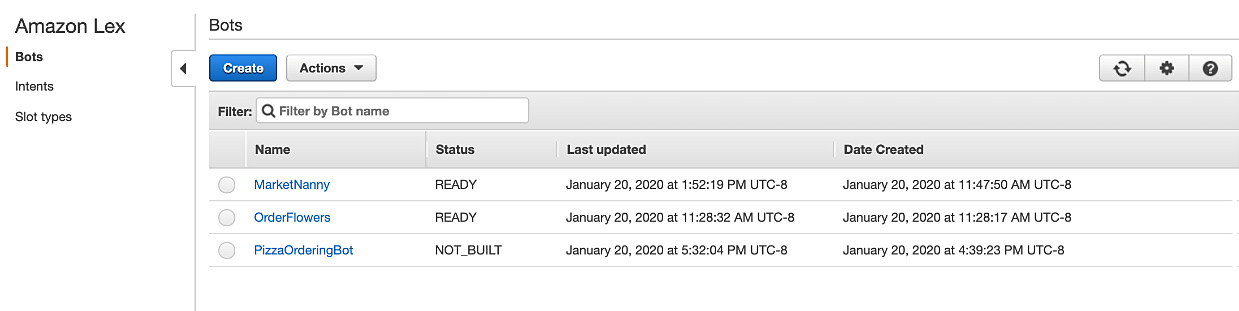
Figure 5.59: The Amazon Lex console
- At this point, you can create a custom bot by clicking on the Custom bot option. This reveals the bot's details, which can be filled out, as shown in the following screenshot:

Figure 5.60: The Custom bot option
- The Bot name field can be set to GetBalance. The Output voice field is set to any of the voices, for example, you can select Kendra. This is because we will be interacting with the bot using voice.
- Session timeout can be set to the default of 5 min. The IAM role field displays the name of the IAM role, which is automatically created by Lex for use by bot applications. Let's say No to Sentiment analysis.
- Finally, the COPPA field pertains to the Children's Online Privacy Protection Act, which online applications must conform with. Choose Yes or No depending on whether you want to have someone under the age of 13 using your chatbot.
Note
A law was passed in 1998 to protect the privacy of children under 13. It states that online sites may not collect personal information from users who are younger than 13 years old without parental consent, among other provisions. You can learn more about COPPA at https://www.ftc.gov/enforcement/rules/rulemaking-regulatory-reform-proceedings/childrens-online-privacy-protection-rule.
- Finally, clicking on the Create button will create the chatbot and bring you to the bot's Editor screen. This screen will allow you to create and define an intent for the bot, as well as a slot with a custom slot type.
- Click on the Create Intent button to bring up the Add Intent pop-up dialog window:
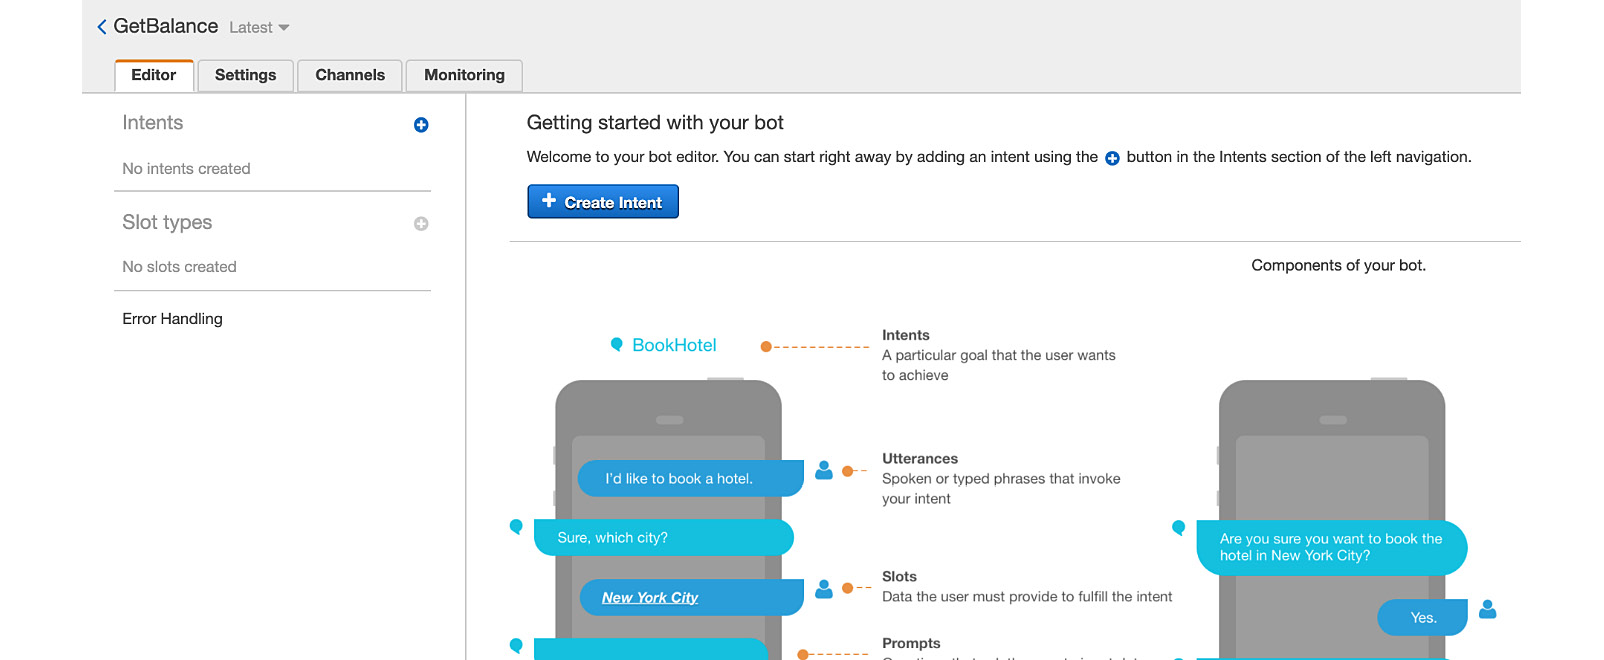
Figure 5.61: GetBalance bot's Editor tab
- Conversely, if you already have an intent defined, you can create a new one by clicking on the + sign next to the Intents heading in the left-hand side menu on the screen.
- The Create Intent window offers a few options to add an intent to the bot. The Import intent link allows you to import an intent from a ZIP file containing one or more JSON files with intents in the Lex format.
- The search for existing intents allows you to reuse the intents that you may have defined or imported previously, as well as the built-in intents defined by Amazon Lex.
- You should just click on the Create Intent link, however, to get to the following dialog box.
- In the Create intent dialog box, name your new intent Balance. The bot will recognize this intent when you let it know that you are interested in a market quote. Click on the Add button to complete this step:
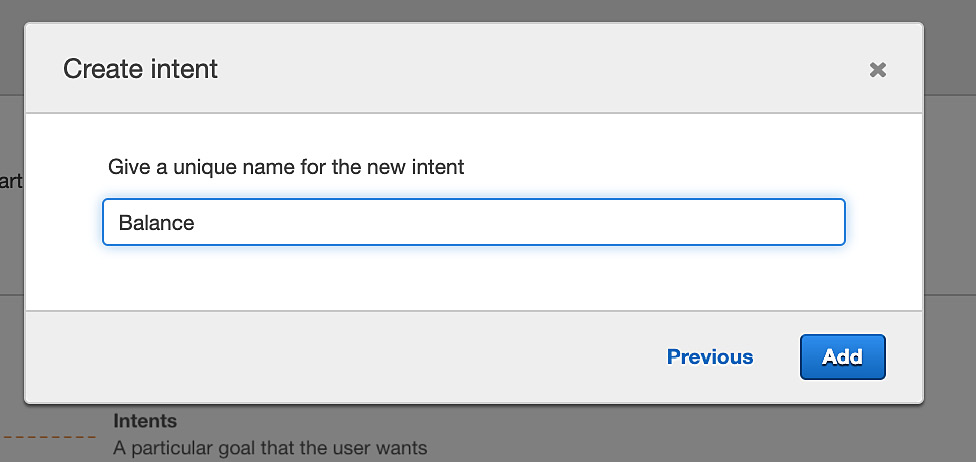
Figure 5.62: The Create intent dialog box
You should be back at the Editor screen at this point, and you should see the Balance intent in the left toolbar portion of the screen. The Editor screen also contains many fields that are used to define and customize the new intent.
- The first thing to do is to fill in some Sample utterances to train the NLU system behind Lex to recognize the utterances you will provide to the bot as signals from the user for the Balance intent:
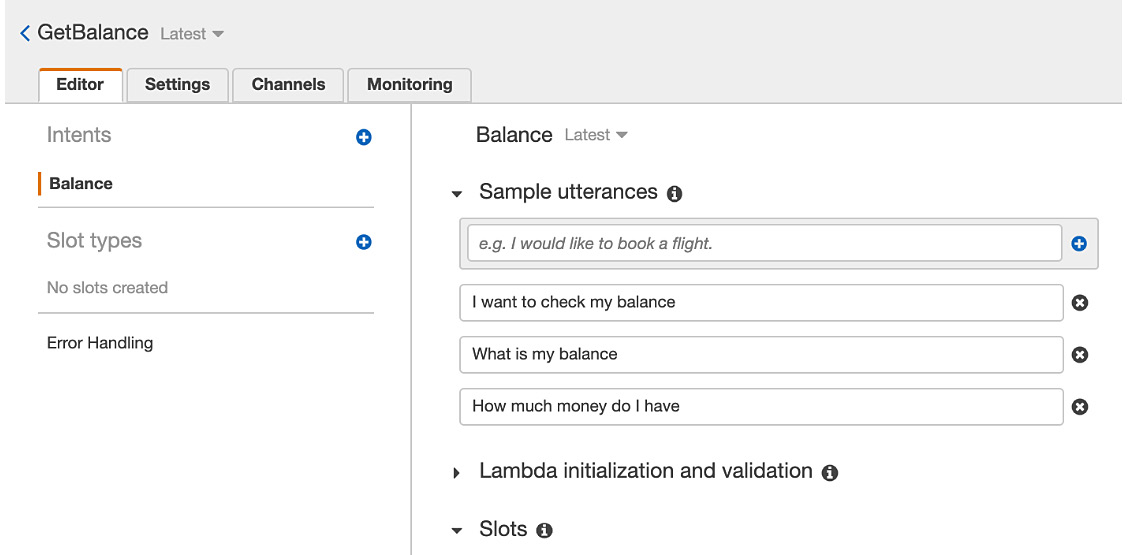
Figure 5.63: Creation of the new intent
- After entering some sample utterances, you click on the Build button near the top of the page in order to kick off the training process for the bot:

Figure 5.64: Building the bot
- There will be a follow-up dialog box with another Build button, which you should also click on:

Figure 5.65: Build confirmation
- After this, you should wait until you see the GetBalance build was successful message box. It might take between a few seconds and a couple of minutes:
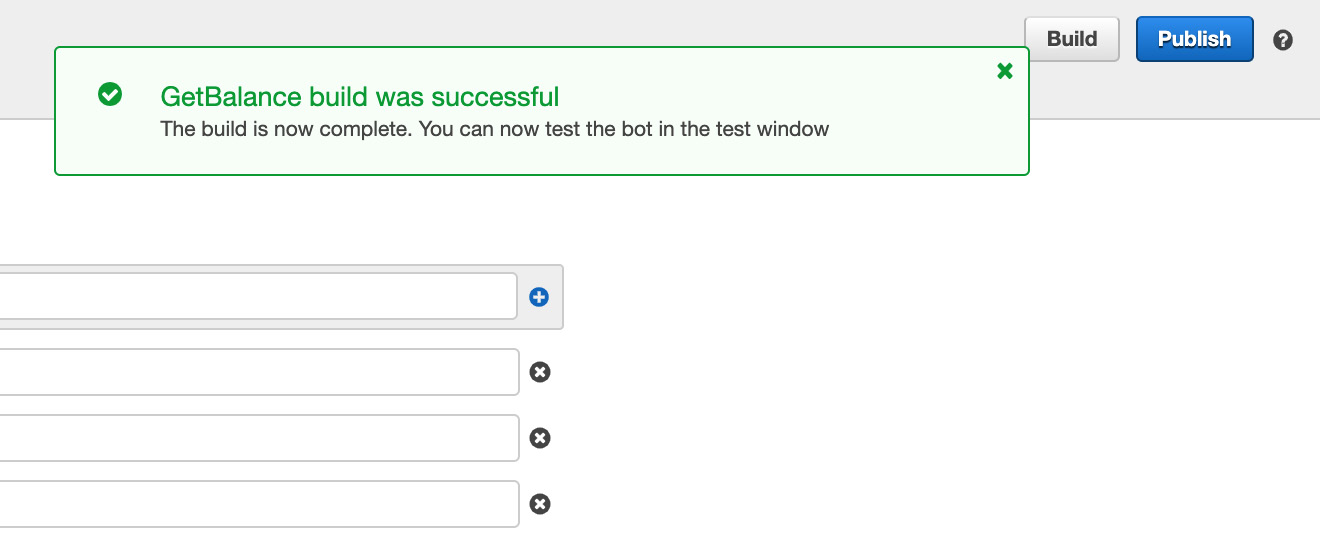
Figure 5.66: Bot build is successful
You can test your new intent within the bot in the Test bot pane, in the top-right corner of the screen.
Note
If the Test bot pane is not visible, you may have to click on the arrow button in order to expand it and make it visible.
Type utterances into the pane to verify that the bot is able to recognize the correct intent from the utterances:
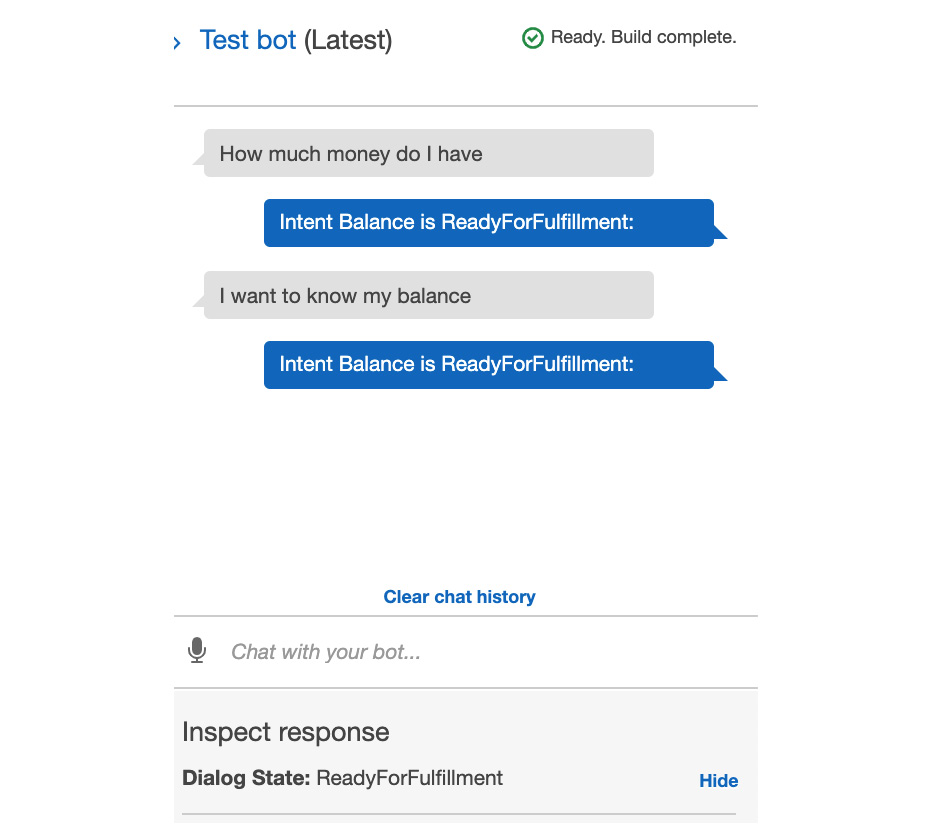
Figure 5.67: Test bot pane
You know that it has recognized the intent correctly when it returns the response: Intent Balance is ReadyForFulfillment. Feel free to experiment with different utterances, based on your sample utterances, in order to verify that the NLU engine is working correctly.
At this point, your bot does not do much, other than try to recognize the Balance intent and flag that it is ready for fulfillment.
- Let's now connect our Lambda function and see whether it works. Select AWS Lambda function in Fulfillment and then select the fetch_balance Lambda function:
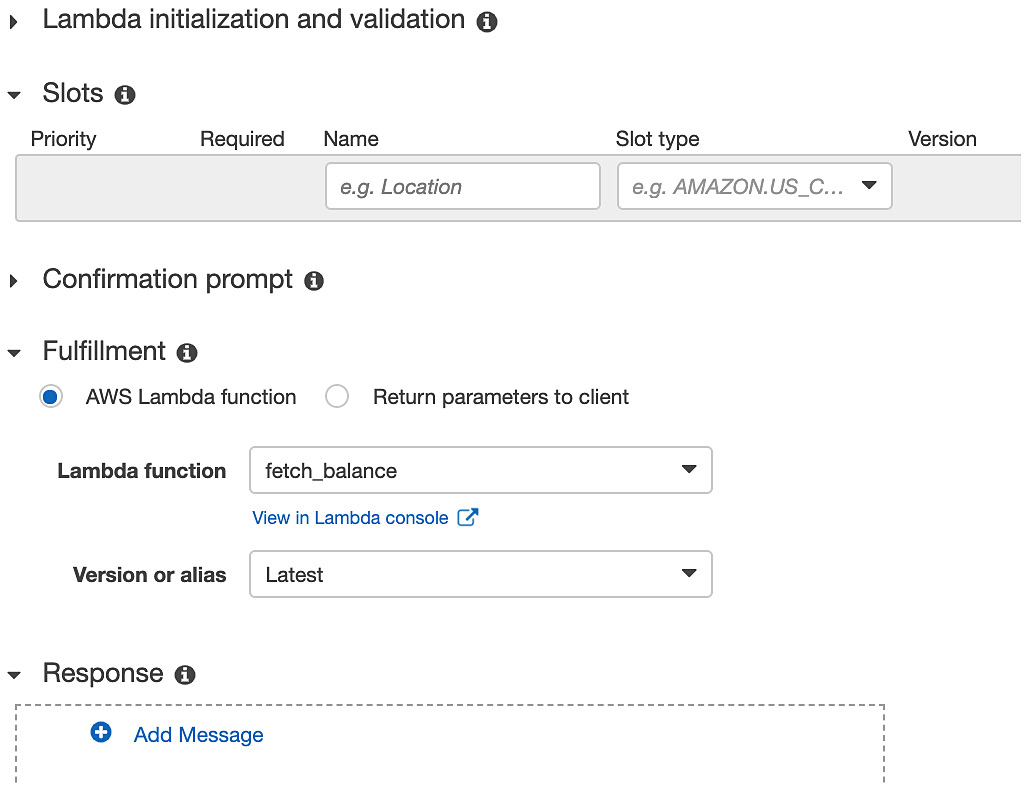
Figure 5.68: Lambda initiation
- Click Build and then test again. Now it should show the balance:
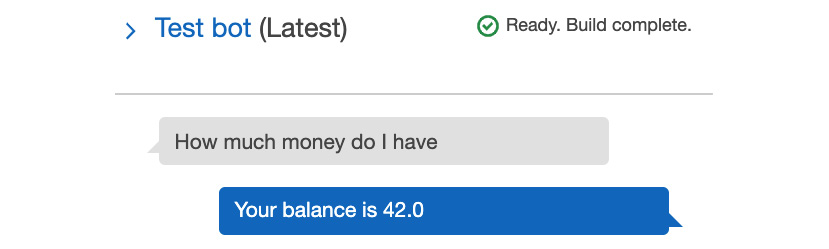
Figure 5.69: Testing the Lambda function
We are making good progress.
Step 4: Connecting the Amazon Connect call center to the GetBalance bot
We will extend the call center created in Exercise 5.01 to add this GetBalance feature.
- From the My Account | AWS Management Console, go to Services | Customer Engagement | Amazon Connect. Select the instance you have created (jarvis42, in our case):
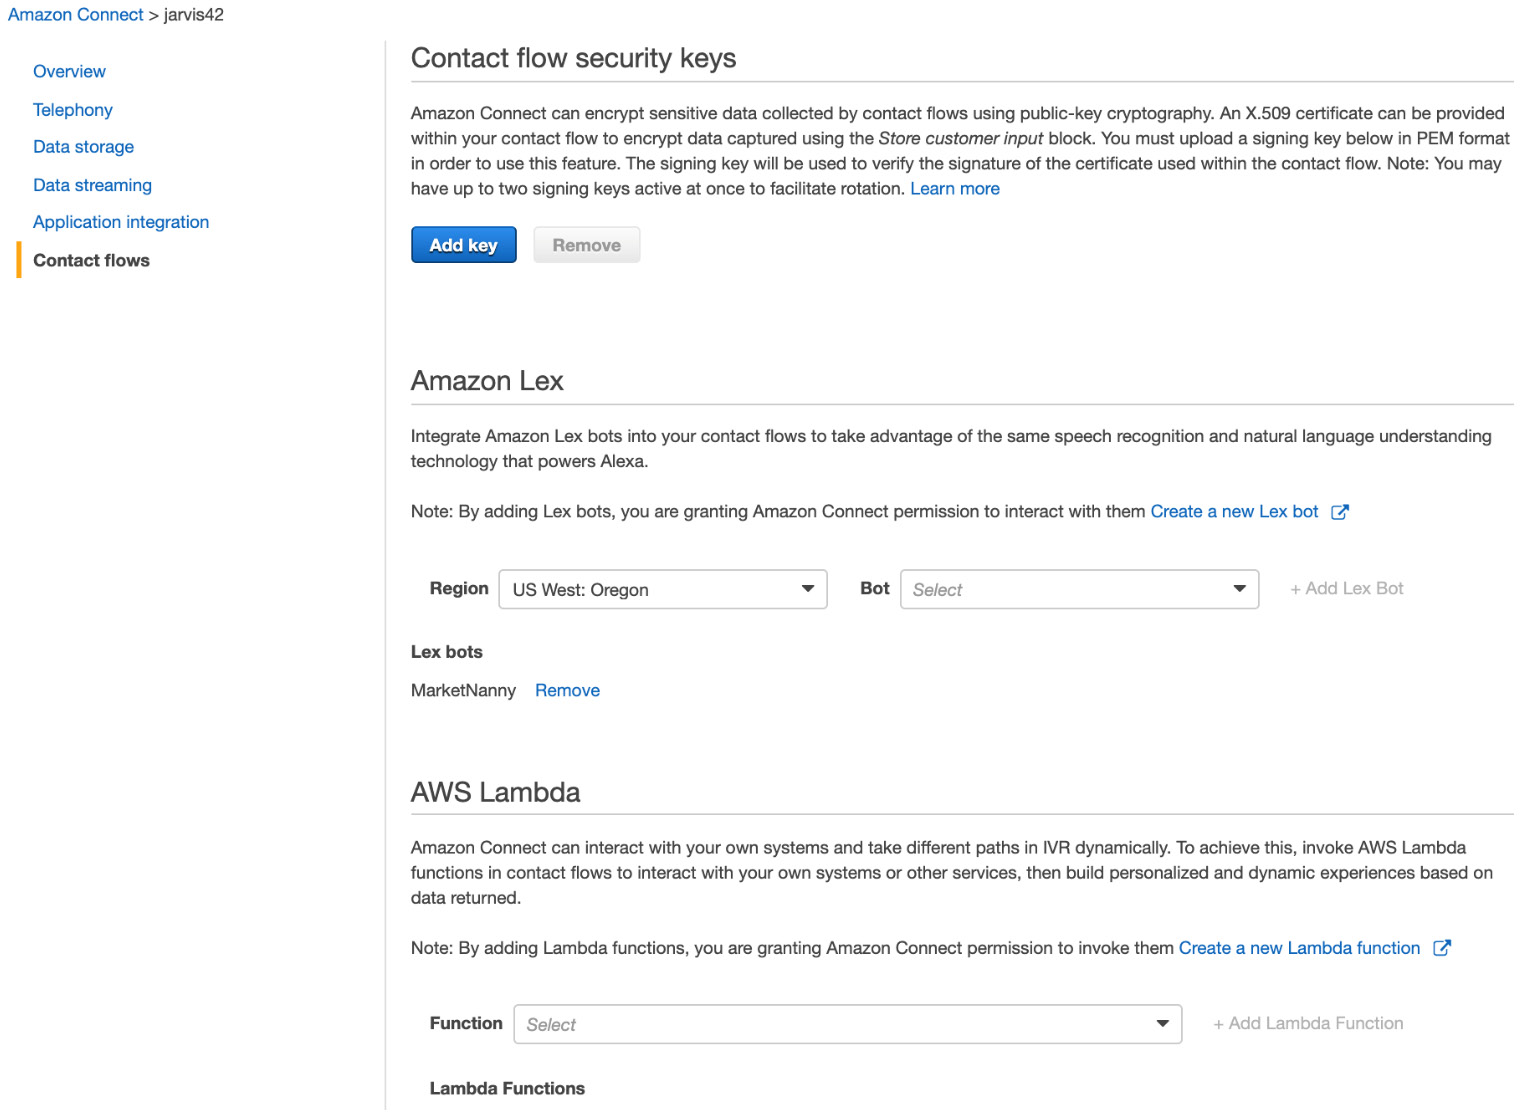
Figure 5.70: Amazon Connect contact flow configuration
We have two ways to connect — via Amazon Lex or AWS Lambda. We will use Lex, but feel free to try out Lambda.
- Add the GetBalance bot:
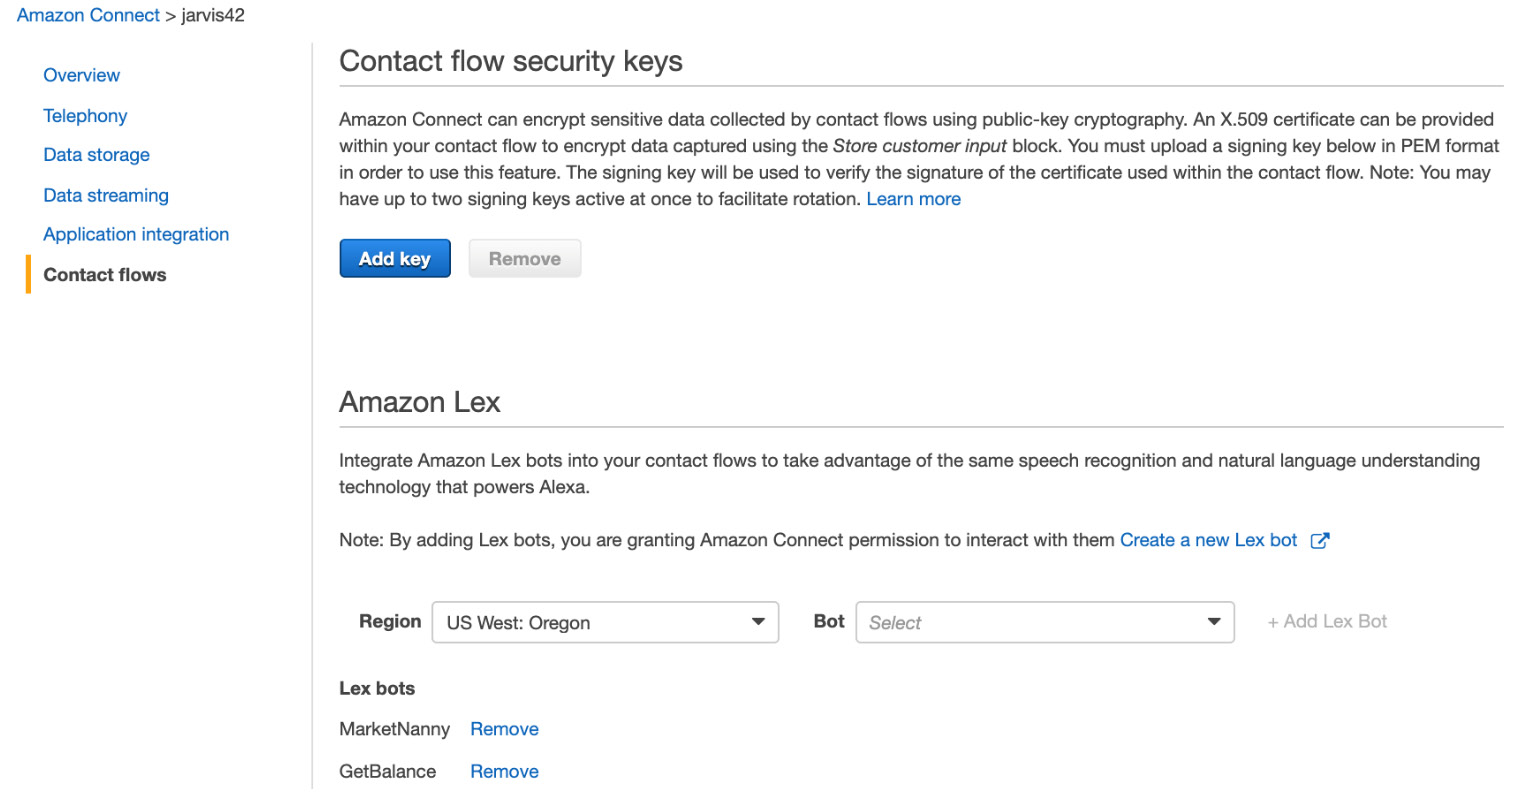
Figure 5.71: Amazon Connect contact flows
- The next step is to create a contact flow. Go to the Dashboard, click View Contact Flows and Create Contact Flow in the upper-right corner:
- Name it GetBalance and wire it as follows:
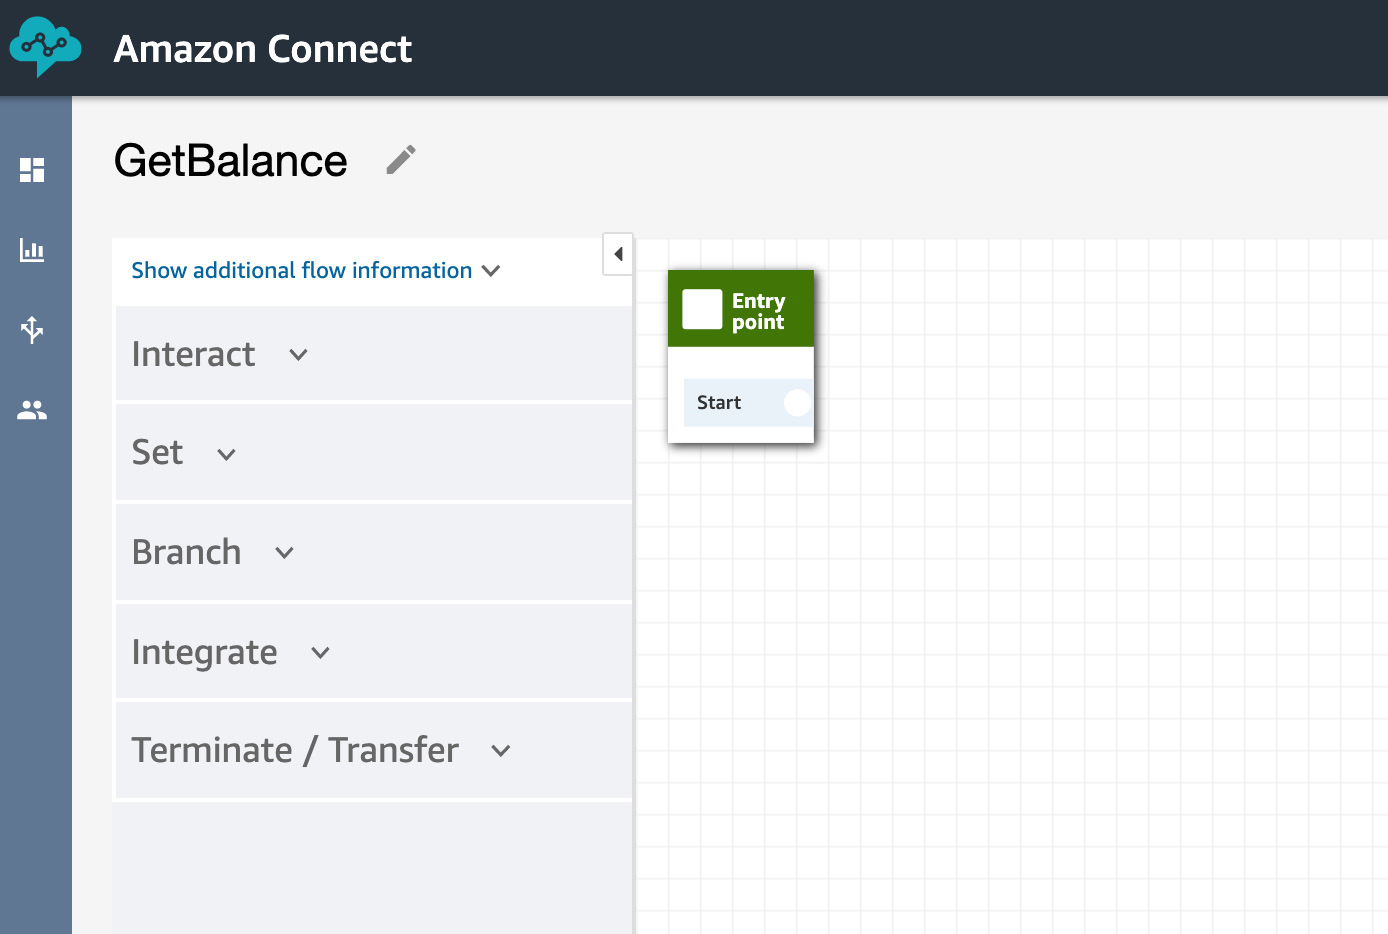
Figure 5.72: Contact flow editor—add entry point
- Add Get customer input and a friendly message:
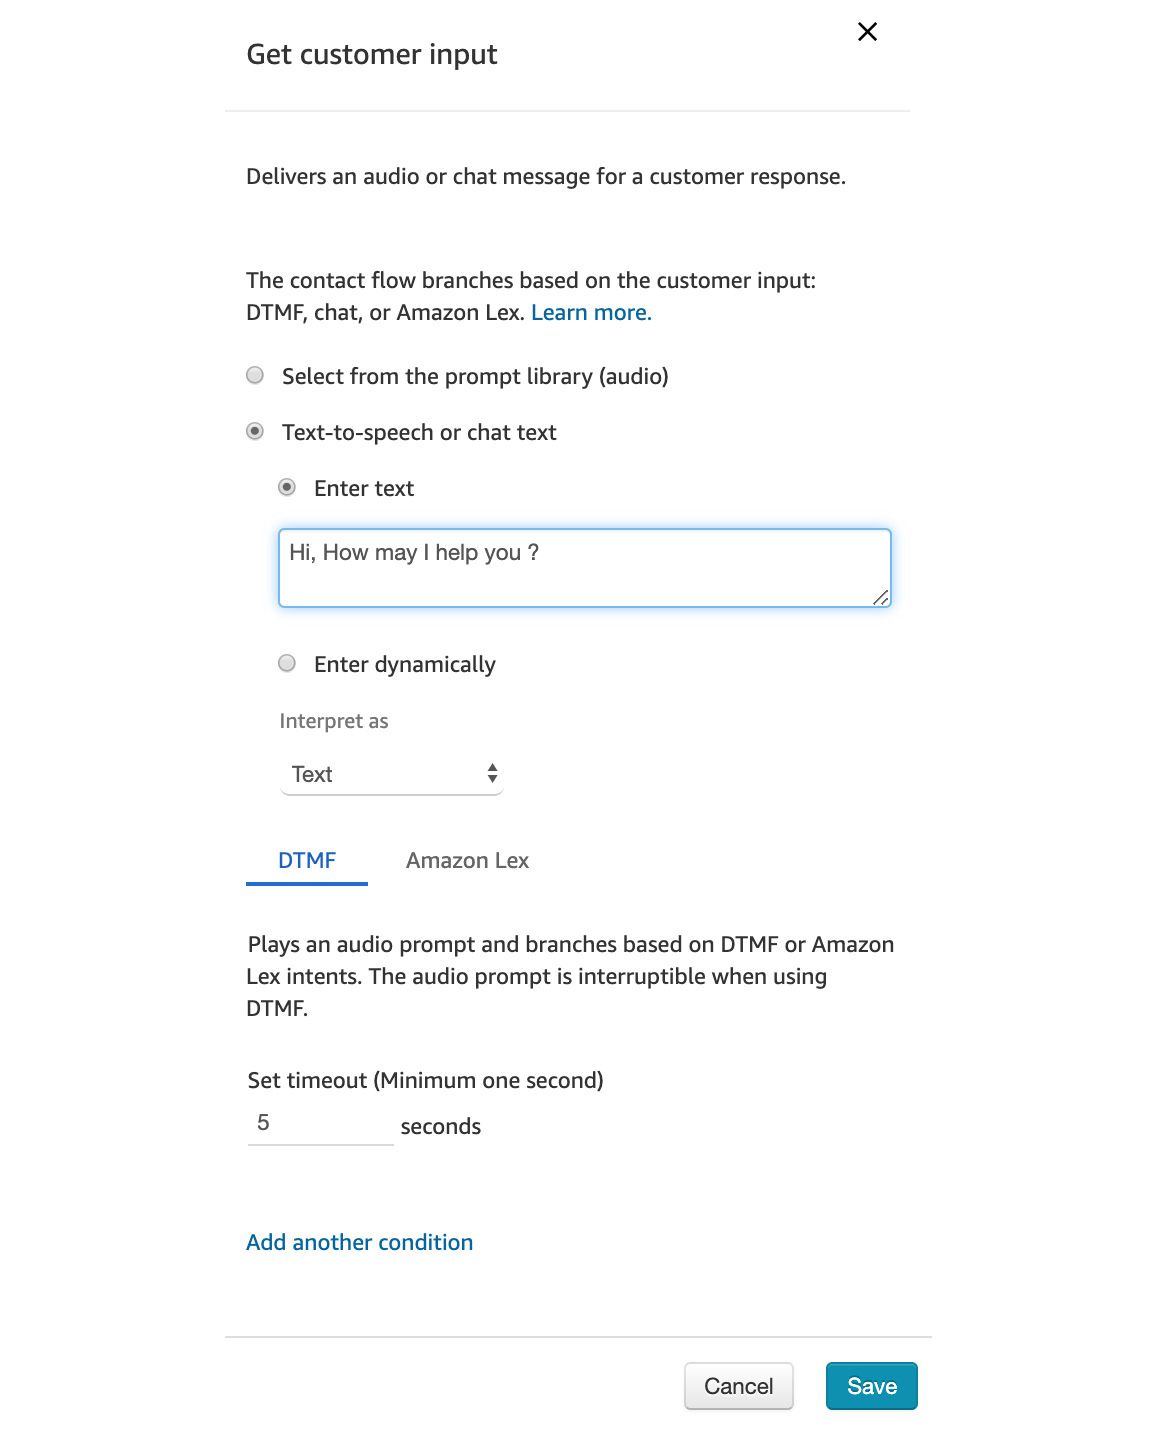
Figure 5.73: Get customer input details
- Connect it to our GetBalance Lex bot and the Balance intent:
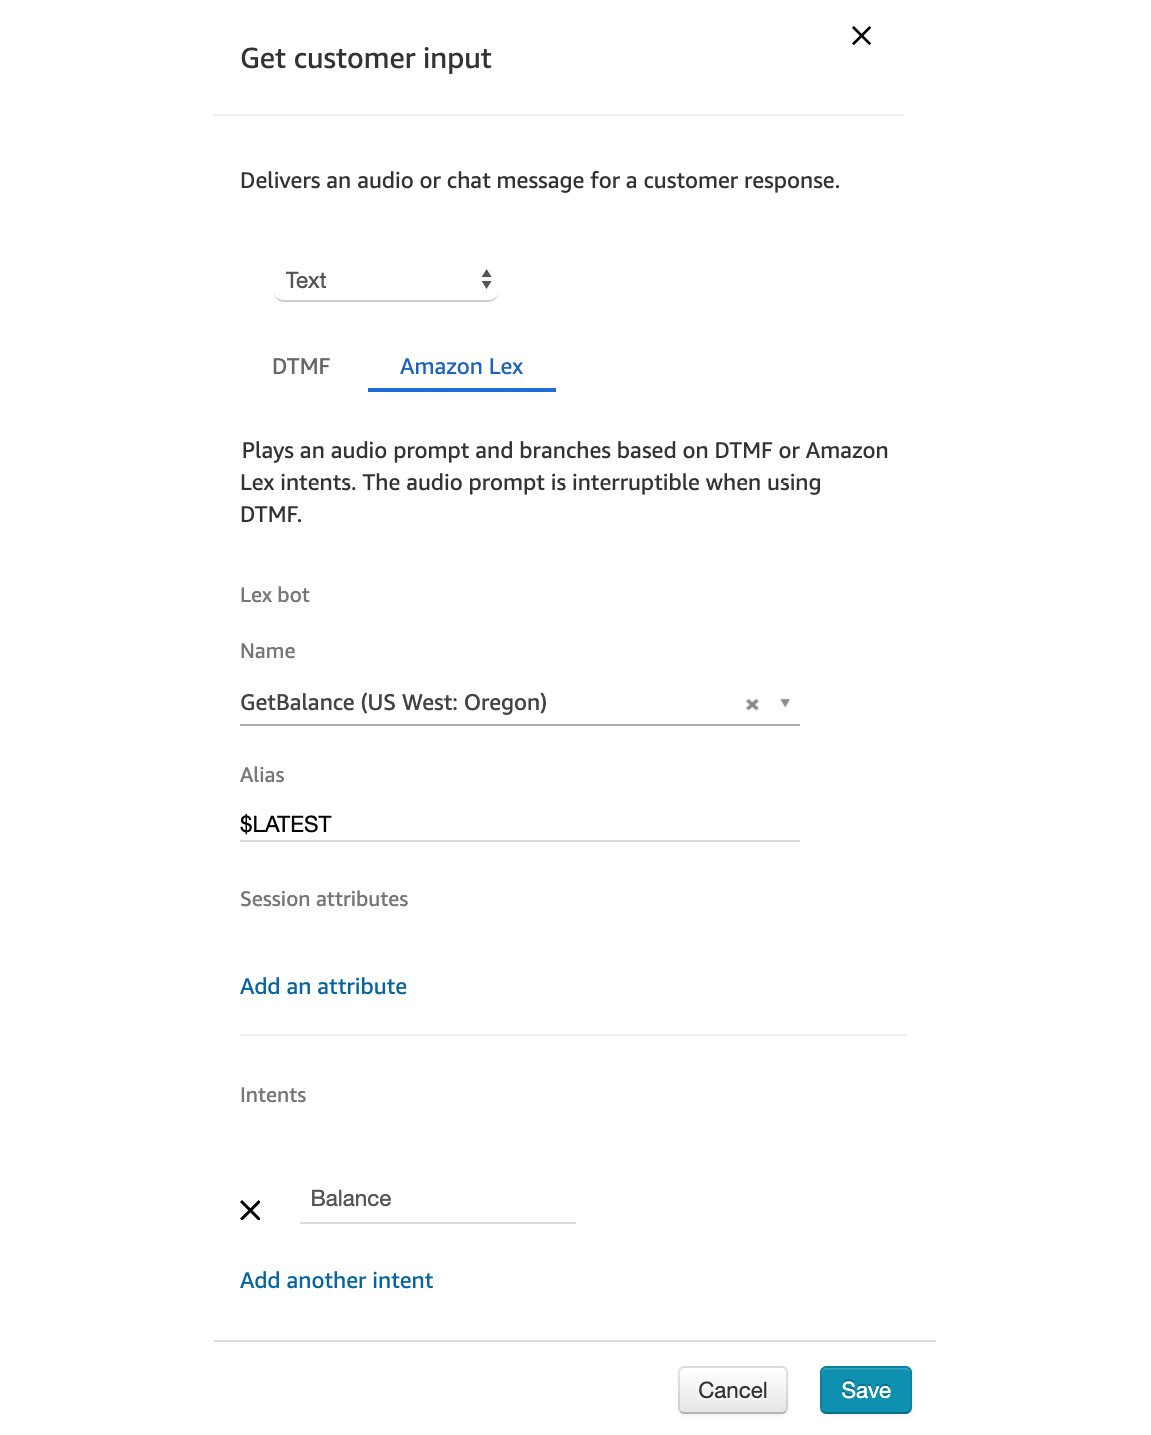
Figure 5.74: Get customer input configurations
Then, connect all of them to hang up for now. It is a simple sequence. You can experiment with various flows:
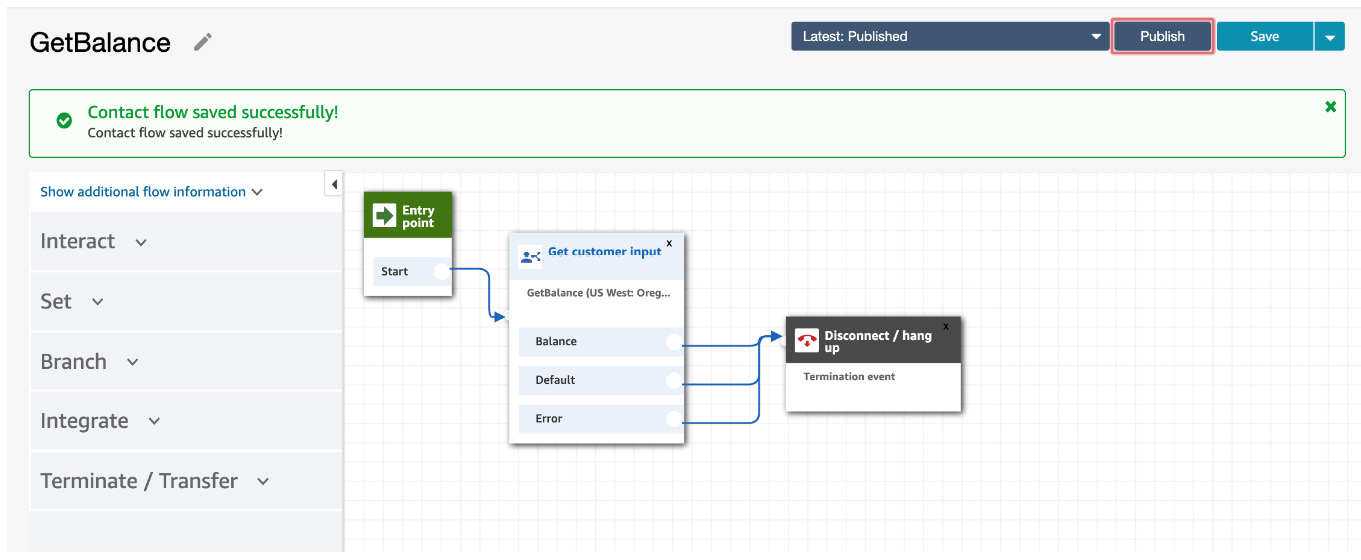
Figure 5.75: Add a hang up flow
Now that we have created another contact flow, let's rewire our phone number to answer this.
- Go to Overview and click on Login URL and then enter your Amazon Connect credentials:
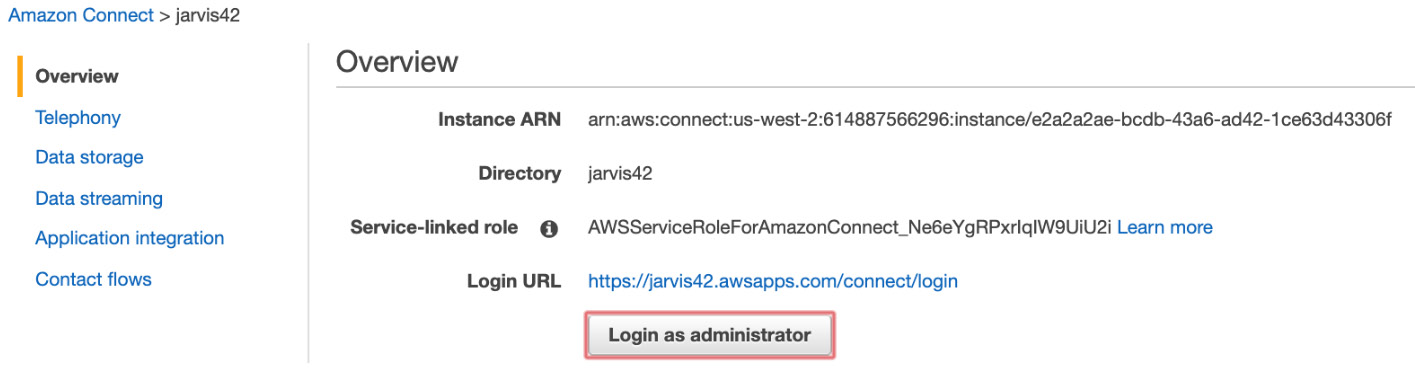
Figure 5.76: Overview screen
- Click on Routing and Phone numbers:
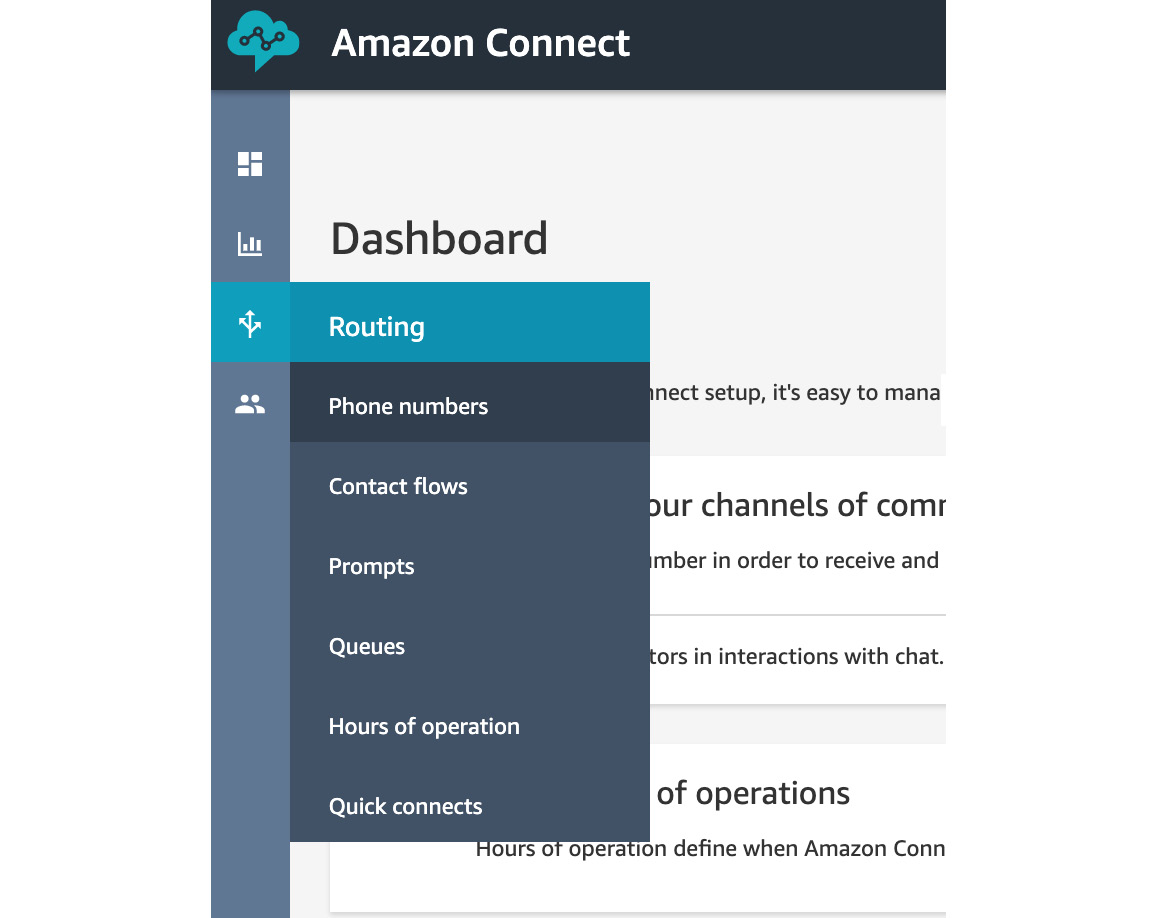
Figure 5.77: Selecting the phone numbers
- Click on the phone number:
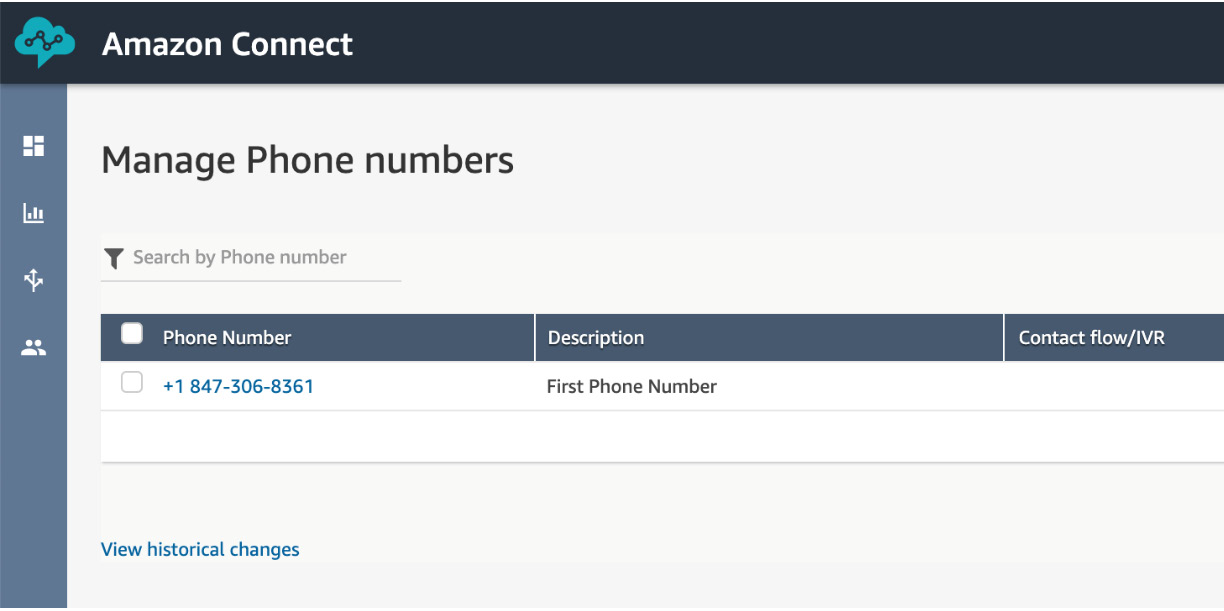
Figure 5.78: Manage Phone numbers screen
- Select GetBalance from the drop-down list for Contact flow/IVR:
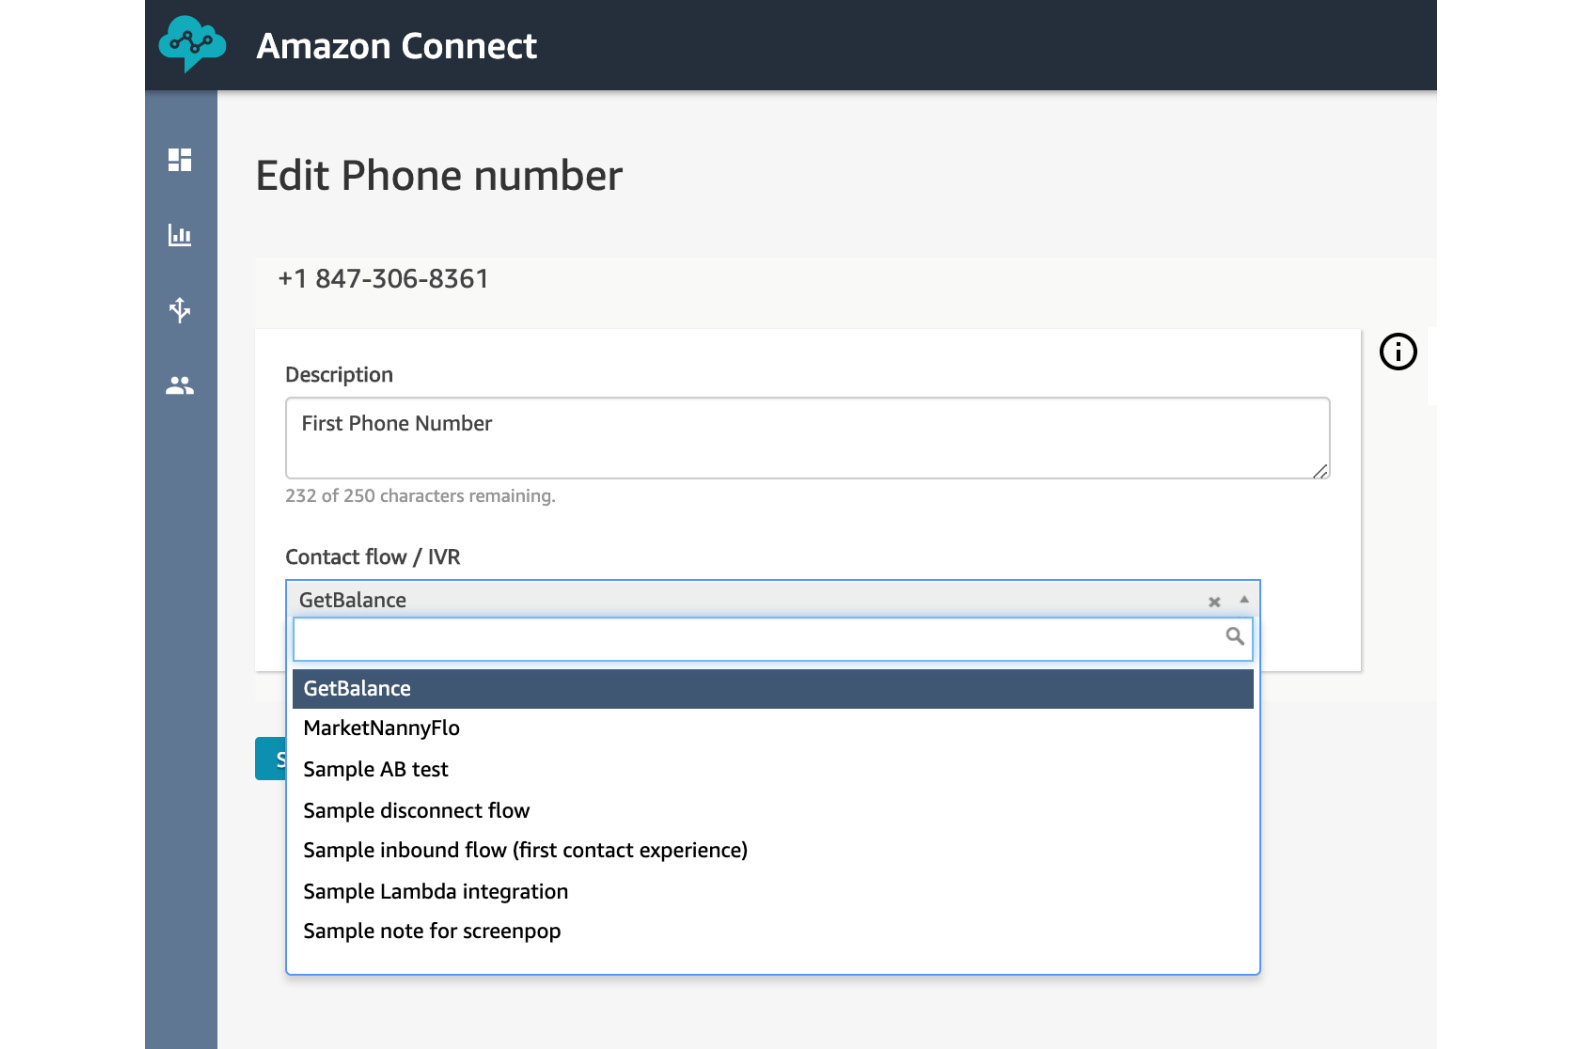
Figure 5.79: Add GetBalance to the phone number
- Click Save. Now you have wired your bot to a call center.
- Call the number. It will ask you How may I help you? You can say How much money do I have? and it will reply You have 42.0! Amazon has done a good job: when we activated the bot via the keyboard from the test console, it gave us a text message back. However, when we called it via Connect, it gave us a voice answer back.
This is a good time to play around with different questions and even different people—your friends, your spouse, and others. With relatively very little work, the voice bot will understand what they are saying and answer this simple question. You can try different prompts, maybe even add a dollar sign and see whether it says it the right way.
6. Computer Vision and Image Processing
Activity 6.01: Creating and Analyzing Different Faces in Rekognition
Solution:
- Navigate to the Amazon Rekognition service from the Amazon Management Console and choose Face comparison from the left toolbar.
- Upload the first set of images to Rekognition so that it can recognize and compare the faces, that is, https://packt.live/31X6IP6 and https://packt.live/2ZLseUd:
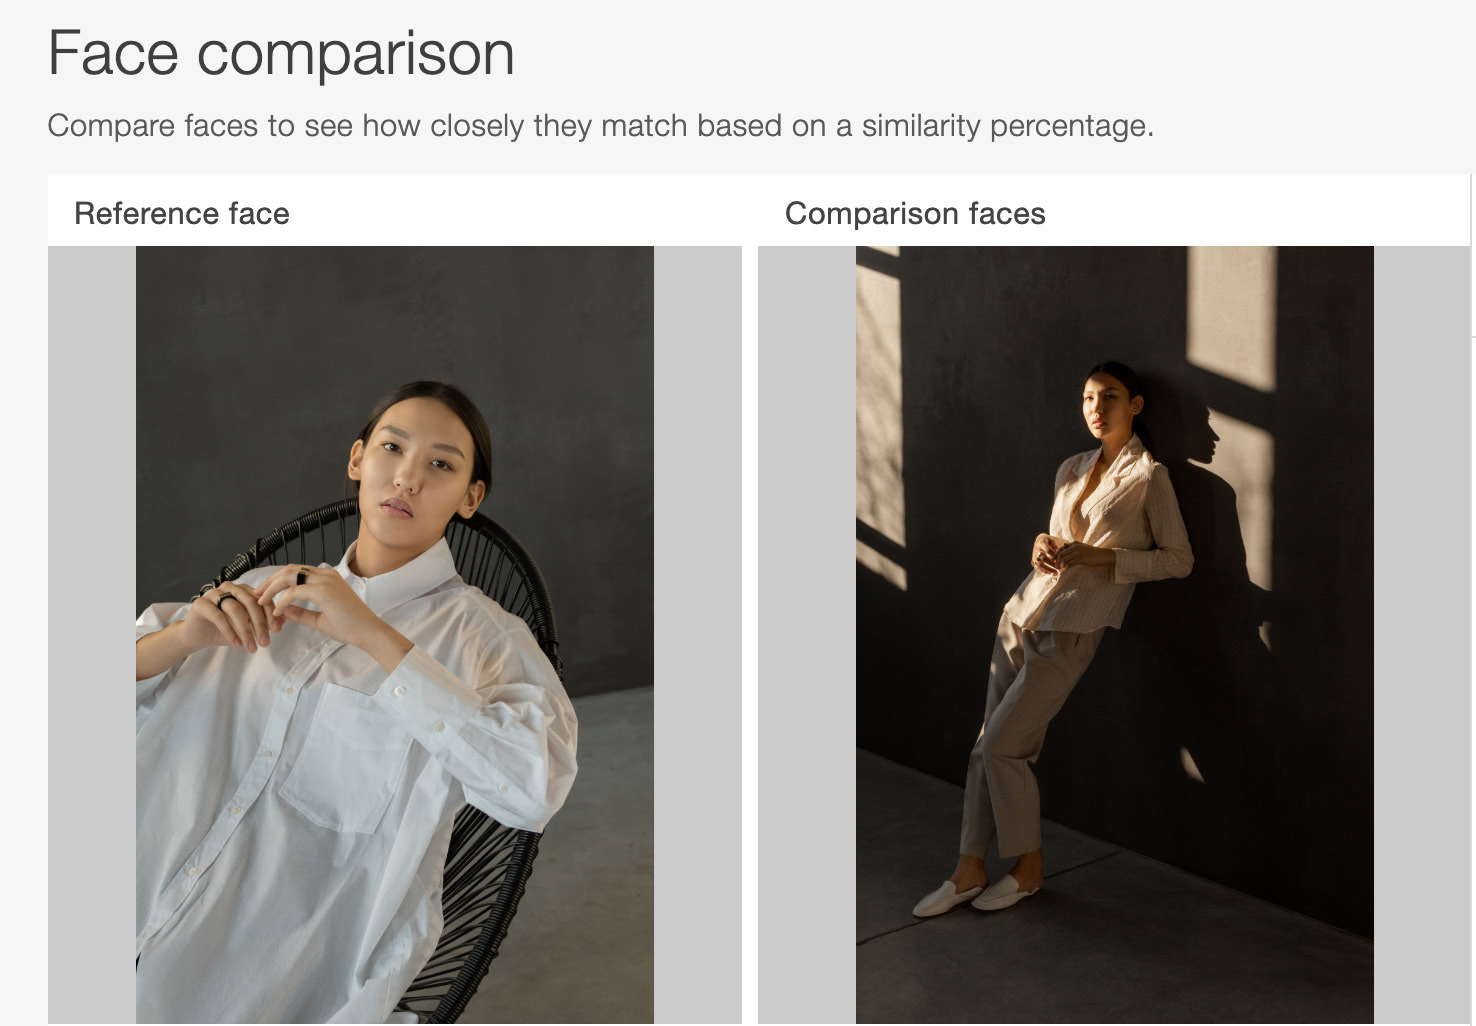
Figure 6.56: The first images provided for face comparison
Rekognition can recognize that the faces are of the same person with a 99.1% degree of confidence, even with different angles, lighting, and shades:
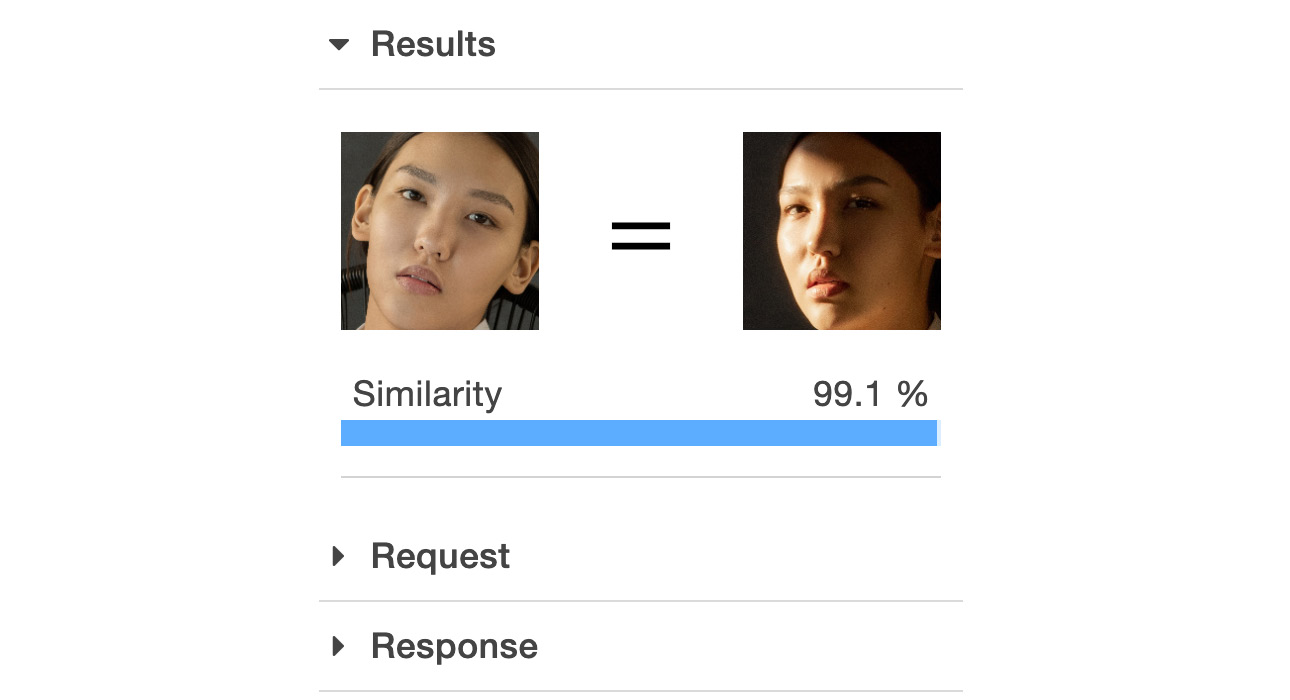
Figure 6.57: Results for the first images provided for face comparison
Additional Challenge
- The second set of images are https://images.unsplash.com/photo-1526510747491-58f928ec870f and https://images.unsplash.com/photo-1529946179074-87642f6204d7:
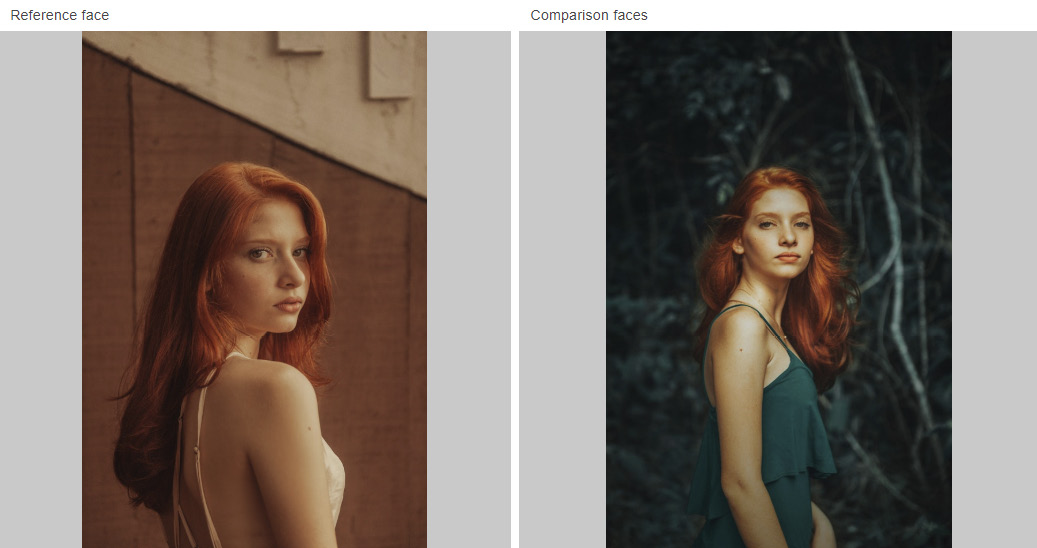
Figure 6.58: The second images provided for face comparison
Once again, Rekognition recognizes the faces with a 99.4% degree of confidence, even at different angles:

Figure 6.59: Results for the second images provided for face comparison
With those impressive results, we conclude this activity.