
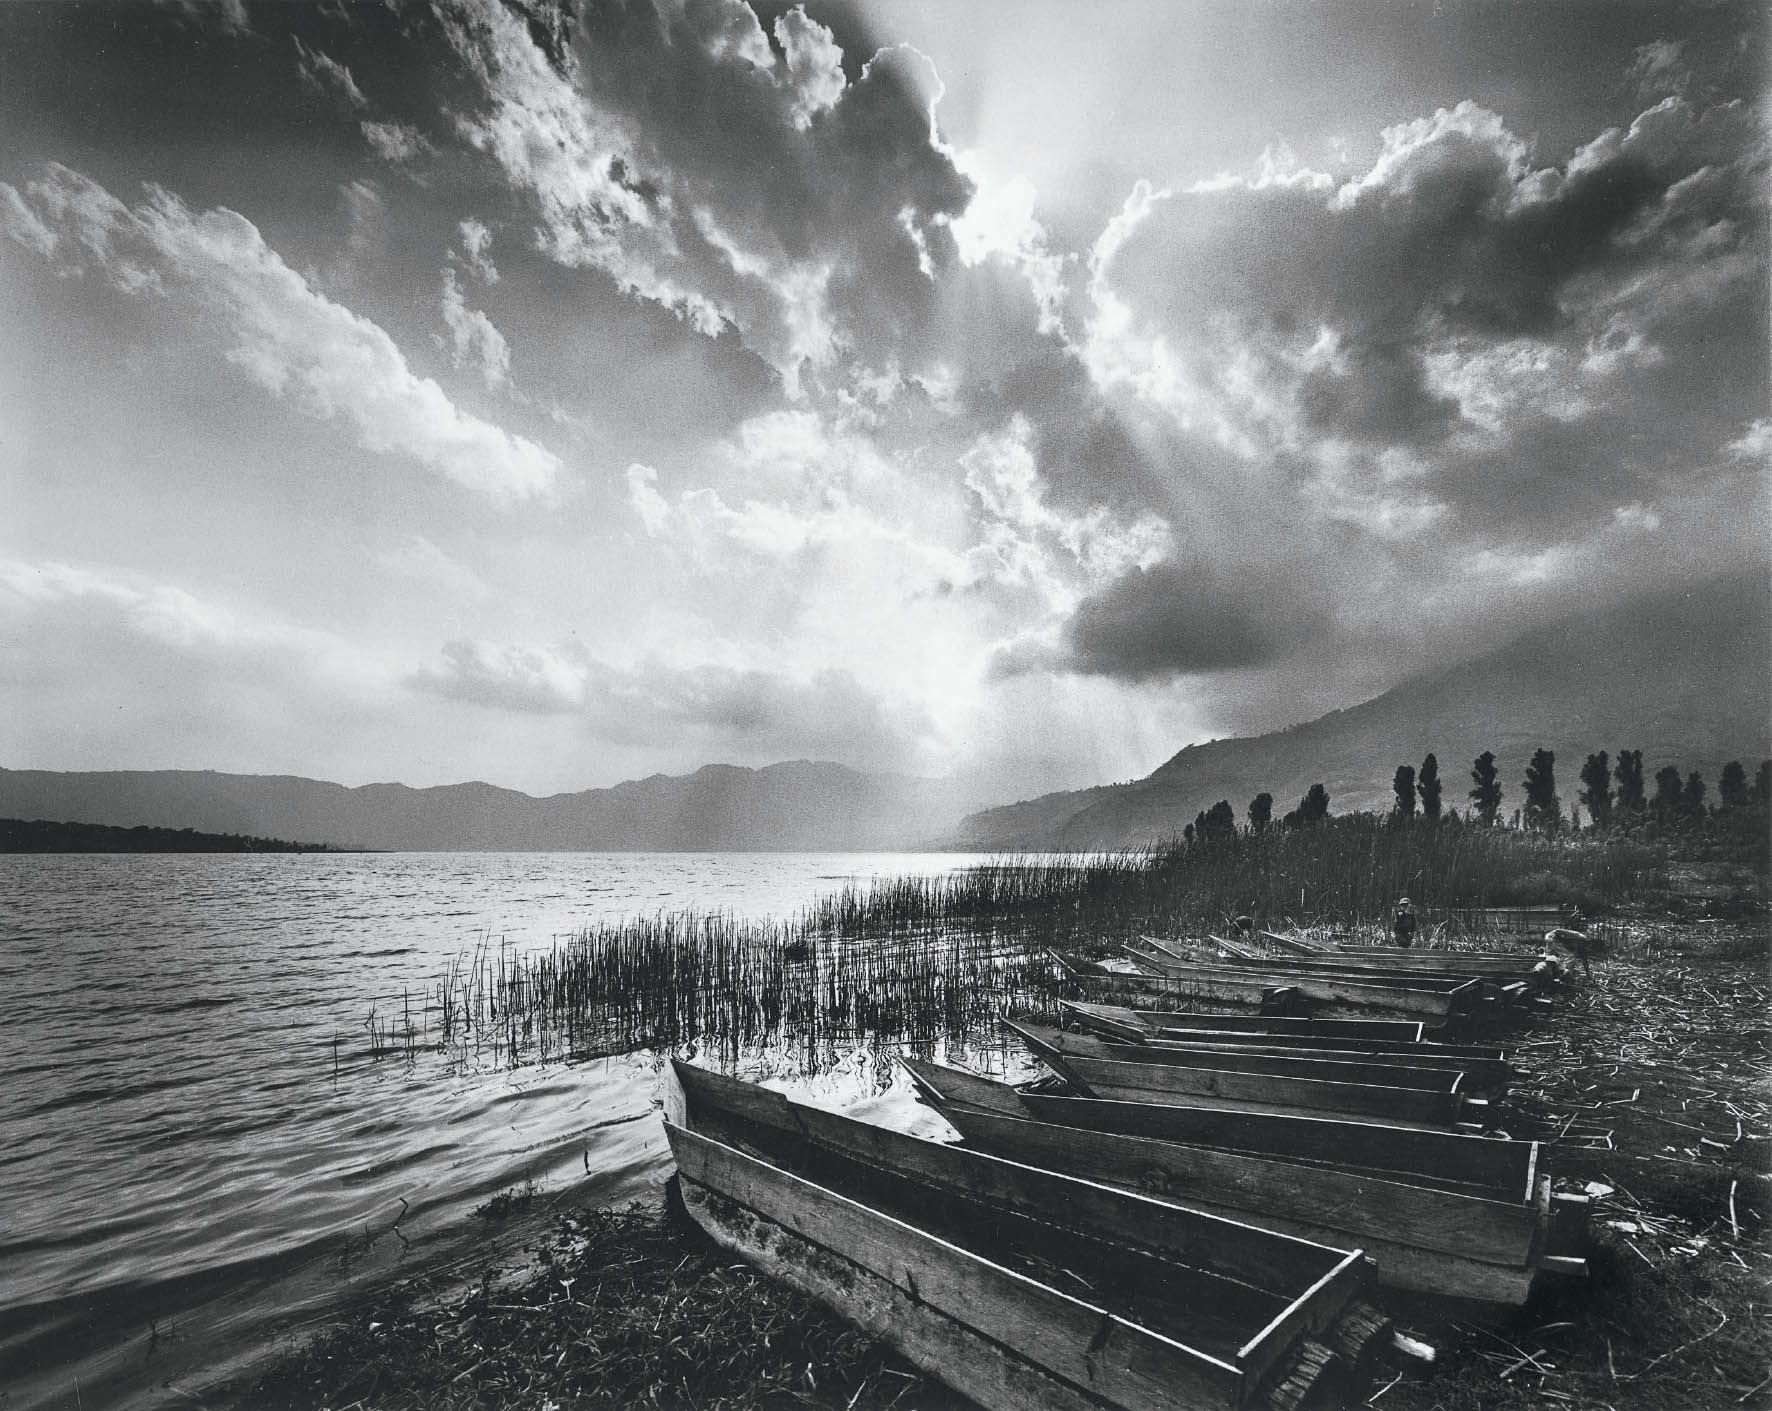
Figure App-1: Cayucos, Lago de Atitlan
At the close of the day, Guatemalan fishermen bring their flimsy boats (Cayucos), looking like floating coffins with a prow at one end, back to the edge of Lake Atitlan (a volcanic caldera much larger than Crater Lake), and inspect them for the next day’s work.
APPENDIX 1
Testing Materials and Equipment for Traditional Photography
![]()
SOME PEOPLE LOVE TO TEST materials and equipment, others abhor the chore. I tend to fall closest to the latter group. There are, however, several tests and equipment checks that I feel are important enough to perform periodically. The following is a run-down of the several that I feel are mandatory.
ASA (ISO) Test
A simple test for film ASA is the following. Expose a gray card at Zone 1, i.e., four stops below the Zone 5 meter reading. (Actually you can expose anything at four stops below the meter reading, because the meter reading is always Zone 5, remember?) Then make two additional exposures, one stop below and one stop above the Zone 1 exposure. All three exposures should be measured at the ASA you have been using until now. Develop the negatives. The true Zone 1 exposure is the one that just begins to impact the film as discernible density above the film base fog.
Check the three exposures carefully, for the Zone 1 exposure determines the true ASA for your film/developer in the following manner: If the preset ASA was 100 and the first exposure exhibits perceptible—but very thin—density, and the next lower exposure is no more than film base fog, then ASA 100 is correct. If the second exposure (one stop below the first) shows density, then the true ASA is closer to 200, for the supposed Zone 0 exposure is actually Zone 1. In fact, further testing may show that a lower exposure still will show density, which means that the ASA is even higher. On the other hand, if the third exposure (1 stop above the first) is the one with the first apparent density, then the true ASA is 50. If even the third exposure shows no density, then the ASA is still lower, and further testing is required to find the correct value.
You may ask, “How long should I develop the negative . . . N? . . . N–? . . . N+?” It doesn’t matter! Remember, Zone 1 develops fully in several minutes and then goes no further. If the film is developed for an excessively long time, film base fog will increase, and Zone 1 will grow more dense along with it. But this will not alter the test in any way. So just develop the test negatives along with any images you happen to be developing the next time you are in the darkroom.
This simple, precise test avoids the need for densitometers or other expensive measuring devices. After all, if you can see perceptible density, you’re at Zone 1. Why spend hundreds of dollars on a densitometer to measure something that requires nothing more than a careful look? All photographers should perform this simple test. It sets the basis for proper exposures. Keep in mind, however, my own procedure and my recommendation to all other photographers: after you determine the proper ASA (for sensitometric purposes), then cut it in half in order to get better separations in the low values (for photographic purposes). Reread the chapters on the zone system (if necessary) to review my thinking on this point.
Contrast Development Test
To determine contrast characteristics of your film/developer combination, use the following procedure. Once the ASA is determined, expose the gray card at Zone 5 (using the manufacturer’s recommended ASA, not the lowered ASA that I recommend for actual photography) and develop the negative normally (i.e., what you have been using as “N” up until now, or what the manufacturer recommends as normal). Then print on a normal contrast paper (grade 2) to achieve the same value as the 18 % gray card (which is the value the meter gives you). Now, using the same development procedure throughout and the same exposure time under the enlarger, will a Zone 9 exposure yield a pure white and a Zone 8 exposure an “almost white”? If so, your “normal development” time is correct for use with your paper/developer combination. If not, alter your negative development time to achieve those Zone 9 and Zone 8 results. For example, if both Zone 9 and Zone 8 are pure white in the print, you are actually overdeveloping your negative. Re-expose the three zones—Zones 5, 8, and 9—and develop a bit less and try the entire process again. If you achieve the desired tonalities this time, you have found the true “normal developing” time. From this point, you can adjust your development table as you now have it—or construct your own for the first time—and you have photographic standards that are correct for your own products.
Lens Sharpness and Coverage Test
Tape a newspaper to a wall and photograph it, or focus on a window screen that fills the frame, and photograph it. With a powerful magnifier, check the negative from corner to corner to see if all letters or all wires are uniformly sharp.
If you have a view camera, you can use this same approach to check your sharpness as you raise or lower your lens, thus determining how far you can move the lens before you begin to lose sharpness and, ultimately, the image itself. This tells you how large your image circle coverage is. Just place a mark on the newspaper or screen at the top of the image with the lens in the normal position, then raise the lens to the limit and rephotograph. If you lose sharpness toward the upper corners, you will know just how far you can go before you encounter a loss of sharpness, and you can work within those limitations.
Bellows Test
This is only for those who own a large format camera with bellows. If your bellows has a pinhole that allows outside light to hit the negative during exposure, your negatives will be fogged. This is bad enough in itself, but the pinhole may be situated in a way that fogs only part of the negative, so you have variable fogging, and this is even worse. The simplest and surest way to test for bellows pinholes is to go into the unlit darkroom, open the bellows and put a flashlight inside, moving the flashlight and yourself constantly to see if a beam of light comes through. Bellows corners are the most likely place to find pinholes. Also, open the bellows to several different extensions and check at each of the lengths, for a hole may open at one length, and cover itself over again at a longer or shorter extension.
I have found that black electrical tape or black masking tape will cover the hole perfectly. You don’t have to buy a new bellows if you find a pinhole—just tape it over. Only when the tape becomes so thick that it begins to impede bellows movement do you need a new bellows. I use my camera a lot, and I push my bellows to the limit with rising fronts and other movements, so I have had more than my share of pinholes, and I have plenty of tape on them as a result. But it’s a light-tight unit, and that’s all that counts. It is also wise to carry some black tape with you at all times when in the field in case you scratch or rip the bellows, but not so badly that it is irreparable.
Safelight Test
How do you know if your safelights are, indeed, safe? Most people test by placing an opaque object on a sheet of enlarging paper under the safelight for several minutes, then develop the paper. If the outline of the object appears, it shows the safelight to be unsafe. True enough, but this test will uncover only a terribly unsafe light, not one that may have a subtle yet serious problem. Let’s create a far better test.
First, any enlarging paper, just like any negative, must be exposed to a minimum amount of light before it will begin to show density. We call this the paper’s threshold. In chapter 10 this was discussed under the technique of flashing. Determination of threshold forms the basis of the safelight test.
Start with the usual determination of threshold: a “test strip” with no negative in the enlarger. This time, however, do it with all safelights in your darkroom turned off. Closing the aperture down to the minimum setting, with the enlarger head at its greatest height on the column and the bellows crunched down to spread the light as wide as possible, make a series of short exposures, moving a cardboard an inch or half-inch at a time down the enlarging paper with each exposure. Assume there are twenty short exposures, and the developed paper shows a light gray band at the top end—the one that received twenty of the short exposures. The next band (receiving nineteen short exposures) is a bit lighter. The next band (eighteen exposures) is still lighter, etc. Let’s assume that you can go down to band #10 with some slight degree of gray still showing. Anything less received a sub-threshold set of exposures. Therefore ten exposures is threshold, and we will now call that ten units of light.
That, of course, would be the perfect test for threshold. But instead of developing the test paper after the twenty exposures as you would for a threshold test, this time cover half of the test paper with a cardboard, covering half of each of the exposures. Now turn on all safelights in the darkroom. Leave them all on for a minimum of eight minutes, then develop the paper. Half of the test paper was now exposed to each of the enlarger exposures only; the other half received the enlarger exposures plus the safelight exposure.
If the safelights put on as little as one unit of light during that eight-minute exposure, each visible band of gray would become one band darker. By comparing densities of gray bands across the portion that was covered by the cardboard during the safelight exposure, you can determine exactly how safe—or unsafe—your safelights are.
Enlarger Light Uniformity Test
If the light distribution across your negative is uneven, your prints will suffer greatly. This is a universal problem, but may be correctable. The way to test enlarger uniformity is this. Focus a negative at 8" × 10", then remove the negative. At any of your common working apertures (say, f/8, f/11, or f/16) expose a sheet of enlarging paper for a short enough time that it will develop to about Zone 5, the 18 % gray card. (If the paper is too dark gray or too light gray, the test will not be as effective.)
Now, see if it is uniformly dense from edge-to-edge and from corner-to-corner. Then, tear the paper right down the middle, and place each corner successively against the torn center. Is the density even? Generally, there is a significant light fall-off toward the edges and corners, and this can be corrected by extra burning of each negative outward from the center. If your enlarger exhibits this common problem, you can correct it as long as you are aware of it.
The real problem comes if the fall-off is erratic or if you have somewhat of a checkerboard pattern of light and dark areas across the gray print. If you have this problem, you should buy a new light source, because there is no way to correct it!
Enlarger Lens Sharpness Test
Tape hairs across your negative carrier from opposite corners (if you are bald, borrow someone else’s hair!). Be sure the hairs are pulled tightly. Focus on the crossing point. Are the hairs sharp at the edges? Stop down. Do they become sharp? If so, at what aperture? Always stop down to at least that aperture. (You should check this by actually exposing the cross hairs and developing the prints.) Do the cross hairs lose sharpness if you stop down beyond a certain aperture? If so, do not stop down that far.
A further test is to again use hairs; this time taping them across each of the four corners of your negative carrier (i.e., diagonally from one edge to the next, close to the corner) and perform the same test. The reason for this is that the lens may blur outward from the center in a uniform manner, and the two cross hairs radiating out from the center may not show the blurring that can be seen on hairs that cross them near the four corners. If both tests show the hairlines to be sharp, you have an excellent lens. If not, consider buying a new one.
Add to this list of tests as you see fit, but make sure your tests are good ones or they waste time and accomplish nothing. It is a good feeling to know your equipment and materials. Even if you find some minor defects or limitations, at least you will be aware of them and you may be able to work around them.