
10
Final Notes and Summary
Welcome to the last chapter of this book! I hope you have become a well-informed Lightroom user by now and are all set to make the best out of this excellent software.
With all of the Lightroom Classic modules discussed, we can now look at the other versions that come with it as a package.
We will cover the following topics in this chapter:
- Second window
- Tethered shooting
- Lightroom
- Recapitulating the Lightroom Classic modules
Before we move on to other versions of Lightroom and finish our journey through Lightroom Classic, let's look at two items I left out earlier – second window and tethered shooting. These will be necessary for some setups.
Second window
This is a feature that gives us a second, independently managed Lightroom window. We can use it to view fullscreen images while we keep working in the main window. This window will open as a full screen if we have a second monitor attached to the computer. Once enabled, we can use the options in the File menu to manage the second window.

Figure 10.1 – The second window File menu options
The second window can work in four view modes but offers no tools. Tools remain part of the main window of Lightroom.
These are the available view modes:
- Grid
- Loupe
- Compare
- Survey

Figure 10.2 – A second window example
In addition to their standard functionality, in the Loupe view, we can choose between three modes:
- Normal
- Live
- Locked
The Normal view mode mirrors selections made in the main window and vice versa. The Live view displays the image that we are currently hovering over in the main window. Any photograph viewed in the Locked mode in the second window will not change with selections made in the main window. It will also remain unchanged after we move into different view modes within the second window, even if we select other photographs.
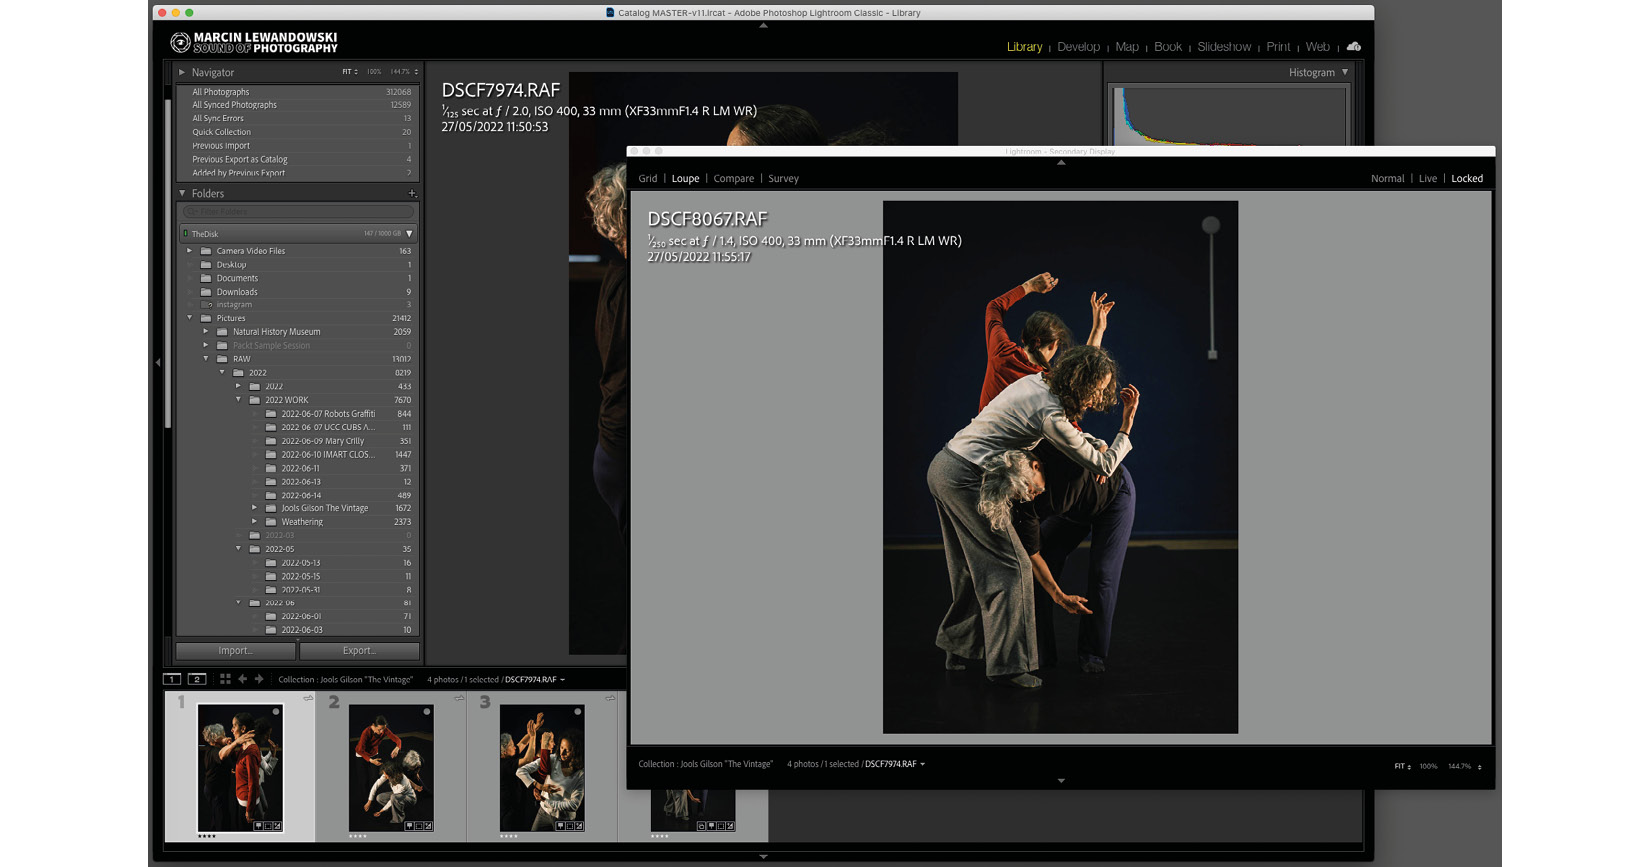
Figure 10.3 – A second window in Loupe > Locked mode example
Now, let's gain some insights into tethered capture.
Tethered capture
Tethered capture, means that our camera is tethered by a cable to the computer, where it will save the images we make while being tethered. For many Nikon and Canon camera users, this can be either a feature that comes in handy from time to time or the primary way to interact with Lightroom. A complete list of compatible cameras is available on the Adobe website. Tethered capture is a nonexistent feature for the unlucky users of other camera systems, such as myself, unless we use third-party plugins that offer workarounds for this lack of compatibility. Unfortunately, they are not as sleek nor as reliable. If tethered shooting is the way you work, you need a reliable solution, and if your camera is not supported, then I would suggest researching available plugins or even looking at other solutions, such as Capture One.
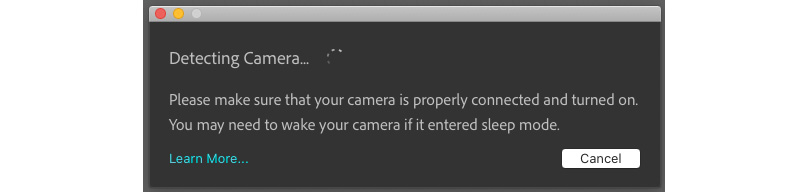
Figure 10.4 – Lightroom looking for an attached compatible camera
To start working tethered, we must connect a supported camera, turn on Lightroom, and go to File > Tethered Capture > Start Tethered Capture. Here, we can set the name for our session, a file-naming recipe, the destination for created files, and additional information we would like to include in the metadata. If we enable Disable Auto Advance, Lightroom will stop advancing to the most recently captured image.

Figure 10.5 – The Tethered Capture Settings window
Once we click OK, Lightroom will look for a connected camera and, after a moment, display a floating control bar with a large circular button, symbolizing the shutter. The other menus give us control over our camera's basic options and allow us to immediately apply selected develop settings, just like when importing photographs. Clicking the Live view on the bar will display the live view from our camera in an additional window. From now on, until we end the tethered session, whenever we press the shutter on the camera or the floating bar, photographs will be imported directly into Lightroom and become available in a matter of seconds. I used this feature on several occasions with both Canon and Nikon cameras, and it was always a pleasant experience, especially when they display immediately on a secondary screen or even through a projector, which can be used as a secondary screen as well.

Figure 10.6 – The floating control bar
Tethered capture might include details that are directly influenced by the hardware someone is using, but for those who need these features, they are as flawless in usage as anything else within Lightroom Classic.
It's time to look into Lightroom now!
Lightroom
The younger brother of Lightroom Classic is named simply Lightroom. It's all about editing photographs without relying on copies stored on the machine we are currently using. It's about working on the same sets of photos on a different device. Lightroom is a more sleek but stripped-down version of Lightroom Classic, missing many features that Lightroom Classic includes as standard, but it also consists of a few nifty tricks that Lightroom Classic can't do. As a cloud-based service, most of its functionality relies on an internet connection.

Figure 10.7 – Lightroom
The basis of Lightroom's flexibility works as follows – we create a collection in Lightroom Classic and choose for it to sync. Syncing can be done by either selecting the Sync with Lightroom option when creating a collection or, later, by checking the Click to sync this Collection with Lightroom box. We can find this box next to the collection name in the Collection tab. In addition to "living" on our hard drive and inside Lightroom Classic, this collection will now be available for us to edit in Lightroom. Any synced collections will be available for editing in Lightroom for mobile and Lightroom on the web through Adobe Creative Cloud, where Lightroom will upload all synced photographs.
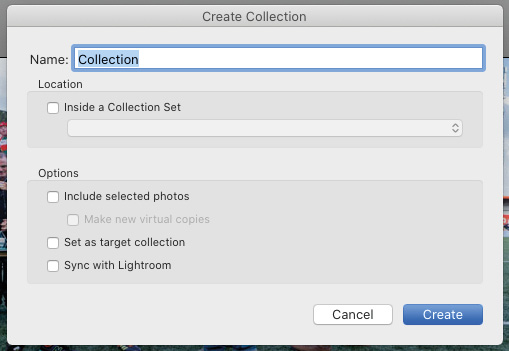
Figure 10.8 – The Create Collection menu

Figure 10.9 – An example of a collection synced with Lightroom
The first big and immediately noticeable difference in Lightroom (compared to Lightroom Classic) is the lack of additional tabs. Lightroom works like a hybrid of the Library and Develop module panels without the others. Its core functionality is still based around the left- and right-side panels, but they work in a slightly different way to the Lightroom Classic panels. If you feel confident with moving around Lightroom Classic, switching to Lightroom will be a breeze, as most Develop module tools are just where you would expect them to be.

Figure 10.10 – The Edit menu, visible on the right
The left-side panel of Lightroom works like a library and gives us access to all available photographs. We can add new photos by clicking the Add Photos button and choosing the images or folder we want to add. Anything we add to Lightroom is automatically synced with our Adobe Creative Cloud account, making images available across all platforms. Syncing works in all directions – that is, if we develop something in Lightroom Mobile on our phone, the same settings will be visible in other Lightroom versions and vice versa.
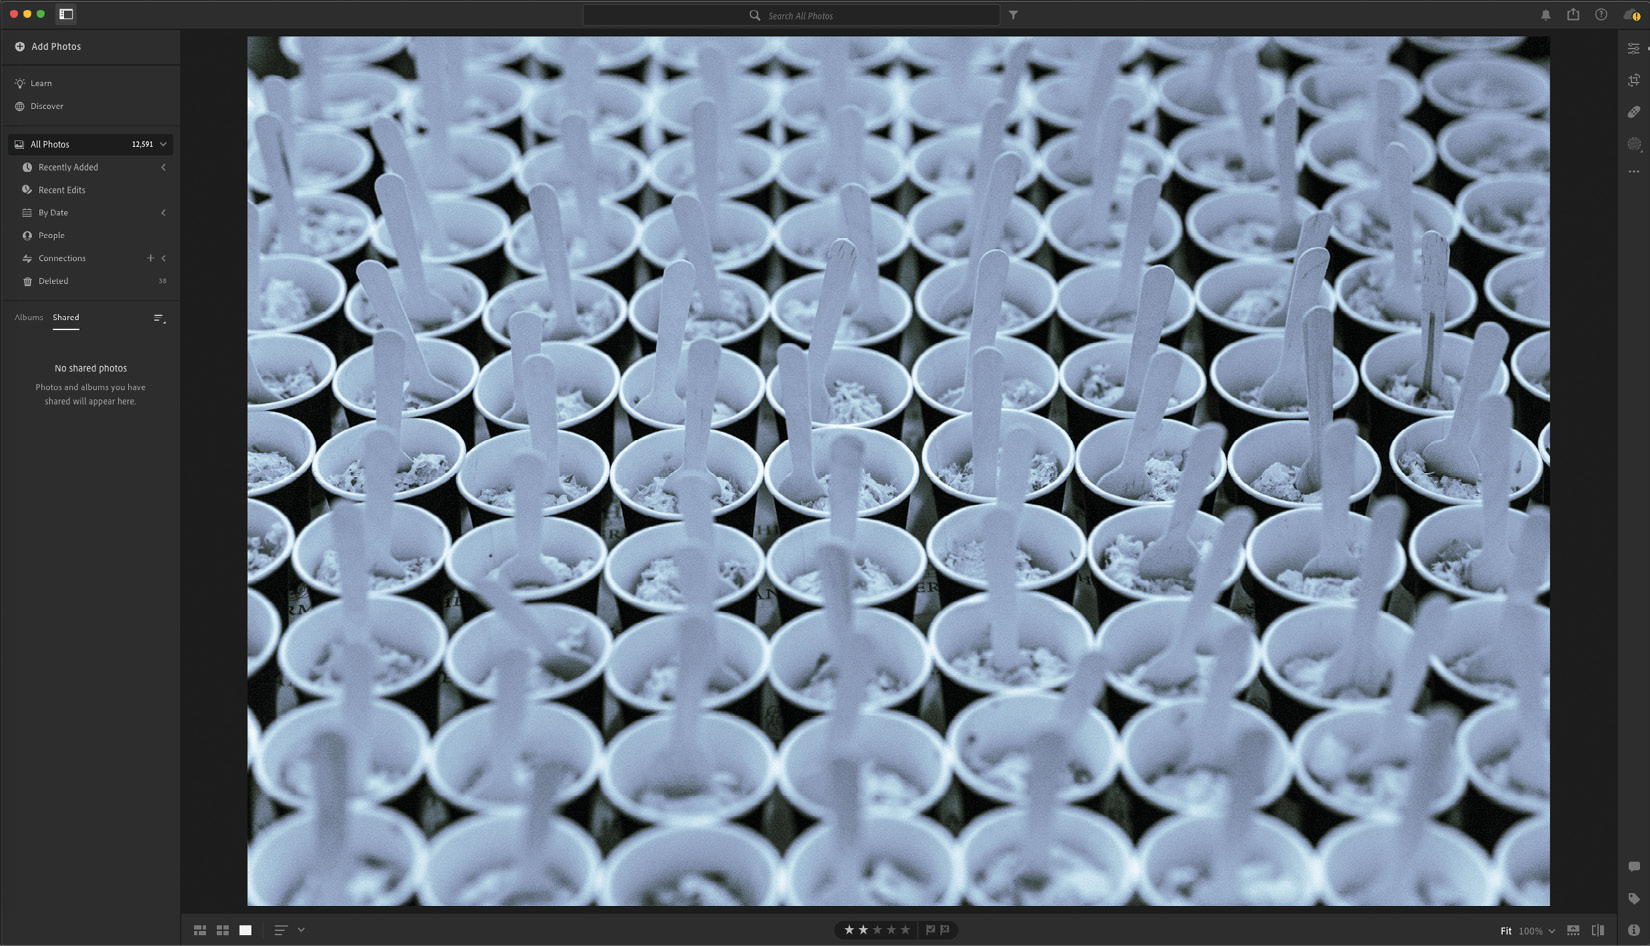
Figure 10.11 – The All Photos menu, visible on the left
One handy shortcut to remember for working in Library mode is "P", which will open and close the left tab. This can also be done by the button in the top-left corner of the Lightroom window. By using the familiar shortcut for entering the Grid view, "G", we will not only enter the grid but also cycle through its two available types – photo grid and square grid. A photo grid can be described as a masonry grid – a clear view of a stream of photographs without any notations, names, and so on. A square grid is a look more familiar to Lightroom Classic's view and includes details such as rating, flags, and its sync status. Unfortunately for us, many of the shortcuts from Lightroom Classic will not work in Lightroom or do different things – for example, "E" will open Develop mode while "D" will open a full page view, which is more or less opposite to Lightroom Classic behavior.
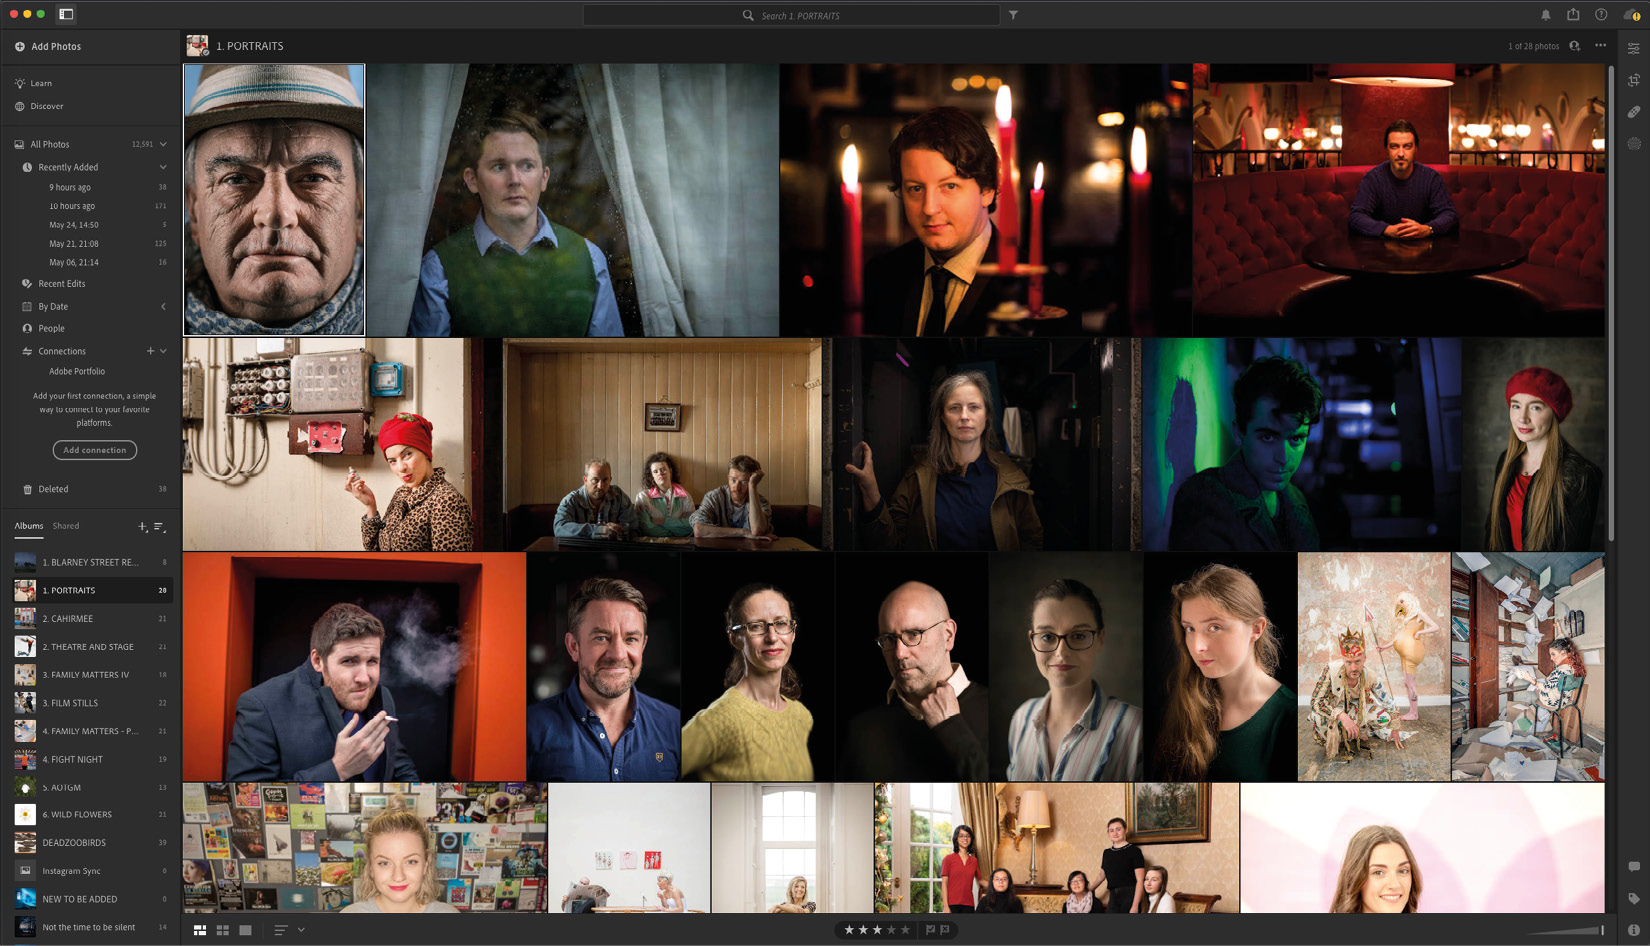
Figure 10.12 A

Figure 10.12 B – The photo grid and square grid views
We can enter Develop mode by using the aforementioned "E" shortcut, as Develop is called Edit in Lightroom. We can also enter Edit mode by clicking on one of the tool collections visible on the right side – from top to bottom, Edit, Crop, Healing Brush, Masking, and …, which represents other options. Edit includes most of the familiar sliders from the Develop module; they look slightly different, but they offer the same flexibility and results as the Develop settings. We won't see the familiar split into tabs and will miss a few, such as Calibration.
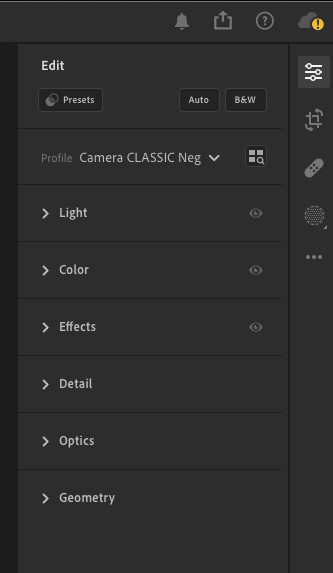
Figure 10.13 A

Figure 10.13 B
Figure 10.13 C – Edit, Crop, Healing Brush, Masking, and more options in order of appearance from the top
A feature that I miss dearly from Lightroom Classic is the History tab. It is replaced by the less detailed Versions tool, where we can create a manual snapshot with the current status of any edited photograph. Versions will also create auto versions at different stages of the editing process but won't do it at every single step, as History does.

Figure 10.14 – The Versions tool
There are other differences and similarities between these two versions of Lightroom, but if you can confidently move around Lightroom Classic, Lightroom will feel like a better-looking, simplified, and natural extension. An even more straightforward transition is from Lightroom to Lightroom for mobile, which we can access in our browser.

Figure 10.15 – Lightroom as seen in an internet browser
We can log in at lightroom.adobe.com with our Creative Cloud credentials. It has the same layout and streamlined set of tools as Lightroom. In addition, its content will be an exact match with Lightroom. This matching means that we can take our work anywhere that we have a connection to the internet and work with cloud-located files.
Even when we access Lightroom through our phone or tablet app and work with a small vertical screen, it will feel like all the tools are in the right place, with all the files available from the cloud storage. Even writing this makes me think again about how unbelievable it sounds – to be able to take some photographs with the camera, transfer them to Lightroom for mobile, and have them readily available from the cloud on any machine/device that I want to access them.

Figure 10.16 A

Figure 10.16 B – Lightroom for mobile as seen on a smartphone device
One fantastic feature that we have available in Lightroom, which is unavailable in Lightroom Classic (not mentioning the automatic cloud backup), is Sensei, an intelligent search engine. Even though I always preach that tagging and keywording images are essential if we want to find things later through deep metadata filters, with Sensei, we can type the parameters we are looking for, and it will do it for us. What's helpful is the ability to search not only for easily identifiable terms such as dates or lens models but also for abstract terms, such as woman on a horse or red car. Play around with it to see its strength in action.

Figure 10.17 – A search for red car within my library
This quick look at cloud-based Lightroom capabilities concludes our journey through Lightroom. In the next section, also being the last part of this chapter and the book itself, we will summarize everything we have learned by glancing at each of Lightroom Classic's modules.
Recapitulating the Lightroom Classic modules
Let's start with the Library module.
The Library module
We explored the Library module in Chapter 3, Tools Available within the Library Module. This is where we manage our photographs. It's where each project begins and ends. We start by importing new images into Lightroom, deciding where they will be saved, and whether we want to apply any default keywords or Develop settings. We can even do a preliminary edit, picking images for import with "P" and rejecting them, and unselecting with "X". Once our new photos are imported, we can then view them as a grid ("G") or singular photo ("E"). I always call this part editing, but other photographers might call it culling or selecting. For me, personally, culling is a derogatory term in this case, and selecting describes only part of the process, and so I call it editing. We can create our edit, which we will later develop in a couple of different ways, from working with 1–5 star ratings through flagging "P", "U", and "X" (respectively, Pick, Unpick, and Reject) to 6–9 color labels. We can additionally aid our selections by working with metadata searches (""), as well as Survey ("N") and People ("O") views. Finally, we can, at any stage of the editing process, filter our results by applying any search criteria, either through the Filter Bar ("") or on the top-right side of the Filmstrip (and with "L", which will enable our last-used filter). The library module is also the module where we will modify any metadata and add keywords and captions to our photographs. We can also apply simple Develop settings in the Quick Develop tab, including the Auto settings button.

Figure 10.18 – The Library module
The Develop module
We covered the Develop module in Chapter 5, An Introduction to the Develop Module, and Chapter 6, A Detailed View of the Develop Module's Functions. Once we are happy with our edit, we can go to the next stage of working with our photographs. For that, we need to go to the Develop module ("D"). We will usually start in the Basic tab and hop to the other ones whenever we need them. To keep only one tab open at a time, we can right-click on one of them and choose the Solo mode. An excellent place to start is by trying the Auto Tone feature, which will usually produce satisfying results. We can further tweak it by working with all Tone sliders. Unfortunately, Auto Tone doesn't fix the white balance, but we can remedy that quickly by pressing "W" and choosing a neutral color in our picture. From here, we can give it a bit of punch with Presence, and if we feel like it's still a bit bland, we can work with Tone Curve to bring both edges in a bit, create one of the S/M curves, or play around with color. We will go to the next tab for major and more precise shifts in color.
HSL/Color is where we get rid of a lot of unwanted color casts by desaturating unwanted ranges, darkening the skies a bit by reducing blue's luminosity, or shifting the hue of grass into a slightly different range. We can also do these operations by dragging colors directly into the photo with the selector.
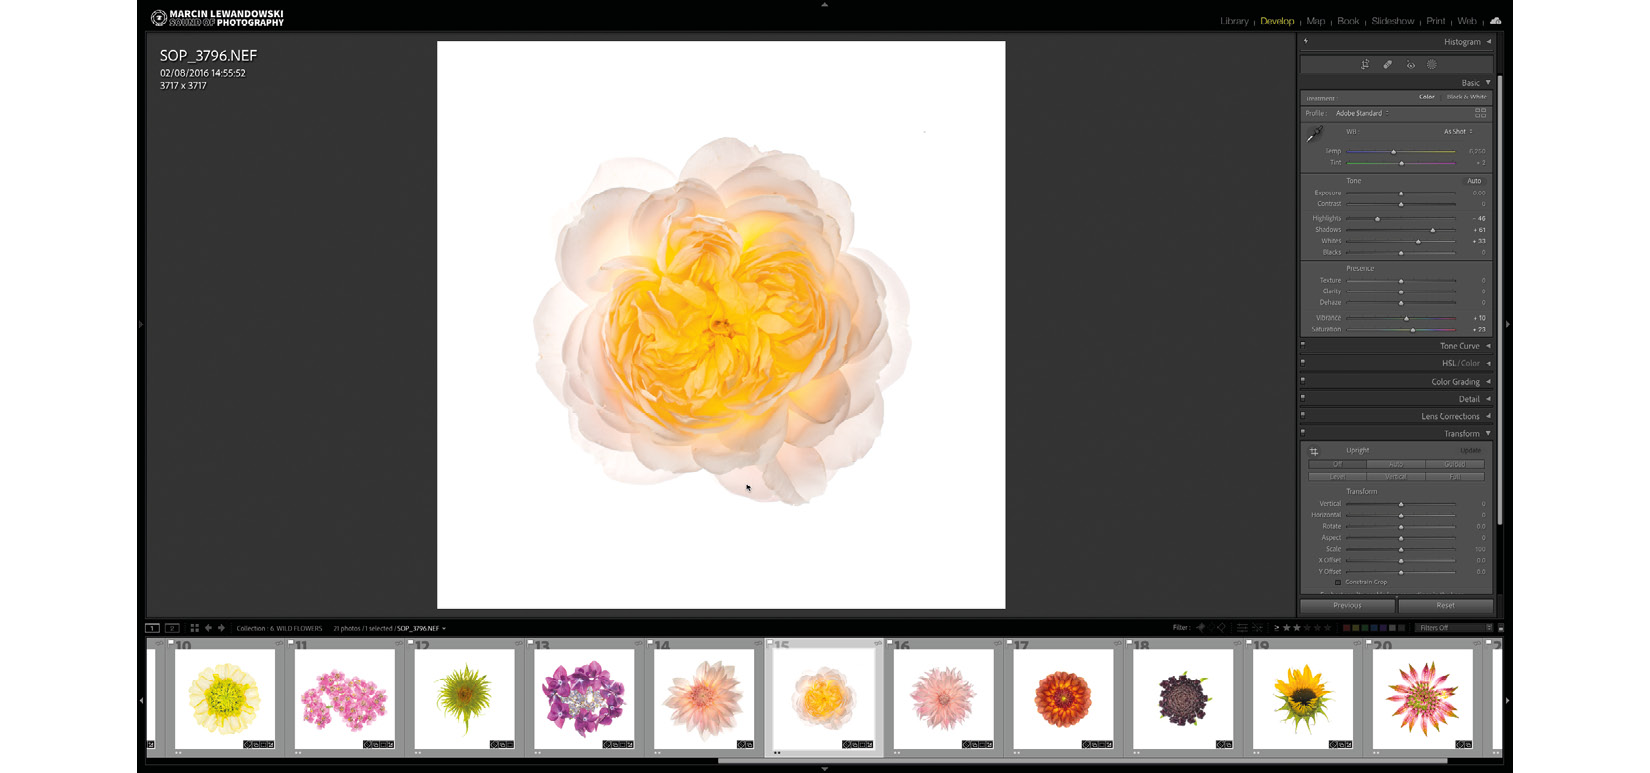
Figure 10.19 – The Develop module
Now that we have brought out all of the greatness in our photographs, we can completely change their feel by adding Color Grading in a luminosity area of our choice. If we want to try sepia, duotone, or even tritone, this is the place to let our imagination run wild, experiment, and have some fun. Maybe try experimenting with color wheel harmonies or add a bit of color cast using a paying client's color scheme. It's a nice tool for those special occasions when we have time to play around.
Detail is where we will add a bit more edge to our pictures, enhance their sharpness, and suppress noise. We can control all of these options and make sure we don't lose any details, making our images leap out of the screen at anyone looking.
If the lens we are using creates images that need a slight correction of any distortions, whether it is geometrical or color-related, the Transform tool will help us take care of it. With a good selection of manual tools and impeccable application of a built-in lens profile, Lens Corrections can be the first and last image correction we apply.
Before Transform was included in Lightroom, to straighten an image, we only had a choice between fiddling with the Crop tool to find a "good enough" balance or opening an image in Photoshop. Even though the Automatic fix that the Transform tool offers might sometimes be wildly inaccurate, the Guided tool will always be as accurate as the choices we make. After the Basic panel, this is often the only tab I visit when editing large batches of images after I finish the Auto Tone application.
Everyone needs a nice, elegant vignette from time to time, and Effects is the tab where we will control its strength. Tied with the Grain effect, Effects is a tab with a few creative possibilities that can strongly affect the look of a photograph.
Finally, let's come to the Calibration tab. This tab's use ranges from light tweaks to color behavior to wild swings of hue and saturation. Whether we like to play and experiment with colors or need to fix a stubborn color cast, this is another place where we can work on it. Calibration needs a bit of experimenting to get used to. Once you learn to harness its power, the applications are limitless.

Figure 10.20 – The Export File menu
Export is probably the most often visited menu after we finish working with the Develop module. To share our images with the outside world, we must first render them in an appropriate format. The Export panel allows us to prepare both an optimal social media resolution and a high-resolution image for external printing. Watermarked or not, Export will help us present our work to the outside world.
The Map module
You can see this module as a refined "search by location" engine, which is so well designed that it can be used to our advantage in many ways. For example, as long as we have GPS data logged in our metadata, we can visually assign photographs to a timeline and location to find photographs from any place we photographed easily. So, whether we want to assess the range of the weddings we photographed, track our journeys for a travel blog, or find photographs by location, maps will help us move around folders and collections in yet another way.

Figure 10.21 – The Map module
The Slideshow module
A slideshow is another way to present photographs digitally in a controlled manner. If we want our sequence of images to be viewed in any particular order and also control photograph distribution in a certain way, building a slideshow within Lightroom is easy and enjoyable, thanks to its simplicity and intuitiveness.
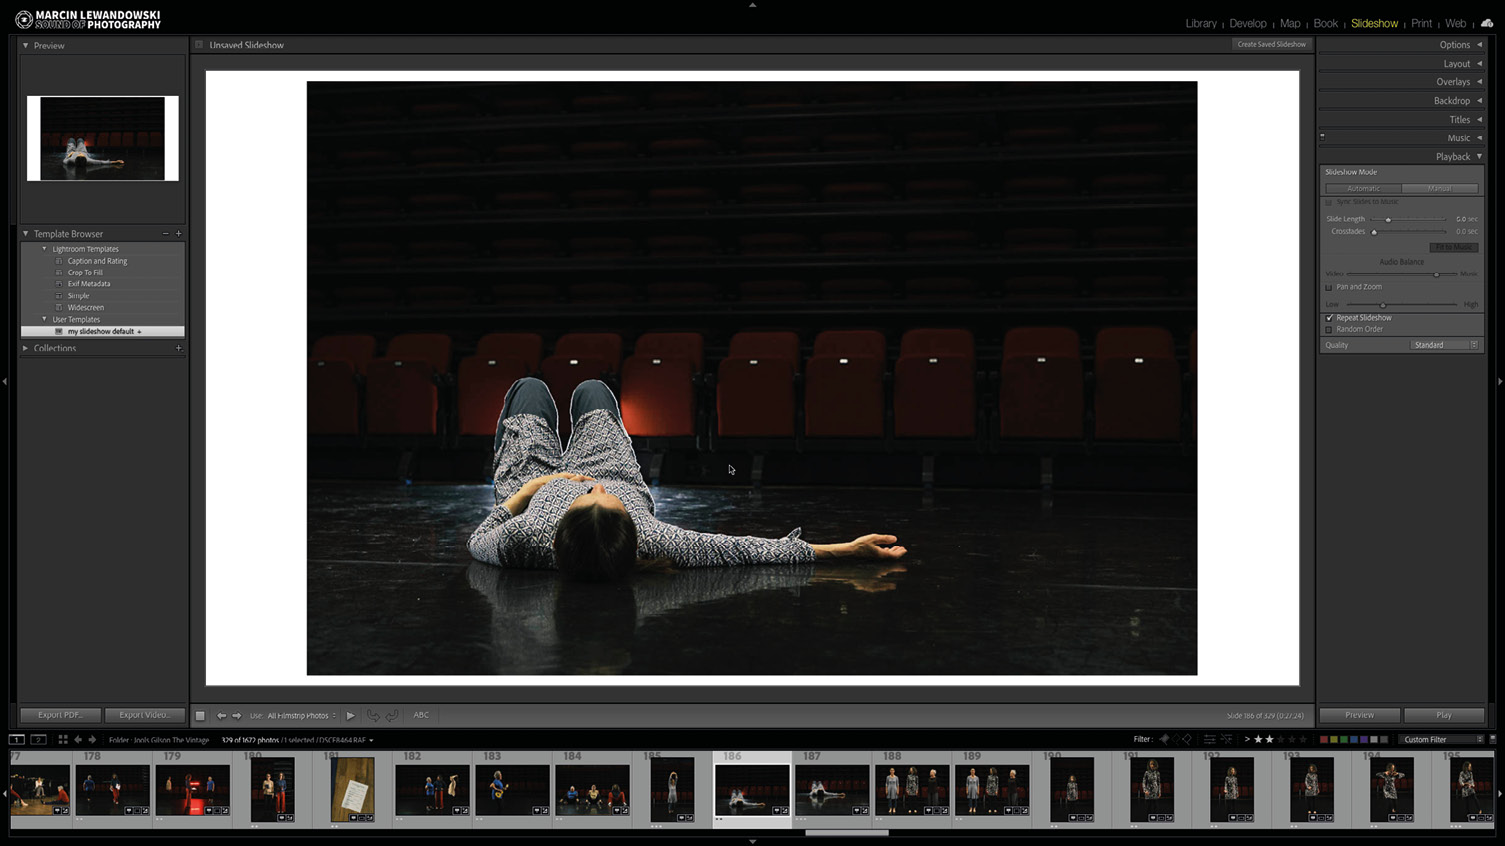
Figure 10.22 – The Slideshow module
The Web module
Finally, for the digital format anyway, we can present images to the world by creating web galleries. These can be exported directly from Lightroom without the need to use any additional FTP solution.

Figure 10.23 – The Web module
The Book and Print modules
As much as Lightroom Classic is a masterful tool to manage and polish our digital assets, it's also a connection to the physical world through the Book and Print modules. Designing a book can be as simple as just clicking the Auto Layout button or as deeply customized as we wish. From one photo per page to a seemingly random grid that we can mold to our will, we can easily design a book, prepare prints for an online service, or send images to our printer and achieve predictable, consistent results each time.
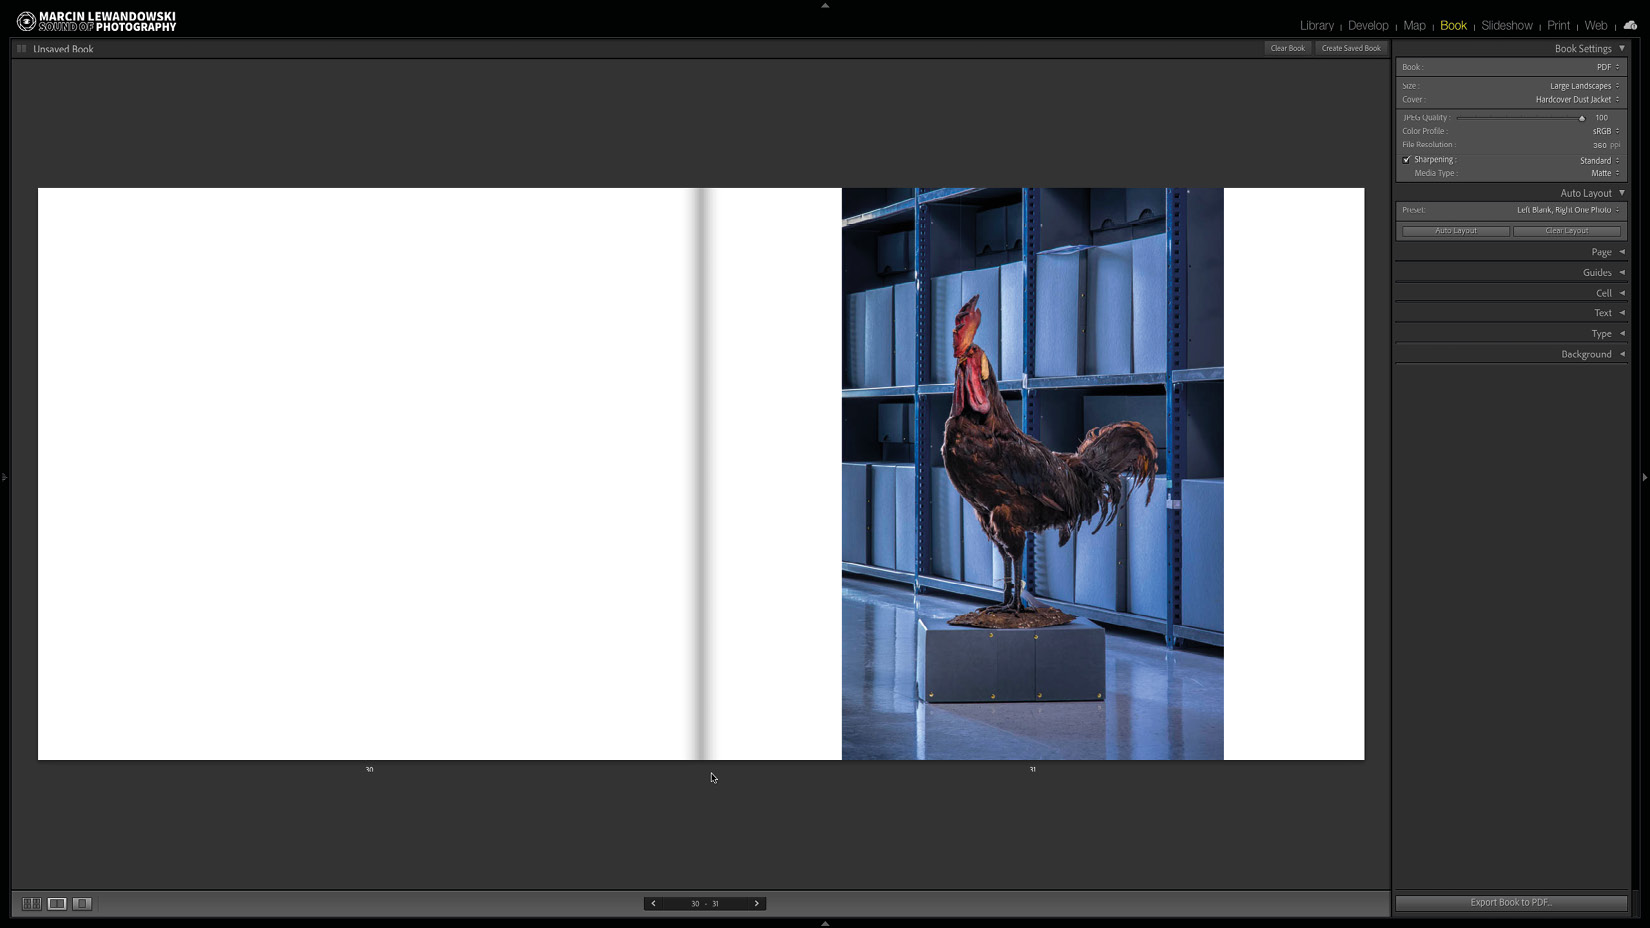
Figure 10.24 A

Figure 10.24 – The Book and Print modules
Summary
Lightroom is a powerful presence in any photographer's workflow, not just because it was the first software of its kind, but because, from the very beginning, it was designed with photographers in mind. Lightroom's user interface is intuitive and has multiple ways to access most functions. This flexibility makes Lightroom Classic easy to use by all types of photographers with different kinds of workflows. Every photographer can easily incorporate Lightroom Classic, whether it's a day of studio-based fashion photoshoots, a street photographer's long-running project, or to bring a bit of order to a collection of our family photographs. With many keyboard shortcuts and flexibility in arranging the workspace, Lightroom offers a streamlined user interface, focusing our experience on bare necessities without any unnecessary fluff. Lightroom Classic focuses on enabling users to adjust any parameters within their photographs so that the final images match our vision.
Thank you for joining me on this journey through the features of the best photography software available. I wish you many years of fun and a keenness to discover how much potential in your photographs can be unleashed.