
Layer Masks
In my opinion, two “bad words” when it comes to working nondestructively are “erase” and “delete.” If you erase or delete pixels, they are gone—unless you undo the action right away. A layer mask gives you the opportunity to hide pixels instead of deleting them. Because the pixels are hidden, they can always been shown again as necessary.
To compare the difference, we’ll start with two layers that we want to combine (Figure 1.11).
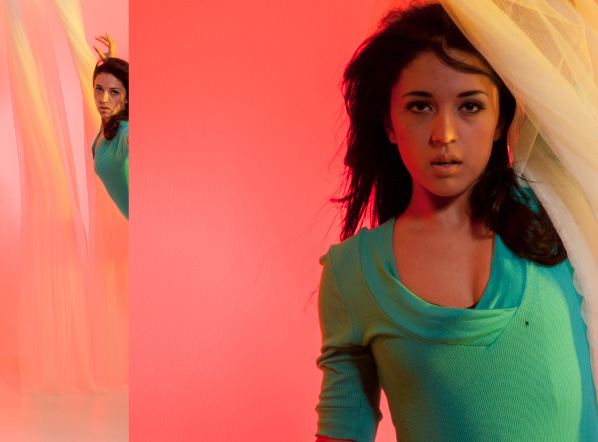
Figure 1.11 The two layers shown here need to be combined.
Using the Eraser tool with a soft-edged brush, it is possible—and quite easy—to delete the unwanted pixels to create the effect we want (Figure 1.12).
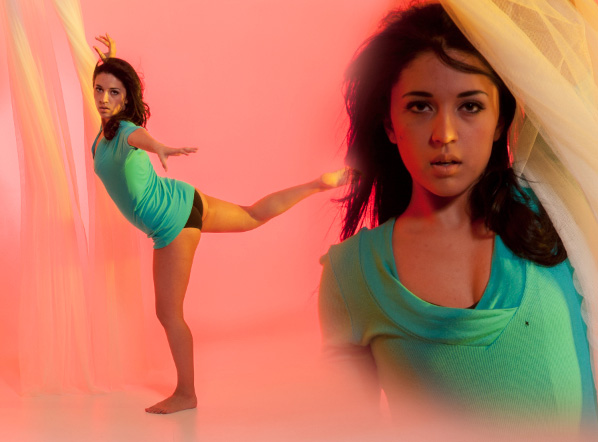
Figure 1.12 The combined layers, after using the Eraser tool with a soft-edged brush.
Now here’s the problem: If you decide to perform further edits, the only option is to start over—assuming you still have the original photo. Here, I tried to scale down the layer on which I had erased some pixels, and now those pixels are gone (Figure 1.13).
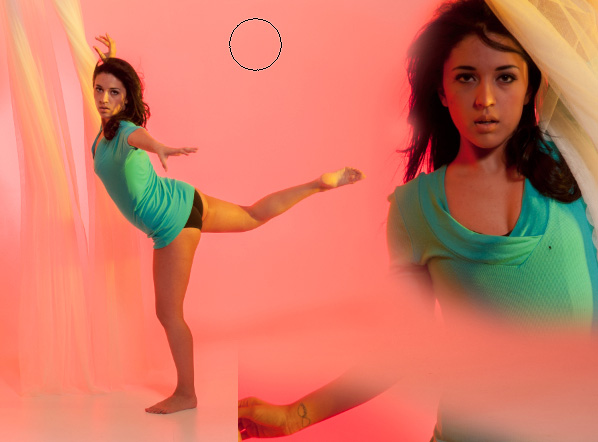
Figure 1.13 After moving the layer’s position, the erased areas are “missing.”
When viewing only the erased layer, you can see that the pixels are missing in action (Figure 1.14).
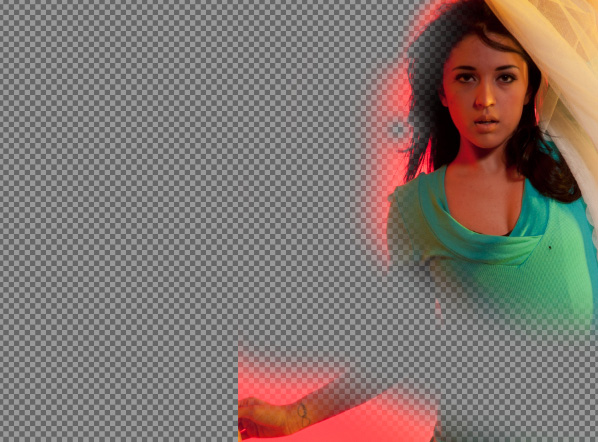
Figure 1.14 Viewing only the top layer shows how the erased areas have been deleted.
To take advantage of a layer mask, we need to add a mask to the top layer. We can do this by clicking the Add a Mask icon at the bottom of the Layers panel or through the Layer menu. The mask thumbnail appears beside the layer, initially filled with white (Figure 1.15).
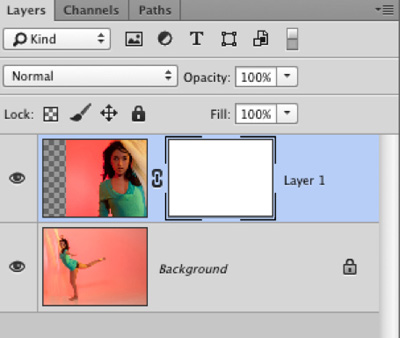
Figure 1.15 Initially, the layer mask is filled with white.
When the mask is white, all the pixels on the layer are visible. In order to hide portions of the layer, you need to add black paint to the mask. You can do this by painting with the Brush tool or by making a selection and filling it with black. In this case, I used the Brush tool with soft-edges to create a result that looks pretty much the same as the erased example (Figure 1.16, Figure 1.17).

Figure 1.16 The layers are combined.
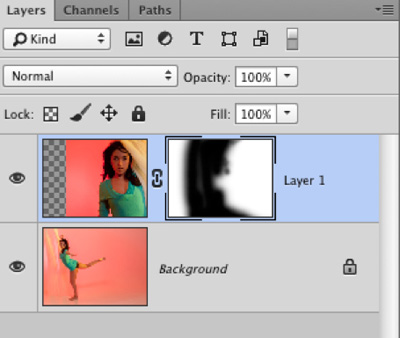
Figure 1.17 The Layers panel shows the layer mask with black areas hiding the layer.
The big advantage of using this method is that we can continue to edit it. For example, after transforming a layer, I painted with white in the “missing” areas to show the pixels that were previously hidden (Figure 1.18).
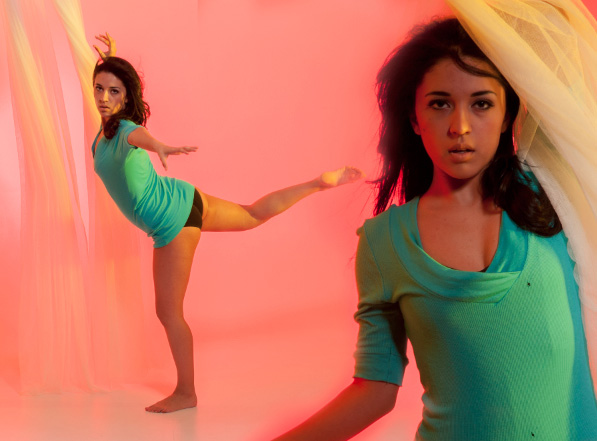
Figure 1.18 The Layer Mask allows for ongoing editing.
As many people like to say, “Black conceals, white reveals.” Personally, I don’t worry about the rhyming part and just think, “Black hides, white shows.” Oh and any shade of gray between black and white can be considered as “kinda”—as in “Kinda hidden, kinda visible.”
Along with adding a mask and then painting on it, you can also create a mask by making a selection and then adding a mask. That way, the selected area is filled with white and everything else is filed with black—and you can continue to paint to adjust the edges of the mask.
Here’s another simple but powerful example of using a mask rather than erasing when working with text. I want to make it appear as though some text is painted on the wall behind my subject. That is pretty simple to do with a mask—while preserving the text editability (Figure 1.19, Figure 1.20).
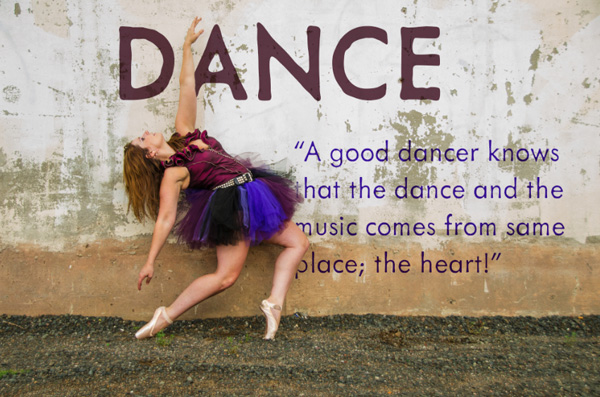
Figure 1.19 Usinag a layer mask makes the text look like it is behind the dancer.
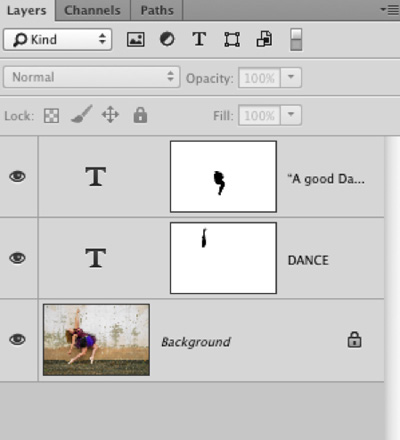
Figure 1.20 The Layers panel shows two types of layers, each with a layer mask.
Even thought the text looks like it’s on the wall behind the ballet dancer, it’s the mask that’s making it appear that way. The type layer sits above the Background layer and can always be edited (Figure 1.21).

Figure 1.21 Even after masking, you can still edit the text.
In this case, parts of the mask are black to hide the text completely while some parts are gray so that the text is partially visible behind the dancer’s tutu (Figure 1.22, Figure 1.23).
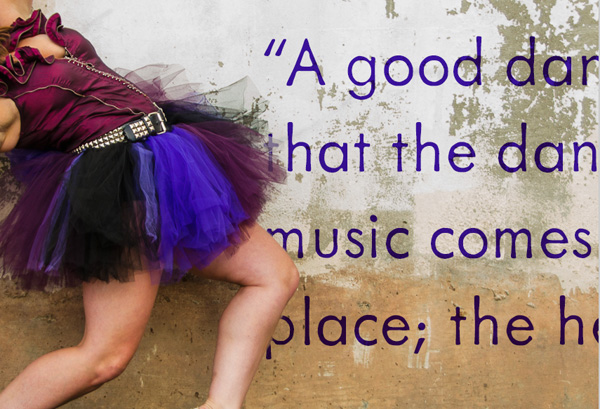
Figure 1.22 The text is partially visible behind the tutu.
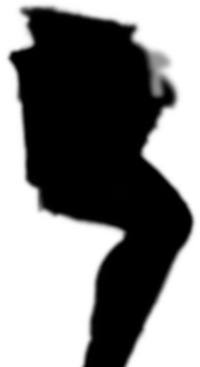
Figure 1.23 The gray areas on the mask indicate the areas that will be slightly transparent.
By default, the layer and the mask are linked together, as indicated by the chain icon between the two thumbnails. That means that when you move the layer, the mask moves with it. Much of the time that makes sense, but sometimes you want the mask to stay in place while you move the layer. In this example, it wouldn’t make sense for the mask to move with the text. In order to move them independently, the link needs to be broken. Just click the chain icon to unlink the layer and its mask (Figure 1.24).
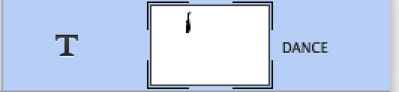
Figure 1.24 The layer and mask are unlinked as indicated by the lack of a chain icon.
Once the layers are unlinked, the text layer can be moved while the mask stays put (Figure 1.25).

Figure 1.25 When you move the unlinked layer, the mask stays in place.
To showcase just how much more control you have with mask, here’s what would happen if I try to achieve the same result by deleting pixels. If I make a selection and press Delete, I get a warning asking me to rasterize the text (Figure 1.26).
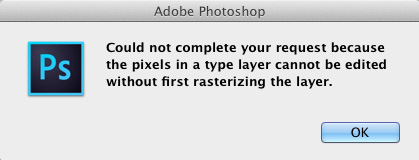
Figure 1.26 When you attempt to edit a type layer with a tool other than the Type tool, this warning displays.
Rasterizing is the process of converting editable text to pixels—something I highly recommend that you NOT do. (I’ll do it here for the purpose of comparison.) Once the text is rasterized, I’m able to delete the pixels and make it look like the text is behind her arm (Figure 1.27).
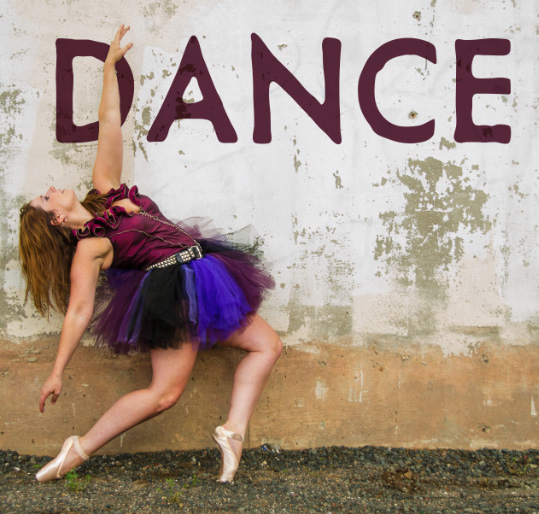
Figure 1.27 After rasterizing the type layer, you can delete pixels—although it’s not recommended.
However, there will be a problem if I try to move the rasterized text—because there is a hole where the pixels were deleted (Figure 1.28).

Figure 1.28 Moving a layer shows the problem with deleting pixels.
Because the text was converted to pixels, it’s not possible to edit the text. Now, imagine if you have a typo! Comparing the two methods, I think it’s pretty clear that using layer masks gives you waaaay more possibilities than rasterizing and deleting. (We’ll see another alternative to rasterizing when we look at Smart Objects.)