
Benefits of Smart Objects
Using Smart Objects offers many benefits over using regular layers. The primary benefit is the greatly enhanced control and flexibility they offer. Before Smart Objects, even a simple thing like resizing a graphic was always a potential problem. Here is quick example:
1. Here’s a basic logo created in Photoshop. If you keep it at the original size, it looks great. (Figure 4.1).
Figure 4.1 Scaling a logo such as this can create problems.
2. If you scale down the size, the quality looks acceptable (Figure 4.2).
Figure 4.2 Scaling down a pixel logo is acceptable.
3. Once the graphic size is reduced, that is its new size. If you attempt to scale it back up again, it will lose quality. Compare the quality of the original (Figure 4.1) to a version that was scaled back up, and you can see a noticeable difference (Figure 4.3). That has always been one of the issues when working with pixels.
Figure 4.3 Scaling up a pixel logo results in poor quality.
4. Here’s the different a Smart Objects makes: Once the graphic is created, Control-click (Mac) or right-click (Windows) on the layer and choose Convert to Smart Object. The layer thumbnail changes slightly to indicate that it is a Smart Object (Figure 4.4).
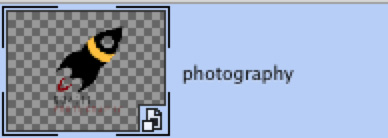
Figure 4.4 The small icon on the layer thumbnail indicates the Smart Object.
5. Remember to think of this Smart Object as a container with contents. As you’ll see, that means that you can resize the Smart Object down and back up and not lose any quality. Here, the Smart Object was scaled down using Free Transform. Even after saving and closing the document, we can scale it back up to its original size without losing any quality (Figure 4.5).
Figure 4.5 You can scale a Smart Object back to its original size without any quality loss.
Note
You still cannot scale the object to larger than its original size without losing quality.