
One reason for the Git recipe in this chapter is to allow you to prepare your projects for one of the most exciting new services offered to Unity developers in recent years—Unity Cloud! Unity Cloud takes all the work out of building different versions of your project for different devices—you PUSH your updated Unity project to your online DVCS (such as GitHub). Then, Unity Cloud will see the update and PULL your new code, and build your game for the range of devices/deployment platforms that you have set up.
First, log on to the Unity Cloud Build website and create an account at:
For this recipe, you need access to a project's source code. If you don't have your own (for example, you haven't completed the Git recipe in this chapter), then feel free to use the matt-mac-man project available at the public GitHub URL at:
To load external resources by Unity Default Resources, do the following:
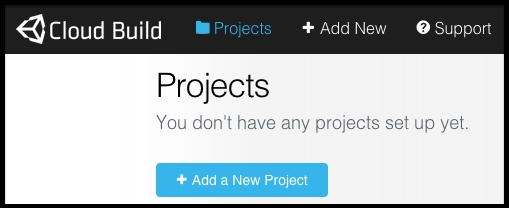
- Log on to your Unity Cloud Build account.
- On the Projects page, click on the Add a New Project button.
- Next, you'll need to add the URL for your source code, and the Source Control Method (SCM). For our project, we entered our matt-mac-man URL, and GIT for the SCM.

- Next, you need to enter some settings. Unity Cloud Build will choose your source code project name as the default application name (most times, this is fine). You need to enter a Bundle ID—commonly, the reverse of your website URL is used here to ensure that the App Name plus Bundle ID is unique. So, we entered
com.mattsmithdev. Unless testing branches of the code, the default master branch is fine, and likewise, unless testing subfolders, the default (no subfolder) is fine. Unless you are using the latest "beta" versions, the Unity Version option should be left to the default Always Use Latest Version. Finally, check the build options that you wish to have created. Note that you'll need to have set up the Apple codes if building for iOS; but you will be able to build for Unity Web Player and Android immediately.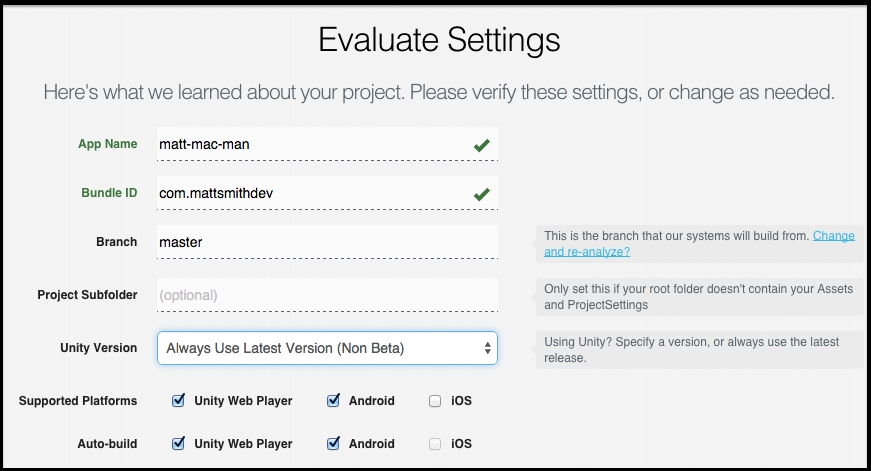
- Next are the app "credentials". Unless you have Android credentials, you can choose the default "development" credentials. But this means that users will be warned when installing the application.
- Unity Cloud will then start to build your application—this will take a few minutes (depending on the load on their server).
- When built, you'll get an e-mail (for each deployment target—so, we got one for Web Player, and one for Android). If the build fails, you'll still get an e-mail, and you can look up the logs for the reasons why the build failed.

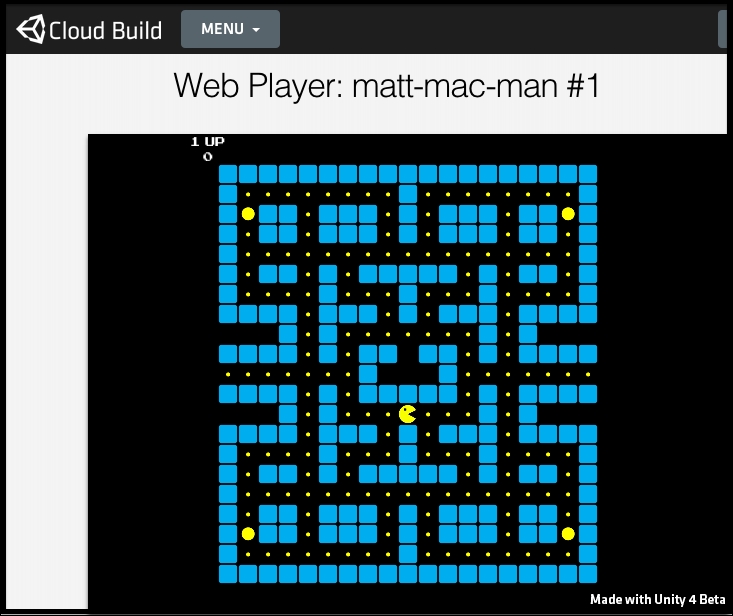
- You can then play web player version immediately:
- To test with Android or iOS, you download it onto the device (from the Unity Cloud web server) and play the game:

Unity Cloud pulls your project source code from the DVCS system (such as GitHub). It then compiles your code using the settings chosen for Unity version and deployment platforms (we chose Web Player and Android in this recipe). If the build is successful, Unity Cloud makes the build applications available to download and run.