
Using iTunes
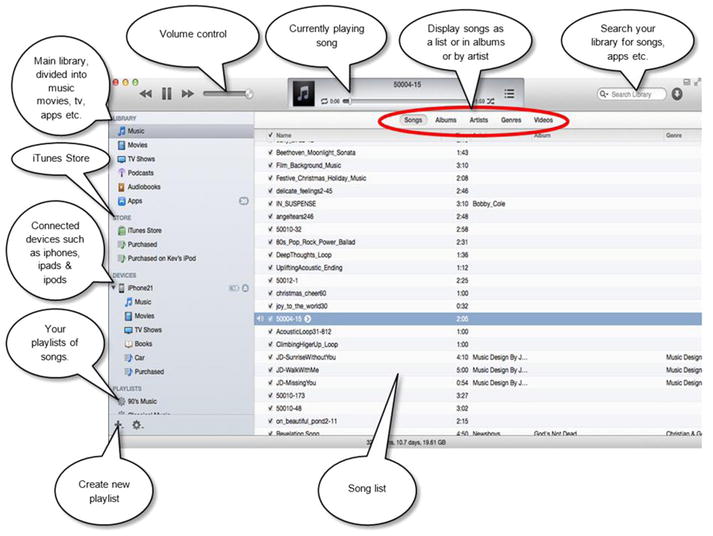
iTunes allows you to organize and manage all your music. You can purchase individual tracks or entire albums from the music store, or you can import music from an ordinary music CD. I find iTunes easier to use with the sidebar showing. To turn it on, go to your View menu within iTunes and click Show Sidebar.
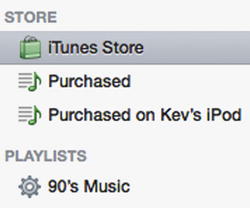
iTunes Store
From the iTunes store, click Sign In.
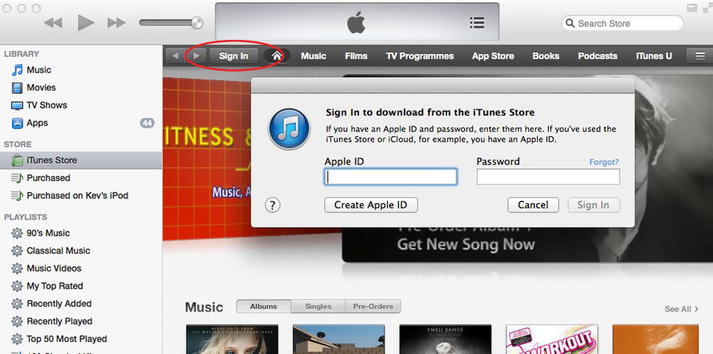
Enter your Apple ID and password.
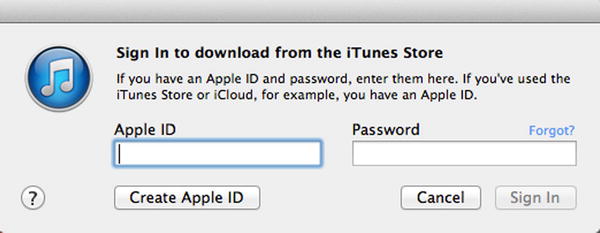
If you don’t have one, click Create Apple ID and follow the instructions on screen. Once you are signed in, type the song titles you want in Search Store.
Purchase the songs. The songs will download to your Purchased playlist.
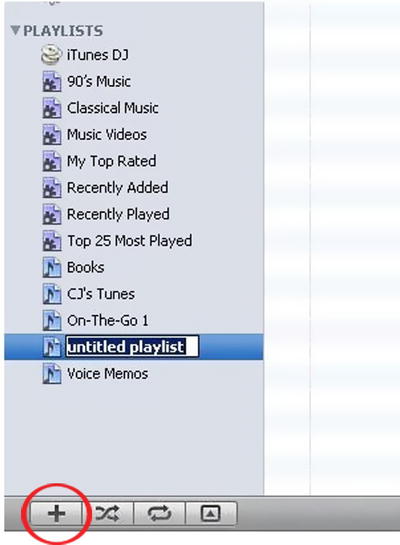
Creating Playlists
To create a new playlist, click the + sign in the bottom left-hand side of the following screen. This will add a playlist to the library. Type in the name you want to call it.
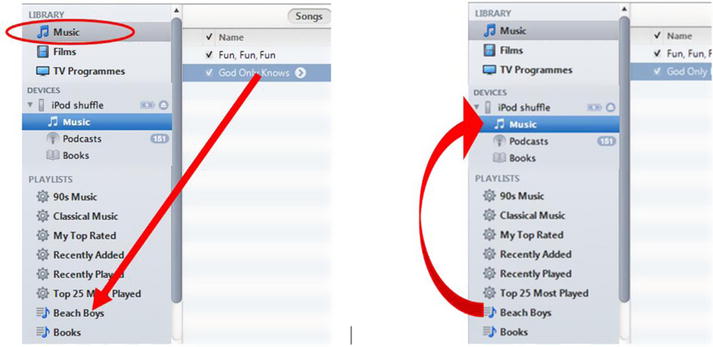
To add songs to the playlist, click Music Library, then drag the songs to your playlist as shown in the following left-hand pane. To add the playlist to your iPod device, drag the playlist from the left-hand pane of the iTunes main window to your iPod, which is listed under devices, as shown to the right.
Burn a Playlist to a CD
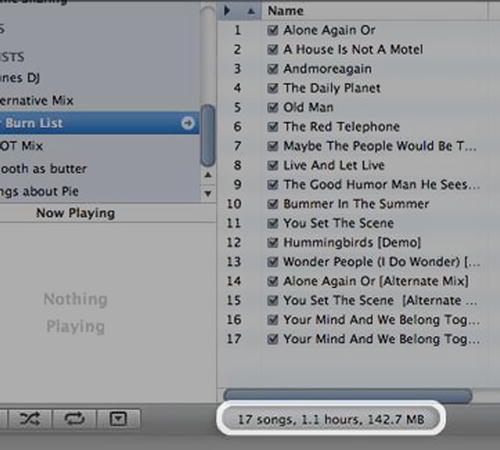
When adding music to your CD playlist, as a guide, keep an eye on the status bar at the bottom middle of the main window; an 80-minute CD will hold 1.2 hours.
Once you have compiled your playlist, right click on it in the pane on the left-hand side. Click Burn Playlist to Disc.
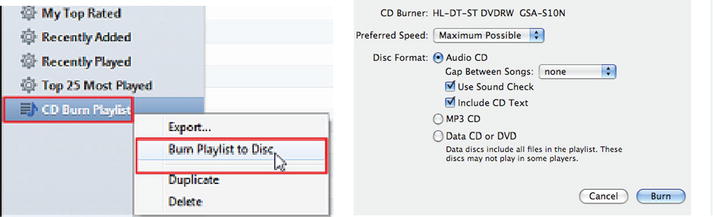
The Use Sound Check option is useful when you have made a compilation of songs from different albums. It makes sure all the songs are at the same volume level so you don’t have to raise or lower the volume too much when you’re listening to the CD.
Make sure the Gap Between Songs option is set to None. Insert a blank CD-R, then click Burn.