
Keynote
Keynote allows you to create multimedia presentations.
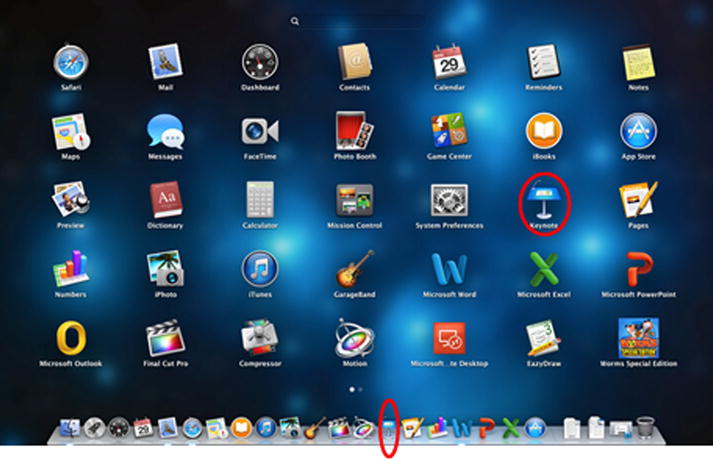
Starting Keynote
To launch Keynote, go to Launchpad and click Keynote.
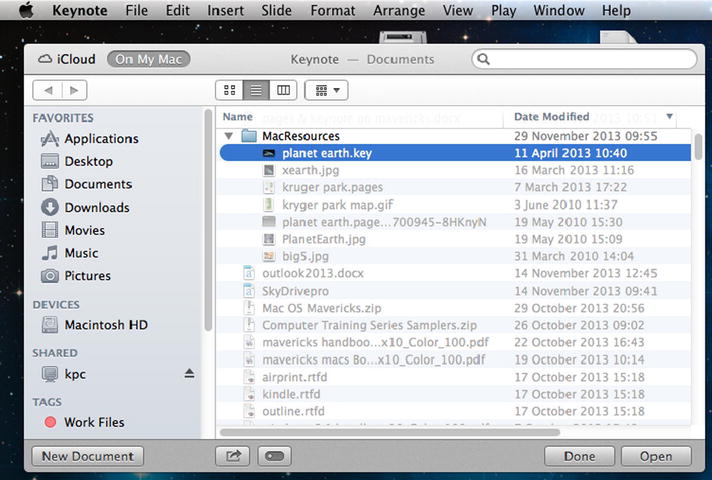
Once Keynote has loaded, you can select a saved file to open. If you want to create a new presentation, click New Document, as seen on the bottom left-hand side of the following window.
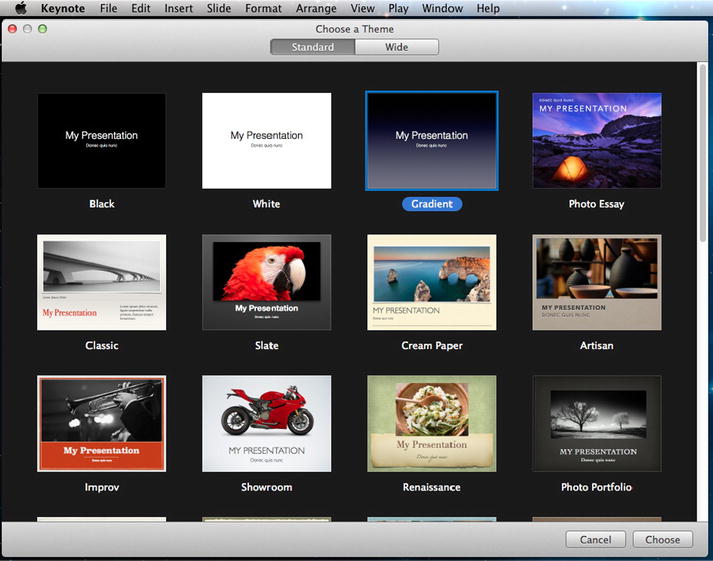
From here you can choose from a variety of pre-designed templates with different themes, fonts, and colors.
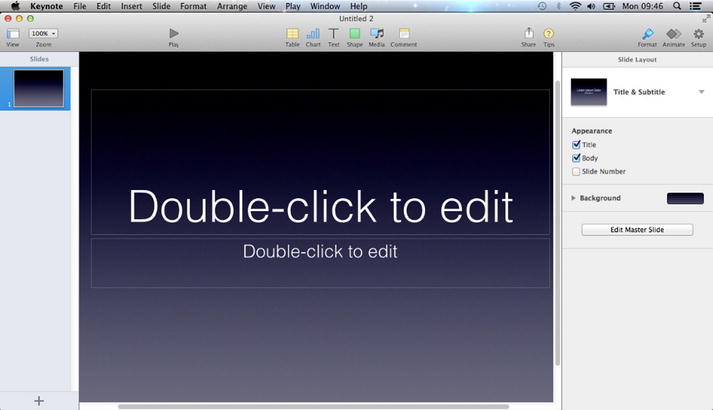
Once you have selected a template, you will see the main screen, as shown below. This is where you can start building your presentation.
Editing a Slide
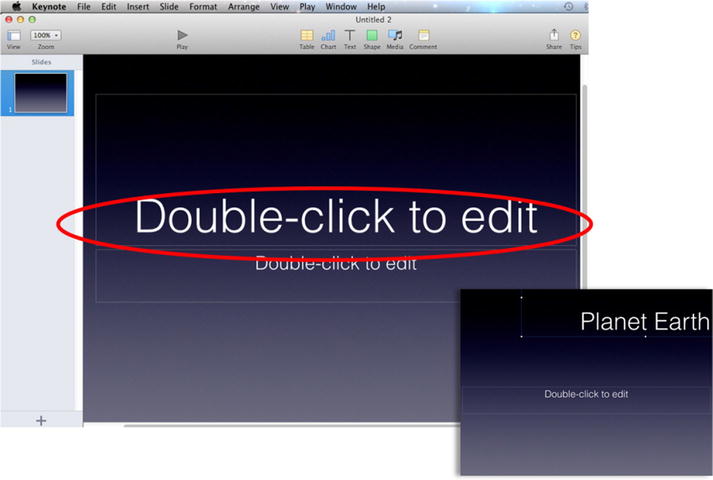
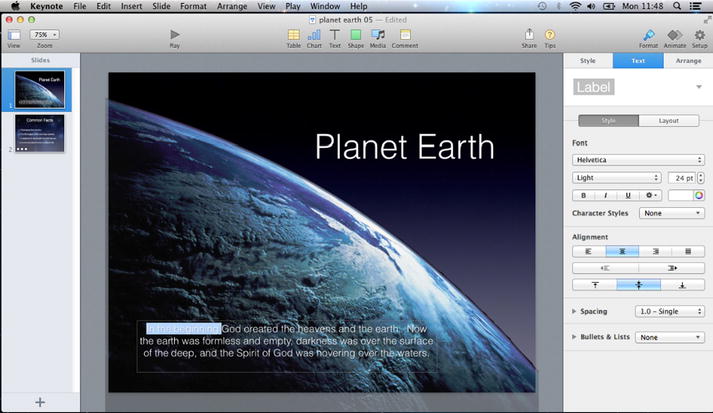
Double click in the heading field, shown in the following screen, and enter a heading; for example, Planet Earth. You can click and drag the heading wherever you like.
Adding a New Slide
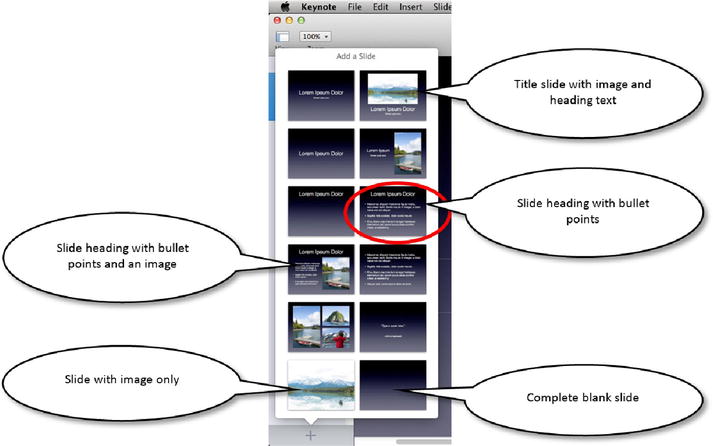
Click the New Slide button located on the bottom left of the screen.
Choose a slide layout from the options that appear.
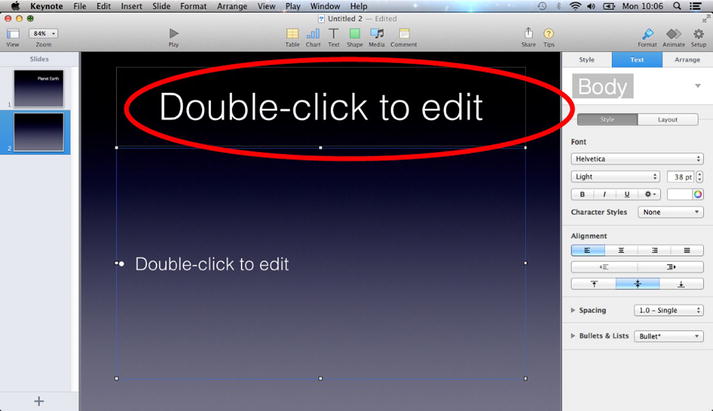
Add some text by double clicking on the text box, circled below. For example, enter the title Planet Earth.
Adding Media
The easiest way to add images and media to your slides is to find them in your Finder window and then drag and drop them onto the slides.
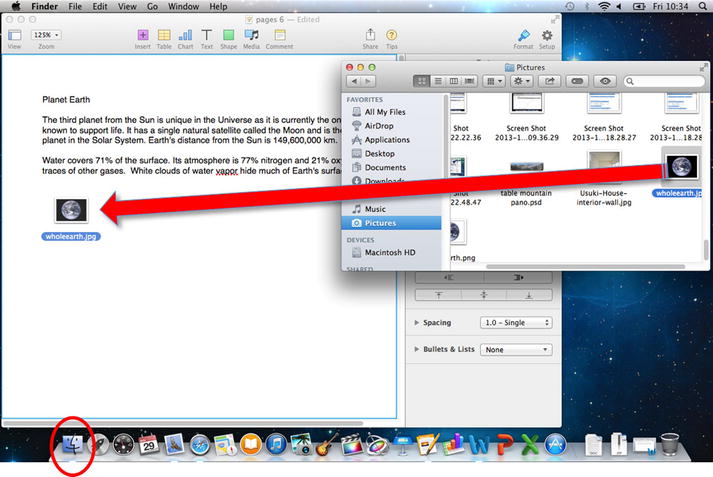
If you want photographs, they can be dragged and dropped from your iPhoto library by starting up iPhoto, finding the photograph in your library, and then dragging and dropping them onto your slide.
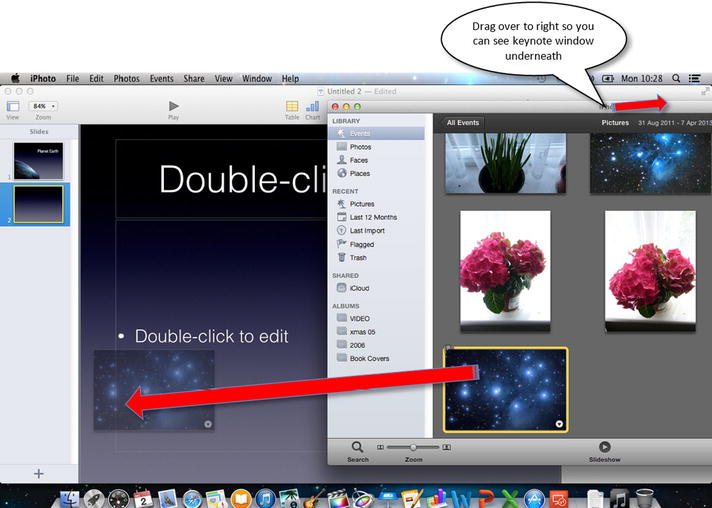
It helps to drag your iPhoto window over to the side, as shown above, so you can see your Keynote slide underneath.
Adding Animations
Animations allow you to make objects such as text or photographs appear.
Click on your text box and select the Animate icon located on the top right corner of your screen. Then select an effect from the Effects drop-down menu (shown in the following screen).
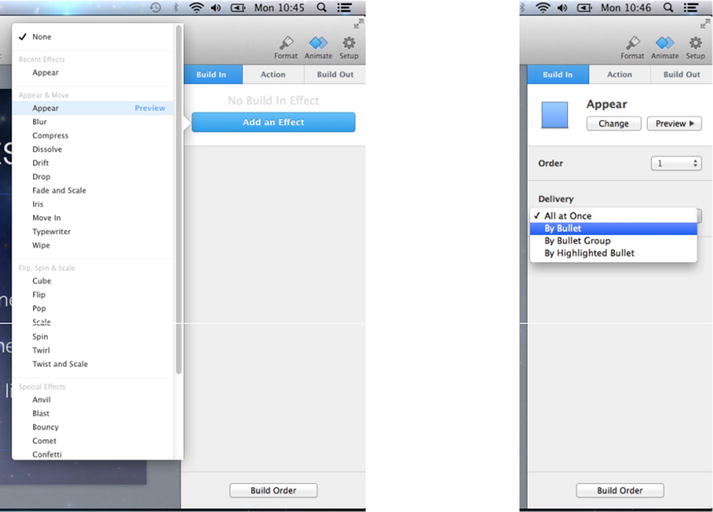
Next, specify that you want the bullet points to appear one by one. Click the box under Delivery and select By Bullet from the drop-down menu.
To see what the effect looks like, click Preview.
Formatting Text Boxes
Click Text Box to add text, as shown below.
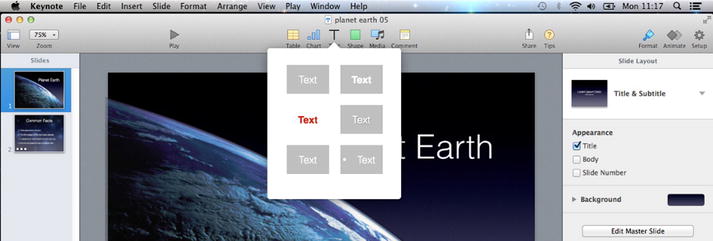
Choose a style from the drop-down menu. Enter some text into the text box.

You can format your text box by adding borders, changing fonts, changing the background color, and so forth.
To format the border and fill, click your text box and, on the right-hand side of the screen, select Style.
Formatting Text inside Text Boxes
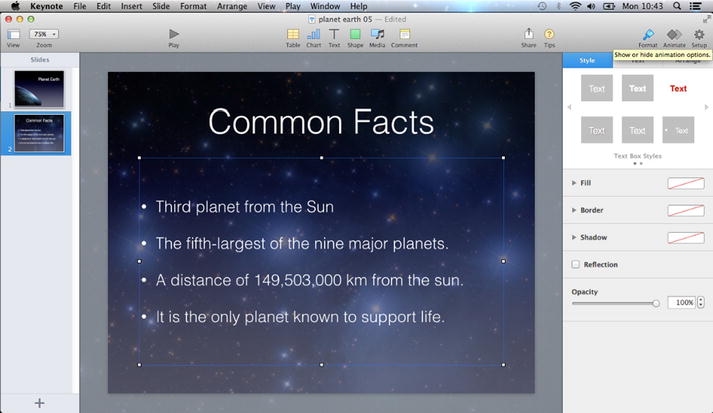
To change the formatting of the text—for example to change the color of the text or make it bold—first select your text in the text box that you want to change. Then click the text icon on the right-hand side of your screen, as shown below.
From here you can change the font, the font color, size, and so on.
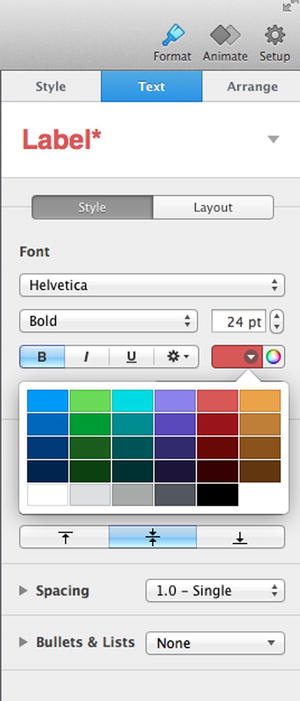
As an example, I have changed the color to dark red and made it bold. You can see what it looks like in the following screen.

Adding Styles to Text Boxes
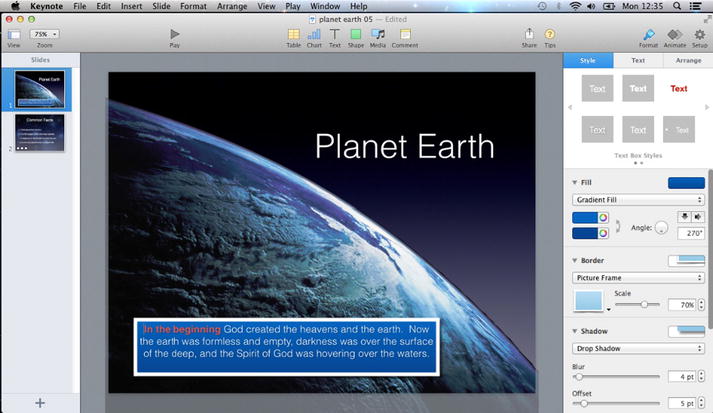
If you wanted to change the background color (also called fill color) or add a nice border around the box, click on your text box then select the Style icon, which is located on the top right of your screen.
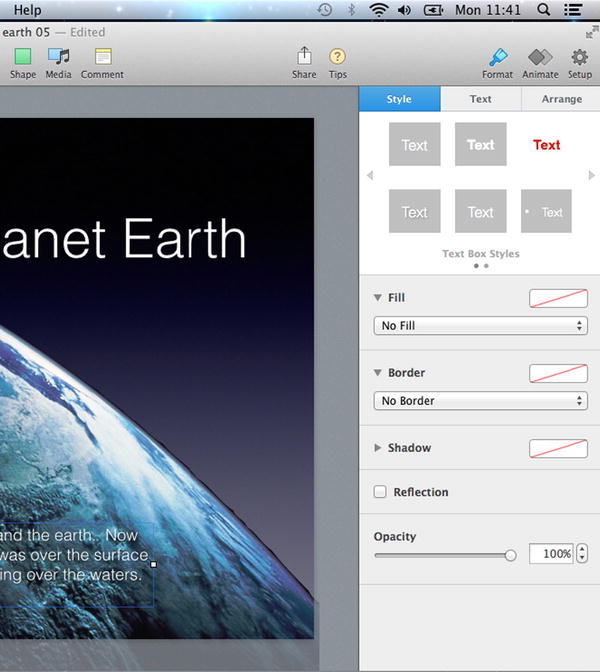
If you look down the right-hand side you will see several sections: Fill allows you to change the background color of the text box. Border allows you to add fancy borders such as picture frames and colored-line borders. Shadow allows you to add a drop-shadow effect, as if the text box is casting a shadow onto the slide.
To change the background color of the text box, click Fill, which is circled below, and select a color from the drop-down menu.
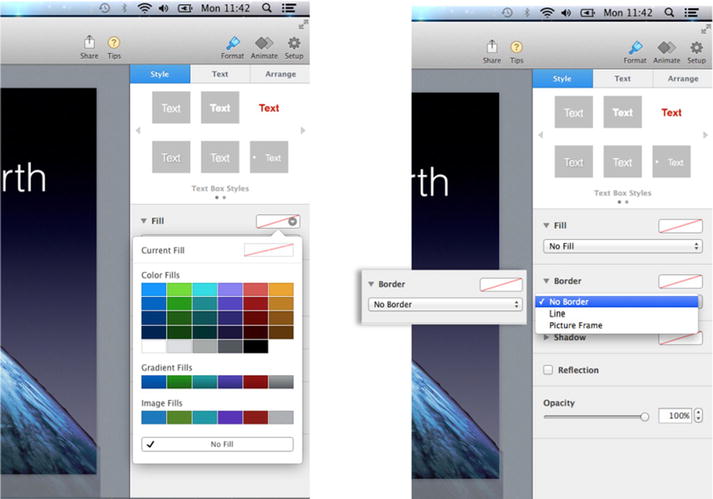
Also, if you want to add a border, under the Border section click No Border, as shown above, and change it to Picture Frame.
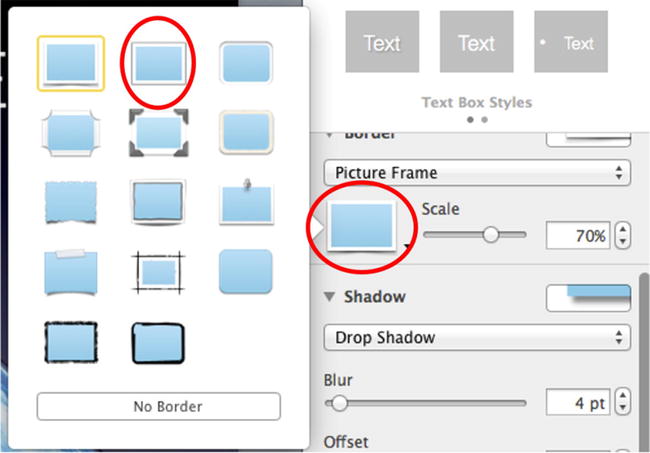
Click the "Choose frame style" button, circled above, and select a picture frame style from the menu that appears. Change the size by moving the scale slider.
Here is the result of the effect:
Creating a Line Chart
Select the Chart icon from the toolbar.
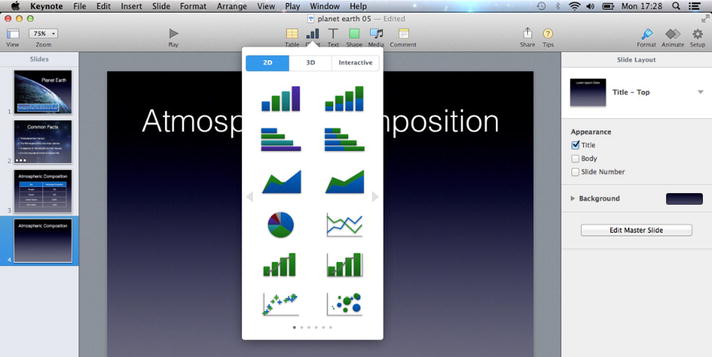
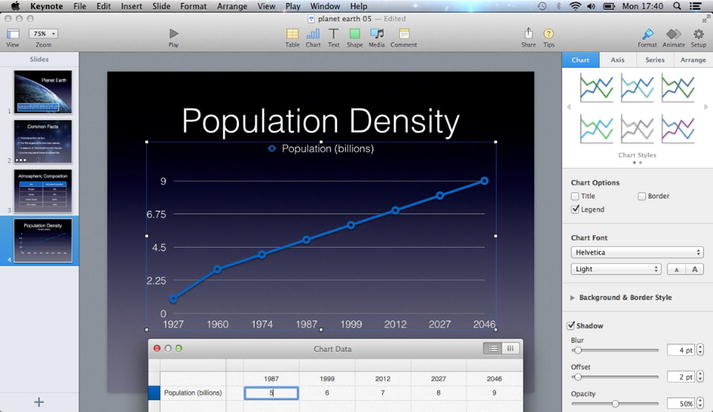
Select the Line Chart icon (fourth icon down on list). At the bottom of the chart click Edit Chart Data.

Remove the default data in the table and add your data for the chart. This example is displaying world population data over a number of years.
Creating Tables
To create a table click the Table icon on the toolbar. This will add a table to the current slide.
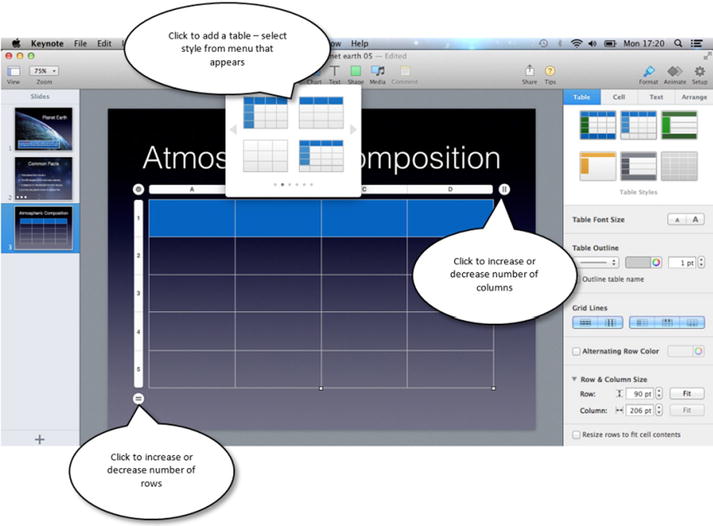
On the right-hand side of the screen, you can increase the text size, change the styles, and more. To add text to a cell in the table, double click the cell and type.