PowerGUI is a cool tool used to speed up the PowerShell implementation. You can use it to manage not only your vSphere infrastructure, but also your Windows-based environment from a single centralized console. You can use the PowerGUI script editor to write your PowerShell scripts. You can download it from http://software.dell.com/products/powergui-freeware/.
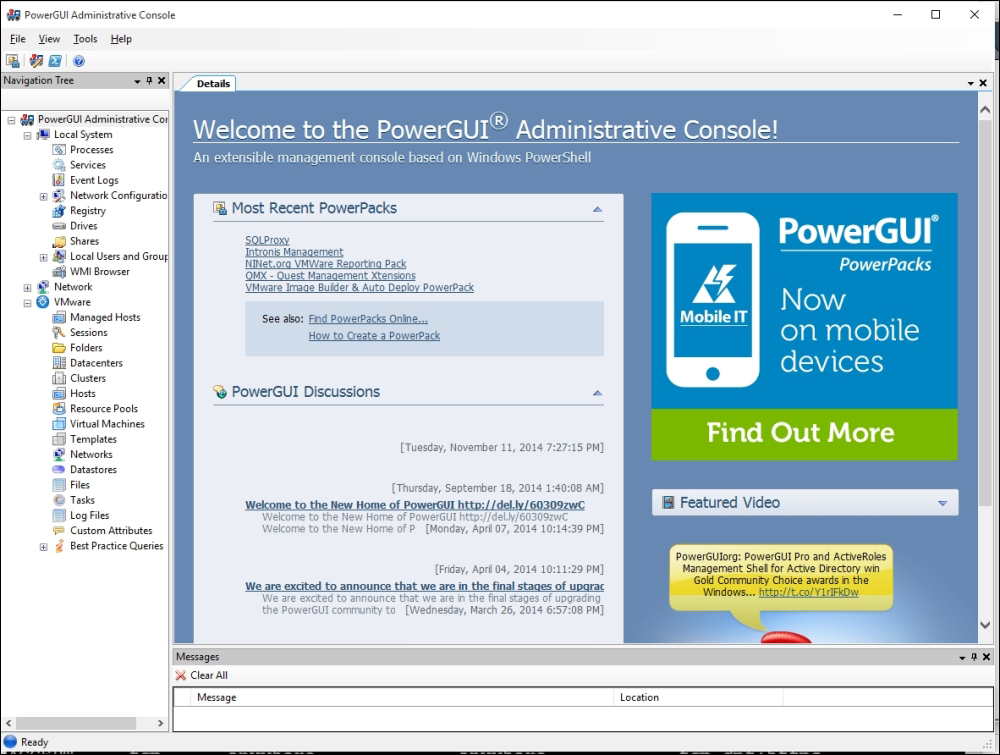
PowerGUI is a friendly tool especially useful for people who don't know much about PowerShell scripting. The following screenshot shows the homepage:
Download the PowerGUI from the previously mentioned link and double click on the downloaded setup file to start the installation wizard.
- On the Select Features screen of the PowerGUI setup, everything is selected in the default installation.
- Click on Next to install the PowerGUI.
- Installation is done and it was pretty straight forward. Now, it's time to load PowerPacks to extend the PowerGUI functionality. Use the URL that follows to download the VMware Community PowerPack. You can find more PowerPacks by searching in the search box as well: http://en.community.dell.com/techcenter/powergui/m/powerpacks/20438900.
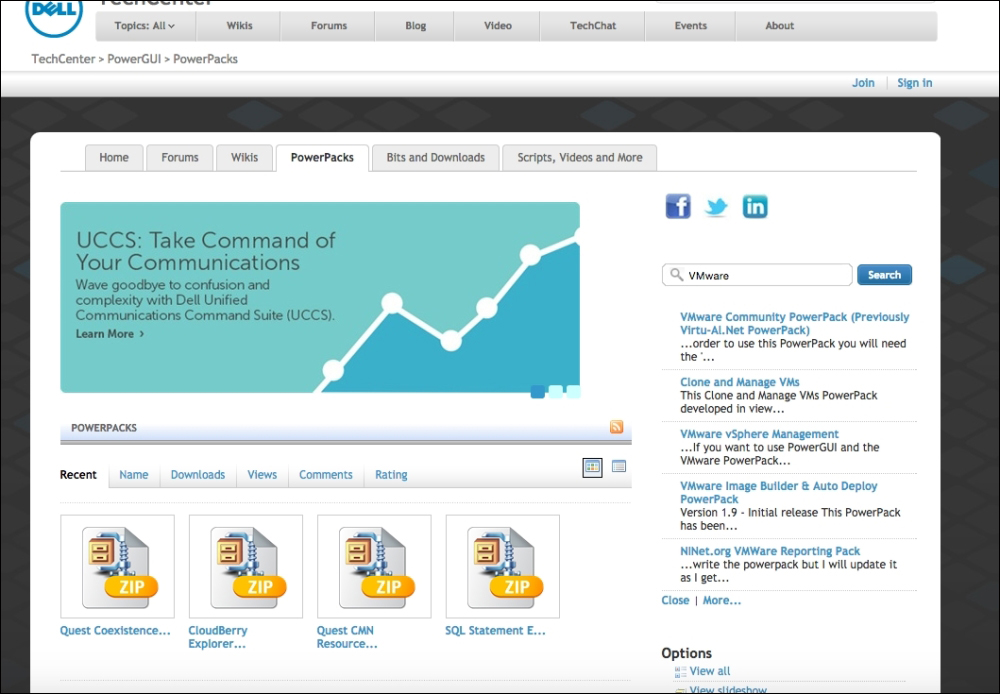
- It will download a
.zipfile that contains a file with a PowerPack extension. Extract the file in the directory that you want to. - Click on the PowerPack Manager icon (take a look at the following screenshot):
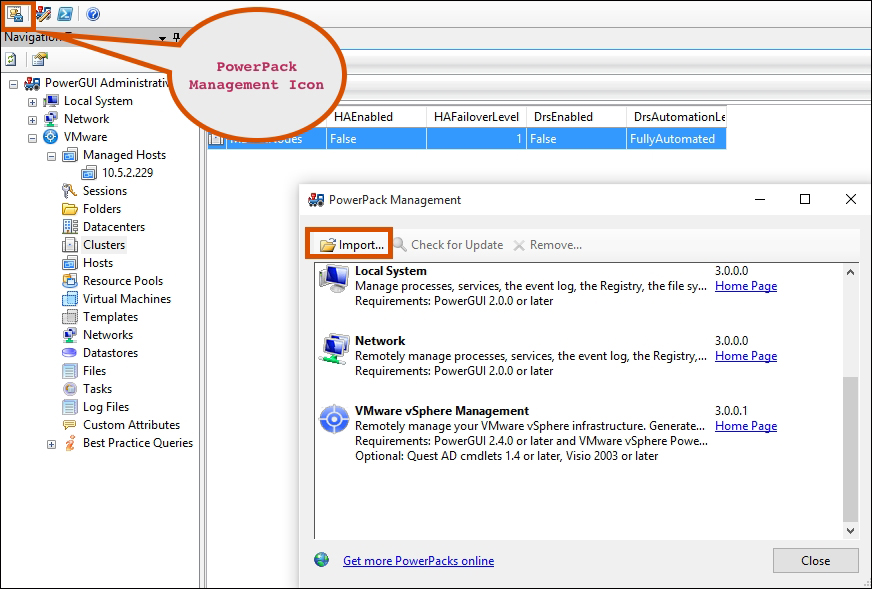
- Click on Import to browse the recently downloaded PowerPack. Then, click on Close. The newly imported PowerPack will be automatically shown in the left pane. From there, you can browse and perform the management tasks.
Let's have a quick overview of our recently added VMware Community PowerPack. Perform the following steps:
- Expand the VMware icon on the left pane.
- Click on Managed Hosts and then click on Add managed host... on the Actions pane.
- The Add managed host… Paramenters window will open, as shown in the following figure. Enter your vCenter Server host name or IP address.
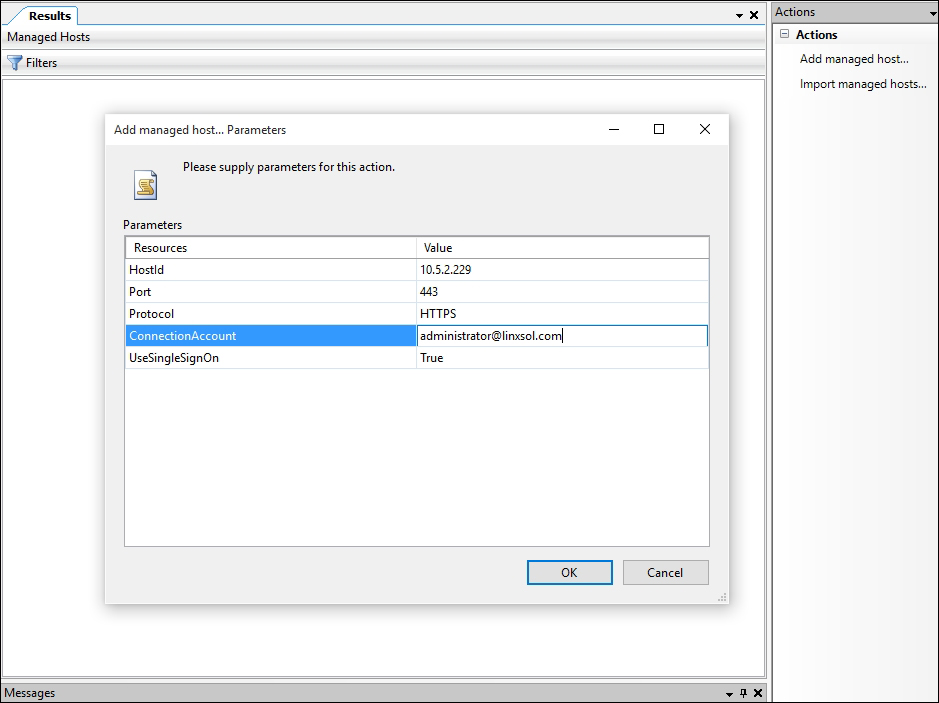
- Enter the user name that you use to log in to your vCenter Server in ConnectionAccount and click on OK.
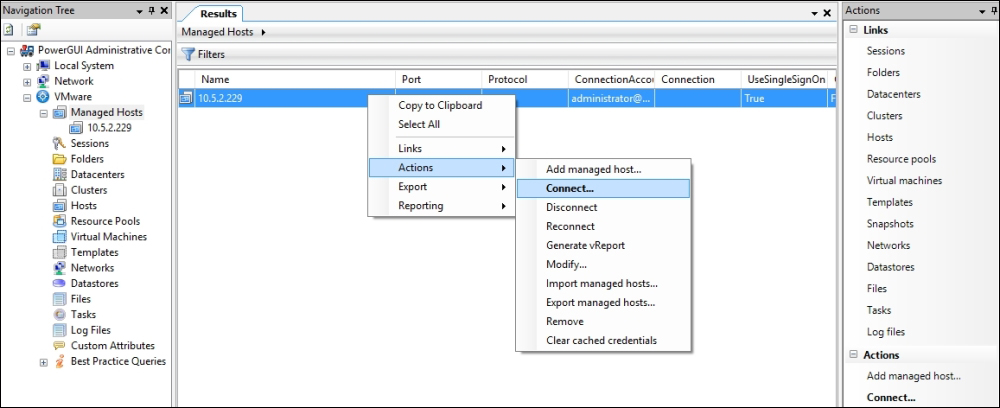
- The host will be added to Managed Hosts. You can right click on it or you can choose Connect... from the Action pane to connect it:
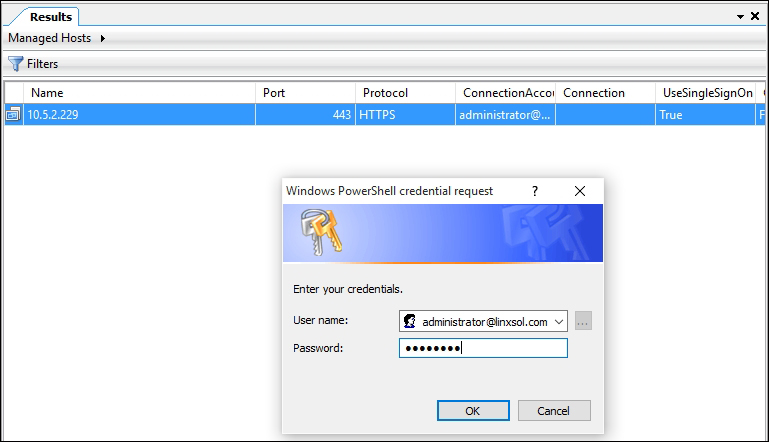
- Once prompted, enter the details in the Password field for your account, as shown in the figure that follows:
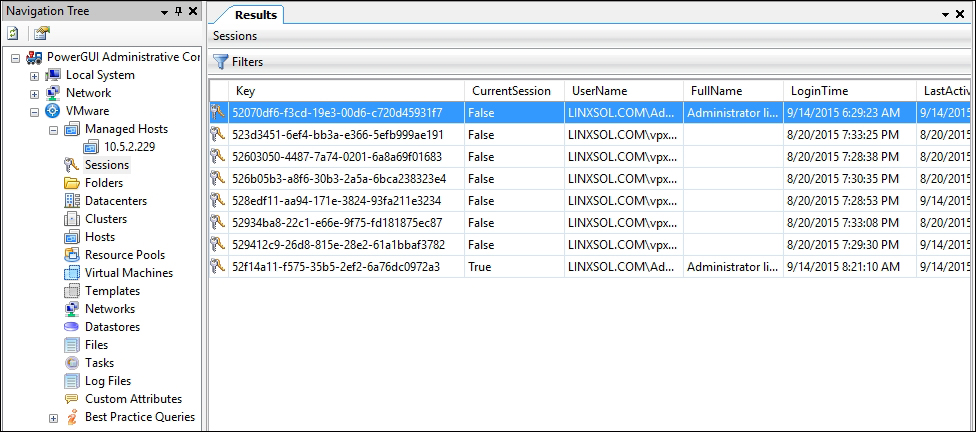
- Click on Session on the left pane to see the current sessions in the vCenter Server:
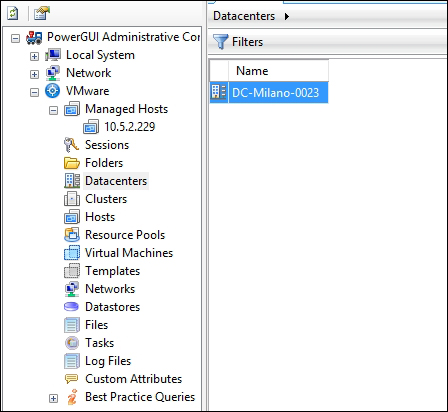
- Click on Datacenters to see the available datacenters in your vCenter Server. In the same way, you can perform different actions on the object shown in the screenshot that follows, in the connected vSphere infrastructure: