
This extension adds OpenID, OAuth, and OAuth2 consumers for the Yii 2.0 framework.
- Create a new application by using composer, as described in the official guide at http://www.yiiframework.com/doc-2.0/guide-start-installation.html.
- Install the extension with the following command:
composer require yiisoft/yii2-authclient
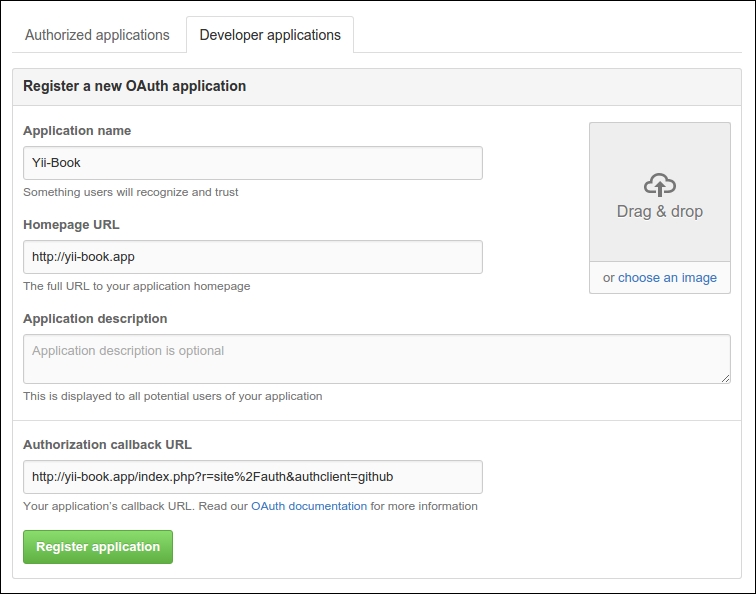
- Open your GitHub applications page https://github.com/settings/applications and add your own new application:
- Get the Client ID and Client Secret:
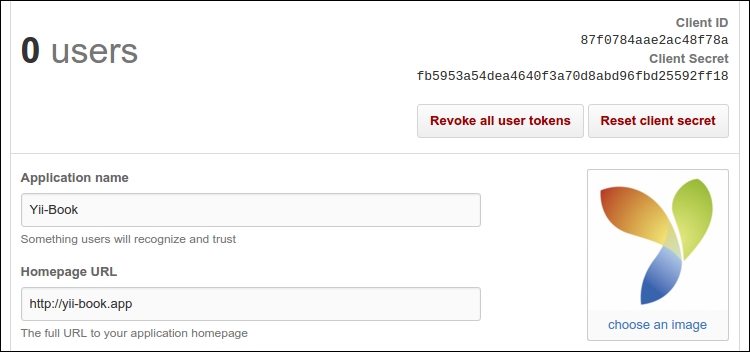
- Configure your web configuration and set the corresponding options for your
authClientCollectioncomponent:'components' => [ // ... 'authClientCollection' => [ 'class' => 'yiiauthclientCollection', 'clients' => [ 'google' => [ 'class' =>'yiiauthclientclientsGoogleOpenId' ], 'github' => [ 'class' => 'yiiauthclientclientsGitHub', 'clientId' => '87f0784aae2ac48f78a', 'clientSecret' =>'fb5953a54dea4640f3a70d8abd96fbd25592ff18', ], // etc. ], ], ], - Open your
SiteControllerand add theauthstandalone action and success callback method:use yiiauthclientClientInterface; public function actions() { return [ // ... 'auth' => [ 'class' => 'yiiauthclientAuthAction', 'successCallback' => [$this, 'onAuthSuccess'], ], ]; } public function onAuthSuccess(ClientInterface $client) { $attributes = $client->getUserAttributes(); yiihelpersVarDumper::dump($attributes, 10, true); exit; } - Open the
views/site/login.phpfile and insert theAuthChoicewidget:<div class="site-login"> <h1><?= Html::encode($this->title) ?></h1> <div class="panel panel-default"> <div class="panel-body"> <?= yiiauthclientwidgetsAuthChoice::widget(['baseAuthUrl' => ['site/auth'], 'popupMode' => false, ]) ?> </div> </div> <p>Please fill out the following fields to login:</p> ... </div> - You will see icons for the providers you've configured:
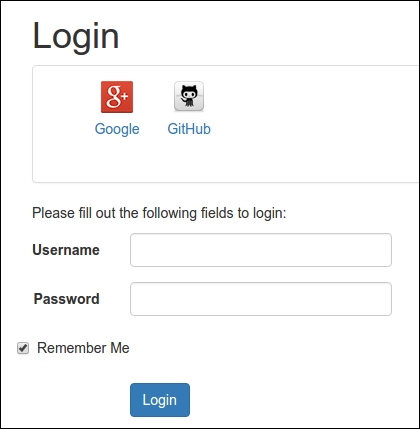
- Try to authorize with the GitHub provider:
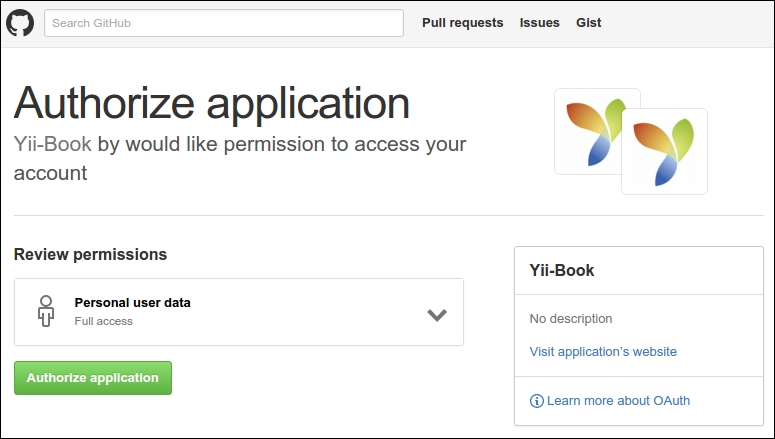
- If successful, your callback will show authorized user attributes:
[ 'login' => 'Name' 'id' => 0000000 'avatar_url' =>'https://avatars.githubusercontent.com/u/0000000?v=3' 'gravatar_id' => '' 'url' => 'https://api.github.com/users/Name' 'html_url' => 'https://github.com/Name' ... 'name' => 'YourName' 'blog' =>site.com' 'email => [email protected]' ... ] - Create your own authorization code in the
onAuthSuccessmethod, like the example at https://github.com/yiisoft/yii2-authclient/blob/master/docs/guide/quick-start.md.
The extension provides OpenID, OAuth, and OAuth2 auth clients for your application.
The AuthChoice widget opens an authenticate page on a selected service's site, storing the auth action URL. After authentication, the current service redirects users back while sending authentication data via a POST-request. AuthAction receives the request and calls the corresponding callback.
- To get more information about extension usage, refer to:
- To learn more about OpenID, OAuth, and OAuth2 authentication technologies, refer to:
..................Content has been hidden....................
You can't read the all page of ebook, please click here login for view all page.