
CHAPTER 1
Getting Started
It's time to begin a fun and fulfilling journey into the world of game development! The road ahead is clear and straight, with a few interesting turns to keep you awake and engaged at the wheel. Regardless of your skill level with game development, I am confident that you will pick it up in no time.
Before we get started, think for a moment about how you might categorize yourself. Are you a novice coder, perhaps with some C++, C#, or Visual Basic experience? You will find that writing a game using XNA Game Studio is as challenging as writing any other application, and presents some new challenges of its own.
Are you an intermediate or expert coder who has never touched game programming because it seemed too difficult? Your experience designing and developing other programs will make your transition to XNA Game Studio very easy.
Perhaps you are a seasoned game developer with roots in the world of unmanaged code, such as OpenGL or DirectX. While XNA is not an appropriate platform for, say, Halo 3, you will experience the joy of using a product that allows you to work quickly and accurately, without needing to consult a compendium of formulas and functions.
Maybe you've been working with interpreted languages or scripting platforms to develop games, such as Dynamic HTML (DHTML), Silverlight, Flash, or Java. Developing games with XNA is a beautiful mix of power and practicality, and I know you'll come to love the work flow.
This chapter will get you started with your first XNA game. But first, you need to get the software.
Downloading and Installing the Software
Without question, the first tasks to undertake are downloading and installing the software tools you'll need to build games. The first application you should install is Visual Studio 2008. If you don't have the full Visual Studio 2008 suite, you can download Visual C# 2008 Express Edition.
Note Visual Studio 2005, which is required for a previous version of XNA Game Studio, will not work with XNA Game Studio 3.0. Any version of Visual Studio 2008, including Visual C# 2008 Express Edition, will happily run alongside your current Visual Studio 2005 installation.
If you already have Visual Studio 2008 or Visual C# 2008 Express Edition installed, skip ahead to the section on installing XNA Game Studio 3.0.
Installing Visual Studio 2008
As noted, you have two options for Visual Studio: install a retail copy of Visual Studio 2008 (make sure to install the C# language) or obtain Visual C# 2008 Express. The latter is a free version of Visual Studio 2008, intended for use by nonprofessional developers, enthusiasts, students, and others. Visual C# 2008 Express is just as full-featured as its bigger, more expensive cousins. Here, we'll walk through the steps to install Visual C# 2008 Express. (I'll assume that if you have the retail copy of Visual Studio 2008, it's already installed.)
Note XNA Game Studio currently supports only the C# language. Be sure to download and install Visual C# Express, not Visual Basic Express.
- Go to the Express download page at http://www.microsoft.com/express/download.
- On the Express download page, navigate to the Visual C# Express download area, as shown in Figure 1-1, and click the Download button. This will begin an installation process that will download the latest version of the product for you. Alternatively, you can also use the Offline Install feature, shown in Figure 1-2, to download the entire Express suite of products at once, if you're interested in exploring other parts of Visual Studio.

Figure 1-1. Downloading Visual C# 2008 Express Edition
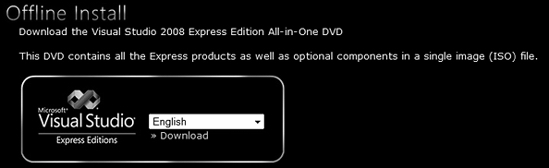
Figure 1-2. Offline installation of the Visual Studio 2008 Express suite
- After the file
vcsetup.exehas been successfully downloaded, double-click it to run the setup program. - Click Next on the initial screen (see Figure 1-3).
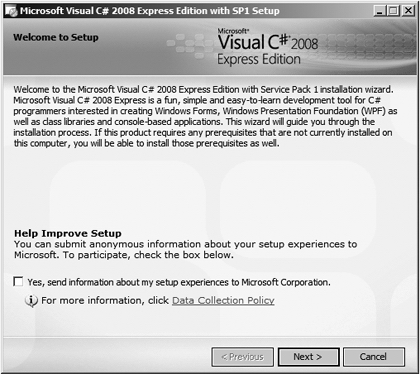
Figure 1-3. Initial screen of the Visual C# 2008 Express setup application
- Read and accept the license terms, as shown in Figure 1-4. Checking the "Allow Visual Studio to receive and display online RSS content" check box means that you will see live news updates and information on the start screen of the application. No personal information is exchanged as a part of this process. Click Next to continue.
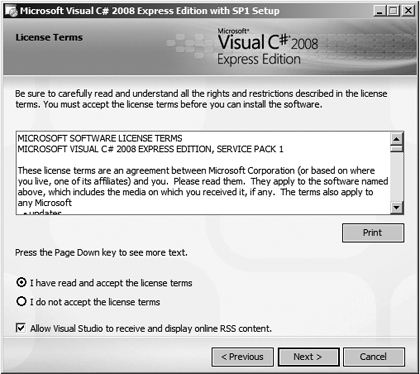
Figure 1-4. Accepting the license terms of Visual C# 2008 Express
- Set the installation directory and check your disk space requirements. Be sure you are connected to the Internet, because the software you need will be downloaded at this time. The information displayed on your screen will likely be slightly different than what is shown in the example in Figure 1-5. When you are ready, click the Install button to begin downloading and installing the software.

Figure 1-5. Setting the installation location for Visual C# 2008 Express
- The software will begin downloading. If your system requires prerequisites such as the .NET Framework, those prerequisites will be shown in the list of downloads. Also, if you have elected to install SQL Server Express (optional), it will also be downloaded. You will be presented with a screen similar to Figure 1-6, displaying the download progress. After the required files are downloaded, the product will begin installing. In many cases, a reboot may be required after the installation of some prerequisites. Be sure to click the Reboot Now button so that setup can relaunch itself after the reboot.
Note SQL Server Express is not required for the exercises in this book and does not run on the Zune, but you may find it useful in the development of PC games.

Figure 1-6. The setup program shows the download status. The contents of this window will vary based on what needs to be installed for your system.
- At last, the installation procedure for Visual C# 2008 Express is complete. You'll see a summary screen, similar to Figure 1-7. Again, depending on prerequisites and any options you chose to install, your screen may have more entries. Note the request to register the product within 30 days. It's important to register the product (free of charge) to keep the software working. Click Exit to complete the installation of Visual C# 2008 Express.

Figure 1-7. Installation of Visual C# 2008 Express is complete.
Installing XNA Game Studio 3.0
XNA Game Studio 3.0 is not a stand-alone product, but rather an add-on for Visual Studio 2008. You will be working in Visual Studio 2008 as you write games. XNA Game Studio 3.0 installs everything you need to develop games using XNA, including the following:
- XNA Framework libraries
- C# game project templates for PC, Xbox 360, and Zune
- DirectX Audio Creation Tool (XACT), which allows for the creation of audio libraries for Xbox 360 and PC games
- XNA Game Studio Device Center, which allows you to connect and deploy to Xbox 360 and Zune devices
Continuing in the tradition of other Microsoft nonprofessional developer tools, XNA Game Studio is available free of charge. Here are the steps for installing it:
- Download the XNA Game Studio 3.0 setup executable fromhttp://creators.xna.com/en-US/downloads and run it.
- The Setup Wizard starts, as shown in Figure 1-8. Click Next to start the installation.
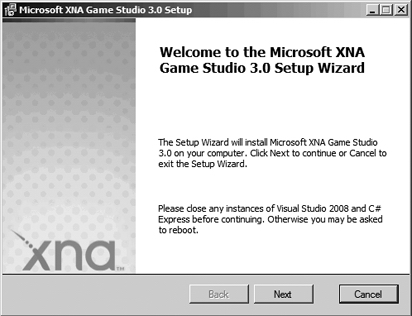
Figure 1-8. The Microsoft XNA Game Studio 3.0 Setup Wizard walks you through the installation.
- The next screen presents the End-User License Agreement (EULA), as shown in Figure 1-9. Read it, accept it, and click Next.
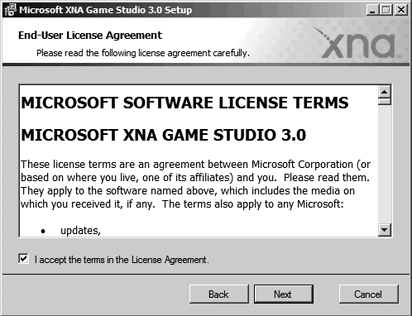
Figure 1-9. Read and accept the EULA.
- On the next screen, you have the option to enable firewall rules to allow communication between other PCs and Xbox consoles running the XNA Framework, as shown in Figure 1-10. Enable these rules and continue.

Figure 1-10. Enable the firewall rules for XNA Game Studio.
- The setup program will continue through various phases of installing the software, displaying the status and a progress bar, as shown in Figure 1-11.

Figure 1-11. The setup program shows the progress of the software installation.
- After a few minutes, the installation will complete, as shown in Figure 1-12. If you wish to visit the Creators Club web site, check the box, and you will be taken there when you click Finish.
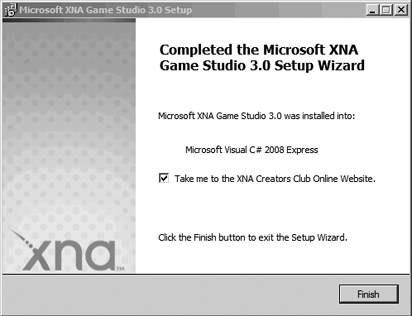
Figure 1-12. Click Finish to complete XNA Game Studio 3.0 installation.
XNA Game Studio 3.0 is now successfully installed!
Your First "Game"
Now that the required tools have been installed, it's time to make sure that everything works as expected.
Creating your first "game" in XNA Game Studio is an incredibly easy process. All it involves is selecting a couple of menu items and clicking Run. I'll take you through the very brief process of creating your first game, called Cornflower Blue.
- Open Visual C# 2008 Express Edition or Visual Studio 2008. After installing XNA Game Studio 3.0, Visual C# 2008 Express can be found in the Programs list under Microsoft XNA Game Studio 3.0. You will be greeted with the program's initial screen as shown in Figure 1-13. If it's your first time running the tool, it will automatically configure the environment for first-time use.
- Select File
 New Project to open the New Project dialog box.
 - Right now, you are just testing to make sure that your software installation works, so let's choose the fastest option for testing. In the Project Types list, make sure you have Visual C# XNA Game Studio 3.0 selected. Choose Windows Game (3.0) under Visual Studio Installed Templates, as shown in Figure 1-14. This will create a game that runs on your PC.
- Choose a name for your test game, such as
TestingGame. - Click OK to create the project.

Figure 1-13. Visual C# 2008 Express running for the first time

Figure 1-14. Choosing to create a new Windows Game (3.0) project
Note that a considerable amount of code already exists for your game. Every XNA game starts with a set of boilerplate code that drastically minimizes the work you need to do to arrive at a functioning game. If you have DirectX or OpenGL experience, perhaps you remember the amount of work required to put your own boilerplate code into a new C++ project: setting up the graphics device, viewports, game loop, and so on. It could be hours, days, or even weeks before you had the most basic outline of a game in an executable format. This is not the case with XNA Game Studio, which starts every project with a working game.
To see how easy XNA has made this process, press F5 to run your game with the debugger on.
Tip If you wish to run your game without debugging, press Ctrl+F5 instead of F5. This will build and run your game more quickly, but it will not load the debugging symbols. You will not be able to catch errors or use any debugging features. Still, it can be a handy tool to use if you don't need to debug.
After you press F5, the game is compiled and then run in debug mode. If your game does not run (meaning you have compile-time errors), address the errors and try again. You will see a window that looks like Figure 1-15, although it will appear in a bright blue color called Cornflower Blue, instead of the grayscale image shown in this book.

Figure 1-15. Cornflower Blue in all of its glory
I often demo this as a "next-generation game called Cornflower Blue." When I run through this process before an audience, I refer to Cornflower Blue as "the blue screen of life," a term I attribute to Microsoft XNA Most Valuable Professional (MVP) Bill Reiss.
Don't be fooled into thinking this isn't a real game. Admittedly, it does look like a rectangle painted blue. However, under the hood are the inner workings of a true game. Graphics device setup, clearing the screen to a color (Cornflower Blue, of course), and the game loop are all implemented for you, even in this simple example. Herein lies the inherent power of XNA: you can get started with everything you need in a heartbeat—literally, just a few clicks and keystrokes.
Summary
In this chapter, you learned how to install Visual Studio 2008 and XNA Game Studio 3.0 on your computer. You also learned how to create a very simple game—without writing even a single line of code.
XNA Game Studio 3.0 and Visual C# 2008 Express, both freely available tools, make game development accessible to everyone. Creating a new game is as simple as pointing and clicking, and from there, the sky is the limit. In the next chapter, you will learn more about writing games with the XNA Framework.