Chapter 4
Creating and Sharing Personalized Photo Keepsakes
The power of a photo is the ability to share with important people in your life your special moments. With iPhoto, you can do this in several great ways, from a comprehensive photo book about a vacation or a calendar of baby photos. You will love the options available.
Leveraging the Create Button

The Create button packs a wallop! With it, you can create amazing projects in just a few short steps. I will go over several projects in detail in this chapter. If you click on the Create button, you get the screen shown in Figure 4–1. I will work my way down all the options, from creating a book to creating a slideshow. You will notice in Figure 4–1 that I can also create an album. An album is a simple way to organize photos into different themes or events. An album also makes it easier to create other projects, because only the photos in the album will appear in the new project. Just select the photos you want and select Album from the Create button. That's it—you created a new Album. Now all you have to do is edit the title.
NOTE: You can create also a slideshow with the Create button. I cover slideshows in Chapter 6: “And Now … a Slideshow!”
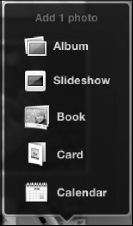
Figure 4–1. All the great projects you can create in iPhoto
Creating a Book
Follow these steps to create a book full of your precious memories:
- Choose a cover.
- Choose the color background of the cover.
- Determine how the book will be bound.
- Select the size of the book.
- Create the interior (most of your time is devoted to this).
- Purchase the book.
Choose a Cover
Figure 4–2 shows the first screen you will see after choosing to create a book. Please note that the cover is chosen by clicking the left or right arrow keys, or by clicking on the book cover that is not directly in front of you. There are choices to the left and to the right of the current cover.
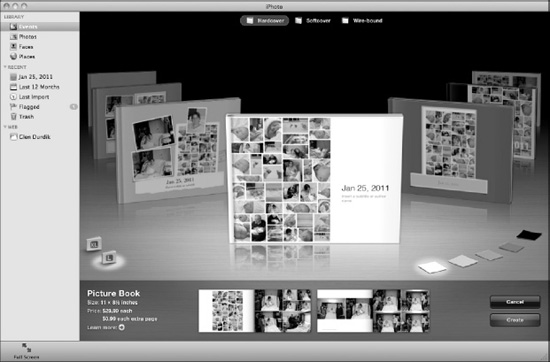
Figure 4–2. Select your cover in this window.
Choose the Background Color for the cover
To the right of the current book cover, you will notice color swatches. If you click on a color, the background of the current cover will change. This is shown in Figure 4–3.
Figure 4–3. Choosing a background color for your cover
Determine How the Book WillBe Bound
You have three choices for your book's binding:hardcover, softcover, or wire-bound. You make a selectionin the area of the screen shown in Figure 4–4. It is located at the top of the window in Figure 4–2.
Figure 4–4. Choices for type of binding
Select the Size of the Book
You have two choices when it comes to the size of the book. It can be Large (L)—which is the default—or Extra Large (XL). You make your selection in the bottom left side of the workspace (see Figure 4–5). Please notice that the one in the spotlight is the one that will be used.
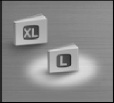
Figure 4–5. Selecting the size of the book
Pricing Your Book
Once you have selected the book size, and before you create your interior pages, you get a price estimate of your book. This is shown in Figure 4–6. It is located in the bottom left-hand corner of the workspace. The price depends on the book's type, size, and number of pages. You will not know the final price until you have a final page count.
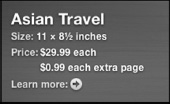
Figure 4–6. Pricing estimate for a book
Create the Interior
Once you have determined the size, cover, and type of book, you can start creating the interior. To begin, click on the Create button ![]() located at the bottom right-hand corner of your screen.
located at the bottom right-hand corner of your screen.
If you have too many pictures to fit into the default book size, the window shown in Figure 4–7 appears. You can add more pages or create an empty book. If you create an empty book, you pick the photos and layouts as you go.
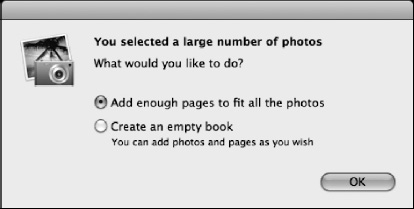
Figure 4–7. There are too many photos to fit in the standard-sized book
Book Workspace Elements
Figure 4–8 is an example of a book I created. It shows the options available to you while creating the interior of the book: Add Page, Design (options), Photos (selection), and Change Theme.
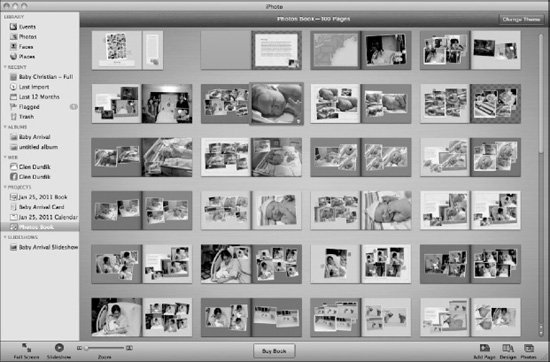
Figure 4–8. Interior of a book workspace
 With the Change Theme button, you can change the theme that you originally applied. After you are done, click Apply.
![]()
 Here you can add additional pages (at additional cost) to your book.
 Let your creative juices flow. The full design workspace is shown in Figure 4–9. Here you can modify the background, layout, and other aspects of the album.
 This button is covered in detail a little later in the chapter. I consider it a topic to be covered last, after going over the other features.
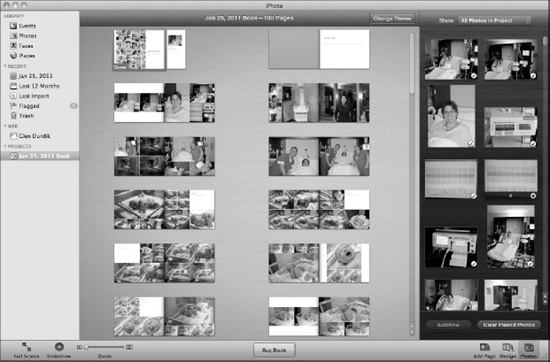
Figure 4–9. Full design workspace
To edit a page, double-click on it. There are then severalchanges you can make to each page of the book. The following sections detail them.
Background
In the book that I have chosen, I have nine choices for the background. This is shown in Figure 4–10. In Figure 4–11, please notice that the page being modified is highlighted with a thick outline, as well as thebackground I have chosen.
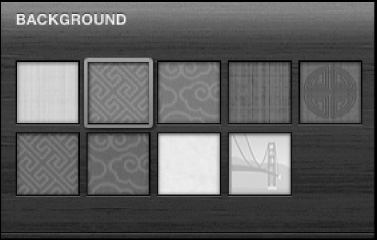
Figure 4–10. Background choices
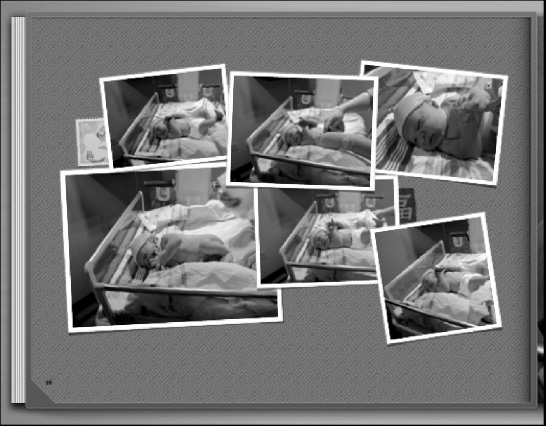
Figure 4–11. The highlighted page (with the blue outline) is currently being worked on.
Layout
You can choose to place between one and seven photos on each page. For each choice, iPhoto gives you a selection of options. In Figure 4–12, I have chosen to put two photos on the page. Also notice that you have the option of adding text to the page.
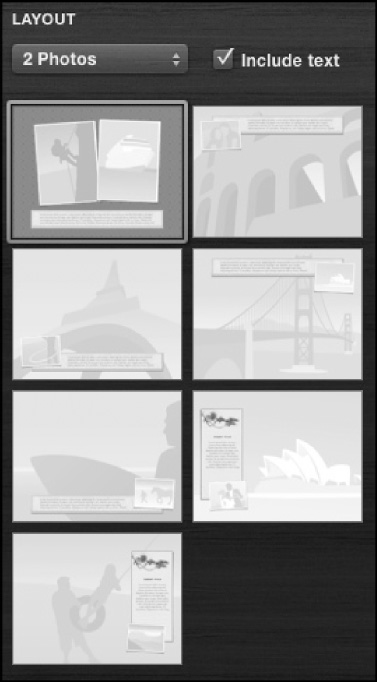
Figure 4–12. Layout options
You can also have the choice of the following four layouts (Figure 4–13):
- Text Page: Choose between a selection of text-only layouts.
- Map: Place a map as the background. Several layouts are available.
- Spread: You can have one page spread over two pages.
- Blank: An empty page.
You can select these other types of options by clicking on the text below Layout.
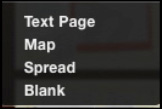
Figure 4–13. Additional layouts available
Photo Adjustment While Working on a Page
If you are editing a page for layout and background changes, you can also make an adjustment to each photo on the page. You can zoom in for a closeup of the photo or zoom out. Just click on the photo and you'll see the Zoom bar appear above the photo. Move the circle to left to zoom out and to the right to zoom in (Figure 4–14).

Figure 4–14. Using the Zoom tool
Text Editing While Working on a Page
Simply double-click on the text box. This will bring up a complete list of text options. This is shown in Figure 4–15. You can change the typeface, the color, the alignment, and a few other options.
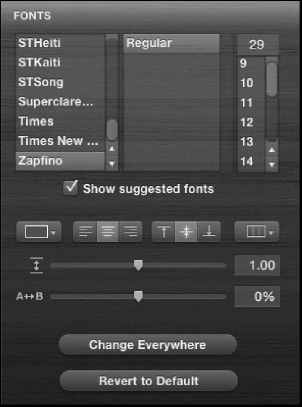
Figure 4–15. Type options available while creating a book
Navigator
When you are working on a single page, a Navigator window will appear (Figure 4–16). This allows you to easily navigate the book with small thumbnails of each page being shown in the window.
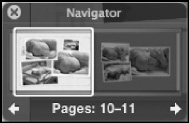
Figure 4–16. The Navigator window
 This is where you have access to your Photo Library. This button gives you access to a sidebar attached to your main workspace(see Figure 4–17). This gives you a complete list of all the photos you can choose from.
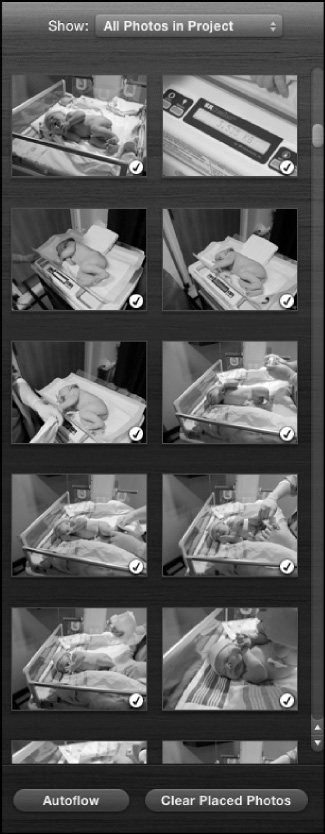
Note the check mark in each thumbnail. This means that the photos have been incorporated into the book. This will occur if you use the Autoflow button.
![]() Autoflow adds all the pictures that you have in your project and chooses its own layout for each page. It's simple to use, but no creativity is required. If you want more creative control, click on the Clear Placed Photos button.
Autoflow adds all the pictures that you have in your project and chooses its own layout for each page. It's simple to use, but no creativity is required. If you want more creative control, click on the Clear Placed Photos button.
![]() Now you can add photos and create different layouts at will.
Now you can add photos and create different layouts at will.
If you click on All Photos in Project next to Show:, you get the window shown in Figure 4–18. Here you can see:
- All Photos in Project: Shows all available photos.
- Placed Photos: Shows only photos that you have used in the book so far.
- Unplaced Photos: Shows only the photos you have not used so far in the book.
- Baby Christian—Full: Shows the title of event.
- Last Import: Shows only the last photos you imported into iPhoto.
- Last 14 Months: Shows only the photos you imported over the past year.
- Flagged: Only shows the photos you have tagged.
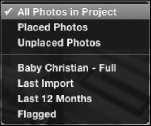
Figure 4–18. Options available to give you access to photos to add to your book
Purchase Your Book
Okay, it's time to purchase your Pulitzer. Click on Buy Book. ![]() This is found in the middle of yourbook workspace, at the bottom. If there are any formatting errors, iPhoto will alert you. Otherwise, follow the steps and buy the book. You will need an Apple account to purchase it. If you buy music from iTunes, then you already have an account.
This is found in the middle of yourbook workspace, at the bottom. If there are any formatting errors, iPhoto will alert you. Otherwise, follow the steps and buy the book. You will need an Apple account to purchase it. If you buy music from iTunes, then you already have an account.
Creating a Card
Personalized holiday cards…nothing is more special. Whether it is just a plain-text card or a photo card, who knows more about saying something special than you? Simply follow these steps to create a card.
- Choose the type of card. Creating a card is a little different from designing a book. The first step is to decide what type of card you prefer. For each type, there are different cover designs. The three choices are Letterpress, Folded, or Flat. See Figure 4–19. The choices are located at the top of the card cover design window.

Figure 4–19. Choices of card type
- Choose a cover design. As with creating a book, the one in the front is the selected one. Clicking on the left or right arrow keys on the keyboard brings up the other designs. The Cover Design window is shown in Figure 4–20.
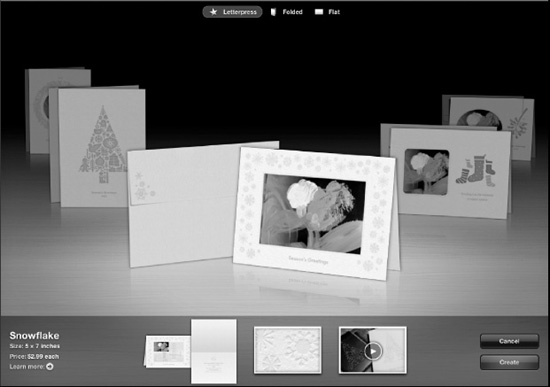
Figure 4–20. Cover Design window
- To begin customization, click Create.
- Edit the outside cover layout. You can modify the cover layout from the one you selected earlier. Click the picture on the cover. The result is shown in Figure 4–21.
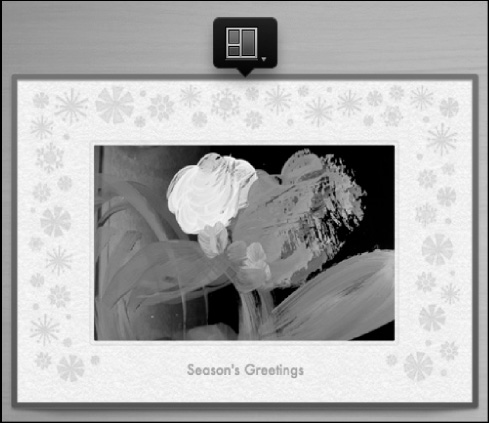
Figure 4–21. Editing the card cover layout
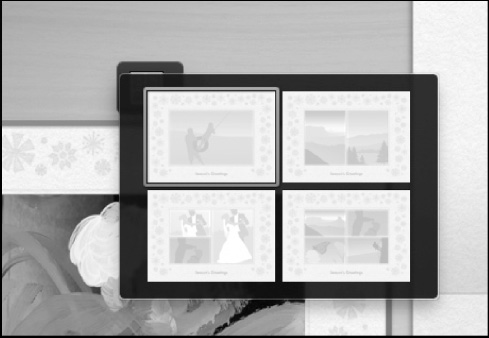
- Next, click on the small black box that appears over the top of the picture. For this card, we have four layout choices. This is shown in Figure 4–22.
- If you click on the Design button
 , you can further modify the photo on the front cover. There are two options available: Effects and Edit Photo. The Effects choices are Black and White, Sepia, Antique, and Original (if you want to leave it as is). This is shown in Figure 4–23.
The Edit Photo
 button brings up all of the options found in the Edit Button section discussed in Chapter 3: “Getting Your Memories into the Digital Darkroom”
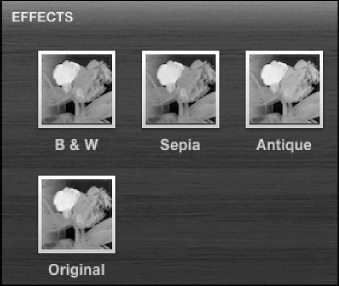
Figure 4–23. Effects that can be applied to the photos used in the card
- The Photos button
 has the same functionality as the Photos button described in the “Creating a Book” section earlier in this chapter. Use this feature to add photos to your card.
 - After you are done with the cover, you can edit the inside of the card. To edit the text boxes, just click on them. You can edit the words in the card or adjust the font settings. The black box for formatting text is shown in Figure 4–24.
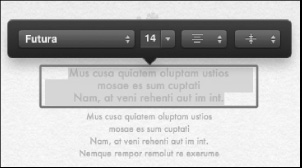
Figure 4–24. Editing text in a card
- Purchase the card. Just click on the Buy Card button
 . Follow the instructions to order them online. Again, you must have a valid Apple account. If you use iTunes to purchase music or videos, you are good to go.
Creating a Calendar
Creating a calendar based on a particular subject is quick and easy to do. In just five steps, outlined here, you can create great personalized gifts for all of the important people in your life.
- Choose the cover of your calendar using the screen shown in Figure 4–25. As with creating a book or card, the layout in front is the selected one. Click on the choices to the left or right to see what other formats are available.
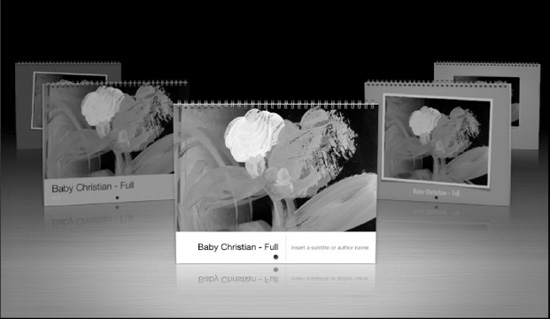
Figure 4–25. Selecting your calendar's front cover
- Click the Create button.

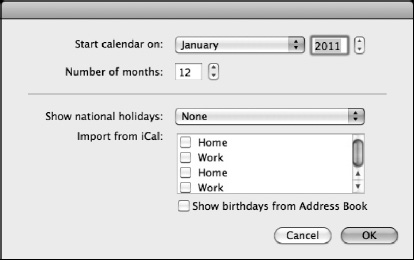
- Provide the requested information in the window that now appears on your screen (see Figure 4–26). This window is divided into two sections. The top section asks what the start date and month for your calendar should be. The second asks how many months you want the calendar to contain. You are also asked if you want to add national holidays. The default is not to include holidays (None), but if you want to include them, click Show national holidays and choose your country. It is possible to have all of the birthdays stored in your address book added as well. Finally, you can import important dates from your iCal application.
- Customize your calendar using the Design button
 . This is essentially the same as the book options. The two options are Background color and Layout (see Figure 4–27).
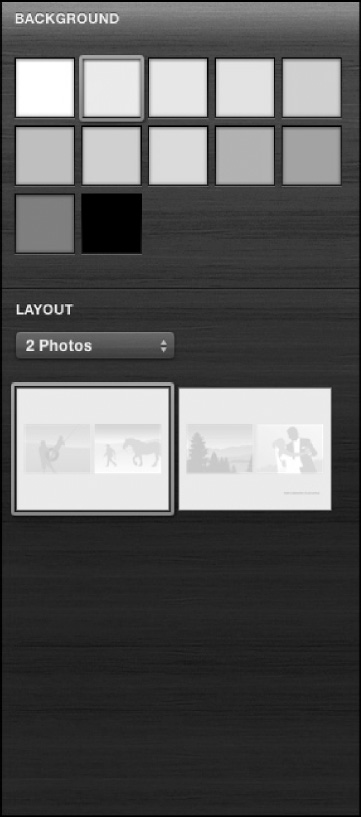
Figure 4–27. Two options available when clicking the Design button while creating a calendar
 The Photos buttonhas the same functionality as the Photos button described in the “Creating a Book” section earlier in this chapter. It allows you to choose the photos you want in your calendar.
- Purchase your calendar by clicking on Buy Calendar
 and following the instructions to complete the ordering process.
Share Button

The Share button allows you to share your memories with other people via the Internet or by ordering prints. If you click on this button, you will see Figure 4–28 first.
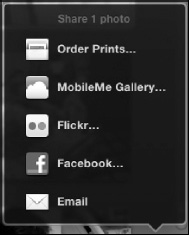
Figure 4–28. Initial Share screen
The first option is to order prints from Apple. You can choose the size and quantity for each photo you want to have printed (see Figure 4–29). Notice in the example that the two largest sizes (16 × 20 and 20 × 30) have a caution triangle next to them. This is telling you the quality of your photo is too low to be blown up to these big sizes.
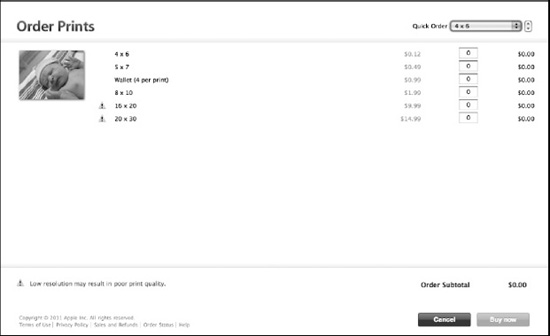
Figure 4–29. Purchasing prints from Apple
The second choice is to upload it to a MobileMe Gallery (see Figure 4–30). This is a paid service from Apple. One of my favorite features is that items can be downloaded by people you give access to the MobileMe Gallery. Notice that you can create a new album with the photo(s) or add to an existing gallery.
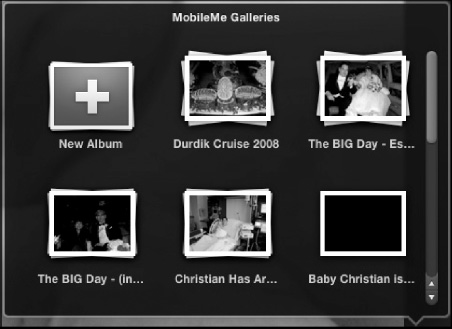
Figure 4–30. Adding to a MobileMe gallery
You can also upload it to a Flickr account. Flickr is a photo service provided by Yahoo. I do not have an account, but you easily create one for free. Facebook is another way in which you can share your photos (see Figure 4–31). Notice that you can add a photo to a new album, make it your profile picture, or post it to your wall.
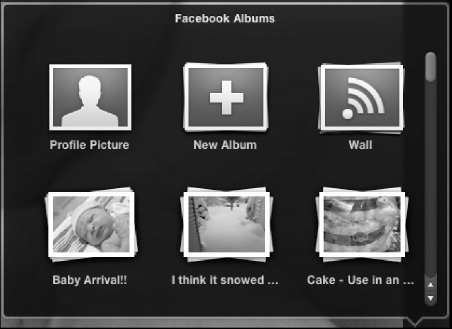
Figure 4–31. Adding a photo to a Facebook account
Last, you can send an e-mail to someone with the photo(s) you want to share. This is cool, because you can use one of ten custom backgrounds for the email itself (see Figure 4–32).
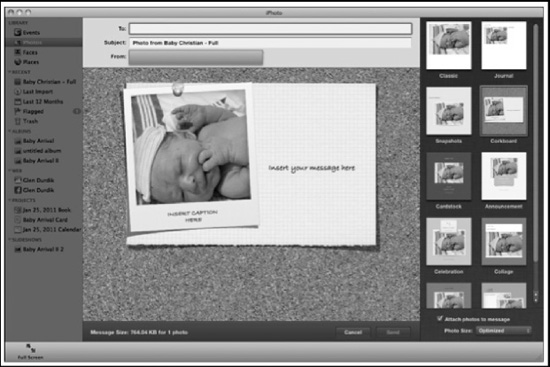
Figure 4–32. Custom e-mail options available when choosing Email from the Share button
Summary
With the power of iPhoto at your fingertips, you can create amazing keepsakes for you or anyone close to you. As you have seen, iPhoto has many simple and easy ways to share your precious memories with others, wherever they may be. Be creative. Whether you are sharing your memories on a piece of paper, via e-mail, or over the Internet…a picture is truly worth a thousand words or should I say, text messages?
Be warned: you can spend quite a bit of time creating your masterpiece.