
7. Keyframing and Pan & Scan
Lesson Overview
In this lesson, you’ll learn about the following:
• How to keyframe changes in exposure and contrast
• How to manually animate masks using keyframes
• How to use the Pan & Scan controls to reframe clips
This lesson will teach you how to create grading and masking effects that change over time. It should take approximately 45 minutes to complete.
Download the project files for this lesson from the Lesson & Update Files tab on your Account page at www.peachpit.com and store them on your computer in a convenient location, as described in the Getting Started section of this book. Your Accounts page is also where you’ll find any updates to the chapters or to the lesson files. Look on the Lesson & Update Files tab to access the most current content.
Getting started
SpeedGrade, like most other postproduction applications that let you affect visuals, has controls for keyframing images to create animated effects. This can range from creative grades that change over time to more utilitarian corrections of unwanted shifts in exposure or color due to automatic camera settings. You can also manually keyframe masks to follow subjects that are difficult or impossible to track automatically.
![]() Note
Note
If you have not already downloaded the project files for this lesson to your computer from your Account page, make sure to do so now. See “Getting Started” at the beginning of the book.
For this lesson, you’ll use the project file located in the Lesson_07 folder.
1. Launch SpeedGrade (if necessary) and close the open project so the Timeline is empty.
2. Use the Media browser’s hierarchical list at the left to find where you copied the SpeedGrade lesson media.
3. Open the Lesson_07 folder, and double-click Lesson_07_Keyframing.ircp to open that project.
4. If the clips in the Timeline appear brown, select the Tutorial_Media folder in the media browser to reveal its contents. Then open the Reels panel and click the Load From Desktop button to relink them to the clips in the open project.
5. Open the Monitor. If necessary, set the Zoom Level pop-up menu to Fit to see the entire frame, and then open the Look panel to prepare to work.
The four clips in the Timeline will be used to show different ways you can use Secondary layers.
Keyframing grades
The interface for keyframing in SpeedGrade is simple yet effective. A set of key-framing buttons is located between the Monitor and Timeline, providing access to every available control.
These controls are, from left to right:
• Auto keyframing toggles a mode on and off. Every adjustment you make to the currently visible controls in the Look, Mask, or Pan & Scan panels automatically places a keyframe at the current position of the playhead.
• Add keyframe (F2) does one of two tasks: It either places a keyframe where none was before or toggles an existing keyframe to dissolve from the next keyframe to the left.
• Delete keyframe (Shift-F2) deletes only a keyframe at the current position of the playhead.
• Delete all keyframes deletes all the keyframes that correspond to the currently selected clip or track.
• The previous keyframe (F3)/next keyframe (F4) buttons let you jump the playhead from one keyframe to the next one or previous one.
Keyframes in SpeedGrade do double duty. They either function as a hold keyframe, where settings change abruptly in one frame, or as a dissolve keyframe, where the difference between the previous and current keyframe’s values is interpolated to create an animated correction. Hold keyframes appear as isolated diamonds. Dissolve keyframes appear as two keyframes connected with a right-facing arrow.

In the following exercises, you’ll learn how to use keyframes to create different kinds of animated effects.
Keyframing a stylization
In this exercise, you’ll learn the basics of keyframing by using them to animate a stylistic change to create a visual effect.
1. If necessary, move the playhead to the first clip.
2. Double-click the first clip and then zoom into the Timeline by turning off the All button and clicking the |...| button, so that the first clip occupies nearly the entire available area.
This makes it easier to work as you begin keyframing adjustments.
3. Make an initial, somewhat subtle adjustment, and then make whatever adjustments you like. In this example, the contrast has been raised, the gamma has been lifted, and the color temperature has been slightly warmed. However, feel free to create your own variation; just don’t make any changes that are too drastic—not yet, anyway.
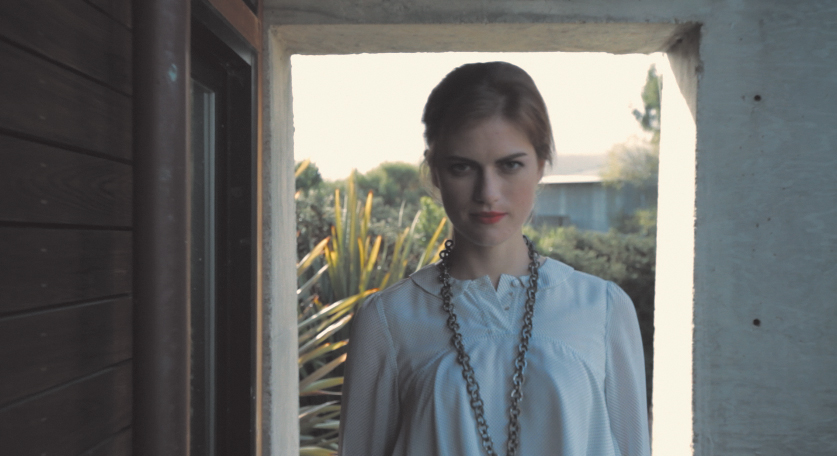
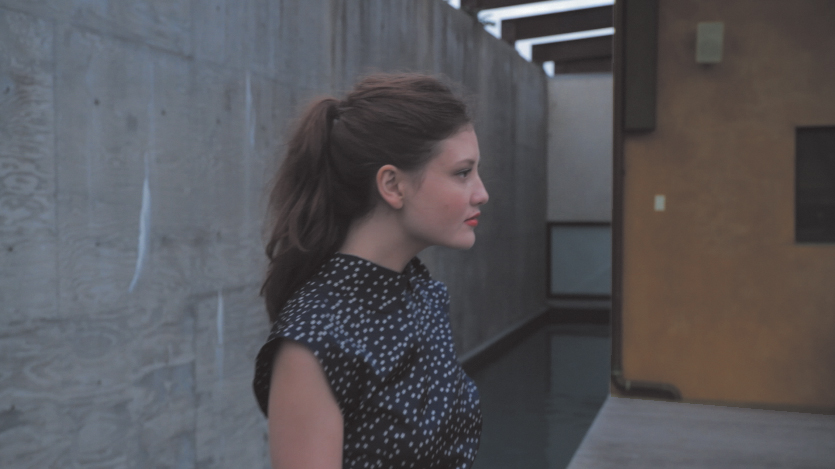
Now that you’ve created your initial grade, the client tells you that he wants a title to fade up as the woman walks away from the camera later in this clip. To support the title, he needs you to create the animated effect of the image shifting to a faded blue tint.
4. You first need to identify the beginning of this transition. Scrub through the first clip until you reach the frame where the woman is just about to turn her head away, and click the add keyframe button (or press F2).
A keyframe appears above the first clip in the Timeline.

5. Drag the playhead to find the frame corresponding with the woman’s second step away from the camera. Click the add keyframe button to place a second keyframe, and then click the add keyframe button a second time to turn this new keyframe into a dissolve keyframe. An arrow should appear connecting this second keyframe to the first one you created.

When you first create keyframes, they’re “hold keyframes.” They won’t interpolate until you alter them with a second click of the add keyframe button.
6. Move the playhead so that it’s a few frames past the second keyframe, and make an adjustment to create the “title background” look. In this example, Input Saturation is set to 0, the Contrast is reduced down to –0.75, and the Gain Color Balance control is dragged toward blue.

Moving the playhead past the last keyframe simply demonstrates that adjustments made to the image affect either the keyframe at the position of the playhead or the next keyframe to the left of the playhead.
If you initiate playback, you can see the animated effect you just created. If you don’t like the timing of the color and contrast change, it’s easy to change by dragging either of the two keyframes you created to the left or right, speeding up the transition if the keyframes are closer to one another or slowing it down if the keyframes are farther apart.
This effect works, but there’s another way of accomplishing this effect that may be simpler if you’re dissolving between two very different collections of adjustments.
7. Use the previous keyframe (F3) and delete keyframe (Shift-F2) buttons to delete both keyframes you created and return to your initial grade.
You could click the delete all keyframes button to start over again, but that would also delete your starting grade, forcing you to completely start over again.
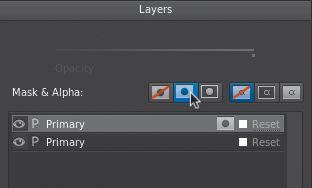
8. Click the +P button to create a new Primary layer in the Layers list, rename it if you like, and then use this layer to create a different tinted look, setting Input Saturation to 0 and reducing Contrast to –0.75. This time drag the Offset Color Balance control toward orange for a different type of tint.
Note that you’re not keyframing these changes, because you’ll animate the effect in a different way.
9. With the top Primary layer selected in the Layers list, drag the Opacity slider to the left to 0.
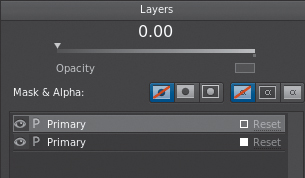
Using the Opacity slider, you can fade an entire layer’s worth of corrections out and in, keyframing just one adjustment rather than several.
10. Repeat steps 5 and 6 to place a pair of keyframes at the beginning of the woman’s head turn and the second step she takes, turning the second keyframe into a dissolve keyframe with a second click of the add keyframe button.
11. With the playhead at the position of the second keyframe, drag the Opacity slider to the right to 1.
Playing through the clip will show your animated effect.
Keyframing exposure
It’s often the case that documentary filmmakers, reality shows, and any production in a hurry may have unwanted exposure shifts in the middle of a shot that need to be eliminated. This can be due to automatic camera settings, a pan from a dark to light part of a location, or a deliberate adjustment of a lighting instrument by a well-meaning crew member.
Whatever the reason, this is a common occurrence and is easily addressed with an animated correction. In the following exercise, you’ll animate an exposure change to minimize the effect of a lens flare in the scene. It’s a good example, because it demonstrates that even though you can’t eliminate the problem in many cases, you can improve it—and that’s still a good thing.
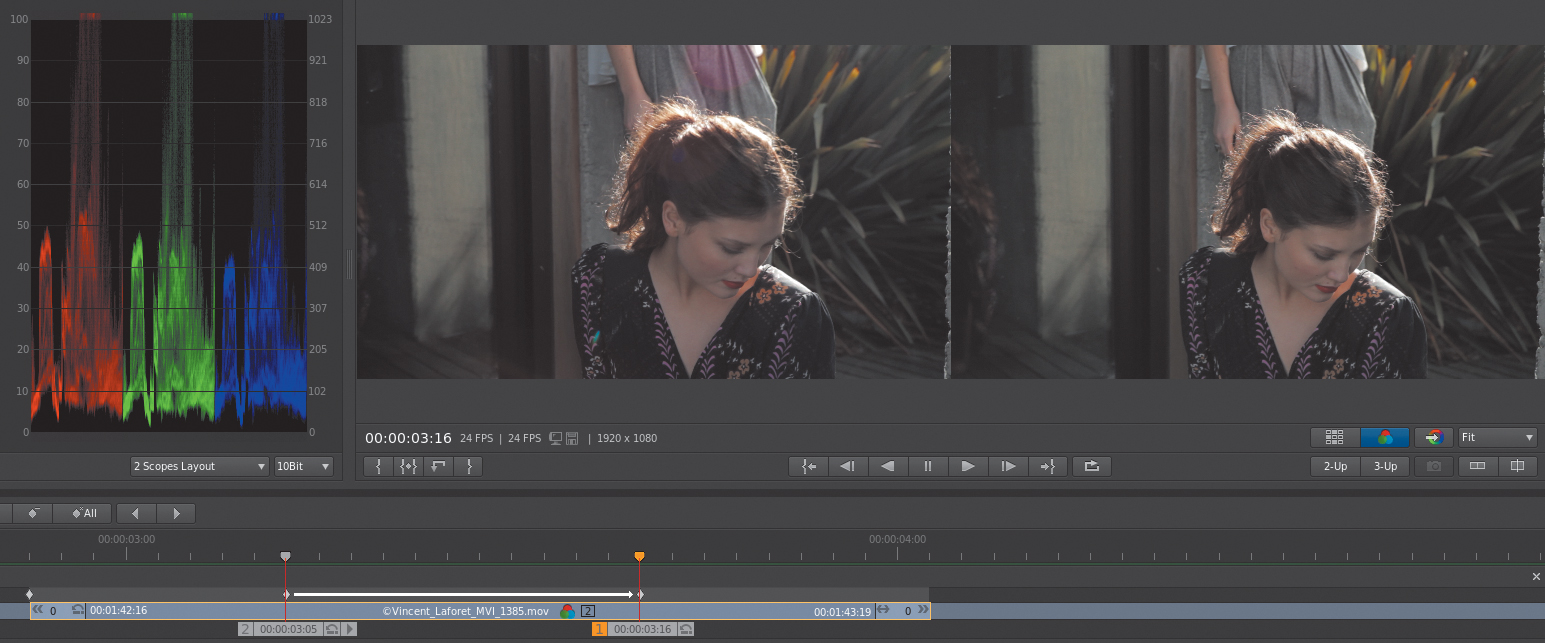
1. Move the playhead to the second clip.
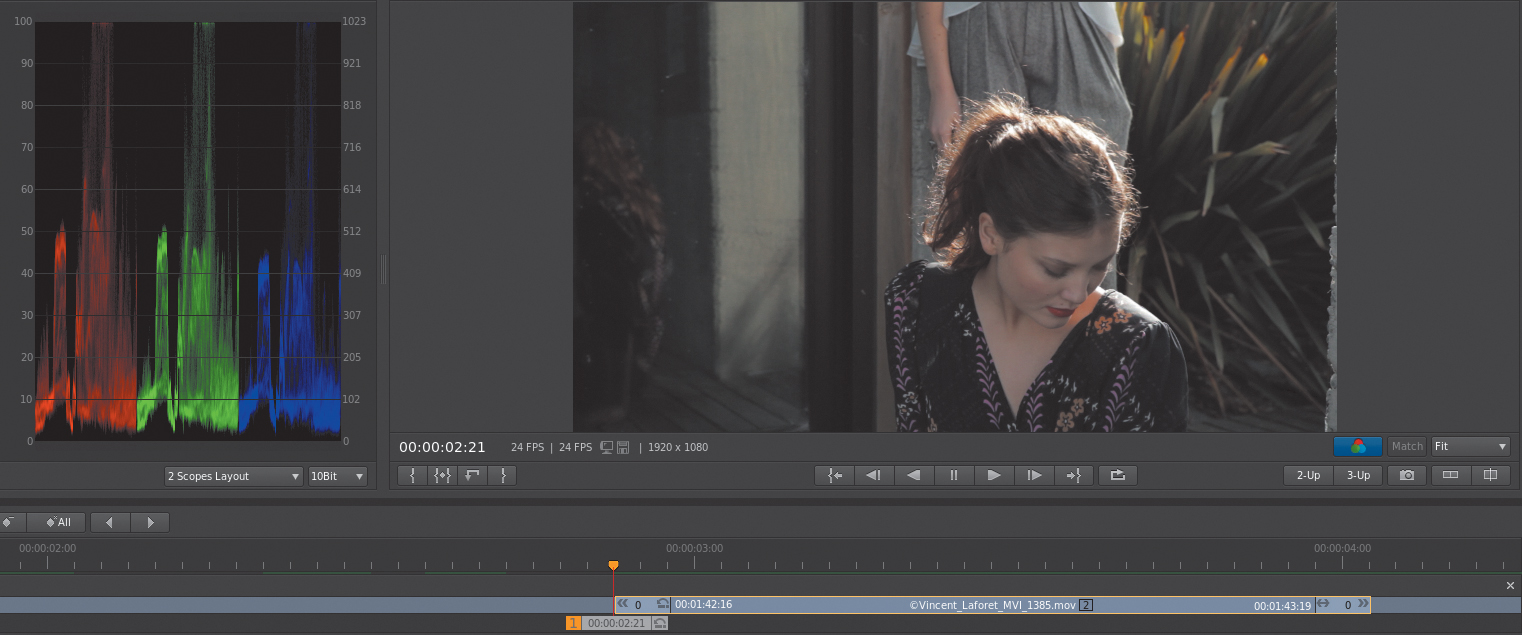
Playing through this clip clearly shows that as the camera pans, a lens flare appears. Although the flare is a nice stylization, it has the effect of washing out the shadows of the shot by lifting all the shadows, especially the shadows of the seated woman. The client doesn’t like this, so you need to come up with a solution.
2. Scrub through the clip to identify the last frame just before the flare comes onscreen, and click the add keyframe button to create a keyframe.
3. Next, scrub forward to identify the last frame of the lens flare transition, where the flare lightens the image as much as it will for the remainder of the clip.
Examining the Parade scope can make it easier to identify the change in exposure, because you can clearly see the bottoms of the red, green, and blue waveforms raise and lower with the appearance and disappearance of the flare.
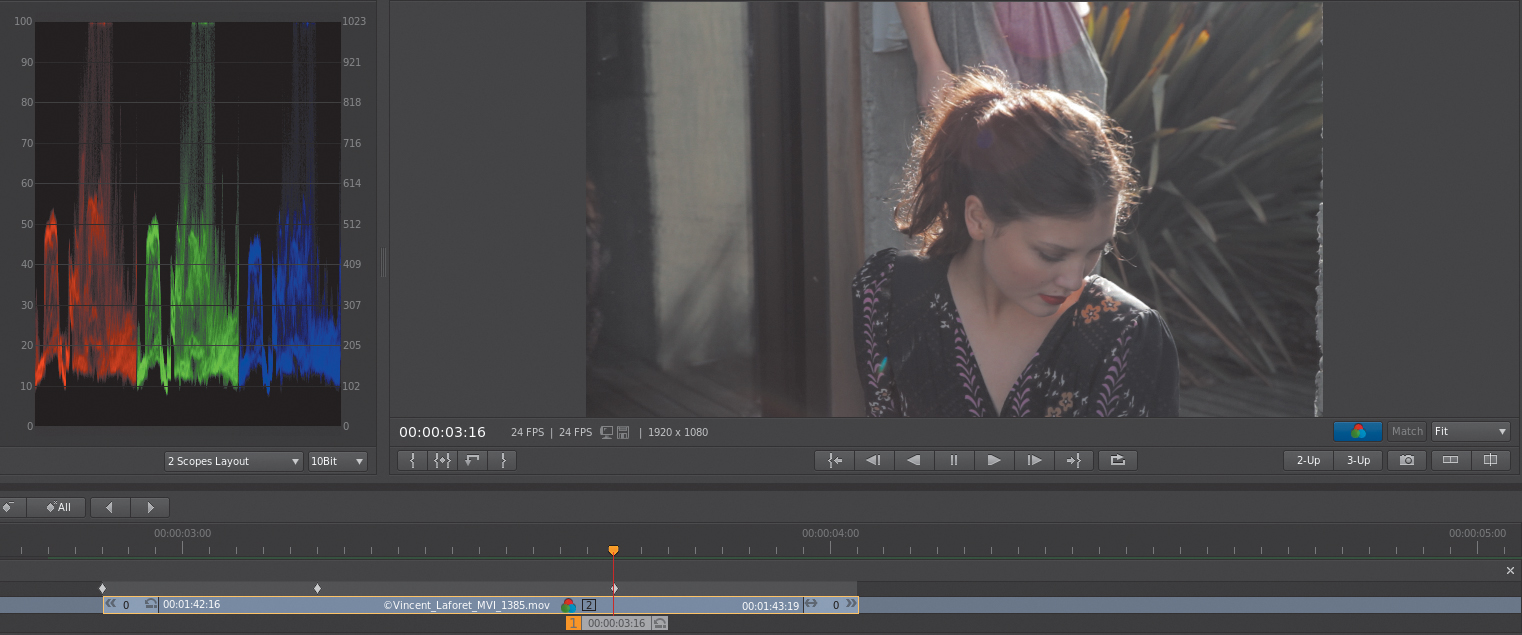
4. As you scrub through the unflared to the flared portion of the clip, when the waveforms stop lifting, click the add keyframe button to add a new keyframe. Then click the add keyframe button again to make it a dissolve keyframe.

You’ve identified the range where the exposure changes and requires correction. Now you just need to make a correction at the second keyframe you created so that the image matches, as closely as possible, how it looks at the first keyframe.
5. Command-drag (Ctrl-drag) the move playhead control (the rounded arrow to the right of the playhead) to create a second playhead, and position it at the first keyframe to compare the flared and unflared version of the image.
As soon as you drag out the second playhead, the Monitor displays a side-by-side view (the Continuity Checker). You can click the Continuity Checker button to change the orientation from horizontal to vertical. This makes it easier to dial in an accurate adjustment.
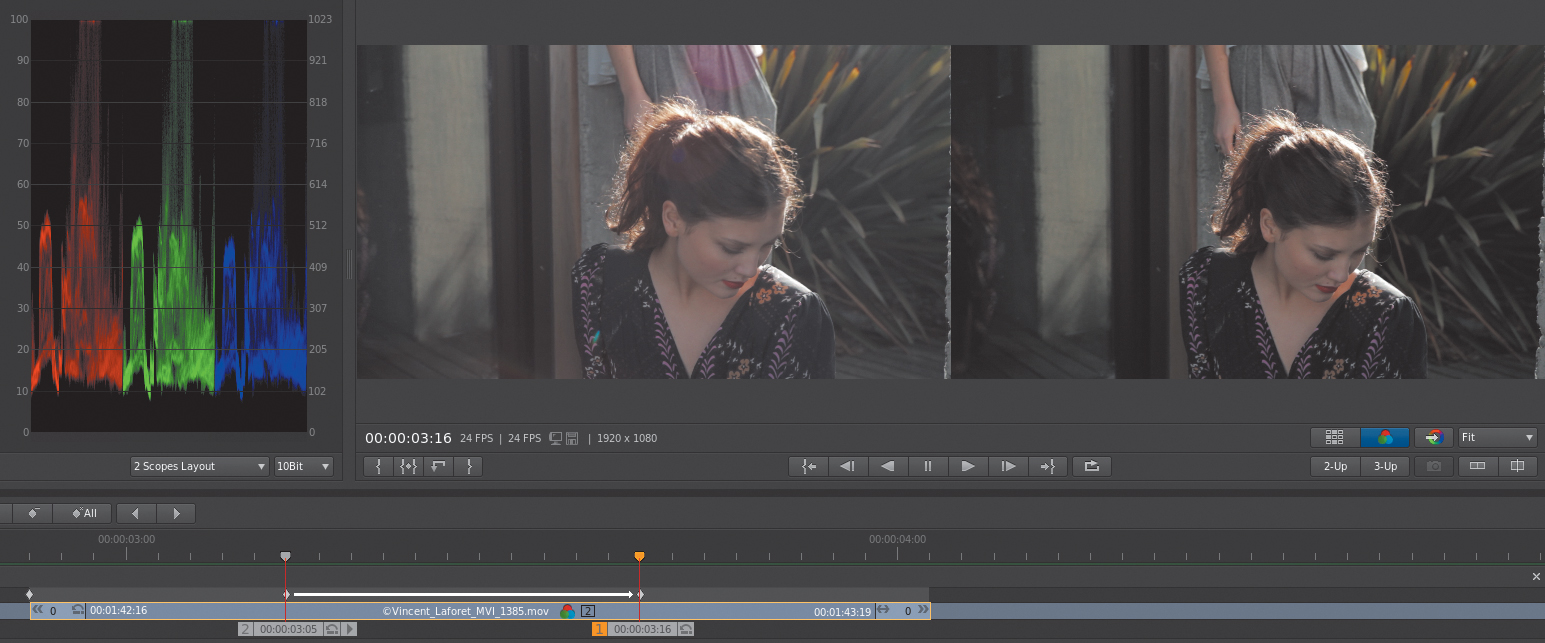
6. With playhead 1 at the position of the second keyframe, adjust the Offset, Gain, and Gamma rings to modify image contrast so the image at the second keyframe approximately matches the image at the first keyframe. For extra credit, you can try using the Midtones mode’s Gamma and Gain rings to fine-tune your adjustment after you’ve done all you can with the Overall mode adjustments.
Obviously you’ll be unable to completely eliminate the flare, and it’s won’t be perfect, but that’s not the point. The objective is to prevent the woman’s shadows from becoming washed out when the flare appears.
7. When you’re finished, Command-drag (Ctrl-drag) the second playhead’s move playhead control off the Timeline to get rid of it. Playing through the clip should show that, although the flare still comes on, image contrast now remains high, and the woman’s shadows still appear nice and deep throughout the entirety of the shot.
Keyframing color
Another common scenario is when the color temperature changes in the middle of a shot. Again, this can be due to automatic camera settings, the camera panning from one light source to another, or a change in location from exterior to interior lighting. In any event, it’s typical to make an animated correction to eliminate such distracting color shifts.
However, in this example you’ll actually do the opposite, simulating a color temperature change in the fill light falling on the woman’s face as she walks into a space. This will add a creative accent to the scene and a greater sense of a difference in location.
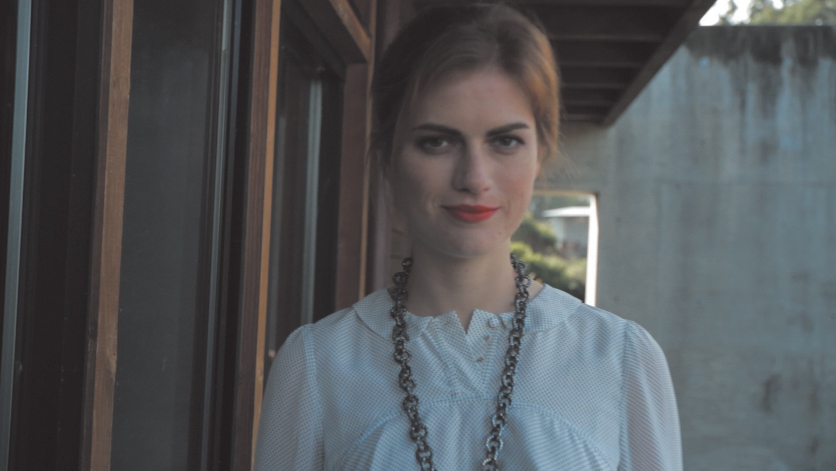
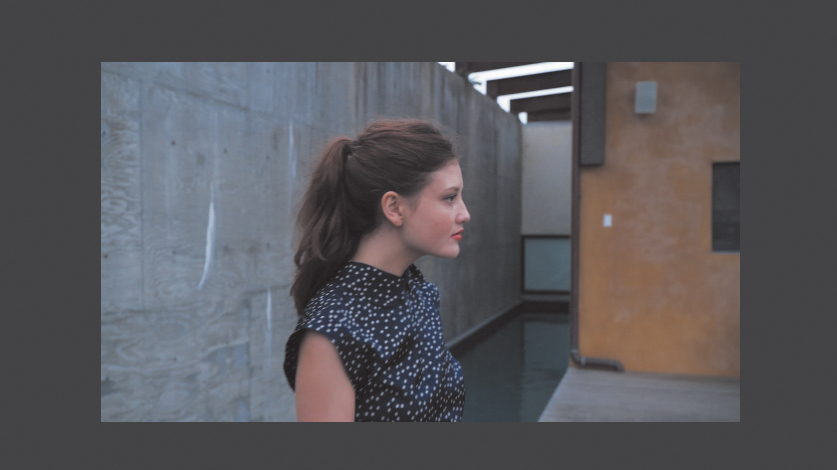
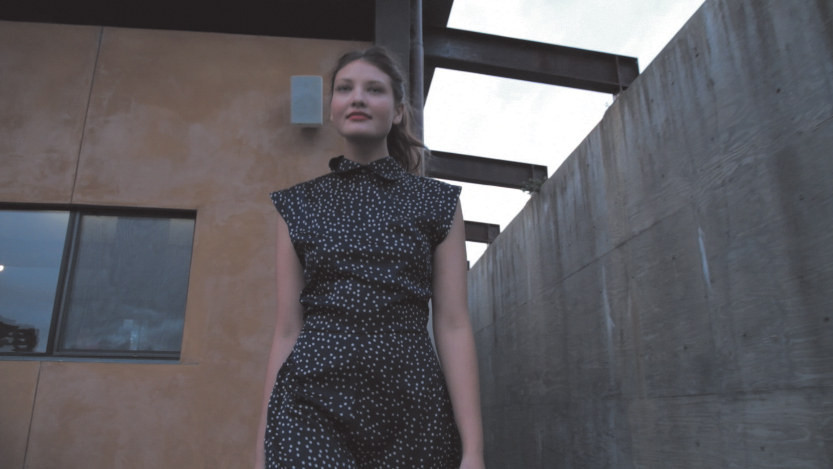
1. Move the playhead to the third clip.
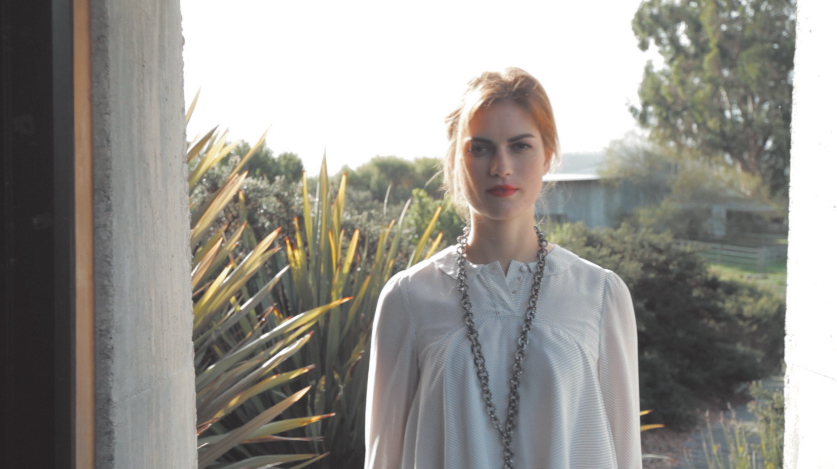
Playing through this clip, the woman walks from the outside of the concrete building into a courtyard. The client wants a greater, yet subtle, sense of difference between the interior and exterior of this location. Again, this is a job for keyframing, which will let you create a transition from warm light coming through the doorway to cooler light in the concrete courtyard.
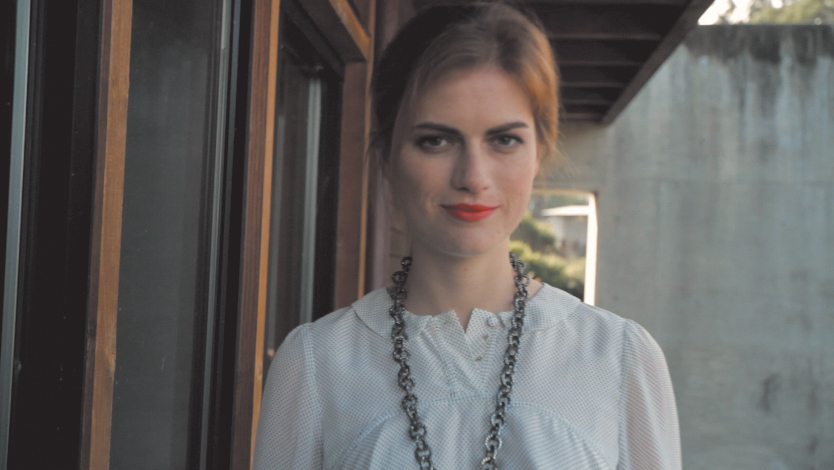
2. Move the playhead to the first frame of the clip, and click the Highlights mode button. Then drag the Temperature slider just a bit to the right to add warmth to the brightest parts of the image.
3. Click the Midtones mode button, and use the Temperature slider to add just a bit of warmth to the woman’s face (no more then 0.10 because a little goes a long way).
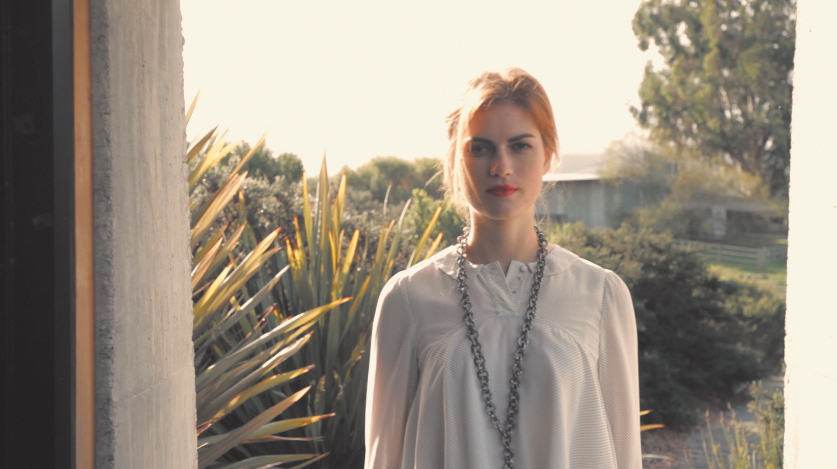
4. Drag the playhead to the frame where the woman appears to be flush with the doorway, and click the add keyframe button.
This is the last frame where the woman will be getting “fill” light from the warmth outside, so it’s the logical beginning of your transition from warm to cool lighting.
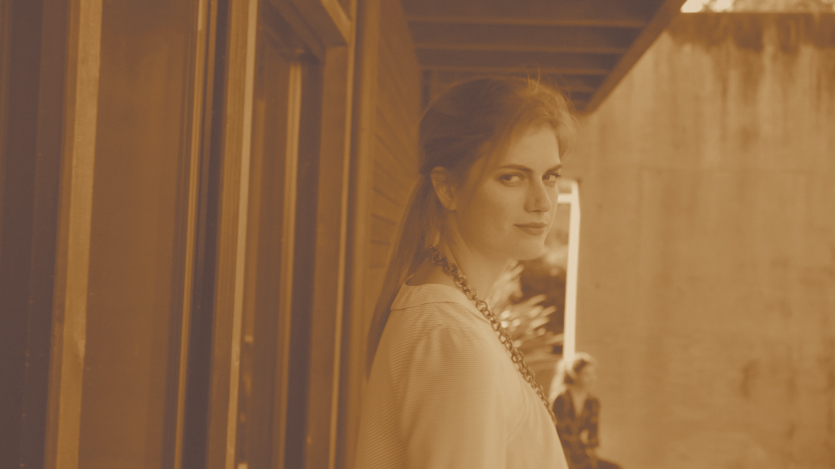
5. Drag the playhead to a frame where it’s clear that the woman is within the more shaded concrete and wood space. Then click the add keyframe button to add a second keyframe, and click the add keyframe button again to turn it into a dissolve keyframe.
This is the keyframe you’ll use to create your animated transition.
6. Drag the Midtones mode Temperature slider to the left toward cool blue to “cool off” the fill light on her face. Again, a little goes a long way, so move it no more than –0.06.
This adjustment cools off the woman’s face while leaving the warmer highlights outside the door untouched. When you play through the clip, you’ll notice that you’ve cooled off the environment too, but this is a cheat, because you’re banking on the audience focusing on the woman’s face while this is all happening. Besides, if the color temperature transition you’re creating is too obviously visible on the cement of the building, you can drag the second keyframe to the left to shorten the transition, speeding up the effect and potentially making it more difficult to detect.
If you were correcting for an unwanted color temperature shift, you would use the same procedure but in reverse, possibly using a dual playhead comparison as in the previous exercise to match the corrected portion of the clip to the portion with ideal color.
Keyframing a mask
Keyframing isn’t just for grades. If you’re using a mask to make an adjustment to a subject that’s moving in such a way as to be untrackable by the Track Object command (by moving offscreen or slipping behind other objects in the scene), you can manually keyframe the position and outline of the shape to match the motion of the subject you’re trying to isolate.
In the following exercise, you’ll manually keyframe a mask to follow an erratically moving wall in the background of the shot to make a targeted adjustment.
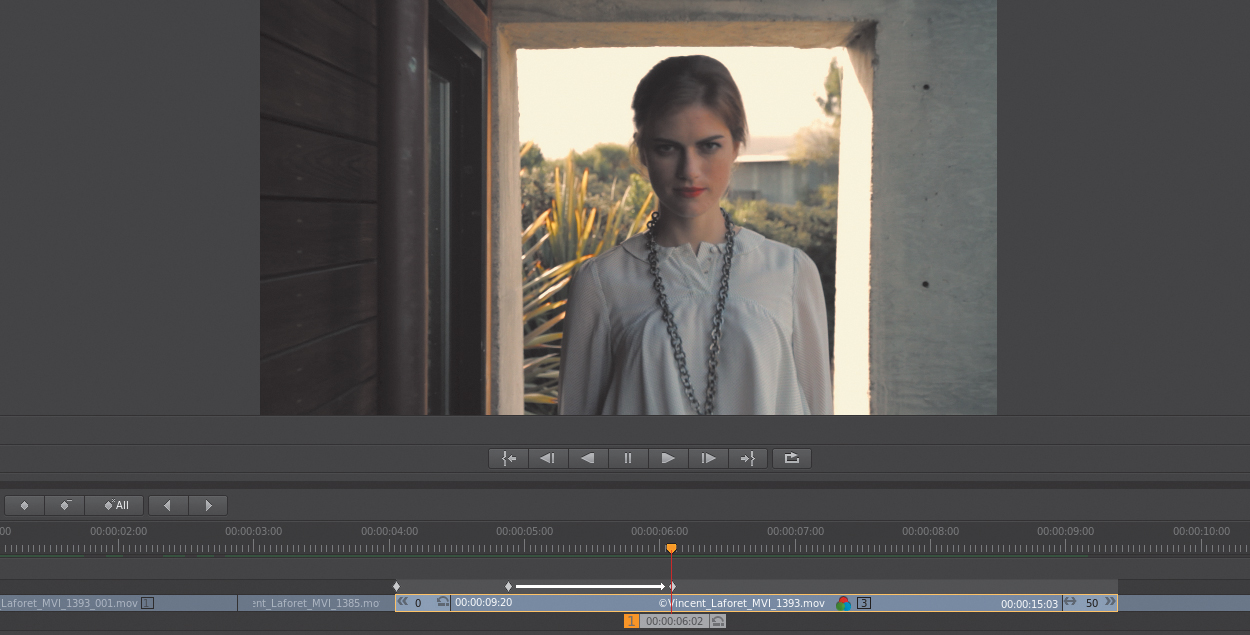
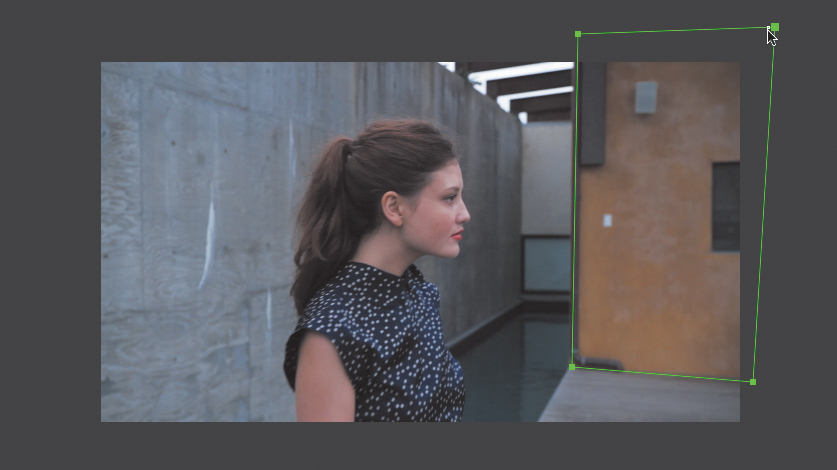
1. Move the playhead to the fourth clip.
This clip already has a primary adjustment applied to it, but the client wants to specifically darken and tint the orange wall in the background. A mask would take care of this nicely. But because the wall moves into the frame from offscreen and moves erratically, the tracker won’t work. Manual keyframing and a little bit of elbow grease will help you fix this manually.
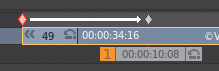
2. Drag the playhead to frame 00:00:10:08 where the wall is most visible, and then zoom out of the image in the Monitor to create some space.
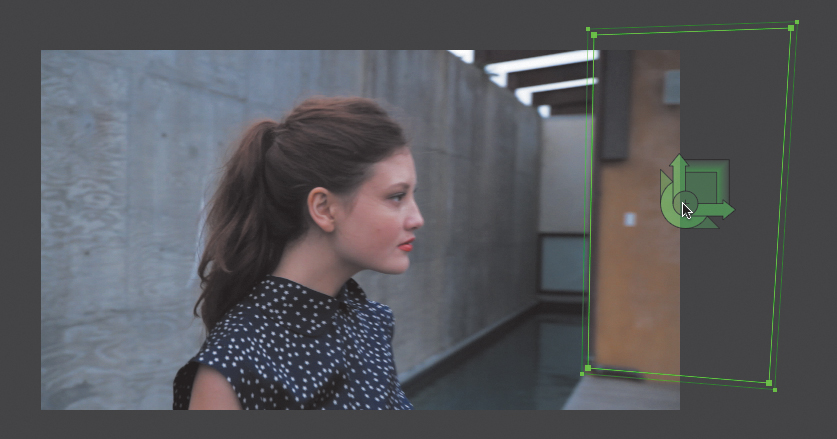
3. Open the Mask panel, click the Add Points button to enter add points mode, and then click to draw a simple four-corner shape that encompasses the wall. By default this shape uses Bézier splines, so draw a bounding box around the entire mask to select all of its control points, and click the Make Selected Points Corners button in the Mask panel to turn this shape into the polygon shown.
4. Click the Select button to stop drawing, and then click anywhere in the background of the shape to deselect all control points. Then drag the mask widget’s feather handle to feather the edge of the mask just a bit.
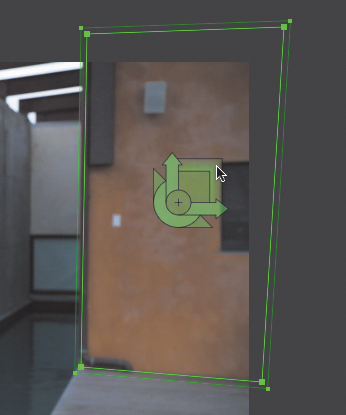
5. Click the add keyframe button once to add a keyframe at the position of the playhead, and then click it a second time to turn it into a dissolve keyframe for animating the mask.
This automatically adds a keyframe at the beginning of the clip, interpolating to the keyframe you’ve just created. The mask keyframe has its own set of keyframes, which you first saw when you used the Track Object button in Chapter 4.
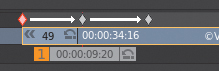
6. Drag the playhead to 00:00:09:20, and add a dissolve keyframe.
7. Move the shape to match the new position of the corner of the wall.
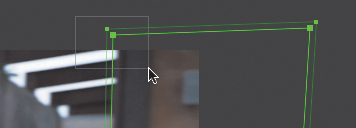
8. Now, carefully adjust the top-left and bottom-right mask control points to make the edges of the mask line up with the new rotation of the wall. To do this, drag a bounding box over each pair of inner and outer shape control points and drag them together.
9. Drag the playhead to 00:00:09:14, add a dissolve keyframe, and then move the shape to match the new position of the corner of the wall against the right edge of the frame.
You have got a good start, but it’ll take another seven keyframes to make the mask conform to the motion of the wall. As you follow the next few steps, here are a few pointers to avoid unexpected results:
• Always create a dissolve keyframe (clicking once to create a keyframe and then once again to turn it into a dissolve keyframe) before you continue to modify a shape that you’re animating.
• Always deselect individually selected control points before adding a new mask keyframe to the clip.
• Whenever possible, use the widget to transform the shape to match the moving subject and only change the shape when you have to.
• Don’t adjust the shape while the widget is colored red (indicating there’s no keyframe available to adjust).
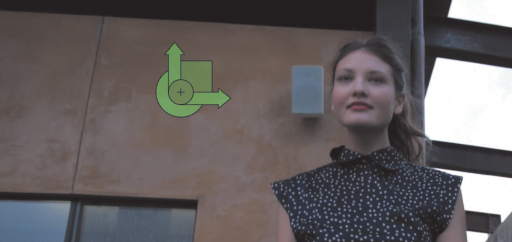
By the way, as you make these adjustments, the widget might start to move to an inconvenient location. To move the widget to a better area without transforming the mask, Option-drag (Alt-drag) the position handle.
10. Move the playhead to the first frame of the clip, and drag the shape completely out of the frame.
11. Move the playhead to 00:00:10:02, and notice that the shape isn’t quite following the motion of the wall. Create a dissolve keyframe, and then readjust the position of the shape.
12. Move the playhead to 00:00:10:21, create a dissolve keyframe, readjust the shape to match the wall, and click the add keyframe button.
13. Move the playhead to 00:00:11:13, create a dissolve keyframe, and readjust the shape to match the wall.
14. Move the playhead to 00:00:12:01, create a dissolve keyframe, and readjust the shape to match the wall.
15. Move the playhead to 00:00:12:17, create a dissolve keyframe, and readjust the shape to match the wall.
16. Move the playhead to 00:00:13:08, create a dissolve keyframe, and readjust the shape to match the wall.

At this point, you’ve created a set of ten interpolated keyframes that identify the key changes in velocity necessary for the shape you created to follow the position of the wall in a convincing manner.
17. Play through the clip to watch the shape animate.
18. Open the Look browser, click +P to add a layer, rename it if you like, and then click the Inside Mask button so that the Primary layer will affect the inside of the animated mask you set up.
19. With Overall mode selected, drag the Gamma ring to the left to darken the wall, and then drag the Gamma Color Balance control toward yellow to make it less dingy.
After you’ve made the color adjustment, you’ll be able to see how good of a job you did animating the mask to conform to the motion of the subject (this process is also referred to as rotoscoping). If you see any problems with the motion of the mask, open the Mask panel again, and add new keyframes as necessary to refine the mask’s movement until it looks right. This is how rotoscoping works, and it usually takes some refinement if you don’t do it regularly.
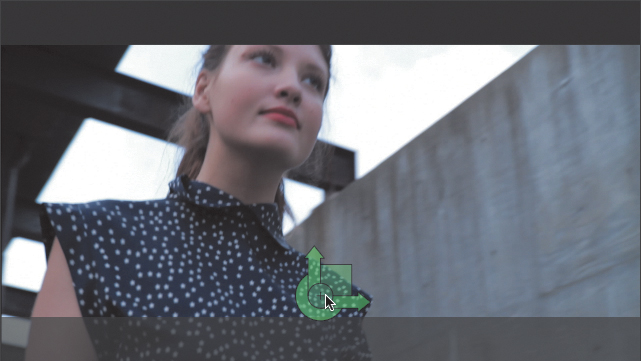
Using Pan & Scan controls
One other group of settings can be keyframed: SpeedGrade offers dedicated Pan & Scan controls for resizing and repositioning clips for various reasons. One reason is for format conversion, for example, creating a standard definition version of a high-definition program; another reason is to push into individual clips for creative purposes.
The following exercise shows you how to set up Pan & Scan adjustments in SpeedGrade, how to use the controls in the Pan & Scan panel, and how to animate these adjustments.
1. Close the current project, and then use the Media browser to open Lesson_07_Pan_and_Scan.ircp. If the clips in the Timeline appear brown, select the Tutorial_Media folder in the media browser to reveal its contents. Then click the Load From Desktop button to relink them to the clips in the open project.
2. Move the playhead to the very beginning of the Timeline.
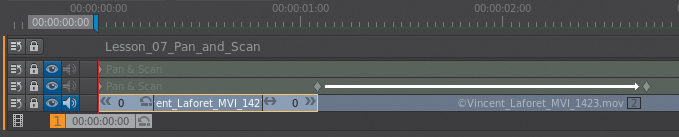
Before you begin making Pan & Scan adjustments in SpeedGrade, you need to add a Pan & Scan track to the Timeline. This is the only way to make the Pan & Scan panel active. You can create Pan & Scan tracks by using the Timeline Elements controls to the left of the keyframe controls at the bottom of the Monitor.
3. Drag a Pan & Scan track from the Timeline Elements section of the Setup panel to above the top track of the Timeline.

A Pan & Scan track appears above the clips in the Timeline, and a new keyframe is automatically created at the position of the playhead (which should be the beginning of the Timeline).
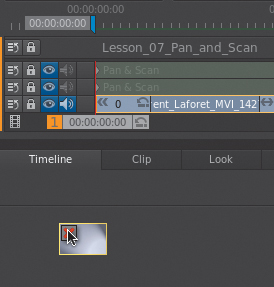
4. Click the Pan & Scan track to select it.
As soon as you select this track, the Pan & Scan panel becomes enabled and automatically opens.

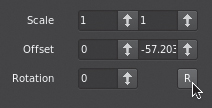
This panel contains all the parameters that are available for scaling, offsetting the position, rotating, and cropping the image.
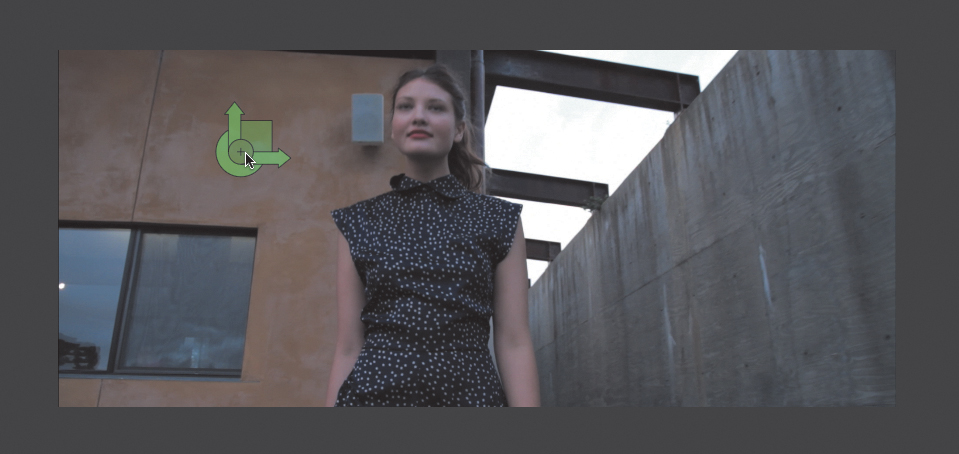
A widget displays at the upper-left corner of the frame as well; you can use the widget to transform clips using your mouse or pen.
This widget appears only if the Widget control in the Pan & Scan panel is turned on. If it’s not in a good location after you make a transform, you can Option-drag (Alt-drag) it to another position without affecting the Offset parameters.
Right now, a single Pan & Scan track covers every clip in the Timeline, so any transform you apply will be applied to every clip.
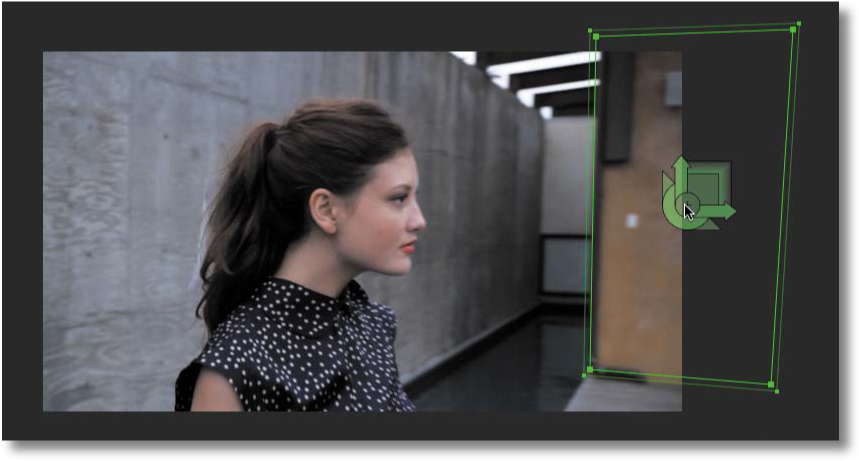
5. Click the Preset menu in the Pan & Scan panel, and choose 2.35:1 to crop the top and bottom of the image for a widescreen look.
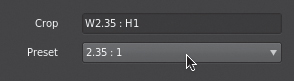
The aspect ratio of the frame changes, and the frame appears shorter but wider. The Preset menu contains the aspect ratios for just about every film and video format in current use. However, if you need to specify a format you don’t see, you can manually change the X and Y values shown in the Crop field (displayed in the Wx : Hy format to modify width and height ratios).
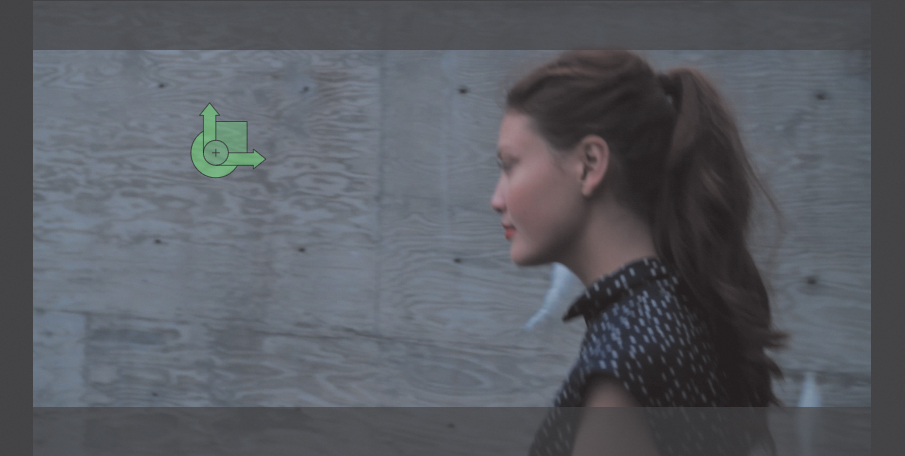
6. Play through the project, and then move the playhead back to the first clip. If necessary, click the Widget control in the Pan & Scan panel to display the transform widget, drag down the transform widget’s position handle to give the woman a little more headroom, and play through the project again.
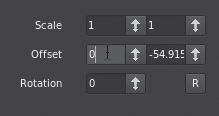
If you accidentally move the image to the left or right during this adjustment (it’s easy to do), you can type 0 into the first Offset parameter and press Return (Enter).
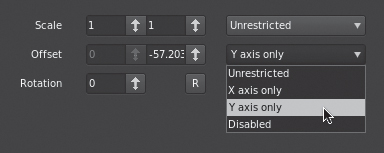
Alternately, you can restrict motion in an axis by using the menu to the right of the Offset controls. Choosing “Y axis only” prevents you from accidentally moving a clip from side to side, which is useful for this type of adjustment.
As you can see, these adjustments currently affect the entire Timeline—for good or bad. If you want to apply different transforms to different clips, you need to place keyframes first.
7. Click the R button to reset every parameter in the Pan & Scan panel.
8. Move the playhead to the first frame of every clip in the Timeline, and click the add keyframe button until every edit point in the Timeline has a corresponding keyframe.

You can then move the playhead between any two keyframes and make an adjustment that will affect just that clip. Given the crop setting you’ve selected, you may want to reposition or rescale the image to better fit into the new frame. However, it can be difficult to see how much image is available for reframing.
9. Choose Transparent from the Crop preview menu, and then zoom the Monitor out to reveal the cropped top and bottom of the image.
Now you can see the cropped portion of the image as a transparent overlay.
10. Move the playhead to the first clip, and use the widget to scale the image up and move it down so the woman is centered and has good headroom.
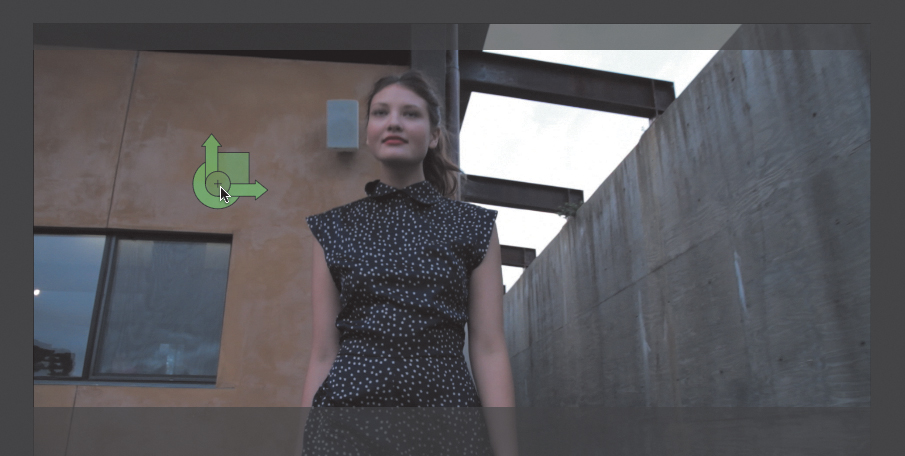
11. Drag the playhead to the third clip, and use the widget to zoom into the image to crop out the woman’s feet. Then pan down to give her some headroom to compensate for the zoom.
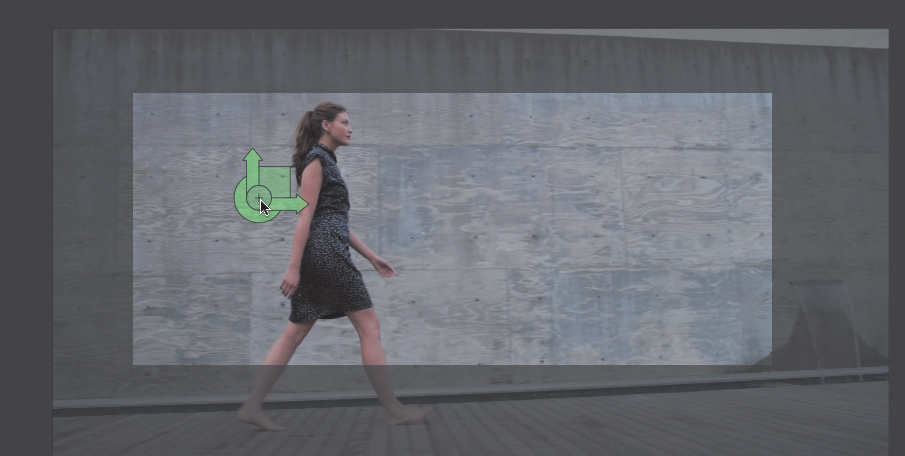
12. Move the playhead to the fourth clip, and drag the position handle up so the hem of her dress is more visible (this is a product shot, after all).
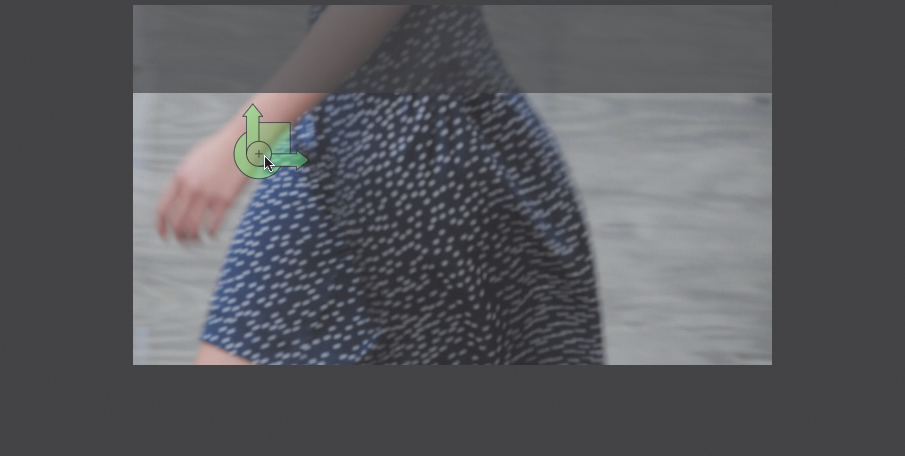
You should notice that the woman has abruptly changed positions. In fact, both of the last two clips in this sequence are reversed. The fix requires a flop, which can be done numerically using the Scale controls.
Incidentally, if you’re importing an EDL that was exported from Adobe Premiere Pro, the FLIP, FLOP, and FLIP-FLOP comment keywords are read and applied as adjustments in the Pan & Scan panel.
13. Type –1 into the left Scale field, and press Return (Enter). Then move the playhead to the fifth image and do the same.
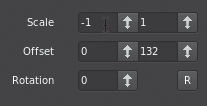
The clips are reversed.
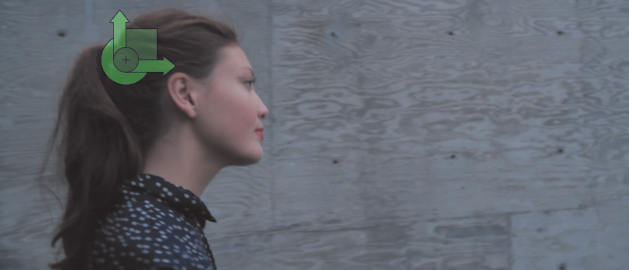
The sequence is in pretty good shape, geometrically. However, if you move the playhead to the second clip and scrub through it, you’ll notice that the woman’s face goes offscreen toward the end of the shot.
You don’t want to just move the entire clip down, because that will mess up the good framing at the beginning of the shot. You need a dynamic change, which you can accomplish by using keyframes.
14. Drag the playhead to the frame of the second clip where the woman’s right eye just goes out of frame. Click the add keyframe button once to add a keyframe, and then click it a second time to turn that keyframe into a dissolve keyframe.

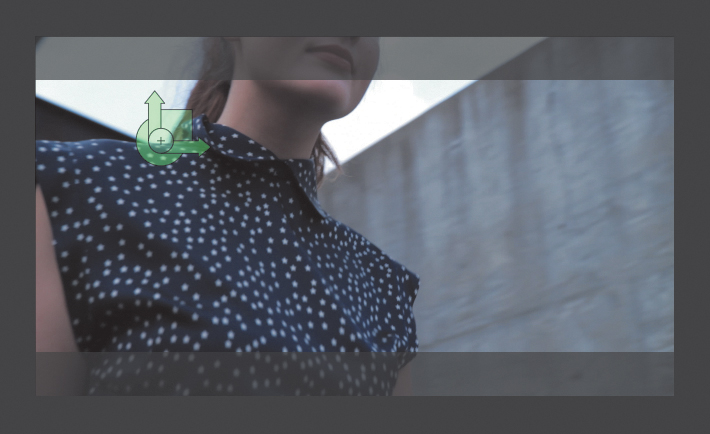
15. Reposition the clip so the top of the clip lines up with the top of the frame. Then type 0 into the left Offset field if necessary (this should only be a vertical move).
Playing through the second clip should now show you a smooth, animated repositioning that keeps the woman’s face in the frame longer, improving the shot.
At this point, the client suggests zooming into every clip even more. If you use the currently applied Pan & Scan track, you would have to make this adjustment six times at every keyframed clip. However, there is an easier way.
16. Move the playhead to the first frame of the project, open the Timeline’s Setup panel, and drag a second Pan & Scan track to the Timeline.
17. Select the new top Pan & Scan track, open the Pan & Scan panel, and then use the transform widget to scale up the clip.
Playing through the Timeline now shows that this second Pan & Scan panel applies its adjustment to the output of the first. This is convenient, but once the client sees this change, he wants to go back to the way it was before. Fortunately, this is an even easier fix, because you’ve used a second track.
18. Drag the top Pan & Scan track’s Reorder control anywhere outside the Timeline to delete that track.
The Timeline goes back to the way it was, and you’re finished.
Review questions
1. What three things can you keyframe?
2. How do you create an animated keyframe?
3. How do you keyframe a mask?
4. When you add keyframes to an animated mask, should you alter the mask first and then create a new keyframe, or create a new keyframe and then alter the mask?
5. What must you do first before keyframing Pan & Scan settings?
Review answers
1. Grades, masks, and Pan & Scan settings.
2. Create a keyframe, and then click the create keyframe button or press F2 again so that an arrow appears from the previous keyframe to the current one.
3. Open the Mask panel, and then add keyframes to the clip in the Timeline.
4. Create a new keyframe first, and then alter the mask.
5. Add a Pan & Scan track to the Timeline.