
Installing on Windows
First, you need to install Ruby using the RubyInstaller for Windows package.[7] At the time of this writing, the latest version of Ruby available via RubyInstaller is Ruby 2.6.0.
Installing Ruby takes a few steps: first you need to install the base language and then the development kit.
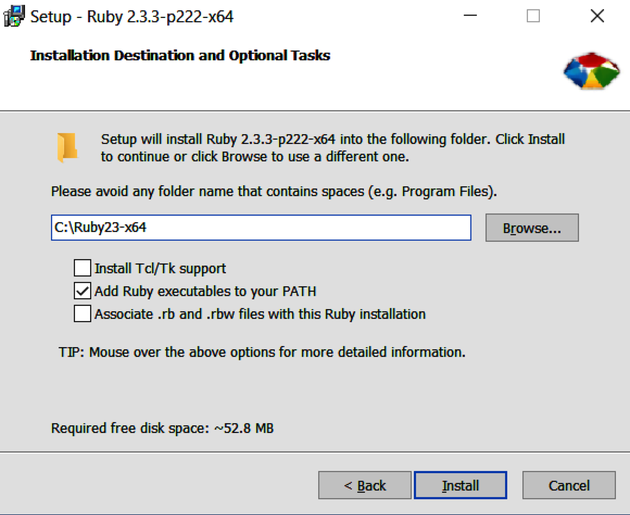
Base installation is a snap. After you click Save/Download, click Run and then click OK. Select “I accept the License” (after reading it carefully, of course) and then click Next. Select “Add Ruby executables to your PATH,” click Install (see the following screenshot), and then click Finish.
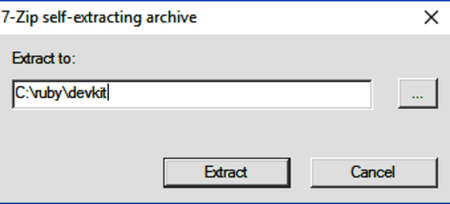
Download and extract the development kit for Ruby 2.0 and higher. Override the extraction destination with C: ubydevkit, as in the following screenshot.
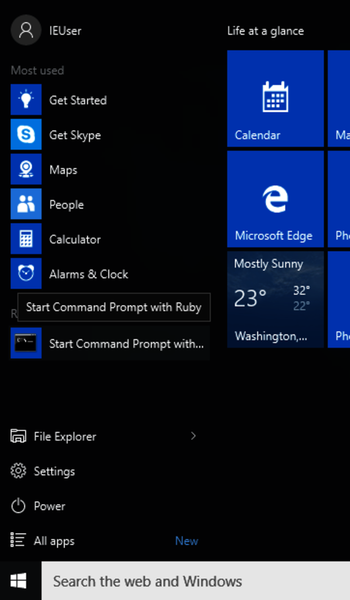
Once that completes, find Start Command Prompt with Ruby in your Start menu (see the following screenshot), and launch this program.
Within that window, enter the following commands:
| | > cd ubydevkit |
| | > ruby dk.rb init |
| | > ruby dk.rb install |
Next, install Node.js.[8] The LTS version is recommended for most users. After you click Save/Download, click Run and then click Next. Again, read and then accept the terms in the license agreement, click Next three more times, and then click Install. If you’re prompted to do so, click Yes to allow the program to be installed on your computer. Finally, click Finish.
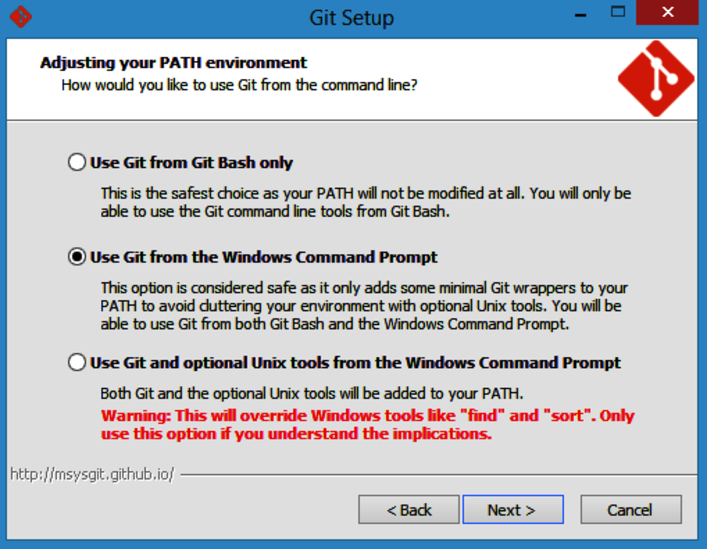
This next step is optional but highly recommended: install Git.[9] Git is widely used in the Ruby and Rails ecosystem, and the more familiar you are with it, the easier it will be interact with some of the more advanced tools and techniques. It’s also a really great version control system! After you click Save/Download, click Run. If you’re prompted to do so, click Yes to allow the program to be installed on your computer. Click Next, read the license agreement, click Next four more times, select Use Git from the Windows Command Prompt (see the following screenshot), and then click Next five more times. Click Finish, and then review and close the Release Notes window.
Next, install Yarn.[10] The Installer version is recommended for most users. After you click Save/Download, click Run and then click Next. Again, read and then accept the terms in the license agreement, click Next two more times, and then click Install. If you’re prompted to do so, click Yes to allow the program to be installed on your computer. Finally, click Finish.
Lastly, install ChromeDriver.[11] To do that, click the latest release (currently ChromeDriver 2.29) and then click the win32.zip version of the file. After it finishes downloading, click Open and then right-click “chromedriver” and select Copy. Next double-click This PC in the leftmost column of the window, double-click C:, double-click Windows, and then anywhere within this window right-click and select Paste. Click Continue.
Finally, open a command window by returning to your Windows Start screen, typing the word command, and selecting Command Prompt. From here, first enter these commands, as shown in the following screenshot, to verify that Ruby, Node, and Git were installed correctly:
| | > ruby -v |
| | > node -v |
| | > git --version |

Next, configure Git, adjusting the user.name and user.email as appropriate:
| | > git config --global user.name "John Doe" |
| | > git config --global user.email [email protected] |
Finally, install Rails itself with the following command:
| | > gem install rails --version=6.0.1 --no-document |
This will take a while. Once it completes, skip to Choosing a Rails Version, to ensure that the version of Rails you have installed matches the version described in this edition. See you there.