Wow! That was fun, wasn't it? Now we're ready to build a Visual Studio project:
- In Unity, use the File | Build Settings window and press Build.
- Specify a folder to put the project files. As mentioned in Chapter 2, Setting Up Your System, I'd like to make a folder named Build and then make a subfolder for this build; let's call it hololens-cube.
- Now open the project in Visual Studio.
- An easy way is to navigate to the Build folder in File Explorer and look for the .sln file for the project (.sln is for the Microsoft solution file). Double-click it to open the project in Visual Studio.
We have a few settings to set here too:
- Change the solution configuration selector from Debug to Release.
- Set the target to x86.
- Set Device to your target device. In the following example, we selected HoloLens Emulator 10.0.14393.0.
- If using a physical HoloLens device, select Remote Machine and you will be prompted to enter the IP of the device to run on; select Universal (Unencrypted Protocol) for Authentication Mode.
The Visual Studio settings are as follows:

- Finally, select Debug | Start Debugging.
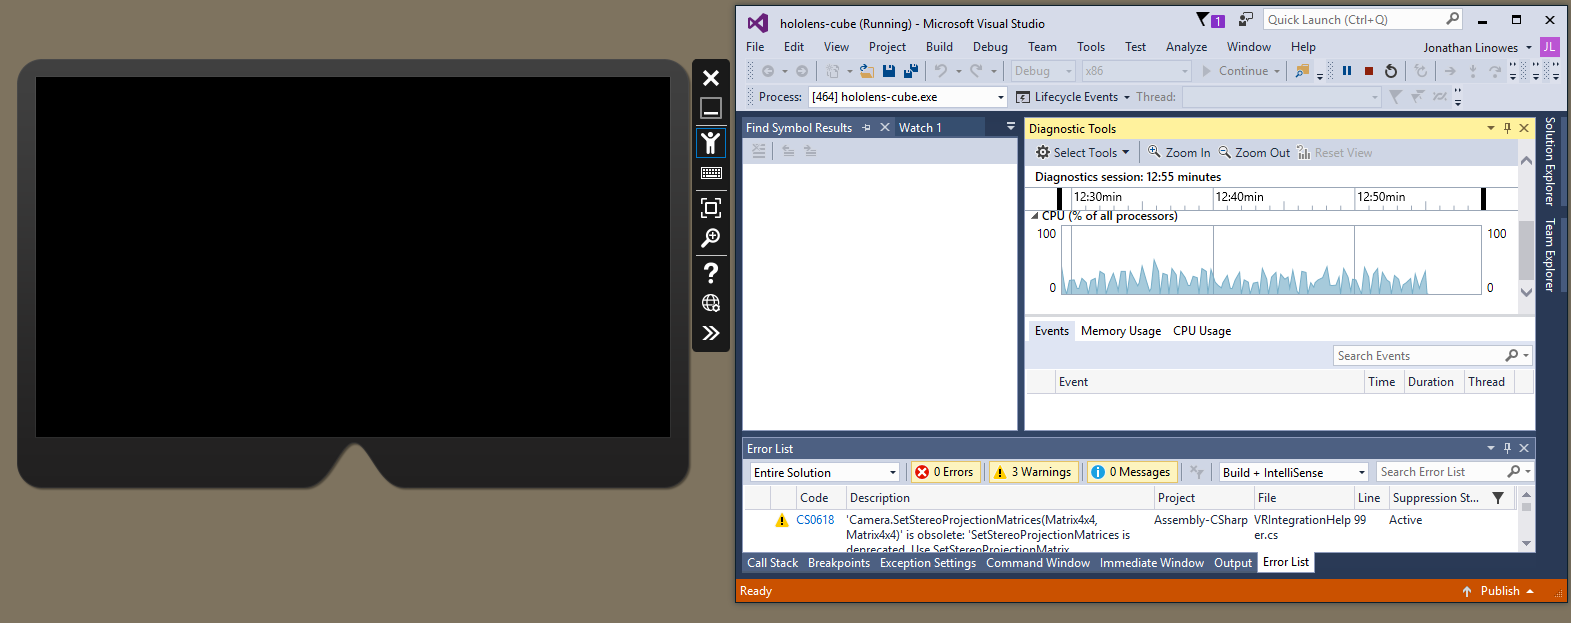
The following image is of the emulator open next to Visual Studio that is launching the app: