
To make sure everything is working nicely, we will now set up GPG on our local workstation and test our repository by submitting a pull request. In this section, we will do the following:
- Install GPG and generate our set of gpg public and private keys
- Import our gpg public key in our GitHub profile
- Submit a pull request to the master branch with a signed commit
The client application for gpg can be found on the www.gnupg.org website. From the website, you may download either the source code or the precompiled binaries. Depending on your operating system and the option chosen (Source code or Binaries), follow the instructions provided on the website and install the client.
In order to configure the system to use gpg keys to sign our Git commits, we will need to do the following:
- Generate a gpg key
- Export the public key
- Import the public key in our Git
- Configure our Git client to make use of our gpg key
To get started, open a terminal and type the following command:
gpg --full-generate-key
The gpg tool will now ask a few questions on the characteristics of the key:
- Kind of key: Select the default (RSA and RSA)
- Key size: Select the maximum size (4,096)
- Key validity period: Make sure that the key does not expire
With the characteristics of the key provided, the gpg tool will ask about the identity associated with the key:
- Real name
- Comment: You may want to use the comment box to indicate the purpose of this identity (signing GitHub commits)
Make sure that the email matches the entries of your GitHub profile, or else the system will not be able to reconcile the identity to the commit. Remember that case matters for GitHub: [email protected] is not the same email as [email protected].
Finally, the tool will ask for a passphrase to protect the private key and ask you to generate entropy by moving the mouse around. After a few seconds, you should see an output such as the following:
gpg: key 3C27847E83EA997D marked as ultimately trusted
gpg: directory '/Users/yourID/.gnupg/openpgp-revocs.d' created
gpg: revocation certificate stored as '/Users/yourID/.gnupg/openpgp-revocs.d/962F9129F27847E83EA997D.rev'
public and secret key created and signed.
pub   rsa4096 2018-02-03 [SC]
      962F9129FC0B77E83EA997D
uid    Your Name (GitHub Signing Identity) <[email protected]>
sub   rsa4096 2018-02-03 [E]
With the gpg created, we now need to export the key in a format that GitHub will be able to understand. To achieve this, we run the following command:
gpg --armor --export <<email-you-use-to-generate-the-key>>
The tool will output the public key directly in the console and should look as follows:
-----BEGIN PGP PUBLIC KEY BLOCK-----mQINBFp1oSYBEACtkVIlfGR5ifhVuYUCruZ03NglnCmrlVp9Nc417qUxgigYcwYZ
[…]
vPF4Gvj2O/l+95LfI3QAH6pYOtU8ghe9a4E=
-----END PGP PUBLIC KEY BLOCK-----
Copy the whole key to the clipboard, including the header and, using your browser, go to your GitHub profile and select the SSH and GPG keys tab from the left-hand side menu.
You should see two sections—SSH and GPG. Click the New GPG Key button and paste the contents of your clipboard in the entry field that shows up. Finally, click the Add GPG Key button, and, if everything goes well, GitHub should show you a similar entry:
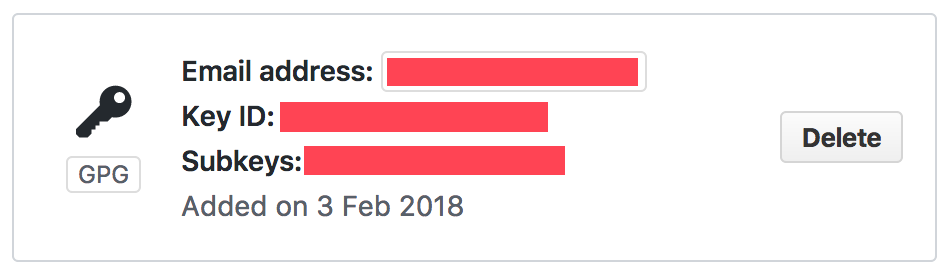
Take note and copy the Key ID to your clipboard. We will reuse that key to configure our Git client.
Back in the console, type the following command:
git config --global user.signingkey 3C27847E83EA997D
At this point, you should have a fully configured pipeline and protected Git repository. We're now ready to start testing our configuration.