
Mobile apps development is a hot topic for both companies and individual developers. You can use various kinds of frameworks and tools to build mobile apps for different platforms. In this book, we use Ionic 4 to build so-called hybrid mobile apps. As the first chapter, this chapter provides the basic introduction of hybrid mobile apps and helps you to set up the local environment for development, debugging, and testing.
After reading this chapter, you should have a basic understanding of how hybrid mobile apps are built and get a local development environment ready to use.
Mobile Apps Refresher
Statistics of Major App Stores
App Store | Number of available apps | Downloads to date |
|---|---|---|
App Store (iOS) | 2.2 million | 140 billion |
Google Play | 2.8 million | 82 billion |
Windows Store | 669,000+ | -- |
BlackBerry World | 245,000+ | 4 billion |
The prevalence of mobile apps also creates a great opportunity for application developers and software companies. A lot of individuals and companies make big money on the mobile apps markets. A classic example is the phenomenal mobile game Flappy Bird. Flappy Bird was developed by Vietnam-based developer Dong Nguyen. The developer claimed that Flappy Bird was earning $50,000 a day from in-app advertisements as well as sales. Those successful stories encourage developers to create more high-quality mobile apps.
Let’s now take a look at some key components of mobile app development.
Hybrid Mobile Apps
Developing mobile apps is not an easy task. If you only want to target a single mobile platform, then the effort may be relatively smaller. However, most of the time we want to distribute apps on many app stores to maximize the revenue. To build the kind of apps that can be distributed to various app stores, developers need to use different programming languages, SDKs, and tools: for example, Objective-C/Swift for iOS and Java for Android. We also need to manage different code bases with similar functionalities but implemented using different programming languages. It’s hard to maximize the code reusability and reduce code duplications across different code bases, even for the biggest players in the market. That’s why cross-platform mobile apps solutions, like Xamarin ( https://www.xamarin.com/ ), React Native ( https://facebook.github.io/react-native/ ), RubyMotion ( http://www.rubymotion.com/ ), and Flutter ( https://flutter.io/ ) also receive a lot of attention. All these solutions have a high learning curve for their programming languages and SDKs, which creates a burden for ordinary developers.
Compared to Objective-C/Swift, Java, C#, or Ruby, web development skills – for example, HTML, JavaScript, and CSS are much easier to learn. Building mobile apps with web development skills is made possible by HTML5. This new type of mobile apps is called hybrid mobile apps. In hybrid mobile apps, HTML, JavaScript, and CSS code run in an internal browser (WebView) that is wrapped in a native app. JavaScript code can access native APIs through the wrapper. Apache Cordova ( https://cordova.apache.org/ ) is the most popular open source library to develop hybrid mobile apps.
Compared to native apps, hybrid apps have both their benefits and drawbacks. The major benefit is that developers can use existing web development skills to create hybrid apps and use only one code base for different platforms. By leveraging responsive web design techniques, hybrid apps can easily adapt to different screen resolutions. The major drawback is the performance issues with hybrid apps. As the hybrid app is running inside of an internal browser, the performance of hybrid apps cannot compete with native apps. Certain types of apps, such as games or apps that rely on complicated native functionalities, cannot be built as hybrid apps. But many other apps can be built as hybrid apps.
Before making the decision of whether to go with native apps or hybrid apps, the development team needs to understand the nature of the apps to build. Hybrid apps are suitable for content-centric apps, such as news readers, online forums, or showcasing products. These content-centric apps act like traditional web apps with limited user interactions. Another important factor to consider is the development team’s skill sets. Most apps companies may need to hire both iOS and Android developers to support these two major platforms for native apps. But for hybrid apps, only front-end developers are enough. It’s generally easier to hire front-end developers rather than Java or Swift/Objective-C developers.
Apache Cordova
Apache Cordova is a popular open source framework to develop hybrid mobile apps. It originates from PhoneGap ( http://phonegap.com/ ) created by Nitobi. Adobe acquired Nitobi in 2011 and started to provide commercial services for it. The PhoneGap source code contributed to the Apache Software Foundation and the new project Apache Cordova was started from its code base.
An Apache Cordova application is implemented as a web page. This web page can reference JavaScript files, CSS files, images, and other resources. The key component of understanding how Cordova works is the WebView. WebView is the component provided by native platforms to load and run web pages. Cordova applications run inside the WebViews. A powerful feature of Cordova is its plugin interface, which allows JavaScript code running in a web page to communicate with native components. With the help of plugins, Cordova apps can access a device’s accelerometer, camera, compass, contacts, and more. There are already many plugins available in Cordova’s plugin registry ( http://cordova.apache.org/plugins/ ). We can easily find plugins used for common scenarios.
Apache Cordova is just a runtime environment for web apps on native platforms. It can support any kinds of web pages. To create mobile apps that look like native apps, we need other UI frameworks to develop hybrid mobile apps. Popular choices of hybrid mobile apps UI frameworks include Ionic framework ( http://ionicframework.com/ ), Sencha Touch ( https://www.sencha.com/products/touch/ ), Kendo UI ( http://www.telerik.com/kendo-ui ), and Framework7 ( http://framework7.io/ ). Ionic framework is the one we are going to cover in this book.
Ionic Framework
Based on Web Components standards and is framework agnostic . Web Components are W3C specifications of components for the web platform. Ionic components are built as custom elements using its own open source tool, Stencil. Being framework agnostic makes Ionic components work with any framework. Developers are free to choose the framework to use, including Angular, React, and Vue.
Provides beautifully designed out-of-box UI components that work across different platforms. Common components include lists, cards, modals, menus, and pop-ups. These components are designed to have a similar look and feel as native apps. With these built-in components, developers can quickly create prototypes with good enough user interfaces and continue to improve them.
Leverages Apache Cordova as the runtime to communicate with native platforms. Ionic apps can use all the Cordova plugins to interact with the native platform. Ionic Native further simplifies the use of Cordova plugins in Ionic apps.
Performs great on mobile devices. The Ionic team devotes great effort to make it perform well on different platforms.
The current release version of Ionic framework is 4.0. Ionic 4 is the first version of Ionic to be framework agnostic. Ionic Core is the set of components based on Web Components. Ionic Angular is the framework binding of Ionic Core with Angular. This book focuses on Ionic Angular with Angular 6.
Ionic Creator – Ionic Creator is a desktop app to create Ionic apps using drag-and-drop. It helps nontechnical users to quickly create simple apps and prototypes.
Ionic View – Ionic View allows viewing Ionic apps shared by others directly on the phones. It’s a great tool for app testing and demonstration.
Ionic Deploy – Ionic Deploy performs hot updates to apps after they are published to app stores.
Ionic Package – Ionic Package builds Ionic apps and generates bundles ready for publishing to app stores. With Ionic Package, we don’t to manage local build systems and can use the cloud service instead.
Ionic Monitor – Ionic Monitor can monitor apps and report runtime errors.
This book also covers usage of these products in Ionic Pro. Ionic Pro offers a free starter plan to try out features provided by Ionic Deploy and Ionic Monitor. With a $29 per month plan, you can access all features in Ionic Pro. Check out the pricing ( https://ionicframework.com/pro/pricing ) of Ionic Pro if you want to know more about it. Another important project to mention is Ionic Capacitor ( https://capacitor.ionicframework.com/ ), which will replace Apache Cordova to build native progressive web apps. Even though Capacitor is out of the scope of this book, it’s still worthwhile to check out this project to see the future of developing hybrid mobile apps with Ionic.
Firebase
Mobile apps usually need back-end services to work with the front-end UI. This means that there should be back-end code and servers to work with mobile apps. Firebase ( https://firebase.google.com/ ) is a cloud service to power apps’ back ends. Firebase can provide support for data storage and user authentication. After integrating mobile apps with Firebase, we don’t need to write back-end code or manage the infrastructure.
Firebase works very well with Ionic to eliminate the pain of maintaining back-end code. This is especially helpful for hybrid mobile apps developers with only front-end development skills. Front-end developers can use JavaScript code to interact with Firebase.
How to Build Mobile Apps
Ideas brainstorming. This is when we identify what kind of mobile apps to build. It usually starts from vague ideas and expands to more concrete solutions.
Wire-framing and prototyping. This is when we draw on the whiteboard to identify main usage scenarios. Prototypes may be created to demonstrate core usage scenarios for better communications with stakeholders.
User experiences design. This is when all pages and navigation flows are finalized, and we are now clear what exactly needs to be built.
Implementation. This is when the development team implements the pages to fulfill requirements.
Testing. Unit testing should be part of implementation of pages and components. End-to-end testing is also required to verify all usage scenarios. All these tests should be executed automatically.
Continuous integration. Continuous integration is essential for code quality. If every code commit can be tested automatically, then the development team will be more confident about the product’s quality.
Publishing. This is when the app is published to app stores.
Operations. After the app is published, we still need to continuously monitor its running status. We need to capture errors and crash logs occurred on users’ devices.
This book is a guide to build mobile apps that focuses on implementation and testing. Topics including continuous integration, app publishing, and monitoring are also covered.
Prepare Your Local Development Environment
Before we can build Ionic apps, we first need to set up the local development environment. We’ll need various tools to develop, test, and debug Ionic apps.
Node.js
Node.js is the runtime platform for Ionic CLI. To use Ionic CLI, we first need to install Node.js ( https://nodejs.org/ ) on the local machine. Node.js is a JavaScript runtime built on Chrome’s V8 JavaScript engine. It provides a way to run JavaScript on the desktop machines and servers. Ionic CLI itself is written in JavaScript and executed using Node.js. There are two types of release versions of Node.js – the stable LTS versions and current versions with the latest features. It’s recommended to use Node.js version 6 or greater, especially the latest LTS version (8.12.0 at the time of writing).
Installing Node.js also installs the package management tool npm. npm is used to manage Node.js packages used in projects. Thousands of open source packages can be found in the npmjs registry ( https://www.npmjs.com/ ). If you have background with other programming languages, you may find npm is similar to Apache Maven ( https://maven.apache.org/ ) for Java libraries or Bundler ( http://bundler.io/ ) for Ruby gems.
Ionic CLI
Note
You may need to have system administrator privileges to install these two packages. For Linux and macOS, you can use sudo. For Windows, you can start a command-line window as the administrator. However, it’s recommended to avoid using sudo when possible, as it may cause permission errors when installing native packages. Treat this as the last resort. The permission errors usually can be resolved by updating the file permissions of the Node.js installation directory.
Install Ionic CLI Using yarn
yarn add [package] – Add packages as the project’s dependencies. You can provide multiple packages to install. Version requirements can be specified following the Semantic Versioning spec ( http://semver.org/ ). For example, we can use [email protected] to install version 4.17.5 of lodash.
yarn upgrade [package] – Upgrade or downgrade versions of packages.
yarn remove [package] – Remove packages.
yarn global – Manage global dependencies.
The file yarn.lock contains the exact version of all resolved dependencies. This file is to make sure that builds are consistent across different machines . This file should be managed in the source code repository.
Note
yarn and npm are both good package managers for Node.js. It’s hard to choose between these two. Different development teams may have their own preferences. The main reason to use npm for Ionic apps development is that Cordova CLI only supports npm and has no plan to support yarn ( https://github.com/apache/cordova-cli/pull/292#issuecomment-401331607 ). Cordova CLI uses npm to install Cordova plugins. If we use yarn to manage dependencies, then after a Cordova plugin is installed, the existing dependencies in the directory node_modules will be in an inconsistent status, and we need to run yarn again to fix the issue.
After finishing installation of Ionic CLI and Cordova, we can use the command ionic to start developing Ionic apps.
You are free to use Windows, Linux, or macOS to develop Ionic 4 apps. Node.js is supported across different operating systems. One major limitation of Windows or Linux is that you cannot test iOS apps using the emulator or real devices. Some open source Node.js packages may not have the same test coverage on Windows as Linux or macOS. So they are more likely to have compatibility issues when running on Windows. But this should only affect the CLI or other tools, not Ionic 4 itself.
Output of ionic info
iOS
After the installation is finished, you can use xcode-select -p to verify.
Android
To develop Ionic apps for Android, Android SDK must be installed. Before installing Android SDK , you should have JDK installed first. Read this guide ( https://docs.oracle.com/javase/8/docs/technotes/guides/install/ ) about how to install JDK 8 on different platforms. It’s recommended to install Android Studio ( https://developer.android.com/studio/index.html ), which provides a nice IDE and bundled Android SDK tools. If you don’t want to use Android Studio, you can install stand-alone SDK tools.
Note
Android API level 22 is required to run Ionic apps. Make sure that the required SDK platform is installed.
Stand-alone SDK tools is just a ZIP file; unpack this file into a directory and it’s ready to use. The downloaded SDK only contains basic SDK tools without any Android platform or third-party libraries. You need to install the platform tools and at least one version of the Android platform. Run android in tools directory to start Android SDK Manager to install platform tools and other required libraries.
After installing Android SDK, you need to add SDK’s tools and platform-tools directories into your PATH environment variable , so that SDK’s commands can be found by Ionic. Suppose that the SDK tools is unpacked into /Development/android-sdk, then add /Development/android-sdk/tools and /Development/android-sdk/platform-tools to PATH environment variable. For Android Studio, the Android SDK is installed into directory /Users/<username>/Library/Android/sdk.
- 1.
Click Start menu, then right-click Computer and select Properties.
- 2.
Click Advanced System Settings to open a dialog.
- 3.
Click Environment Variables in the dialog and find PATH variable in the list, then click Edit.
- 4.
Append the path of tools and platform-tools directories to the end of PATH variable.
It’s highly recommended to use Android Studio instead of stand-alone SDK tools. Stand-alone SDK tools is more likely to have configuration issues.
Genymotion
Genymotion ( https://www.genymotion.com/ ) is a commercial Android emulator with better performance than the standard emulators. It’s recommended to use Genymotion for Android emulation instead of the standard emulators. You can start from the free Genymotion personal edition ( https://www.genymotion.com/fun-zone/ ) to emulate apps.
IDEs and Editors
You are free to use your favorite IDEs and editors when developing Ionic apps. IDEs and editors should have good support for editing HTML, TypeScript, and Sass files. For commercial IDEs, WebStorm ( https://www.jetbrains.com/webstorm/ ) is recommended for its excellent support of various programming languages and tools. For open source alternatives, Visual Studio Code ( https://code.visualstudio.com/ ) and Atom ( https://atom.io/ ) are both popular choices.
Create an App Skeleton
angular – Ionic Angular projects for Ionic 4.
ionic-angular – Ionic 2/3 projects.
ionic1 – Ionic 1 projects.
We can choose a proper template to create the skeleton code of the app. It’s also possible to pass URLs of other Git repositories as the templates to use. Ionic also maintains a marketplace ( https://market.ionicframework.com/starters/ ) for the community to share project starters. You can find many paid or free project starters in the marketplace.
--type – Allowed values are angular, ionic-angular and ionic1.
--cordova – Enable Cordova integration.
--capacitor - Enable Capacitor integration.
--pro-id – Link this app with Ionic Dashboard.
--no-deps – Do not install npm dependencies. Useful when you only want to explore the content of a project starter.
--no-git – Do not initialize a Git repo.
--no-link – Skip the prompt about connecting the app with Ionic Dashboard.
--project-id – Specify the slug for the app. The slug is used for the directory name and npm package name.
--package-id – Specify the bundle ID/application ID for the app. This is the unique ID of the app when publishing to the Apple store or Google Play. It’s highly recommended to set this value when Cordova integration is enabled. The value of this option should be in the reverse domain format, for example, com.mycompany.myapp. If not specified, the default value io.ionic.starter is used.
Application Templates
We’ll take a look at these application templates.
Blank App

App created using the blank template
Tabbed App
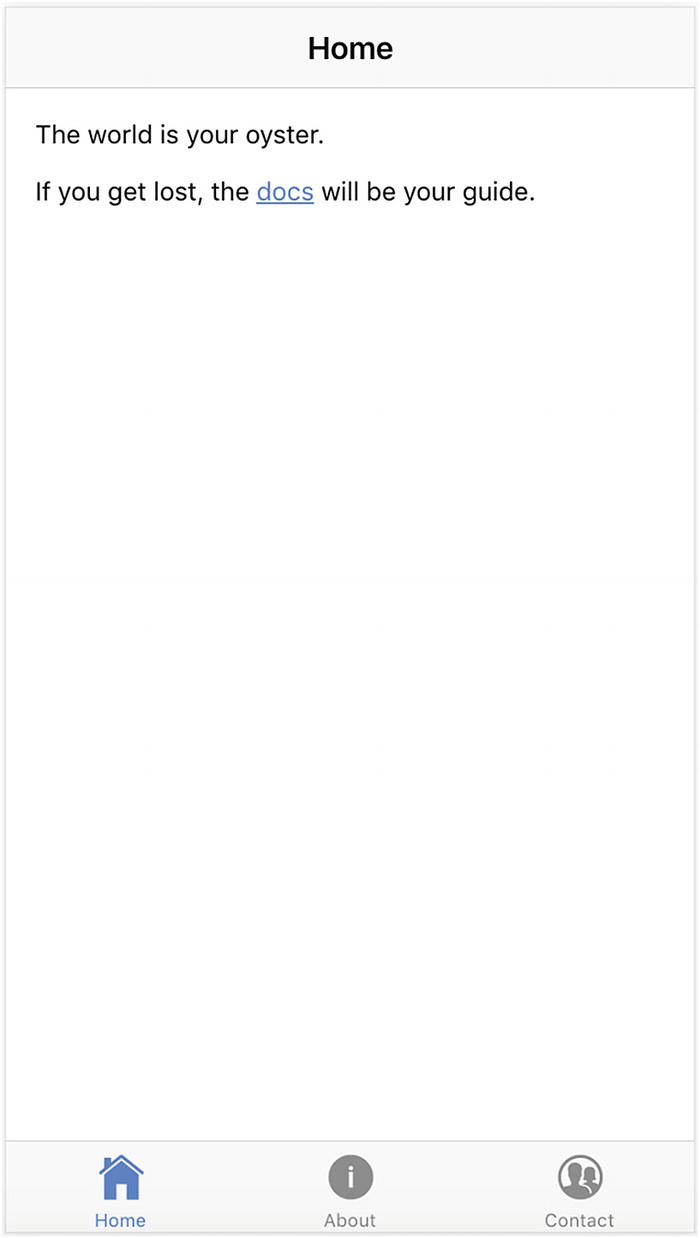
App created using the tabs template
Sidemenu

App created using the sidemenu template
Local Development
After a new app is created using ionic start, we can navigate to the app directory and run ionic serve to start the local development server. The browser should automatically open a new window or tab that points to the address http://localhost:8100/. You should see the UI of this Ionic app. Ionic sets up livereload by default, so when any HTML, TypeScript or Sass code is changed, it automatically refreshes the page to load the page with updated code. There is no need for a manual refresh.
The default port for the Ionic local development server is 8100. The port can be configured using the option --port or -p. For example, we can use ionic serve -p 9090 to start the server on port 9090.
Use Chrome for Development
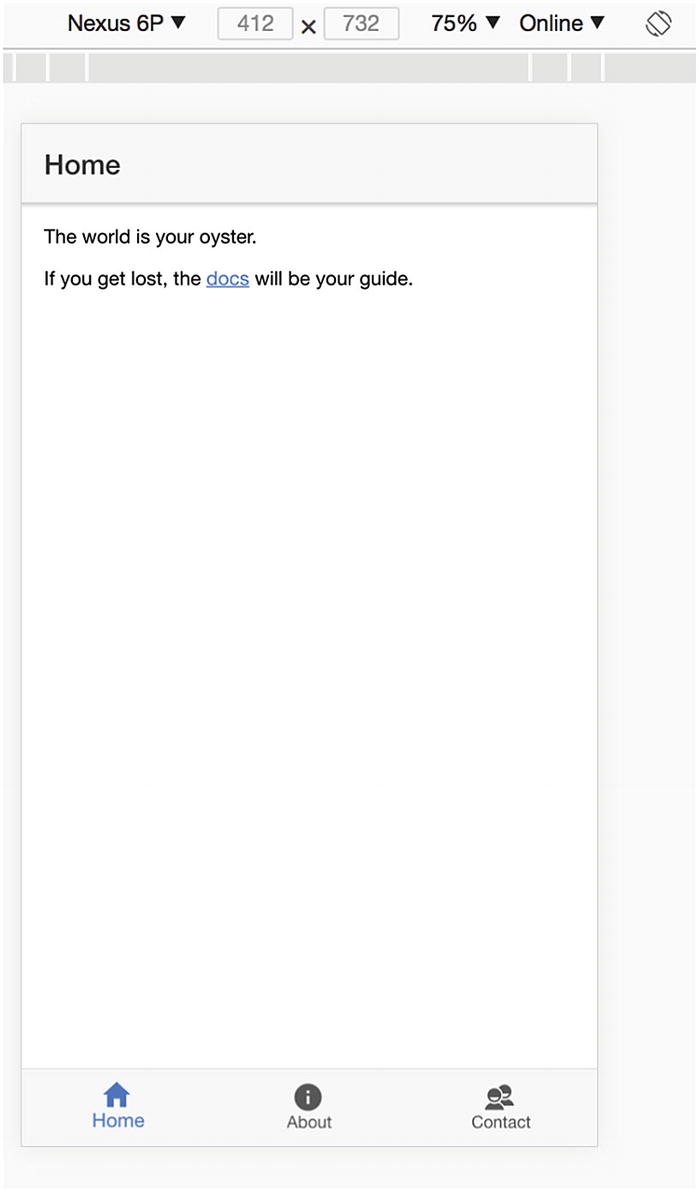
Use Chrome for development
Use Chrome DevTools for Android Debugging

Chrome DevTools for Android remote debugging
Use Safari Web Inspector for iOS Debugging
For an iOS platform, when an Ionic app is running on the emulator or a real device, we can use Safari Web Inspector ( https://developer.apple.com/safari/tools/ ) to debug the running app. After opening Safari, in the Develop menu, you should see a menu item like Simulator - iPhone X - iOS 11.3 (15E217). This menu item has a subitem called localhost - index.html. Clicking this menu item opens the Web Inspector for debugging.
Use Ionic DevApp
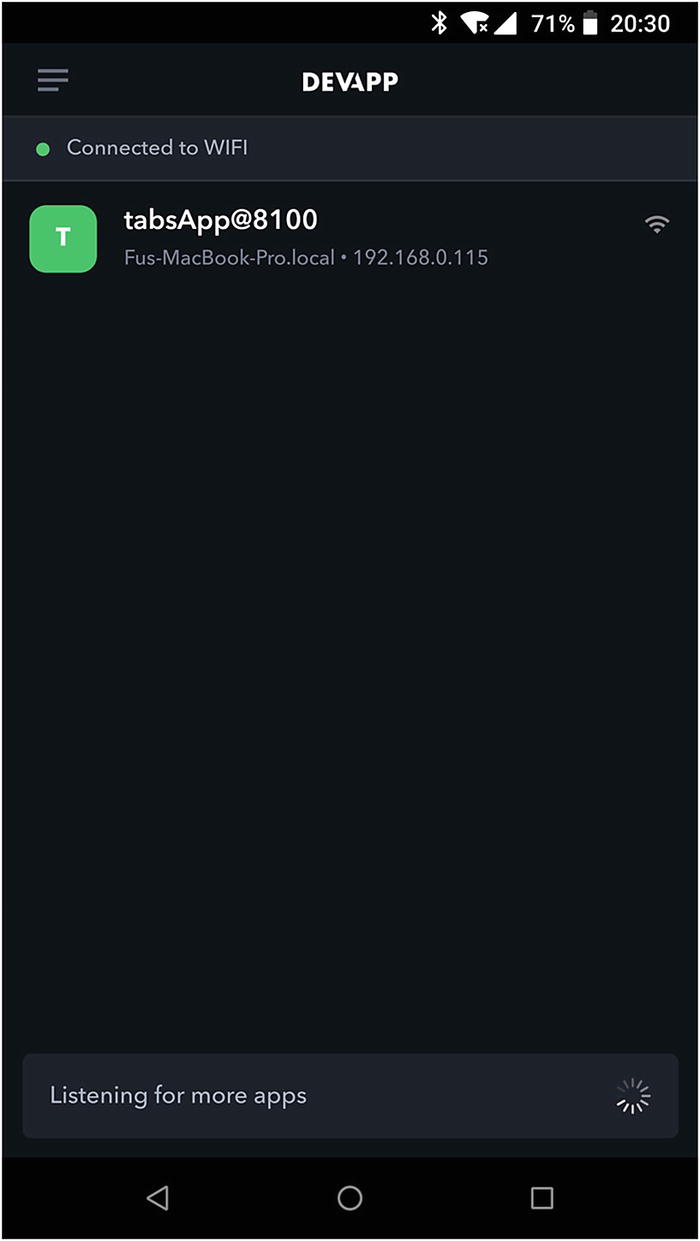
Ionic DevApp
To view the logs generated when testing the app, we need to add the option -c when running the dev server, that is, ionic serve -c.
Test on Emulators
After finishing the basic testing using browsers, it’s time to test on device emulators. First, we need to configure the platforms’ support for the app. Ionic apps created by Ionic CLI have no platforms added by default.
iOS
Android
Install Gradle. Gradle is the build tool for Android apps. Follow the official instructions ( https://gradle.org/install/ ) to install Gradle on your local machine.
Accept Android SDK licenses. Use the sdkmanager tool in Android SDK to accept all SDK package licenses by running sdkmanager --licenses. The tool sdkmanager can be found in the directory of <Android_Home>/sdk/tools/bin.
Create an Android Virtual Device (AVD). Follow the official instructions ( https://developer.android.com/studio/run/managing-avds ) to create a new AVD.

Ionic app running on Android 8.1 emulator
Note
If you are using Genymotion for testing, you need to use the ionic cordova run android command to run Ionic apps on the emulator; this is because Genymotion emulators are treated as real devices instead of emulators.
When running on the emulator, we can also use the option --livereload to enable livereload, so the app refreshes automatically when the code changes.
The sample app in this book is primarily tested on the Android 8.1 emulator and a real device. Most of the screenshots are also taken on the Android platform.
Summary
As the first chapter of this book, this chapter provides a basic introduction of hybrid mobile apps created with Ionic 4. After finishing this chapter, you should be able to set up your local environment to be ready for developing, debugging, and testing Ionic 4 apps. In the next chapter, we’ll introduce programming languages, frameworks, libraries, and tools that are required in the actual development.