
So far, we have created the first screen of our pause menu that includes all of our characters and placeholders for their stats and gold. The next thing we need to design is buttons, which will be the last portion of our first pause screen. Much like buttons in other software packages, they are typically used to trigger events built around mouse clicks. A programmer can simply have their button listen to a press from a mouse button and cause an action or series of actions to occur based around that button click. The buttons we are creating will be used as navigation to submenus since we need a way of navigating through the inventory and equipment screens. Therefore, on our main screen, we will need a button for both inventory and equipment. We will also need a button to go to the pause menu and resume playing the game as well.
Let us start by creating our first button. Navigate to Palette | Common | Button and place it in your Canvas Panel under the Hierarchy tab:

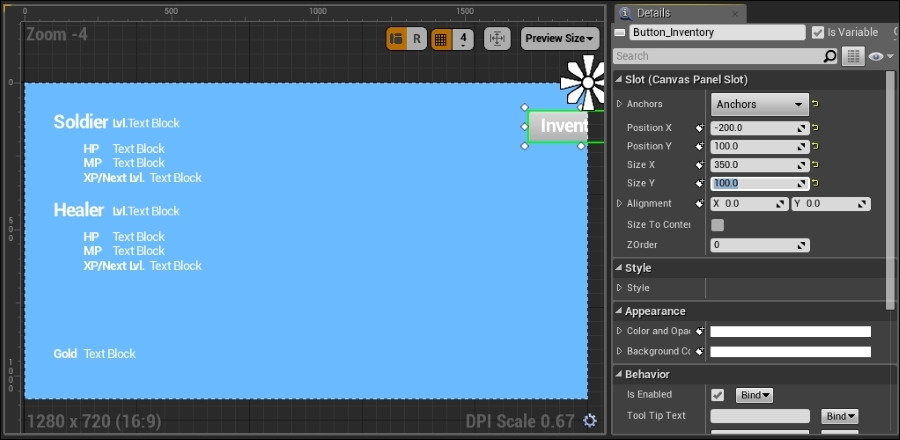
For organization purposes, we will lay our first button on the top-right of the menu. So the best thing to do is navigate to Details | Slot | Anchors and anchor the button at the top-right. This will ensure that as the screen or objects resize, the button aligns to the right-hand side:

You should notice that the anchor icon on your screen moves to the top-right of the screen. You will also notice that the Position X value changes to a negative number that reflects the size of your screen, since the origin of the button position is placed at the opposite end of the screen; the values of Position X of this particular button are now flipped. This concept may be confusing at first, but it will make the math for the placement of each button much easier in the long run:

Change the Position X value to -200 (since Position X of the button is now -1920 to be positioned from the left and -100 to be positioned to the right, to add 100 pixels of padding would be -200) and Position Y value to 100. Name this button Button_Inventory:

We will now add text to the button. So select Text under Palette | Common | Text and drag it into the button. You will notice that the text is within the button in both the Hierarchy tab and the Designer view:

You may also notice that the text is not sized to our liking and it does not fit into the button. Rather than resizing the button right away, let us resize the text to our liking first and then resize the button around the text so that the text is readable. Navigate to Details | Appearance | Font and change the font size to 48:
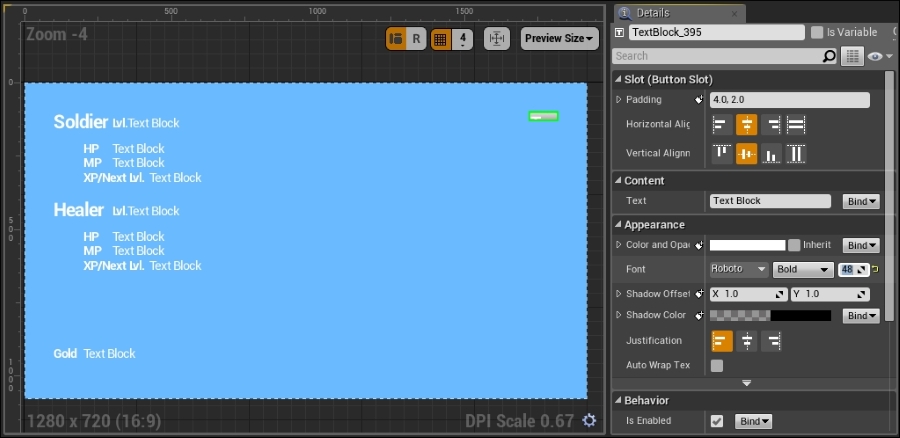
Then, under Details | Content | Text, change the text to Inventory and the name of the Text widget to Menu_Inventory:

Click on Button_Inventory. You may be thinking that checking Size to Content would be the right idea here, but it isn't in our circumstances because you will be creating multiple buttons, each with a different text in it. Therefore, if they were all sized to the content (content being the text within the button), all your buttons would be sized differently, which is very unattractive. Instead, you should pick a button size that will easily fit all the text, even for your longest worded text. For this button, we will change the Size X value to 350 and Size Y value to 100:
You will notice that the button is drawn off the screen and this is because the button, like every other object, is still drawn from the top-left of the object, so we will need to adjust our Position X value again; however, the math is easy since we are anchored at the top-right. All we need to do is take the horizontal sizes of our button, 350, and then subtract it from where the button thinks the right edge of our screen is due to the anchor, which is 0. So this gives us 0 - 350 = -350. Then, we take -350 and subtract the 100 pixels of padding that we want, which gives us -350 - 100 = -450, which is the value we should change our Position X to:

Now that we have a button perfectly placed, we can place more buttons. We will use the same steps to create an Equipment button below the Inventory button. Once you have completed creating the Equipment button, it can be placed just below the Inventory button:

We can also create an Exit button, which we will place at the bottom-right of the screen:

There you have it—we have finished designing the first screen of our pause menu. You will notice that we have not yet programmed the buttons to do anything, and this is because we do not have screens for the buttons to navigate to, so it won't make sense to program the buttons just yet. The next steps will be to design our submenus.