
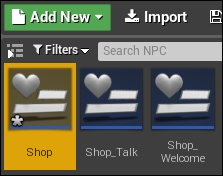
Now that we are done with creating items, we can move on to creating the shop. In the previous chapter, we created dialog boxes for our shop owner, and in one of the dialog boxes, we created a Shop button that, when clicked, will open up a shop menu. Let's create this shop menu by first creating a new Widget Blueprint by navigating to Content | Blueprints | UI | NPC. We will call this Widget Blueprint Shop and open it:
We will make the shop in a similar format to that of our pause menu, but we will keep it simple because all we need for now is a Scroll Box that will hold the shop's items, as well as an area for gold, and an Exit button.
To expedite this process, you can simply copy and paste the elements from your existing menu systems that you wish to reuse into the Shop Widget Blueprint. We can do this by navigating to Content | Blueprints | UI and opening the Pause_Main and Pause_Inventory Widget Blueprints, which we created in the previous chapters. From Pause_Main, we can copy the Menu_Gold, Editable_Gold, Button_Exit, Menu_Exit, and BG_Color, and paste them into the Shop Widget Blueprint.
We can also copy the ScrollBox_Inventory and Title_Inventory from the Pause_Inventory Widget Blueprint and paste them into the Shop Widget Blueprint. When you are done, your Shop Widget Blueprint will look like this:
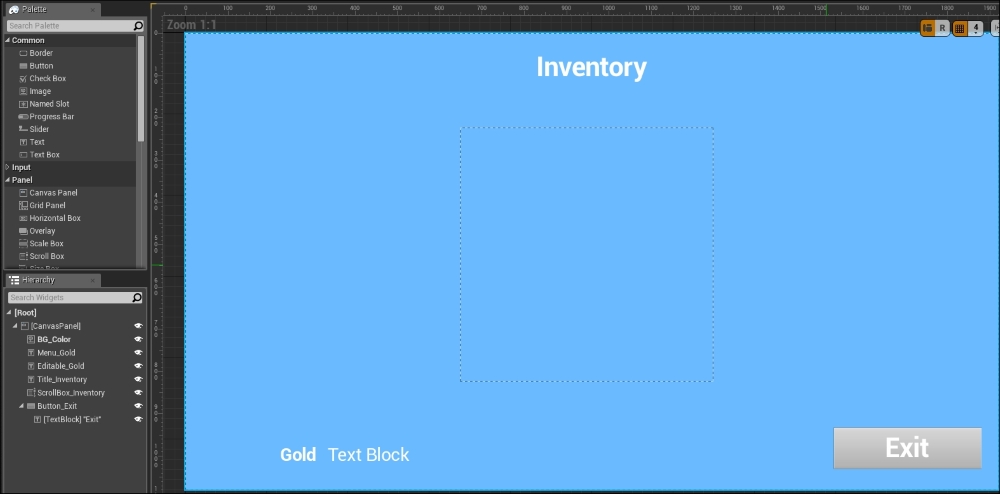
Here, edit the Shop Widget Blueprint so that the title reads as Shop instead of Inventory:

You will now need to link the Shop Widget Blueprint to the Shop button in the Shop_Welcome Widget Blueprint. To do this, open the Shop_Welcome Widget Blueprint by navigating to Content | Blueprints | UI | NPC, select Button_Shop, and then click on the + button to the right of the OnClicked event by navigating to Details | Events:

This will automatically open the graph with a newly created OnClicked event for Button_Shop:

Here, you can simply mimic the same actions you used to open the dialog boxes when the player clicks on the Talk button. The only difference is that, instead of creating a new Shop_Talk widget, the Shop widget will create the Create Shop Widget for you. The graph for Button_Shop will look like the following screenshot:

You will now be able to test the shop by talking to the NPC and clicking on the Shop button, which will now open the shop:

You will notice that nothing is yet visible in the shop, not even the gold. To display the gold on the screen, you need to repeat the steps you performed earlier in this chapter when you displayed the gold in the Pause_Main Widget Blueprint. But this time, open the graph in the Shop Widget Blueprint, and then create a binding for the Editable_Gold Text Block by navigating to Details | Context:

Your graph will automatically open, and you will notice a Get Editable Gold Text function with a ReturnNode. Since you will be getting the gold from the same game instance that you did when getting the gold from the Pause_Main Widget Blueprint, you can simply copy and paste all the nodes from the Get Editable Gold Text function into Pause_Main, and link them to the Get Editable Text function in the Shop Widget Blueprint. When you are done, the Get Editable Gold Text function in the Shop Widget Blueprint will look like this:

Next, we will create the Button_Exit functionality in the Shop Widget Blueprint by creating an OnClicked event (by navigating to Details | Events) for Button_Exit:

When the graph opens, link the OnClicked event to the Remove from Parent function:

At this point, when you test the shop, you will see the gold and be able to exit the shop screen.