
In this book, we will use Flask as a web framework to build our microservices. Flask is a powerful web framework, which is easy to learn and simple to use. Additionally, in Flask, we need a little boilerplate code to get a simple app up and running.
Since we will create our application using the twelve-factor app concept, we will begin by ensuring that we have a centralized code base. By now, you should know how to create a GitHub repository. If not, make sure you create it as per the blogpost link provided in Chapter 1, Introducing Cloud Native Architecture and Microservices. We will be pushing the code regularly to the repository.
Assuming you have created the repository during the course of this book, we will use the GitHub repository (https://github.com/PacktPublishing/Cloud-Native-Python.git).
So, let's set up our local directory in sync with the remote repository. To ensure that we are in the app directory, use the following commands:
$ mkdir Cloud-Native-Python  # Creating the directory
$ cd Cloud-Native-Python  # Changing the path to working directory
$ git init . # Initialising the local directory
$ echo "Cloud-Native-Python" > README.md  # Adding description of repository
$ git add README.md  # Adding README.md
$ git commit -am "Initial commit"  # Committing the changes
$ git remote add origin https://github.com/PacktPublishing/Cloud-Native-Python.git  # Adding to local repository
$ git push -u origin master  # Pushing changes to remote repository.
You will see the following output:
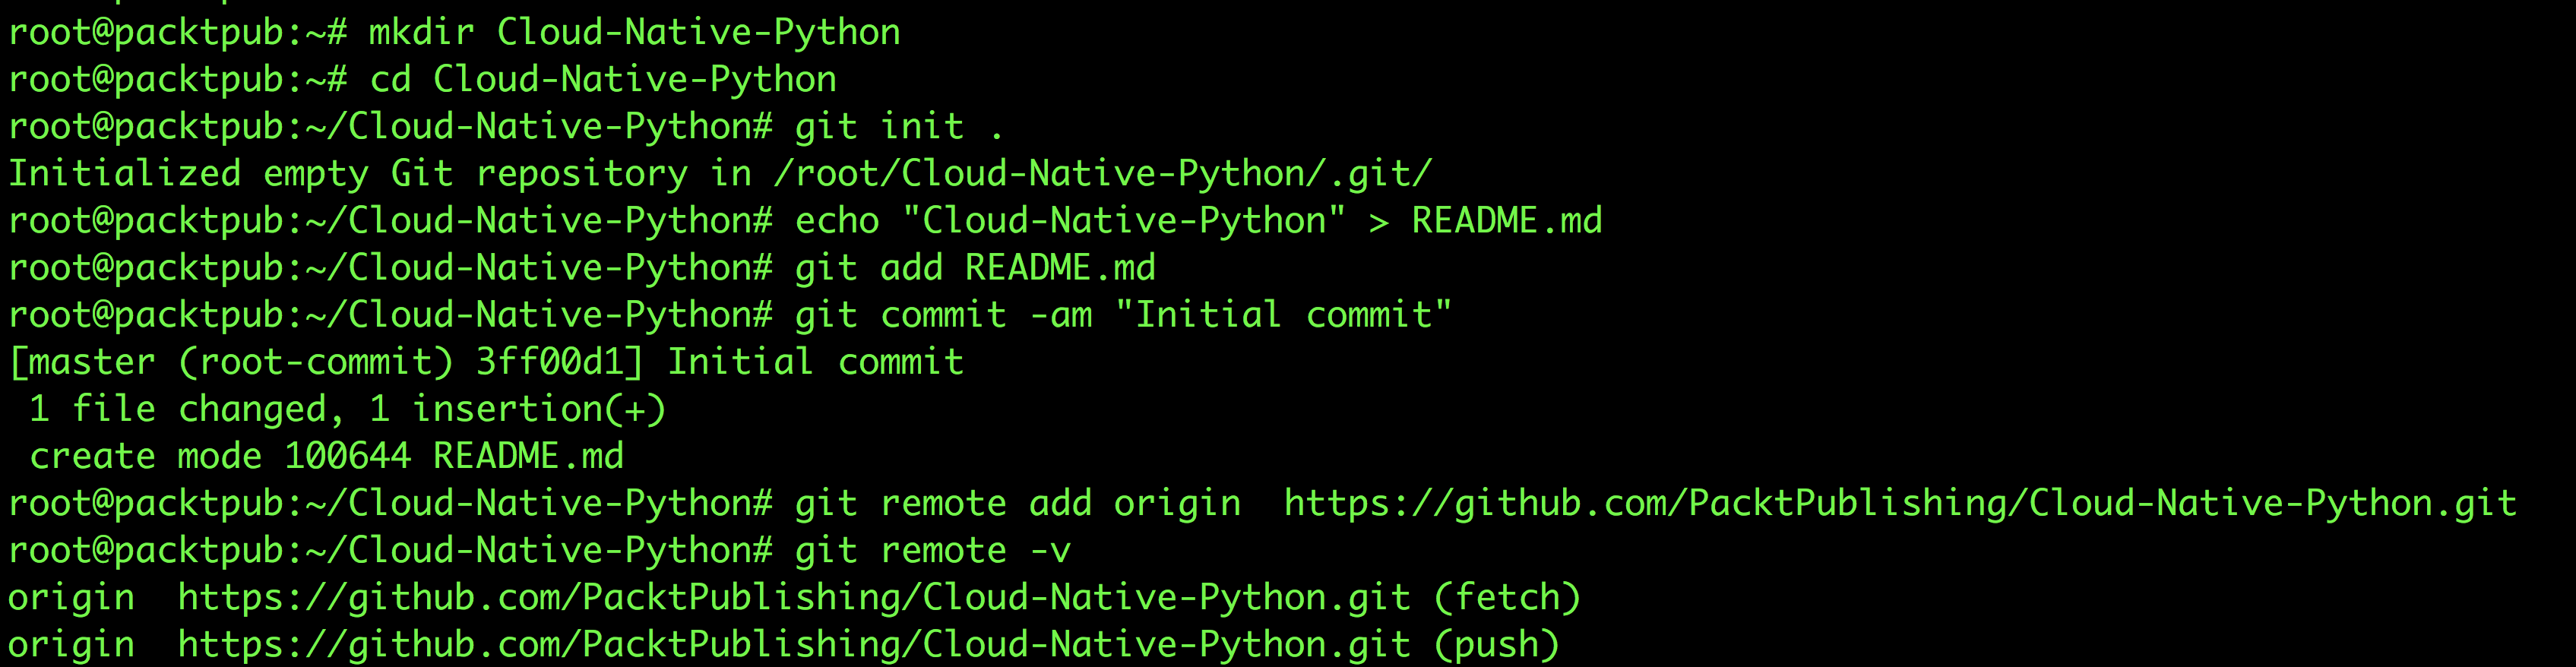
We have successfully pushed our first commit to the remote repository; we will keep doing so in a similar fashion till we reach a certain milestone in building microservices, as well as the application.
Now, we need to install a file-based database, such as SQLite version 3, which will work as the datastore for our microservices.
To install SQLite 3, use the following command:
$ apt-get install sqlite3 libsqlite3-dev -y
We can now create and use (source) a virtualenv environment, which will isolate the local app's environment from the global site-packages installations. If virtualenv is not installed, you can install it using the following command:
$ pip install virtualenv
Now create virtualenv as follows:
$ virtualenv env --no-site-packages --python=python3
$ source env/bin/activate
We should see the output of the preceding command as shown in the following screenshot:

After the virtualenv setup, currently, we need one dependency in our virtualenv environment that needs to be installed. Use the following command to add one package dependency into requirements.txt:
$ echo "Flask==0.10.1" >> requirements.txt
In the future, if any more dependencies are needed as part of the application, they will go inside the requirements.txt file.
Let's use the requirements file to install the dependencies into the virtualenv environment as follows:
$ pip install -r requirements.txt
Now that we have the dependencies installed, let's create a file, app.py, with the following contents:
    from flask import Flask

    app = Flask(__name__)

    if __name__ == "__main__":
     app.run(host='0.0.0.0', port=5000, debug=True)
The preceding code is the basic structure to run an application using Flask. It basically initializes the Flask variable and runs on port 5000, which is accessible from anywhere (0.0.0.0).
Now, let's test the preceding code and see if everything is working fine.
Execute the following command to run the application:
$ python app.py
We should see the output of the preceding command as shown in the following screenshot:

At this point in time, before we start building RESTful APIs, we need to decide what will be our root URL to access the service, which will further decide the sub URI for the different methods. Consider the following example:
http://[hostname]/api/v1/.
Since, in our case, we will be using a local machine, hostname can be localhost with port, which is, by default, 5000 for a Flask application. So, our root URL will be as follows:
http://localhost:5000/api/v1/.
Now, let's decide the resources on which different actions will be performed, and which will be exposed by this service. In this case, we will create two resources: users and tweets.
Our users and info resource will use the HTTP methods as follows:
|
HTTP Method |
URI |
Actions |
|
GET |
http://localhost:5000/api/v1/info |
This responds back with the version |
|
GET |
http://localhost:5000/api/v1/users |
This responds with the user list |
|
GET |
http://localhost:5000/api/v1/users/[user_id] |
The response will be the user details of the specified user_id |
|
POST |
http://localhost:5000/api/v1/users |
This resource will create new users in the backend server with values from the object passed |
|
DELETE |
http://localhost:5000/api/v1/users |
This resource will delete the user with the specified username passed in JSON format |
|
PUT |
http://localhost:5000/api/v1/users/[user_id] |
This resource updates the user information of the specific user_id based on the JSON object passed as part of the API call. |
Using the client, we will perform actions against resources such as add, remove, modify, and many more.
For the scope of this chapter, we will take a file-based database, such as SQLite 3, which we already installed earlier.
Let's go and create our first resource, which is /api/v1/info, and show the available versions and their release details.
Before that, we need to create an apirelease table schema, as defined in SQLite 3, which will contain information about the API version release. This can be done as follows:
CREATE TABLE apirelease(
buildtime date,
version varchar(30) primary key,
links varchar2(30), methods varchar2(30));
Once it is created, you can add records into SQLite 3 for our first version (v1) using the following command:
Insert into apirelease values ('2017-01-01 10:00:00', "v1", "/api/v1/users", "get, post, put, delete");
Let's define the route /api/v1/info and function in app.py, which will basically handle the RESTful call on the /api/v1/info route. This is done as follows:
    from flask import jsonify
    import json
    import sqlite3
    @app.route("/api/v1/info")
    def home_index():
      conn = sqlite3.connect('mydb.db')
      print ("Opened database successfully");
      api_list=[]
      cursor = conn.execute("SELECT buildtime, version,
      methods, links   from apirelease")
    for row in cursor:
        a_dict = {}
        a_dict['version'] = row[0]
        a_dict['buildtime'] = row[1]
        a_dict['methods'] = row[2]
        a_dict['links'] = row[3]
        api_list.append(a_dict)
    conn.close()
    return jsonify({'api_version': api_list}), 200
Now that we have added a route and the handle for it, let's make a RESTful call on http://localhost:5000/api/v1/info, as shown in this screenshot:

Awesome! It works!!
Let's move on to the /api/v1/users resource, which will help us perform various actions on the user's records.
We can define a user as having the following fields:
- id: This is a unique identifier for users (Numeric type)
- username: This is a unique identifier or handler for users for authentication (String type)
- emailid: This is the user's email (String type)
- password: This is the user's password (String type)
- full_name: This is the full name of the user (String type)
In order to create the user's table schema in SQLite, use the following command:
CREATE TABLE users(
username varchar2(30),
emailid varchar2(30),
password varchar2(30), full_name varchar(30),
id integer primary key autoincrement);