
Chapter 9. Instagram Service
To do just about anything of interest in a mobile web application, you have to integrate with a backend service. The TrendiCity application is no different. We need to be able to retrieve photos (aka posts) from Instagram and provide them to the application. TrendiCity integrates with Instagram through the Instagram API. Since a layered application is desireable, the interactions with Instagram are placed inside an angular Service. You can find the TrendiCity InstagramService in the www/js/services/instagram.js file.
To retrieve information from the Instagram API, you must first obtain a client_id by setting up an Instagram client using Instagram Manage Clients. In order for the application to make Instagram API requests when running in a desktop browser, we will need to find a solution to a CORS issue. We don’t want to have to deploy the app to a device/simulator every time we want to test something.
The Instagram API allows for two different types of requests; non-authenticated and authenticated. Once you have a client_id, you can make non-authenticated requests like Popular Posts and Nearby Posts. To make authenticated requests, you must authenticate the user using the OAuth 2.0 protocol.
For retrieving popular posts or nearby posts, a non-authenticated request can be made by just using the client_id. For retrieving a user’s feed, a user’s liked posts, or for liking/disliking a post, an authenticated request must be made. Also, note there are different Limits placed on non-authenticated versus authenticated requests.
Authentication
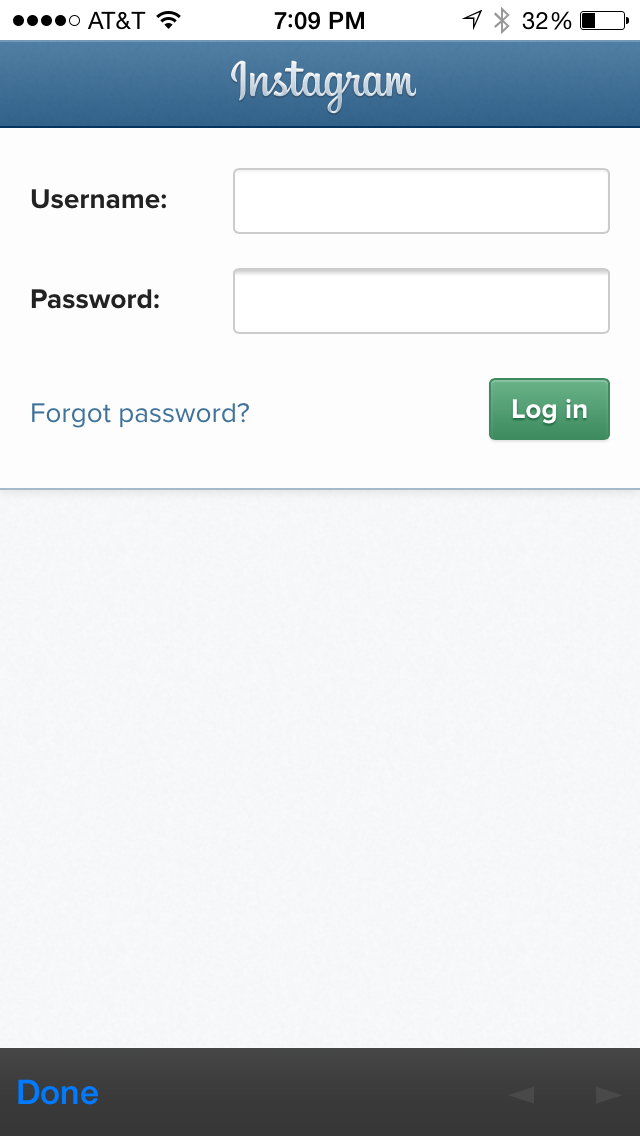
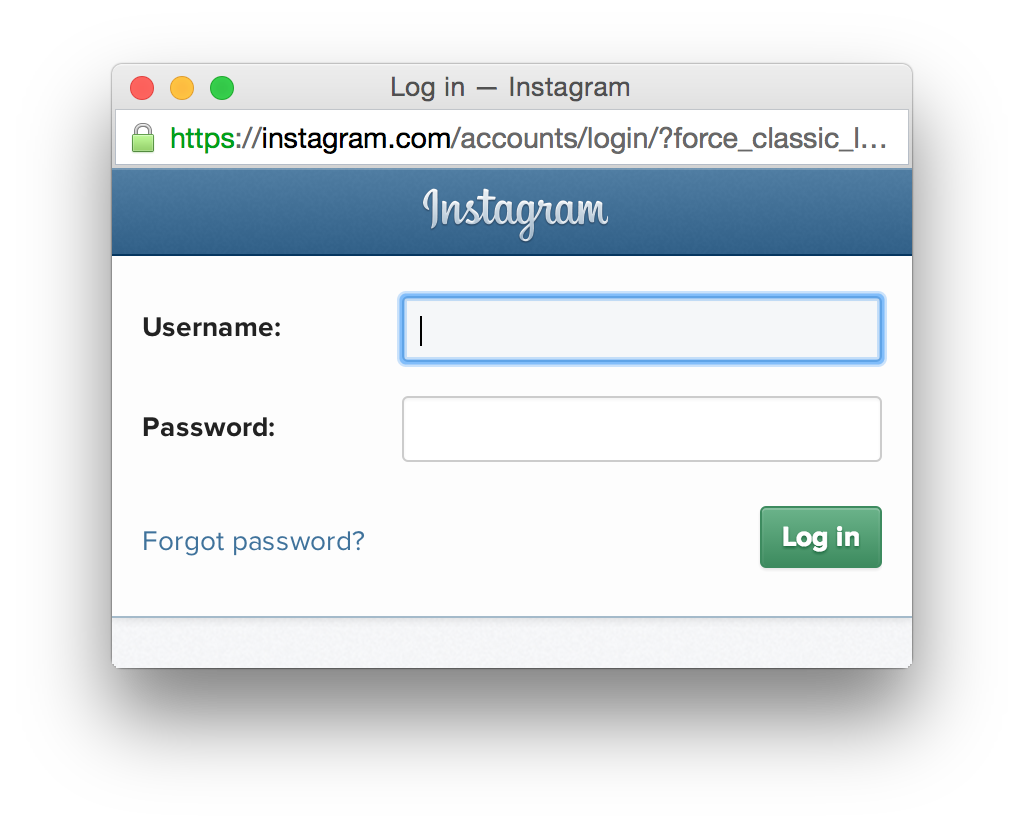
The Instagram API provides two types of OAuth 2.0 authentication, Server Side authentication and Client Side authentication. We will be using the Client Side authentication approach in our mobile application. We will need to open a window with the Instagram login URL. The user will provide Instagram with their username and password, then submit the form. Instagram will redirect to a URL that we provide. This URL will contain an access_token. We can then use this access_token to make authenticated requests.
Login
The Trendicity application never sees the user’s actual credentials(username and password) because the application just opens a window with the Instagram login url. But to do that, we need to provide some parameters.
- client_id - this is the client id that is setup using Instagram Manage Clients
- redirect_uri - this is the redirect url that was setup using Instagram Manage Clients
- scope - the user permissions being requested
- response_type - this will be set to “token” for client side authentication
Below is a slightly modified code snippet from the InstagramService login function. Although a client_id has been provided, you are encouraged to setup your own.
varCLIENT_ID='75d27c9457cd4d1abbacf80a228f4a10';varAUTH_URL='https://instagram.com/oauth/authorize';varAUTH_REDIRECT_URL='http://localhost:8100/instagram.html';varloginWindow=window.open(AUTH_URL+'?client_id='+CLIENT_ID+'&scope=likes+comments&response_type=token&redirect_uri='+AUTH_REDIRECT_URL,'_blank','width=400,height=250,location=no,clearsessioncache=yes,clearcache=yes');
We will need to take a slightly different approach depending on whether the application is running on a device/simulator or on a desktop browser. To help us detect this, we can use a ionic.Platform function.
Device/Simulator
To open a window in a Cordova based application, we need to use the InAppBrowser Cordova plugin to open a new window with the Instagram login url. This allows us to use the standard window.open function.
After the window has been opened, we check to see if we are running in a WebView (i.e. device/simulator). If we are, then we add an InAppBrowswer specific loadstart event listener to the window. When the user logs in, the url will change to the redirect URL(due to the Instagram redirect) that we provided and we can parse the URL for the access_token. Once we have the access_token, we persist it using the localStorageService and then we close the window.
if(ionic.Platform.isWebView()){loginWindow.addEventListener('loadstart',function(event){if((event.url).indexOf(AUTH_REDIRECT_URL)===0){varaccessToken=(event.url).split('access_token=')[1];localStorageService.set('accessToken',accessToken);loginWindow.close();}});}
You may have noticed that the AUTH_REDIRECT_URL was defined as "http://localhost:8100/instagram.html“. You might be wondering how this URL would be accessed from the mobile application. On a device/simulator, this page will not be found. Had we not closed the window we would have gotten a 404 - page not found error. However, we don’t really care. We just want to get the access_token from the url itself. Actually, we could have made the AUTH_REDIRECT_URL whatever we wanted to as long as it matches the redirect url that was defined in the Instagram Manage Clients setup site. We just defined it using localhost so that we can take advantage of that when running the app in a desktop browser.
Desktop Browser
Since we can’t use a Cordova plugin on the browser, we are going to have to take a slightly different approach. The window.open function will just open a new browser window as you would expect.
Here we could try to add a beforeunload or unload event listener on the window to try to achieve the same behaviour as we did with the WebView scenario. However, those approaches are very problematic and lead to several issues. They don’t work consistently across browers. Also, there are problems when the user enters the wrong username or password. Since this is not going to be executed in our production environment, we aren’t overly concerned about this code. We just want to be able to login when running on the desktop browser. In other words, we are going to create a “hack”, strictly for development purposes.
if(ionic.Platform.isWebView()){// omitted for brevity}else{// running on a desktop browservarintervalCount=0;vartimesToRepeat=100;varintervalDelay=3000;// in msvarloginPoller=function(event){intervalCount++;if(self.isLoggedIn()){console.log('user is logged in now');$interval.cancel(promise);}else{if(intervalCount>=timesToRepeat){$interval.cancel(promise);loginWindow.close();}}};varpromise=$interval(loginPoller,intervalDelay,timesToRepeat,false);}};
The approach makes use of an $interval which is similar to using setInterval in Javascript. Instead of returning an interval id, $interval returns a promise. After the login window is opened, we are going to keep calling the loginListener function every 3 seconds, until either the user is logged in or we have exhausted the maximum number of times to repeat. If the user logs in, we just cancel the interval. If we reach the maximum number of times to repeat, in addition to cancelling the interval, we close the window.
If the user logs in, the browser will be redirected to the AUTH_REDIRECT_URL which was defined as 'http://localhost:8100/instagram.html' as depicted below.
<!DOCTYPE html><html><head></head><script>functionobtainAccessToken(){varaccessToken=location.href.split('access_token=')[1];localStorage.setItem('ls.accessToken',accessToken);window.close();}</script><bodyonload="obtainAccessToken()">This is just a hack for getting the access token when using a desktop browser.</body></html>
This instagram.html page will allow us to obtain the access_token from the redirect url. Similar to what we did in the previous section, we persist the token to localStorage. Only this time, we need to prefix the accessToken with ‘ls’ since that is what the angularLocalStorage uses as a default prefix. Once we process the access_token we can close the window.
Logout
When the user requests to logout, we are going to attempt to log the user out of Instagram. Since the Instagram API doesn’t provide a mechanism for this, we are going to attempt to mimic the logout request on their website.
this.logout=function(){varpromise=ionic.Platform.isWebView()?$http.post(LOGOUT_URL):$http.jsonp(LOGOUT_URL);promise.error(function(data,status){console.log('logout returned status:'+status);}).finally(function(){localStorageService.remove('accessToken');});returnpromise;};
You may be wondering why the access_token is not being passed here. When the user logs into Instagram, a cookie is stored in the browser by Instagram. By making this logout request, Instagram will remove the cookie that was stored in the browser. We could just remove the access_token instead of making the logout request. However, this errors on the side of caution since security is a very touchy area these days. If a user requests to logout, then we really want to log them out. If we didn’t make the logout request, and the user tried to login again, the cookie would be used and the the user would not have to provide any credentials direcly.
To avoid a CORS issue when running on a desktop browser, we are going to use a JSONP request. We won’t have a CORS issue when running on a device/simulator. Due to the nature of the response from Instagram, we expect to get a 404 when running on a desktop browser. Regardless, if the request is successful or not, we still remove the accessToken from localStorage.
CORS
Several people in the Ionic community have struggled in the past with CORS issues when using a desktop browser to develop/test with. On the device/simulator, CORS is not an issue since you can whitelist origins in the Cordova provided config.xml. You can use an asterisk to leave it wide open. Or for tighter security, you can specify the origins that are allowed to be accessed.
<accessorigin="*"/>
In some cases, you may have control over your backend and can enable CORS. However, in other cases, you may not have control over the backend. In our case, we are working on an Instagram mashup and have no control over the backend. The most recommended solution for this is to use Chrome and disable web security. This is very limiting. What if a developer wants to use Firefox or some other browser for that matter? Also, what if the user really doesn’t want to hijack their browser and compromise security? Another soluton is use JSONP, which Instagram supports. The problem with that is it is limited to GET requests, and the error handling is quirky since you always get back an HTTP status of 200 when an actual error occurs. We need to issue POST and DELETE requests so JSONP won’t work for us either. Fortunately, the Ionic CLI has a feature that we can leverage to solve this problem in a very elegant way.
When developing/testing using a desktop browser, you should be using the ionic serve command which is part of the ionic-cli (see Chapter 3: Development environment, tooling and workflow for more details). When the ionic-serve command is executed, it will launch an HTTP server. We can take advantage of an ionic serve feature that allows for a proxy server to be configured. So requests for a particular url path can we be treated as if they were in the same domain. To do this, we define the proxy in the ionic.project file in the root directory of the Trendicity application.
{"name":"trendicity","app_id":"","proxies":[{"path":"/instagram/api","proxyUrl":"https://api.instagram.com/v1"}]}
So anytime our application makes a HTTP request to “/instagram/api”, the proxy server will use the “proxyUrl” instead. In this case, it will use "https://api.instagram.com/v1“. Any parameters that are passed to “/instagram/api” will be passed to the “proxyUrl”. As for as the browser is concerned, the request is not considered as a cross-domain request.
So in the InstagramService, we define our API_ENDPOINT based on whether the app is running in a WebView or in a desktop browser. If running in a desktop browser, we take advantage of our proxy server and let ionic serve do its magic.
varAPI_ENDPOINT=ionic.Platform.isWebView()?'https://api.instagram.com/v1':'/instagram/api';
Non-Authenticated Requests
For non-authenticated requests, like Popular Posts and Nearby Posts we must pass a client_id. A client_id can obtained by setting up an Instagram client using Instagram Manage Clients.
Below is an example of the Popular Posts request. The Nearby Posts is very similar.
varAPI_ENDPOINT=ionic.Platform.isWebView()?'https://api.instagram.com/v1':'/instagram/api';// Code omitted for brevitythis.findPopularPosts=function(options){options=options||{};options.client_id=CLIENT_ID;varpromise=$http.get(API_ENDPOINT+'/media/popular',{params:options}).error(function(data,status){console.log('findPopularPosts returned status:'+status);});returnpromise;};
In addition to adding the client_id as an parameter, we allow for an options object to be passed in. We do this to be consistent with some of the other functions in the service where additional parameters can be passed. In the future, Instagram may add additional parameters to this endpoint. If so, we don’t need to change this function since it already allows additional parameters to be passed using the options object.
If the user has been authenticated, we should still pass the access_token as well. The reason being that non-authenticated requests have much stricter access limits on them.
Authenticated Requests
For authenticated requests, like User Feed, Liked Posts, Like Post and Dislike Post, we need to pass an access_token. Since we want to pass the access_token on both non-authenticated and authenticated requests, we can do that in an angular HttpInterceptor. Below is a simplified code snippet from the TrendicityInterceptor in the “www/js/services/interceptors.js” file.
request:function(config){// Handle adding the access_token for instagram api requestsvarInstagramService=$injector.get('InstagramService');if(InstagramService.isLoggedIn()&&config.url.indexOf(InstagramService.getEndpoint())===0){config.params=config.params||{};config.params.access_token=InstagramService.getAccessToken();}returnconfig;},
Here we inject the InstagramService as to avoid a circular dependency. Once we have that, we check to see if the user is logged in and the HTTP request is for the Instagram API_ENDPOINT. If so, we add the access_token to the config.params.
Notice, for example, in the Like Post function we don’t have pass the access_token. All we need to do here is pass in the mediaId as part of the endpoint url.
this.likePost=function(mediaId){varpromise=$http.post(API_ENDPOINT+'/media/'+mediaId+'/likes').error(function(data,status){console.log('likePost returned status:'+status);});returnpromise;};
Summary
So now you should be more familiar with how the Instagram API works and how the Trendicity InstagramService interacts with it. You were introduced to an ionic serve feature to get around CORS issues when making cross-origin HTTP requests from a desktop browser. You learned a useful “hack” to allow you to login to Instagram from a desktop browser. You have learned that in order for an application to talk to Instagram, you must first setup an Instagram client so that you can obtain a client_id. This client_id is then used to make non-authenticated requests. You know how to automatically add the access_token parameter to all Instagram related HTTP requests using an angular HttpInterceptor.
If you spend the time developing an Ionic mobile web application, you need to share it with the rest of the world. But first, you need to optimize it and get it ready for production because nobody wants to use an application that is slow.