Computer software interfaces are built on metaphors. These metaphors link the digital interface to real-life tools and processes.
An operating system is software that we use to operate the computer. The operating systems we encounter most often are Mac OS, Windows, or Linux. These operating systems use graphical interfaces to enable us to create, move, and delete files, and use other software to edit the contents of those files.
Regardless of the operating system you are using, most share a few central metaphors such as document, folder, file system, and desktop. Before today’s so-called “paperless office,” office workers created documents on paper, filed them in folders, and organized the folders in cabinets near their desks. The most important or current project folders might have been sitting on their desktops. Of course the original paper system persists alongside the computerized system, as well as in the computer’s metaphorical structure.
If the operating system is like your home office, design software is like your studio. The metaphors of design software are built around the tools of the artist and designer: pencils, brushes, palettes, artboards, and photographic equipment. These tools do what you would expect: pencils make hard-edged lines, brushes make hard- and soft-edged areas of color, colors are mixed in the Color panel.

These metaphors are consistent across the graphical interfaces of operating systems and design applications. For example, the panels and the tools look and behave in the same way—despite subtle application differences—in Adobe’s Illustrator, Photoshop, InDesign, Dreamweaver, and Flash. Learning the metaphors and similarities among these application interfaces will be one of the fastest routes to mastering the tools.
Exercise 01: Working with folders and files[*]
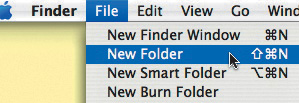
To create a new folder on your computer, navigate to the place where you want your new folder to reside (for instance, the Desktop), and from the menu, choose File > New Folder. (Fig 1.5) Most computer users typically store folders in the Documents folder or on the Desktop. As soon as you create a new folder, the operating system temporarily names it “untitled folder”. As long as you do not click outside of the folder name, the name area remains highlighted in blue, and is ready for you to type a new name. We named ours “digital_foundations” and pressed the Return key.
If you clicked somewhere on the Desktop after creating the new folder, it may seem like you are stuck with a folder named “untitled folder”. All folders can be renamed. To rename a folder, click once on the folder to select it, pause, and then either click on the name of the folder or press Return. Once the name is highlighted, you can type on top of the original name to replace it. We renamed our folder “digital_foundations”. (Fig 1.6-9)
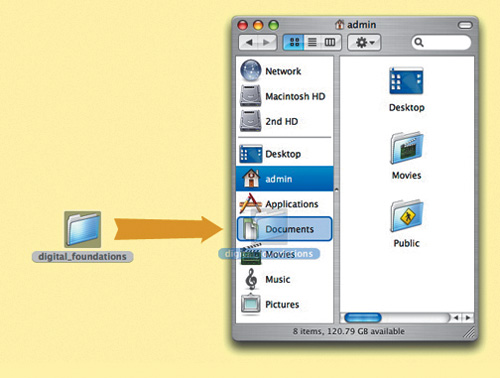
Move the new digital_foundations folder you just created to the Documents folder by clicking and dragging it from the Desktop into the Documents folder. (Fig 1.10)


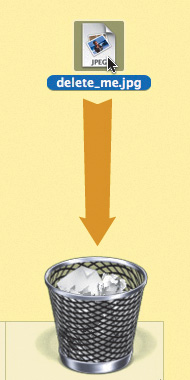
Next, we will review three ways to delete a file or folder. (Fig 1.11) Choose one method and delete the new folder you just created. The metaphorical trash or recycle bin appears in most computer operating systems. To delete a document in Mac OS, drag it onto the Trash icon on the Dock.
Another way to move an item to the trash is by selecting the item and pressing Command+Delete. The Command (
 ,
,  ) keys are located directly to the left and right of the spacebar. They are used in most keyboard shortcuts in Mac OS, much like the Control key is used in Windows.
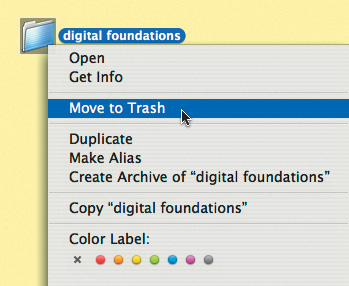
Contextual menus provide yet another way to delete a file. The contextual menus appear by right-clicking the mouse. If your mouse has only one button, Control-click accesses the contextual menu. Contextual menu options change depending on the context in which you click. If you right-click on a folder, you will see a list of actions that can be performed on that folder. This menu is different from the menu that would appear if you right-clicked on a file instead. To delete an item using the contextual menu, right-click on the file and select Move to Trash from the contextual menu. (Fig 1.12)
Computer graphics are created in one of two formats: vector or bitmap. Computer files containing these graphics may contain vectors, bitmaps, or both, as we will explore in Chapters 6 and 11.
Vector graphics are created by using mathematical algorithms: formulas that describe where points, lines, and planes exist and how these elements relate to one another. Vector graphics can be scaled up to any size and retain their smooth edges. Vector graphics look smooth and crisp at their edges, and they can be easily scaled to any size. Logos are nearly always developed as vector graphics, as a logo has to fit easily on a business card, a web site, and possibly a billboard or bus wrapping.
Bitmap or raster graphics are built from grids of pixels. Each tiny pixel contains a unit of color information. Bitmaps are used for digital photography and scanned images. Bitmap files are not as easily scalable as vector graphics.
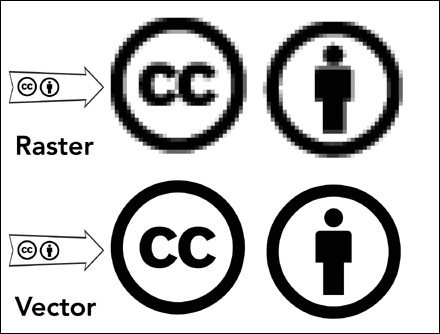
Figure 1.13. In the top and bottom images we scaled the same logo to 700 percent. This means we are viewing the images at 7 times their actual sizes. If you enlarge a raster image too much, the pixel grid becomes visible to the human eye. The only possible compensation is to blur the edges. Either way, enlarging a pixel-based image results in a loss of quality. Vector images don’t have this limitation. On the other hand, extremely complex vector images take an excessive amount of computer processsing power. The top image is a raster; it is easy to see the individual pixels that comprise the logo as tiny squares of color. In the bottom image, the logo has been opened in the vector-based application Illustrator. Notice that the edges of the lines, letters, and figure are all still rendered as smooth lines.
Note
Photoshop is an application that creates and modifies bitmap graphics, while Dreamweaver is an application that uses them for web page layout.
Vector graphics can be placed into applications that are pixel-based, and bitmap images can be placed in vector-based applications, though a translation process has to take place. This will be covered in later chapters.
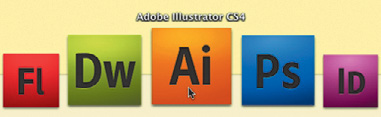
In Mac OS, move the mouse to the bottom of the screen so that it appears over the Dock. The Dock displays icons that are buttons which launch various applications in one click. Click the Illustrator icon once and the application will open. If the icon is not in the Dock, you can find the application in Macintosh HD > Applications > Adobe Illustrator or Finder > Menu > Go >Applications > Adobe Illustrator. In Windows OS it is in Start > Programs > Adobe > Adobe Illustrator CS4. (Fig 1.14)
When Illustrator opens, the Welcome screen appears. Choose the Print Document button beneath the header “Create New” on the Welcome screen. (Fig 1.15)
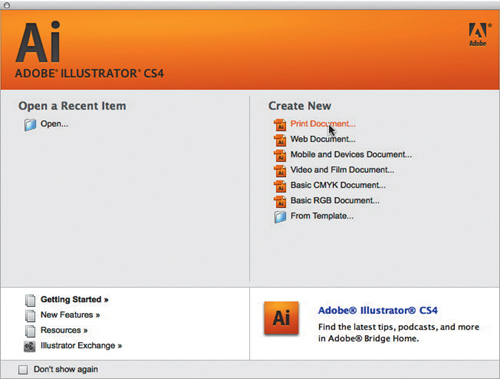
When defining a new file, several settings must be taken into consideration. When you choose a new print document (as opposed to a new video document), Illustrator loads some of the default settings—file resolution, document sizes, and so on—appropriate to that particular type of file.
In the New Document dialog box (Fig 1.16), choose Letter from the Size pull-down menu. Letter (8.5 by 11 inches) is a common document size for print media. When we chose a new print document, the Size pull-down menu loaded standard sizes for the medium. If we had selected a web profile, the Size pull-down menu would have loaded standard settings for web design. Click OK.

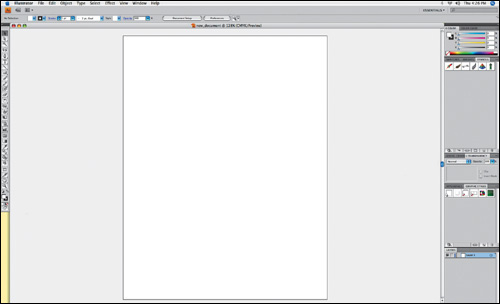
Look around your new document and notice the interface elements. (Fig 1.17) In the center is an Artboard. Analog layouts were created inside the area defined by cropmarks drawn on a board, which was referred to as the Artboard. Illustrator reproduces the analog experience through metaphor.
Note
A dialog box is an interface that pops up when the computer needs information in order to complete a task. To highlight the metaphor, the computer needs to have a conversation with you, hence the word “dialog.” For instance, the software needs specific information before creating a new document, such as the size, units, etc. Keep in mind that the dialog box asks questions that must be answered by clicking OK or Cancel before continuing work on the document.
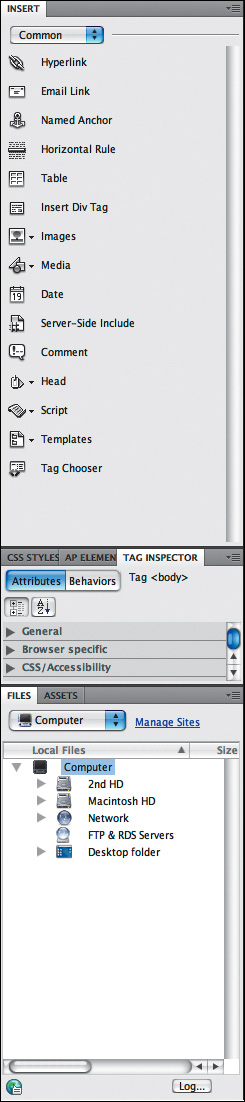
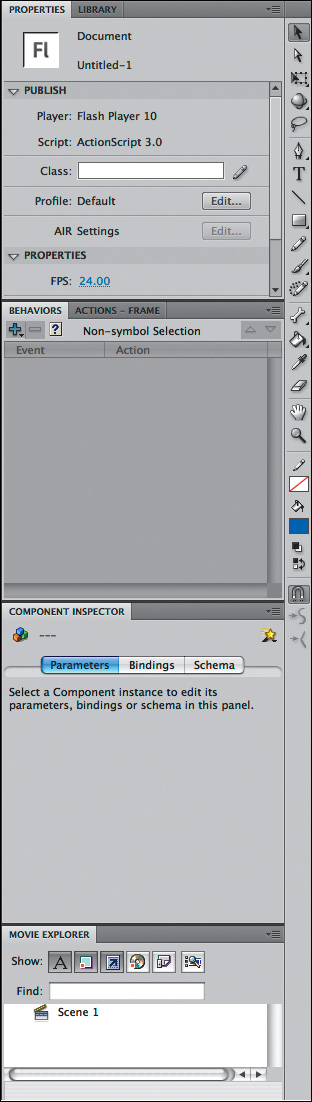
On the left side of the document area is the Tools panel. Like an artist’s or designer’s toolbox, the Tools panel holds pens, pencils, brushes, shape tools, and so on.
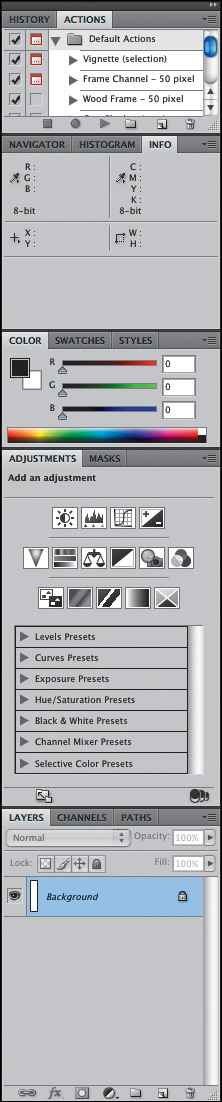
On the right are more panels. Take notice of the Color panel. Painters mix together individual paint colors on a palette. In Illustrator, as in the other Adobe Creative Suite applications, you create colors by virtually mixing colors in a panel (read more about this in Chapter 5).
The tools and panels can be moved around the screen, and they can be hidden or shown based on the amount of workspace on the monitor.
Show the Layers panel by choosing Window > Layers, then hide the Layers panel by pressing the close Layer panel button in the top left corner. Alternatively, any panel can be shown or hidden by selecting its name from the Window menu.
After quitting and then re-opening a program, panels will assume the same locations as when the application was last closed. This can be a time-saver on a personal computer, but it can be an annoyance in a classroom or lab when the previous user’s custom panel configuration appears confusing. Most applications have basic or default workspaces. Reset the workspace layout in Illustrator by choosing Window > Workspace > [Essential]. Before starting each of the exercises, set the workspace to the default or essential settings so that your set-up is consistent with the settings we used while writing this book.


Compositions can be static or dynamic. In this exercise, we will recreate the dynamic movement found within a painting. Dynamic compositions are full of energy or movement. Angles are used to create motion. While a flat horizon line is at rest, a triangle is in motion. The repetition of even spacing is easy on the eye, as our minds predict the simple rhythm of an evenly spaced grid. Angles and uneven spacing between objects cause our eyes to move back and forth. This physical movement translates into the perception of movement within a composition. Here, we use a Schiele painting as the guideline for a dynamic composition with rectangles.
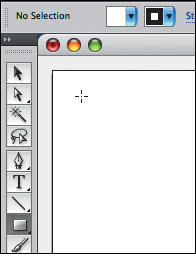
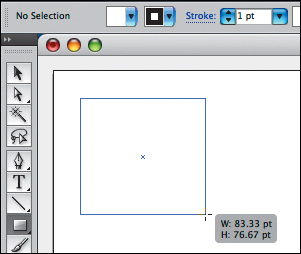
In Illustrator, click on the Rectangle tool from the Tools panel. Click and drag to draw a rectangle on the page. (Fig 1.20-22)
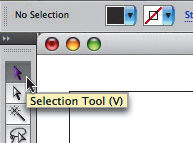
Once the rectangle is created, release the mouse and click on the Selection tool. (Fig 1.23) Objects can only be modified when they are selected. The Selection tool is used to select an object in order to move, scale, or copy it. Click on the rectangle with the Selection tool. Notice that the selected rectangle has square anchor points on each corner and at the midpoint of each line. These anchor points are essential components of the vector art. They determine the contours of the shape by their position in relationship to each other. A rectangle is described by a path that turns at right angles through four anchor points to create four sides and meet itself to close the shape. To deselect the object, click on the Artboard in any area outside of the rectangle.
With the rectangle selected, notice how the shape is made. The rectangle is an area filled with color and there may or may not be a line surrounding the edges. The interior color is called the fill. The outline is called the stroke. White and black are the default color settings for fill and stroke.
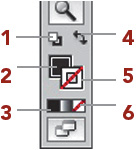
Look at the bottom of the Tools panel and notice what color is loaded in the Fill icon and what color is loaded into the Stroke icon. The Fill and Stroke icons stack with the active target on the top. To change the fill, it needs to be the top icon. (Fig 1.24)
While the rectangle is still selected, click once on the Fill icon to reposition it on top of the stroke.
Click on the Swatches panel (Fig 1.25), then click on any color. It is assigned to the fill area of the rectangle and it also appears as the color in the Fill icon. The rectangle will change because it was selected before a new color was applied.
Click on the Stroke icon to position it on top of the Fill icon. (Fig 1.26)
Click on the None icon. This symbol, beneath the Fill and Stroke icons, is a white square with a red diagonal line. Clicking this will remove the stroke from the rectangle. (Fig 1.26)
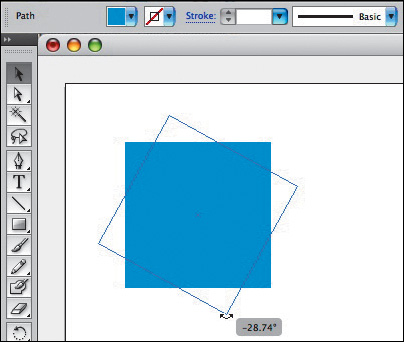
With the Selection tool, scale or rotate the rectangle. (Fig 1.27) Scale the rectangle by clicking on an anchor point and dragging toward or away from its center. To rotate the rectangle, position the Selection tool just outside one of the four anchor points at the corners. Don’t click yet. Notice that the cursor changes from the usual Selection tool icon (straight, black arrow) to a curved arrow. The curved arrow indicates that you can rotate the selection. When you see the curved arrow, click and drag outside of the rectangle to the right or left in order to rotate the rectangle. (Fig 1.28)
When the first rectangle is complete (with the color, scale, and rotation of your choosing), deselect the rectangle by clicking on the Artboard. Notice that the anchor points are no longer highlighted.
Use the Rectangle tool to begin the process again. Once a rectangle is made and modified, use the Selection tool to reposition it to the right, left, or on top of the other rectangle. Re-create the composition with up to 15 shapes. You should feel comfortable creating a shape and changing its fill and stroke colors.
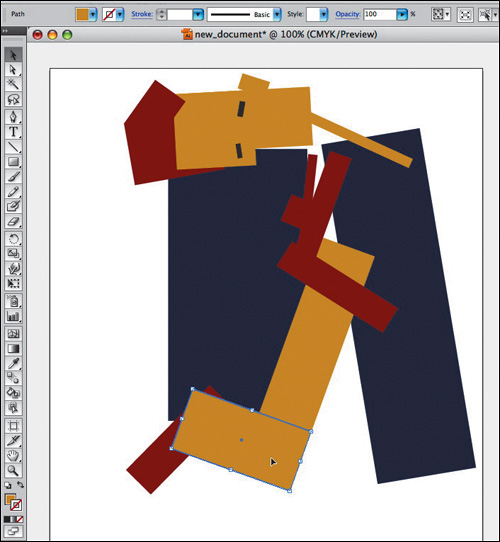
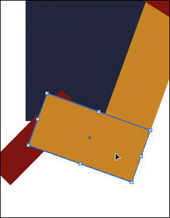
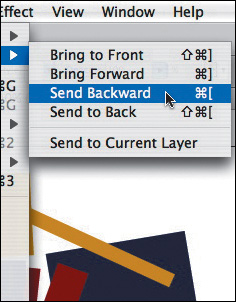
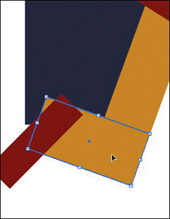
Arrange the rectangles so that they can be seen as one dynamic composition. (Fig 1.29) Notice that as you create and position each rectangle, they appear stacked on top of each other. (Fig 1.30) While you are creating this composition you may want a rectangle to be “sent behind” another rectangle. Select the top rectangle with the Selection tool, then click Object > Arrange > Send Backward. (Fig 1.31-32)
Shapes such as your rectangles can be sent backward repeatedly, or brought forward. Find these commands in Object > Arrange. Any art object can be positioned using these menu items. Finally, while art objects are sent backward or brought forward one at a time (through as many levels of stacking order as there are objects), they can also be sent all the way to the back of the composition or brought all the way to the front of the composition using Object > Arrange. (Fig 1.33)
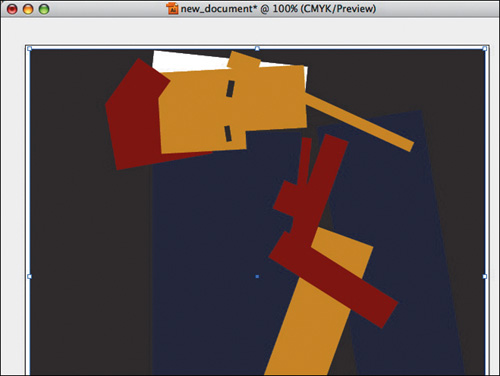
In this image, a large black rectangle was sent all the way to the back of the composition after most of the dynamic composition was already made. (Fig 1.34)


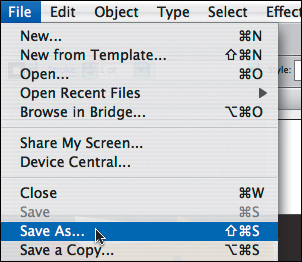
Choose File > Save As to open the Save dialog box. (Fig 1.35) Choose a location in which to save your file. It is common to save files in the Documents folder. On a Mac, this is located in Macintosh HD > Users > Your_User_Name > Documents, and can be found on the left side of the Save dialog box. On Windows Vista, this is located at Start > My Documents. We created a folder called “digital_foundations” in the Documents folder. We will save our work there.
You must name your file when you save it. Follow these naming conventions:
Avoid spaces. Instead, use_underscores_to_separate_words. Spaces are dangerous in web browsers. Any designer who plans to work with interactive media should form good habits by eliminating spaces from her file names.
Use lowercase letters. This is also a convention of designers who name files that will be referenced in code. Spaces and upper case letters will not damage your files, but if you are just beginning to form good habits, you might as well learn all of the rules at once.
Never use characters such as those in the nearby list, as these reserved characters mean special things to applications and operating systems, and can disable web sites and crash applications.
Use a descriptive title, such as xtine_dynamiccomp.ai. Including your full name in a file name is especially important if you are submitting a file in a classroom or professional setting.
Make sure the file includes an extension. In this exercise, the file is saved as an Illustrator (.ai) document. The extension is .ai. In other words, the very worst file name that you could use is something like this: “My *best* ever/first file!” Not only does the name include spaces and reserved characters, it also fails to describe the file or format. Other bad names include the likes of “FINAL edit.ai,” “final.ai,” “composition.ai,” and other names that do not specify who made the file or what is in the file. A better model for naming your files includes your individual or group name, a descriptive word about the contents of the file, and a date or versioning system. For example, when we sent a copy of our cover to the publisher on October 20th, we named it digitalfoundations_cover_1020.ai.
Most applications have a native file format for master files. This format can only be opened in the original program, and should be saved frequently throughout the working process. A copy of a master file is often created in a compressed, non-editable format when the author has finished editing the work. Compressing the file makes it smaller and easier to transfer. These compressed formats are readable by many applications, not just the original program.
An .ai suffix indicates the file is an Illustrator master file. If a logo, for example, was created in Adobe Illustrator, it could be shared with a friend or collaborator as a PDF file, which is viewable in Adobe Acrobat or Preview. These applications are installed on most computers. The exported files cannot be edited and are usually much smaller in file size. If the friend asks for revisions on the logo, the original Illustrator file would be modified. After modification, a new PDF file would be saved and sent to the friend.
To close a file in Illustrator, click the red button in the upper left corner of the window, choose File > Close, or press Command+W.
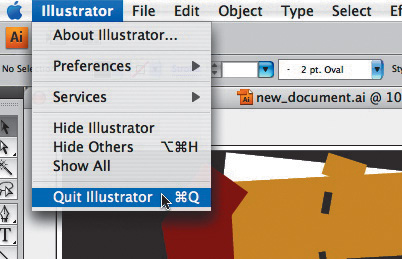
Quit the application by choosing Illustrator > Quit or by using the keyboard shortcut Command+Q. (Fig 1.36)