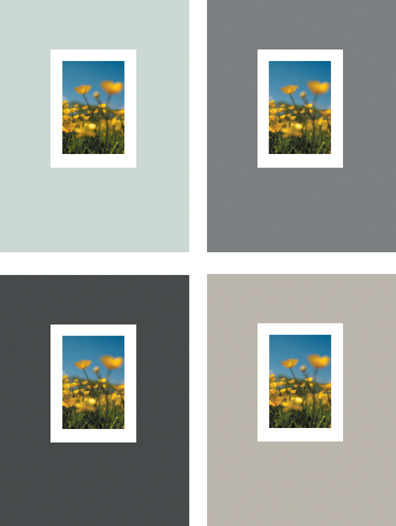
A well-chosen colored mat with a complementary-colored frame will enhance the look of your print even further.
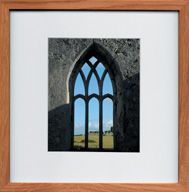
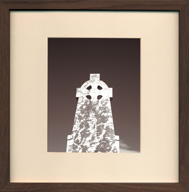
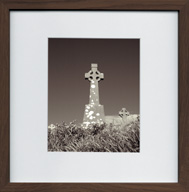
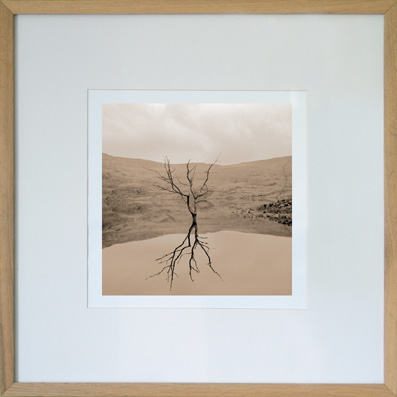
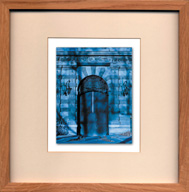
Black and white and color photographic prints look best when displayed in a carefully chosen combination of mat and frame. White mats are easy enough to use and look great for both kinds of prints, but neutral midtone colors can look good too. Toned black and white prints, like the two shown above- and bottom-right, can be greatly enhanced by a dark wood frame and cream- colored mat. This combination makes the warm tone of the print appear richer.
Highly saturated colors are much less useful, as they will interfere with the original color of the image and be even harder to frame.
On the facing page are four colored mats, each subtly changing the look of an identical color print. The darkest mat appears to increase the print’s contrast while the lightest one makes the image colors appear even more vibrant!
How you position an image on your chosen paper can truly make or break the final outcome.
In addition to enhancing the appearance of your prints, the process of framing actually creates a kind of hermetically sealed environment for your work. Many digital paper prints can be damaged by handling, but more severely so by invisible atmospheric pollutants if kept in the open air.

When framing a print, it’s never a good idea to have the print surface touching the glass, as in a clipframe, because this contact point will be susceptible to moisture damage. Always separate the print from the glass with a mat or set the image away from the surface.
The back of the frame is important too, for if you don’t seal all around with framing tape, it’s an open invitation to all kinds of bugs to climb inside and eat your artwork!
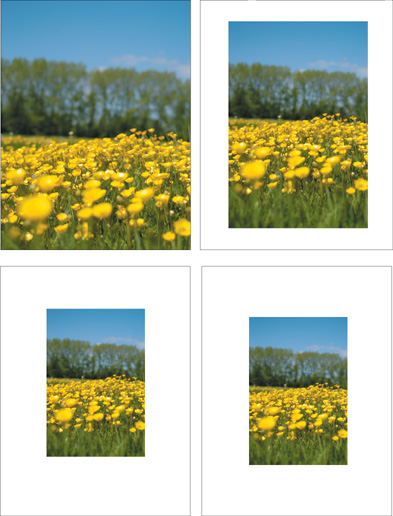
On the facing page are four prints produced from an identical image file. Unfortunately, the proportions of a digital sensor don’t match the proportions of letter-sized paper, so there are compromises to be made when considering the placement of your image on the paper.
The top-left image shows such a compromise where a portion of the image is cropped off the bottom when it’s printed edge-to-edge. This type of print is difficult to mount because there’s no extra space on the paper, and even more will be cropped off if it is window-matted. Edge-to-edge prints are much less attractive, resembling mass-produced photo lab prints moreso than fine artworks.
At the top right you’ll see the full image, slightly reduced in size to fit the paper. Although now uncropped compared to the previous example, the image still looks a little cramped by the encroaching edges. Much better to add some space between the image and the edge of the paper.
On the bottom are two prints made with an identical-sized image, albeit placed in slightly different positions. The bottom-left image shows a classic optical illusion: although the white borders are equal top and bottom, the image looks as if it has slid slightly downwards. The far-right image shows the same sized print with top, left, and right borders equal, and a deeper bottom border. This is the ideal way to do it!
The best way to present your photographic prints is with a hand-cut window mat.
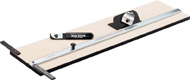
Although window mats are cheap enough to buy ready-made, they rarely fit your print exactly. There are a wide range of cutting tools on the market for this task, including cheaper hand-held units that you use with your own ruler. A much better idea is to cut your own mats with a purpose-made cutter such as the Logan, shown above. Designed with a combined clamp/ruler/knife guide, the Logan provides a stable and accurate method of cutting card stock to fit your print.
All photographic prints are susceptible to chemical damage, especially that which is caused by low-quality card mats and adhesives. Always use archival-quality mat board as this will prevent chemicals from seeping into your print, which can result in fading. Never use adhesives or adhesive tape to stick your prints onto card stock, as these will, in time, react poorly with ink, permanently damaging your print.
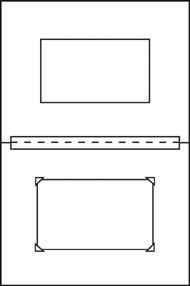
Cut two pieces of archival mat board the same size to fit into your intended frame. Measure your print, then cut a window shape ½″ smaller all around. Next, attach the two sheets of card together using a line of tape on the long edge as shown above. Place the print on the bottom sheet, making sure the edges aren’t visible when the hinged window is folded on top. Use self-adhesive photo corners to keep the print from moving under the window mat.
For a completely professional look, try using concealed tape to create an invisible floating mount.
Although most inkjet paper and ink manufacturers claim their products last for years, you can further futureproof your prints with the use of a protective spray. The Desert Varnish brand, created by Moab, is a widely used product that creates an additional “seal” between your print and the outside world.
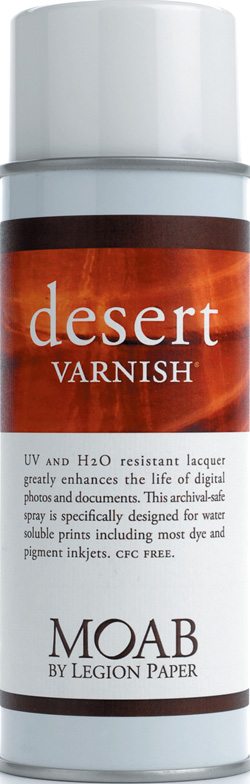
Desert Varnish spray works by providing a UV barrier for those images destined for permanent daylight display and also a waterproof coating to protect the print from any liquid hazards. Used with both dye and pigment inks, this lacquer-based spray is best applied in a slow, sweeping motion in a ventilated environment or extraction booth.
In addition to this spray-on coating, Moab also makes a similar product called Desert Varnish gel. As its name suggests, the gel is designed for use on thicker media, including canvas and fine art paper. Applied with a brush, roller, or spray gun, the gel provides a durable gloss finish and protects against physical damage, such as scratches, on your finished prints.
Preferable to liquid glues or adhesive tape, linen tape is manufactured under strict archival controls. This material is acid-free and won’t impart any nasty chemicals onto your artwork, and is used by all the major commercial and public sector art galleries. Linen tape is coated on one side only with a water-based adhesive, which, when moistened (or heated), can be fastened onto the reverse of a print or onto mounting board. Unlike most types of tape, linen tape is easily removed and its effects are completely reversible.
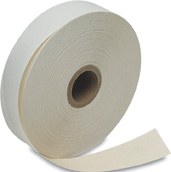
The Lineco brand of linen hinging tape is available in most good art shops or online at:

To create the effect of a floating mount, shown left, place the print above the backing card so it appears to “float” within the window mat. Next cut four pieces of linen tape, shown above, to about four inches in length.
Now pick up a piece of tape and ensure that the adhesive side is outermost. Bring the two ends together to create a loop. Lick the ends to join them together, and repeat this with the remaining three lengths. Next, flip your print over to view its reverse side. Attach a tape loop in each corner, making sure that it doesn’t overlap the print edge and become visible. Lick the loops on one side to attach to the print. When dry, lick the loops and stick onto the backing card.
After spending time and resources making the perfect print, don’t skimp on storage, or your work could get easily damaged.
Like all paper-based artwork, photographic prints contract in the cold and expand in warm conditions. In addition, airborne moisture also causes prints to shift. Thus prints must never be glued, bonded, or pinned, or displayed in such a way as to restrict movement.
The best way to keep your prints in top condition is to allow constant contraction and expansion in a print storage box. Once kept out of the light, the lifespan of your print can be extended by maintaining a constant temperature, away from atmospheric pollutants and moisture.
Digital prints in general have a much greater chance of lasting longer compared to chemically processed photographic prints, which undergo the “hidden” process of print development and all the associated bleaching, fixing, and washing agents.
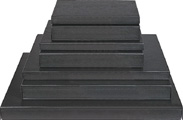
A great way to store your prints is to use properly designed print storage boxes. Made in all popular print sizes (with at least ½″ clearing all around), these are produced from archival-quality card so your prints remain in good condition.
Many photographers opt for further protection by slipping their prints into polyester print sleeves. Polyester is an inert material that protects prints from atmospheric pollutants and provides a useful barrier against physical damage that can occur through handling. These sleeves also provide a super gloss covering that enhances the image.
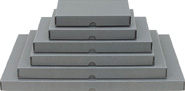
Storage systems are available to suit a wide range of budgets, starting with simple archival card boxes to handmade rigid print boxes, both offering a secure method of preserving your finished prints. Available to buy at:
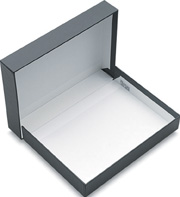
This innovative design is made from a single sheet of precut and scored archival card, supplied flat, ready for you to fold into shape. More economic than rigid boxes, this kind of print storage system is favored by many professional photographers and artists.
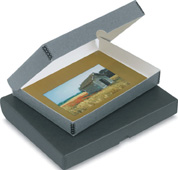
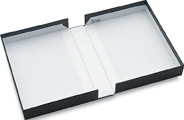
Many art museums across the globe use rigid print boxes, such as the example at left, to store precious printed images. Made from archival card and the cloth-like buckram covering, these boxes are long-wearing and can be arranged and labeled on shelves for easy indexing.