Printing onto unconventional media can set your work apart from the crowd, providing you accept a few limitations.
When you’re using thick paper, it’s important to check that it’s compatible with your printer. All printers have a media setting lever, shown above, which must be matched with the media type to avoid damaging the printheads.

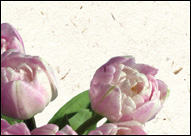
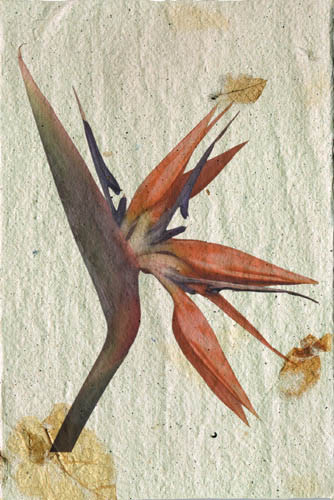
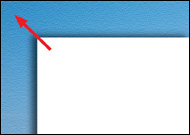
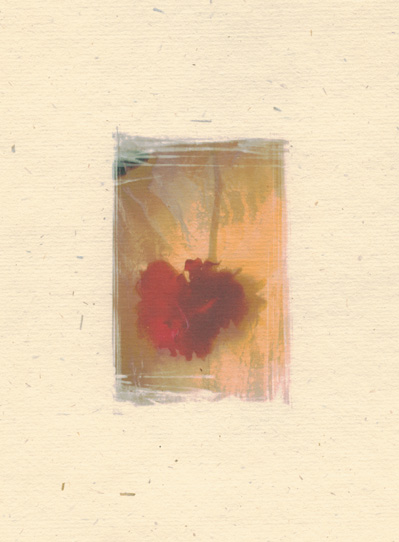
One of the most interesting aspects of using alternative paper is texture. The example above was printed on high-quality writing paper, with its laid texture visible in the final print.

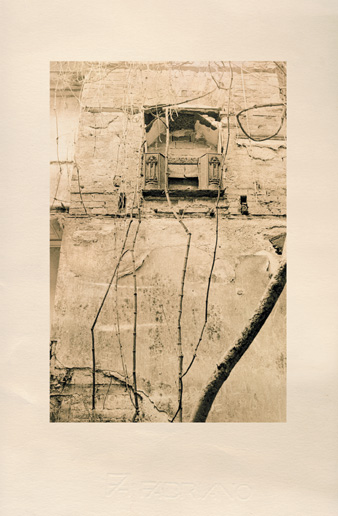
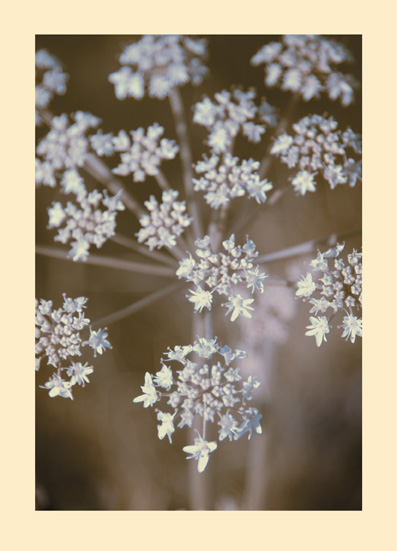
You won’t see pure white highlights anymore, but only the base color of the paper showing through. The example above was printed on a buff colored paper, creating a vintage-style varnished effect.
Great for creating one-off prints on art paper, inkjet transfers are simple to make but highly unpredictable.
Prepare your image for printing, and then select File > Print. Scale and orient the image; then select the Flip Image option, as shown. This laterally reverses the image so it prints the right way after transfer.
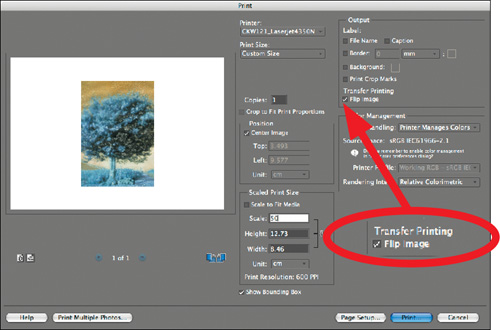
Achieve the best results with clear film media and a low Print Quality setting such as 360 dpi, as shown. Any higher and too much ink will be placed on the film, resulting in muddy, unsharp prints.


Writing papers can add a vintage or eye-catching effect to your prints and, despite the absence of profiles, are very easy to use.
The most important thing to remember when using nonwhite media is that the overall color of your chosen paper becomes the maximum highlight value of your print. There’s no such thing as white ink!

If you’ve chosen a midtone paper, you’ll need to increase the overall brightness of your image to compensate for darker highlights. Open the Levels dialog and move the midtone slider as shown above.


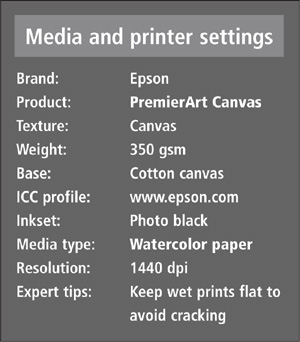
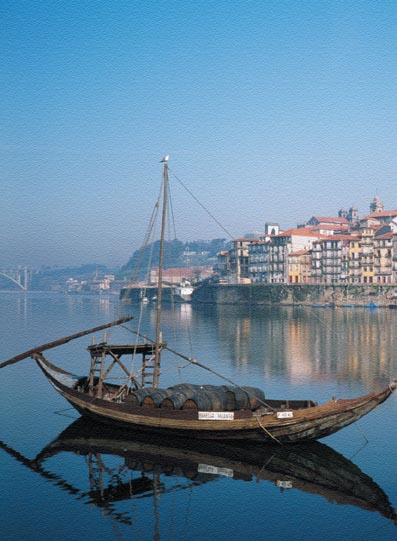
Printing on canvas is much easier than it sounds, with many specially prepared products now on the market.
It’s more economical to buy canvas on a roll, and you can cut it to size or use it in a printer with a roller transport. Use a craft knife to cut the canvas, allowing extra space for later mounting on a wooden stretcher.

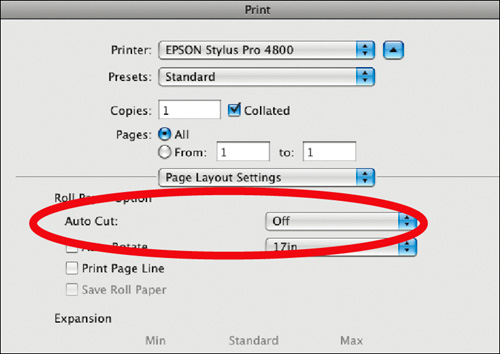
If your printer has a built-in cutter, make sure that it’s switched off before using canvas. Cutters are not designed for slicing cloth and are easily broken. Select Off from the Auto Cut drop-down in the Print dialog as above.
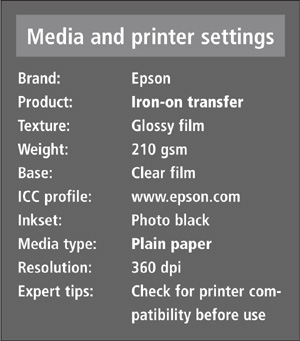
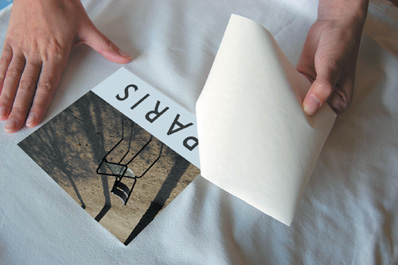
Great fun for making customized t-shirts, iron-on transfer media is washable and easy to use.
All white areas of your image become transparent when printed onto your chosen fabric. Like colored paper, the actual color of the fabric becomes the maximum highlight of the transfer, so avoid darker colors.
As the transfer paper is pressed face down on the fabric, the image needs to be reversed before printing. In the Print dialog, choose the Flip Image option as shown.

Most transfer media can cope with only a few fine ink dots, so use Plain Paper with a 360 dpi setting. Although these dots are visible on your print, they are much less noticeable when transferred to fabric.

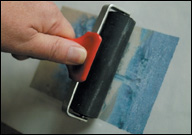
Trim off any excess transfer paper from around your image or design, then place the paper face down on your fabric. Run a hot iron across the back, ensuring the corners are well pressed down.


With low contrast and a soft reproduction, uncoated papers provide a unique backdrop for special projects.
For best results, use the Plain Paper media type setting combined with 360 dpi print quality. This puts fewer dots of ink on the paper, so they don’t bleed into each other.

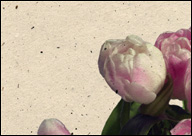
The example above is a typical test print with lower than expected saturation, resulting in a blurry, washed-out print. This is due to the increased absorbency of the uncoated paper and the off-white base.
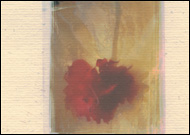


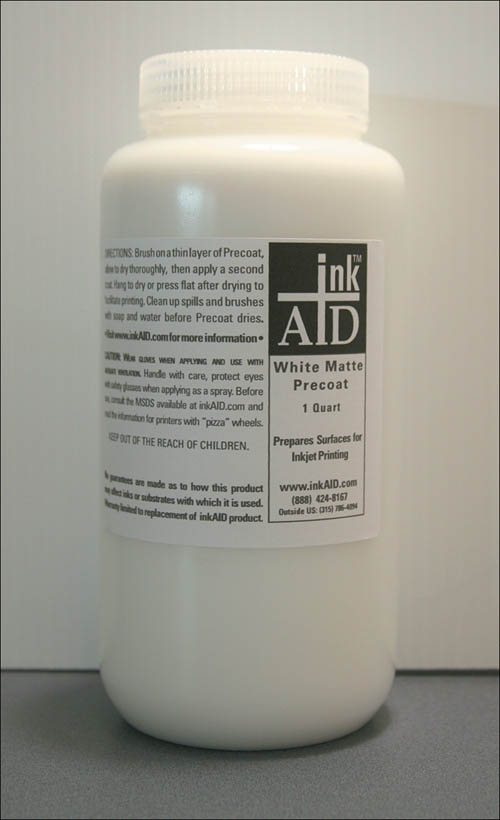
This special brush-on medium enables you to prepare unusual materials such as wood and cardboard for inkjet printing.
InkAid Precoat is a liquid inkjet coating ready to brush onto any porous surface to prepare it for printing. There are two types: transparent, which allows the paper color to show through; and white, which doesn’t. Apply to your chosen paper with a large, soft brush; let everything dry; and then apply a second coat. On the facing page is a print made on Rosapina paper and InkAid.