
Drawing is just like writing your name. You use lines to make shapes. In the art of drawing, you carry it a bit further, using shading techniques to create the illusion of three-dimensional form.
Only a few basic tools are needed in the art of drawing. The tools necessary to create the drawings in this book are all shown here.
Pencils
Pencils come in varying degrees of lead, from very soft to hard (e.g., 6B, 4B, 2B, and HB, respectively). Harder leads create lighter lines and are used to make preliminary sketches. Softer leads are usually used for shading.
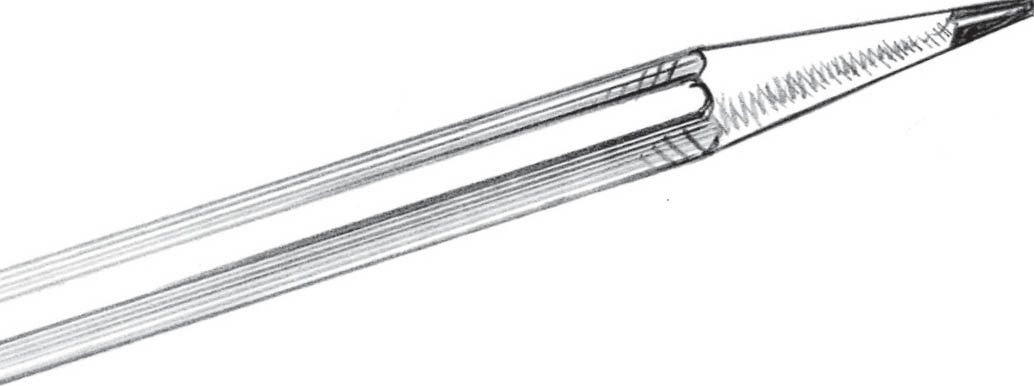
Flat sketching pencils are very helpful; they can create wide or thin lines, and even dots. Find one with a B lead, the degree of softness between HB and 2B.
Although pencil is the primary tool used for drawing, don’t limit yourself. Try using charcoal, colored pencils, crayons, and pastels–they can add color and dimension to your work.
2B PENCIL

HB PENCIL

FLAT SKETCHING PENCIL
Erasers
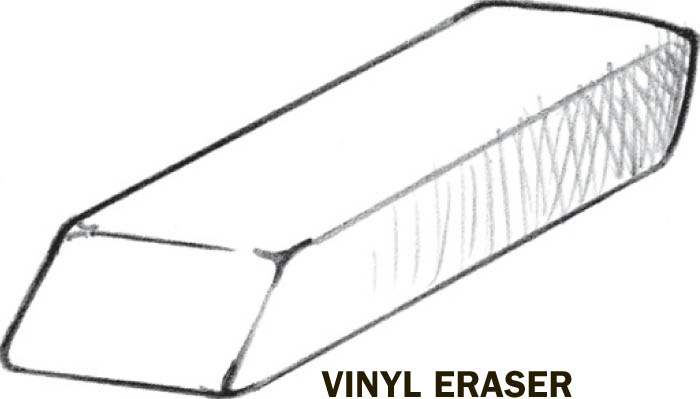
Erasers are not only useful for correcting mistakes, but they are also fine drawing tools. Choose from several types: kneaded, vinyl, gum, or rubber, depending on how you want to use the eraser. For example, you can mold a kneaded eraser into a point or break off smaller pieces to lift out highlights or create texture. A gum or rubber eraser works well for erasing larger areas.

KNEADED ERASER
Paper
There are many types of paper that vary according to color, thickness, and surface quality (e.g., smooth or rough). Use a sketch pad or inexpensive bond paper for practice. For finer renderings, try illustration or bristol board. Bristol board is available in plate finish, which is smooth, or vellum finish, which has more tooth. As you become more comfortable with drawing techniques, experiment with better quality paper to see how it affects your work.
Other Helpful Materials
You should have a paper blending stump (also known as a tortillon) for creating textures and blends in your drawing. It enhances certain effects and, once covered with lead, can be used to draw smeared lines.
Since you should conserve your lead, have some sandpaper on hand so you can sharpen the lead without wearing down the pencil. You may want to buy a metal ruler, as well, for drawing straight lines. Lastly, a sturdy drawing board provides a stable surface for your drawing.

PAPER STUMP/TORTILLON

Final Preparations
Before you begin drawing, set up a spacious work area that has plenty of natural light. Make sure all your tools and materials are easily accessible from where you’re sitting. Since you might be sitting for hours at a time, find a comfortable chair.
If you wish, tape the paper at the corners to your drawing board or surface to prevent it from moving while you work. You can also use a ruler to make a light border around the edge of the paper; this will help you use the space on your paper wisely, especially if you want to frame or mat the finished product.
