Hour 6. Exploring Messaging and a Testbed App
What You’ll Learn in This Hour
![]() Setting up a testbed app
Setting up a testbed app
![]() Creating a branch to test with
Creating a branch to test with
![]() Sending a message to an interface element
Sending a message to an interface element
Setting Up the Testbed Apps
Now that you have a high-level understanding of Objective-C and the development environment, this part of the book helps you write and run code so that you can explore exactly how things work. Because this is no longer a world in which you can write a few lines of Hello World code to test things out, you need an app that you can experiment with. Fortunately, it is easy to create one, and that is the first thing to do in this hour.
It’s a good thing that it’s so easy to do because you’ll create two testbed apps—one for iOS and one for OS X. Objective-C is the same on both operating systems. Cocoa on OS X and Cocoa Touch on iOS are very similar, but they are different. So in order to have a testbed app ready for testing, you need to either create both of them or pick the one that you’re most interested in. For many people, it is easier to implement just one of these apps and then come back to the other one when they want to explore it.
Before starting, however, remember that you are creating an app that contains thousands of lines of code. Your fingers will not get sore, though, because that code is packaged into the various frameworks that you use in your app. Both of the testbed apps are very simple: They put up a window.
This is a very simple task, but it is the prototype for a large number of tasks that you need to perform. If you want to experiment with setting the color of an object, add it to your window and write the coloring code. Then put that app aside and experiment with changing the font in a text field. Once you have the testbed app in place, you’ll have a platform for exploring the Objective-C syntax in the rest of this book.
One easy way to reuse your testbed app is to use a Git source code repository, which, as you saw in Hour 4, “Using Xcode 5,” you can create and manage through Xcode. You can create the basic project that just puts up the empty window on OS X or iOS. Then, each time you want to experiment with something, just create a new branch to test that code out. In this case, for example, the first branch is the branch that adds a text field and colors the text blue. Later on, you can add other branches with other adventures. The technical term for such a base for experimentation is testbed, and that is what this project is called.
Try it Yourself: Build the Basic Test App on iOS
1. Create a new Xcode project based on the iOS Single View Application template.
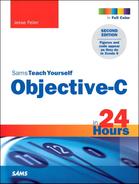
2. Use the settings shown in Figure 6.1. (Substitute your own name. If you don’t have your own domain name, you can make one up as long as you are using the app only for yourself.)
The name of the project is Testbed iOS. Choose Universal for Devices. Even if you only implement either the iPad or iPhone version, you’ll have the code ready to implement the other later on if you want.
3. Save the project wherever you want.
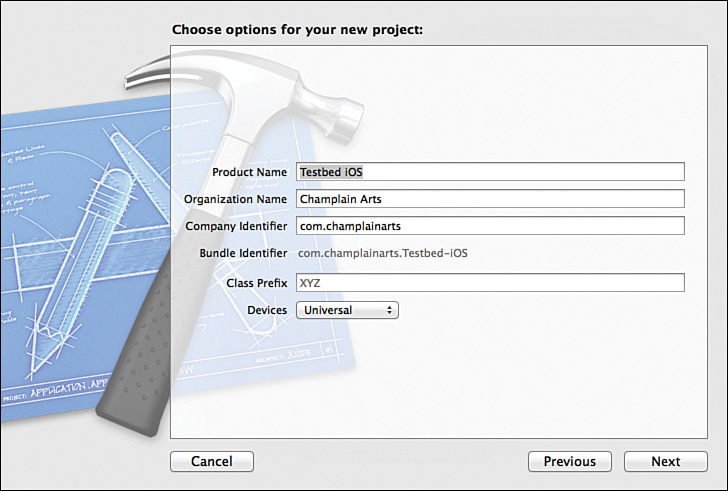
4. Test the project. Choose a simulator from the Scheme menu to the right of the Run button at the left of the toolbar, as shown in Figure 6.2. There may be a warning about a missing code sign identity: Ignore it. Then, click to build and run the project. It will take several moments for the simulator to launch. You won’t see much—just a blank window. If you scroll to the top, you’ll see the status bar with the current date. It’s not much, but your first app is running!
Try it Yourself: Build the Basic Test App on OS X
1. Create a new Xcode project based on the OS X Cocoa Application template.
2. Use the settings shown in Figure 6.3. The name of the project is Testbed OS X and you don’t need any other options. However, you do need to enter your own identity.

If you don’t have your own domain name, you can make one up as long as you are using the app only for yourself.
3. Save the project wherever you want. Make certain you create a local Git repository by checking the check box on the Save sheet.
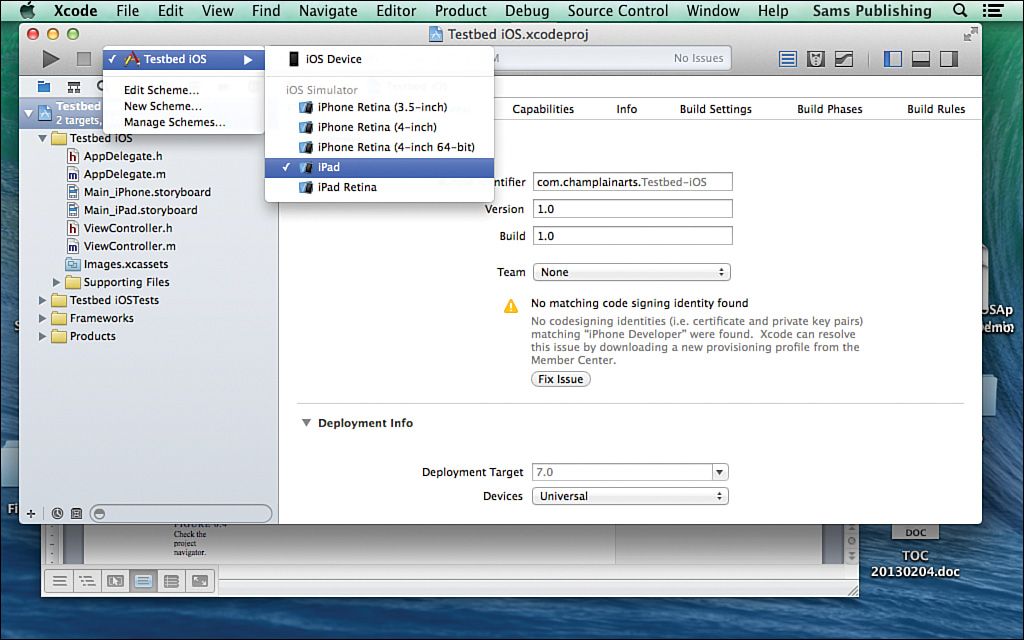
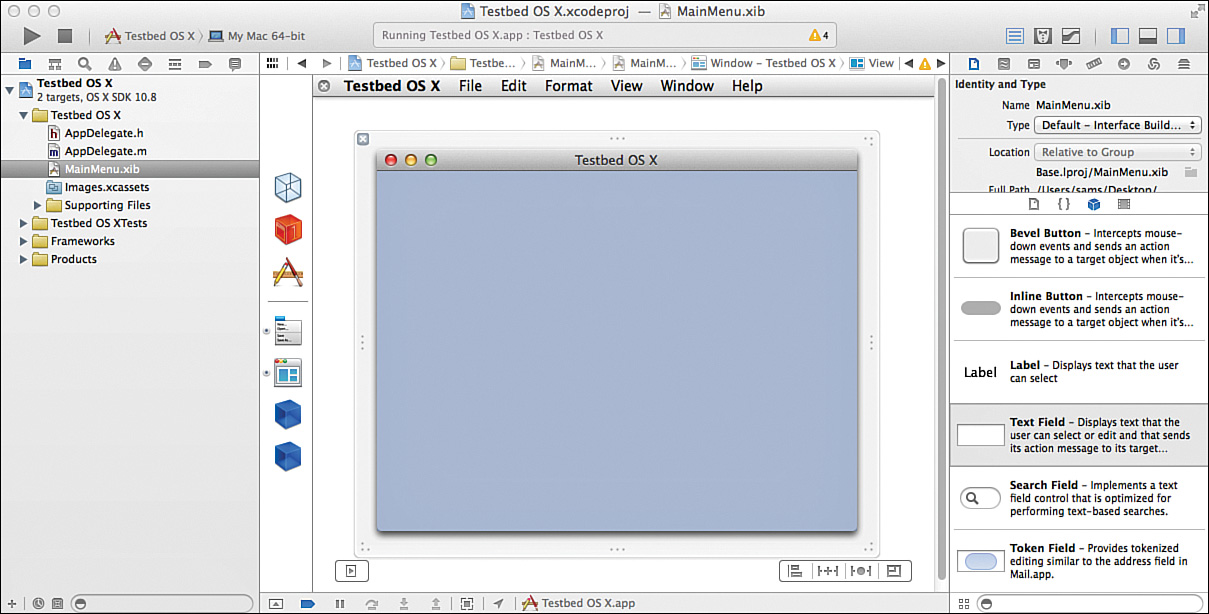
4. Test the project. Click Run at the top left of the Xcode window to build and run the project. You should have a blank window and a default menu bar, as shown in Figure 6.4.
Adding a Text Field and Connecting It to Your Code
The first testbed experiment you’ll conduct involves coloring the text in a text field. To do so, you need to create a text field in the interface and connect it to your code. The techniques are comparable but slightly different on iOS and OS X. The text field is a type of view on both iOS and OS X. All that you need to know at this point is that views are contained within windows. There are really two parts to an interface element such as a text field:
![]() There is a graphical representation of the text field in the interface that you can move around with the graphical Interface Builder editor.
There is a graphical representation of the text field in the interface that you can move around with the graphical Interface Builder editor.
![]() There is a code object that you manipulate with Objective-C code.
There is a code object that you manipulate with Objective-C code.
Windows and Views in Cocoa and Cocoa Touch
On iOS devices, there is a single window for an app and there is no menu bar. On OS X, you can have multiple windows. In both environments, you can place views inside windows; you also can create a hierarchy of views within views. The topmost view in an OS X view hierarchy is located within a window. The topmost view in an iOS view hierarchy is located within the app’s single window. You normally don’t deal with the app window in iOS. All this means is that when you start with a blank canvas in either environment, that blank canvas represents the app’s single window on iOS or one of the several possible windows on OS X. You then add views to the window. It’s really very much the same in both environments, but on iOS the window is generally not mentioned because there is only one.
Adding the Text Field
The first task is to add the text field on iOS and/or OS X.
Try it Yourself: Add a Text Field to the Window on iOS
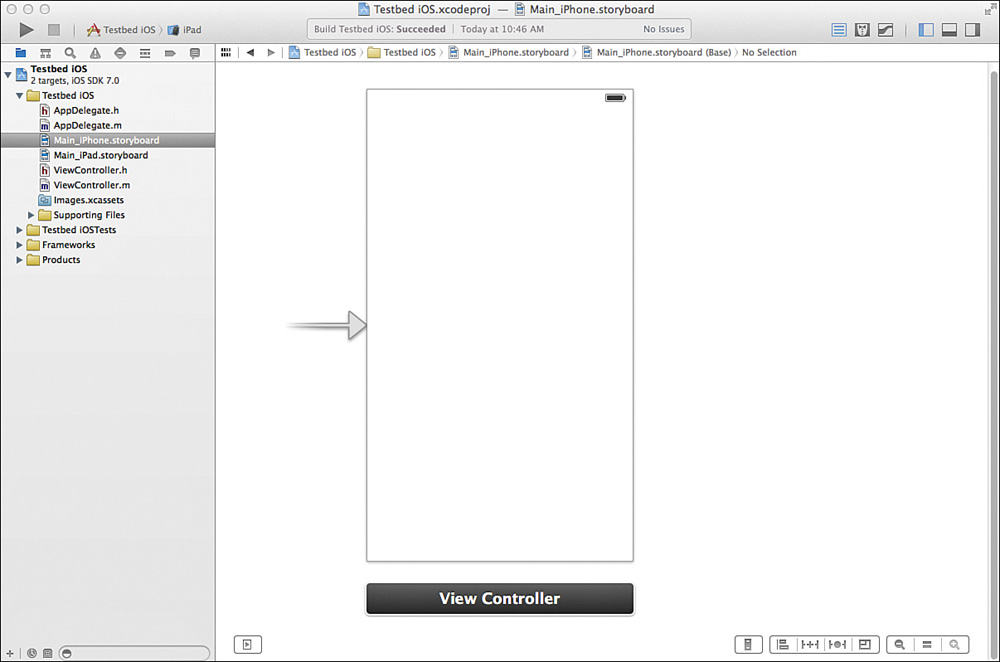
1. Show the project navigator if necessary and select Main_iPhone.storyboard, as shown in Figure 6.5. You might have to do some opening and closing of disclosure triangles.
Note
You can also use Main_iPad.storyboard, but because the iPhone is smaller, the screenshots reproduce better in this book.
The canvas in the center of the editor shows an outline of an iPhone; note the battery indicator at the top right. This whole area in the center of the editor is the canvas where you draw your interface. The outline of the iPhone is a view controller. You will probably have a number of view controllers in your app.
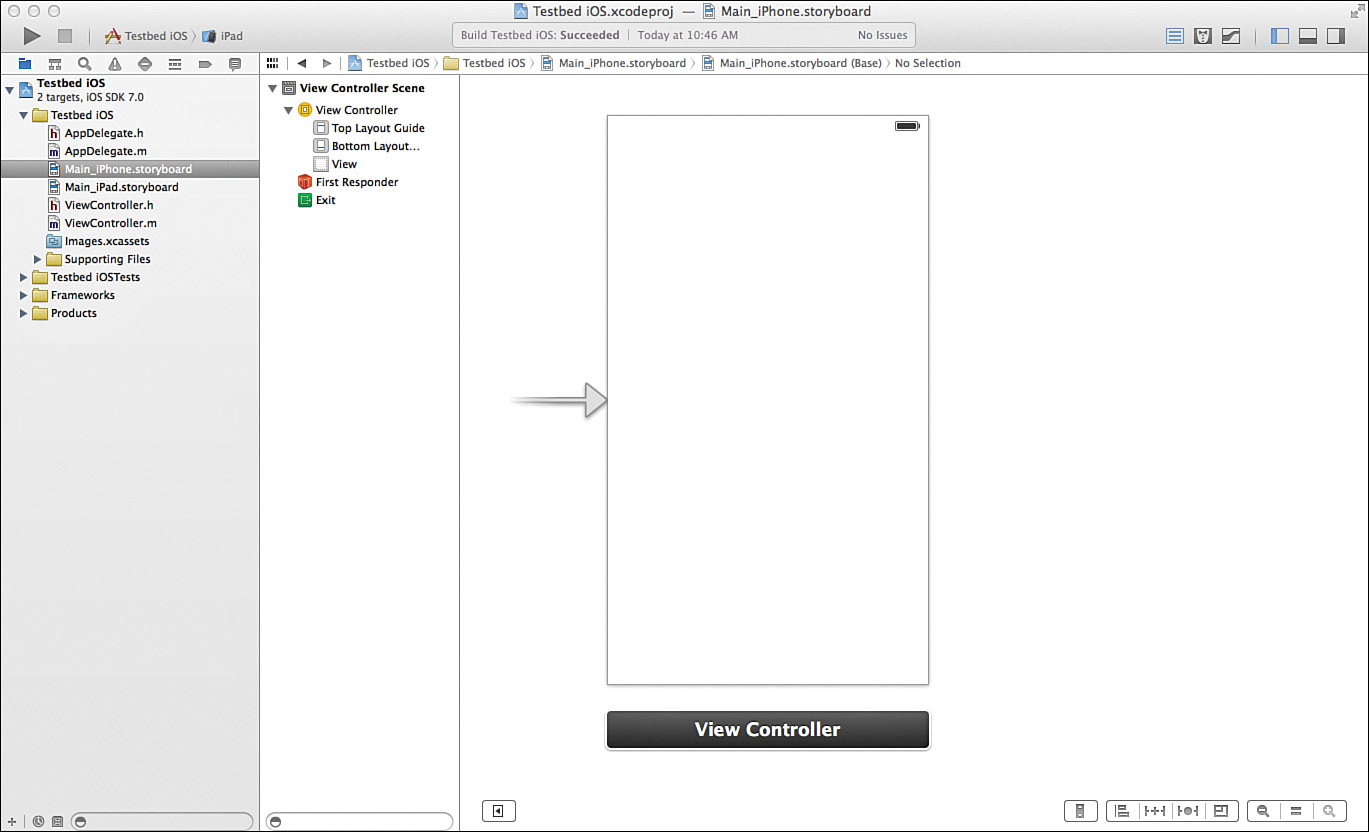
2. Show the document outline at the left of the editor, as shown in Figure 6.6 by clicking the control at the lower-left of the canvas. In the center of the window, you have the editor with the document outline at the left and the canvas in the center. It contains a view controller scene. You can open the disclosure triangles in the document outline to see the structure. Show or hide the document outline with the small disclosure triangle at the bottom.
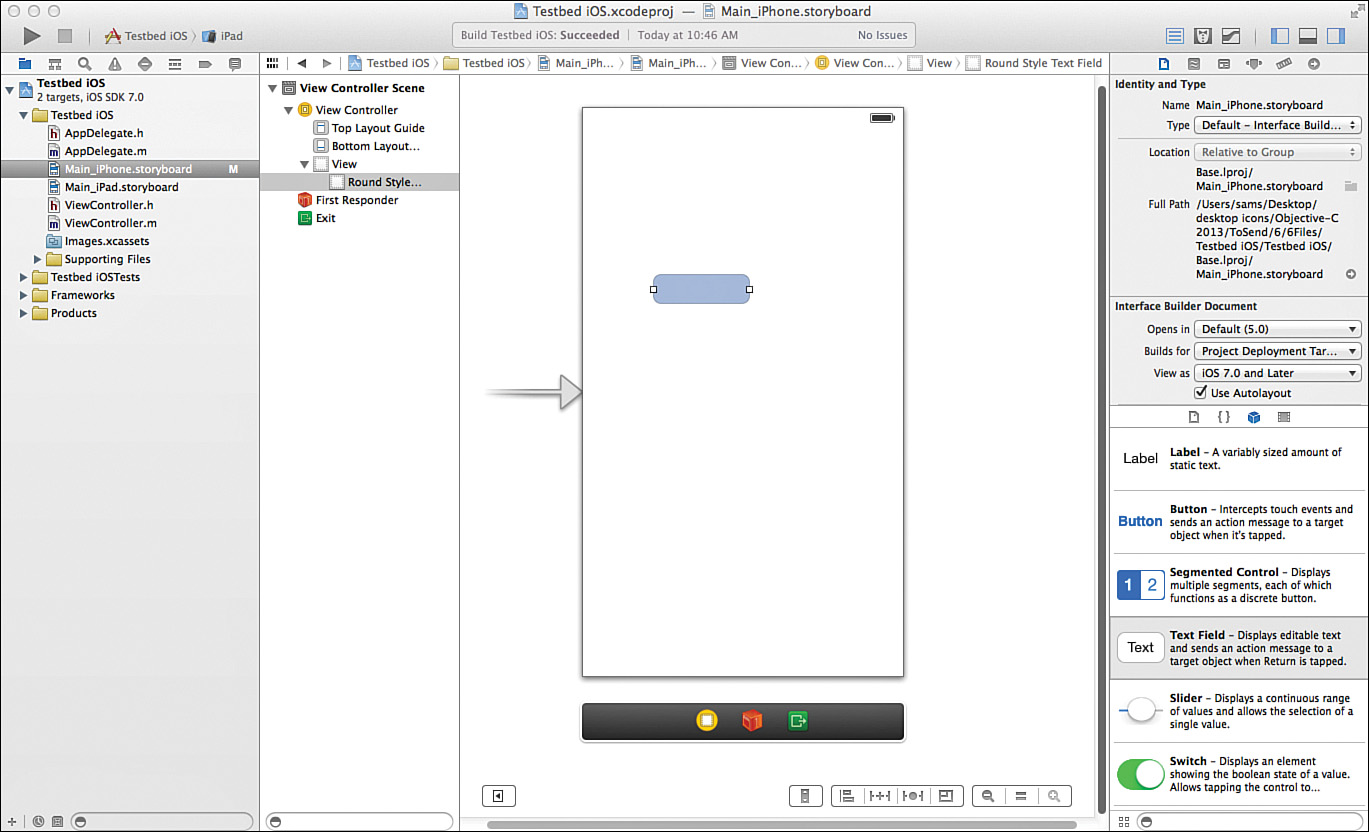
3. If necessary, show the utility area at the right of the workspace window (see Figure 6.7). Locate the text field in the object library at the bottom of the utility area. The object library is the third button from the left at the top of the library. You can search for it or scroll down the list of objects.

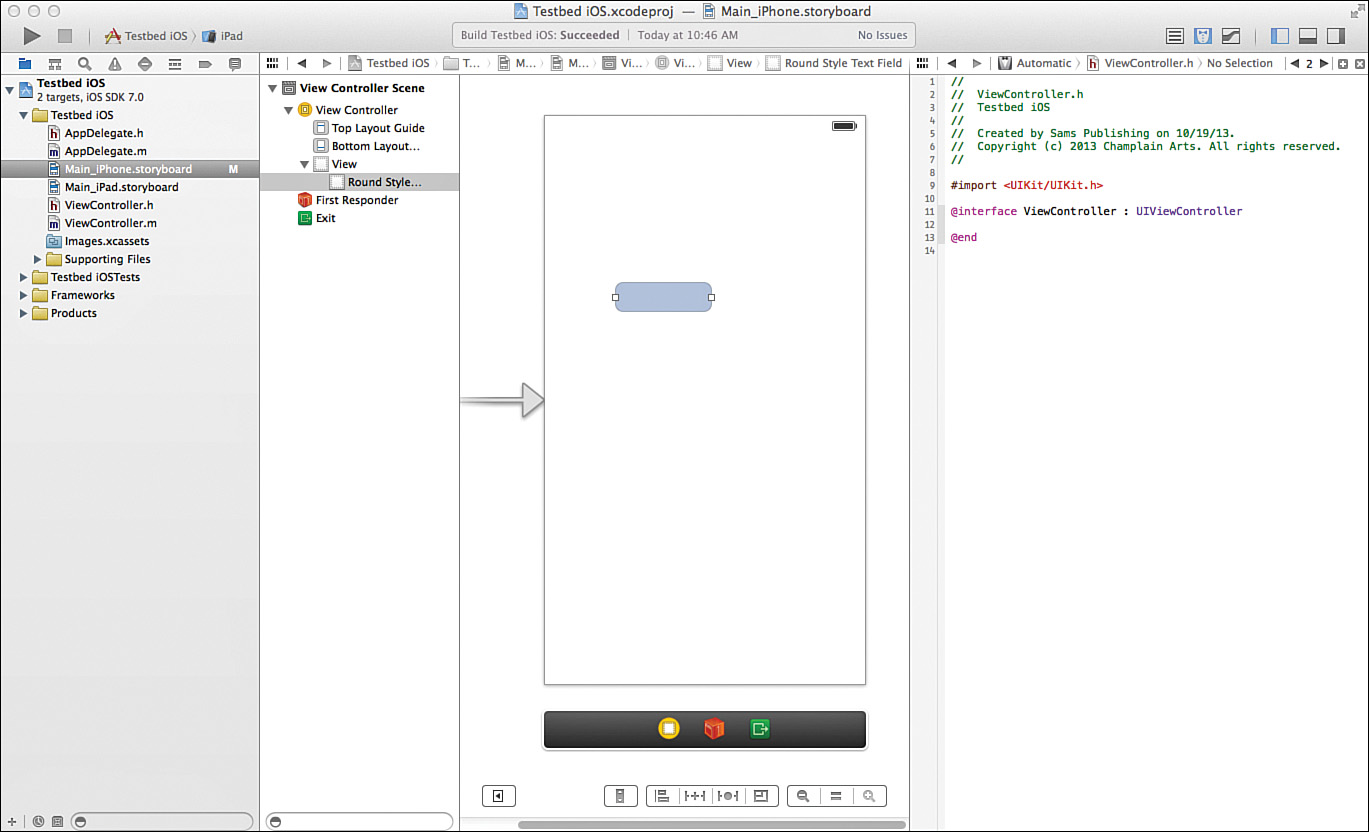
4. Drag the text field from the library into the view controller, as shown in Figure 6.8. It does not matter where you put it.
Try it Yourself: Add a Text Field to the Window on OS X
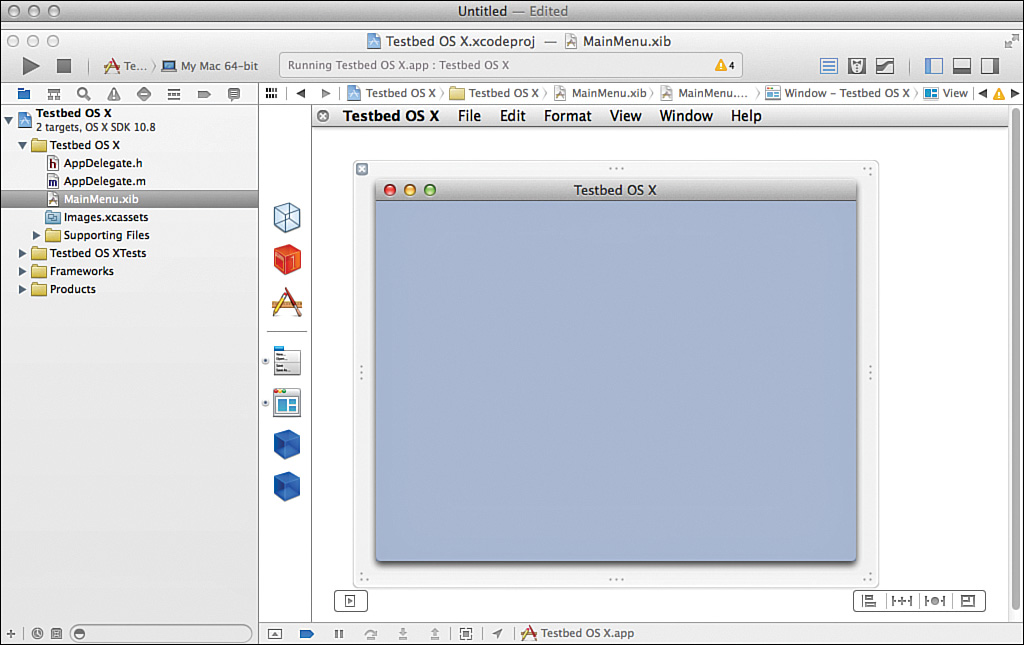
1. Show the project navigator if necessary and select MainMenu.xib, as shown in Figure 6.9. You might have to do some opening and closing of disclosure triangles.

2. In the Interface Builder editor, locate the window, which might be scrolled out of view. You also might need to show or hide the document outline depending on how you like to work. As long as the window is visible, you are able to continue in either way. Figure 6.10 shows the document outline hidden. With the document outline shown, you can click on the Testbed window to show it.
3. If necessary, show the utility area at the right of the workspace window (see Figure 6.11).
4. Locate the text field in the object library at the bottom of the utility area. The object library is the third button from the left at the top of the library. You can search for it or scroll down the list of objects. Figure 6.11 shows the text field object in the library.
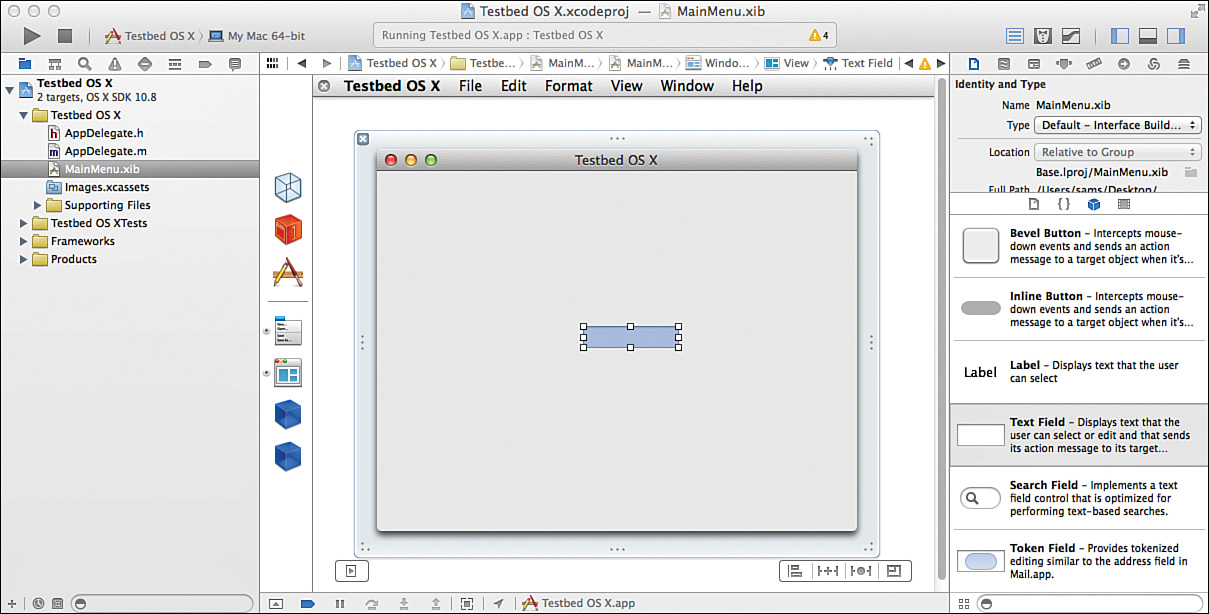
5. Drag the text field from the library into the window, as shown in Figure 6.12. It does not matter where you put it.
Now that you have the text field added to the window, you need a way to reference it in your code. With Xcode 5 and the declared properties that were added to Objective-C 2.0, the process is very simple. Once again, you are not writing code; instead, you are using a graphical editor. But do not worry; as soon as the text field is added to the project, you begin typing away to change the color of the text with your first Objective-C code.
Connecting the Text Field to the Code
The other part of this task is to connect the text field to your Objective-C code.
Try it Yourself: Connect the Text Field to the Code on iOS
1. Show the Assistant Editor so you can work with two files at the same time, as shown in Figure 6.13. You can use the button at the top right of the Xcode workspace toolbar, or you can use View, Assistant Editor, Show Assistant Editor.
2. You can configure the two assistant panes using the View, Assistant Editor submenu.
3. Select ViewController.h in the project navigator to open it in one of the panes.
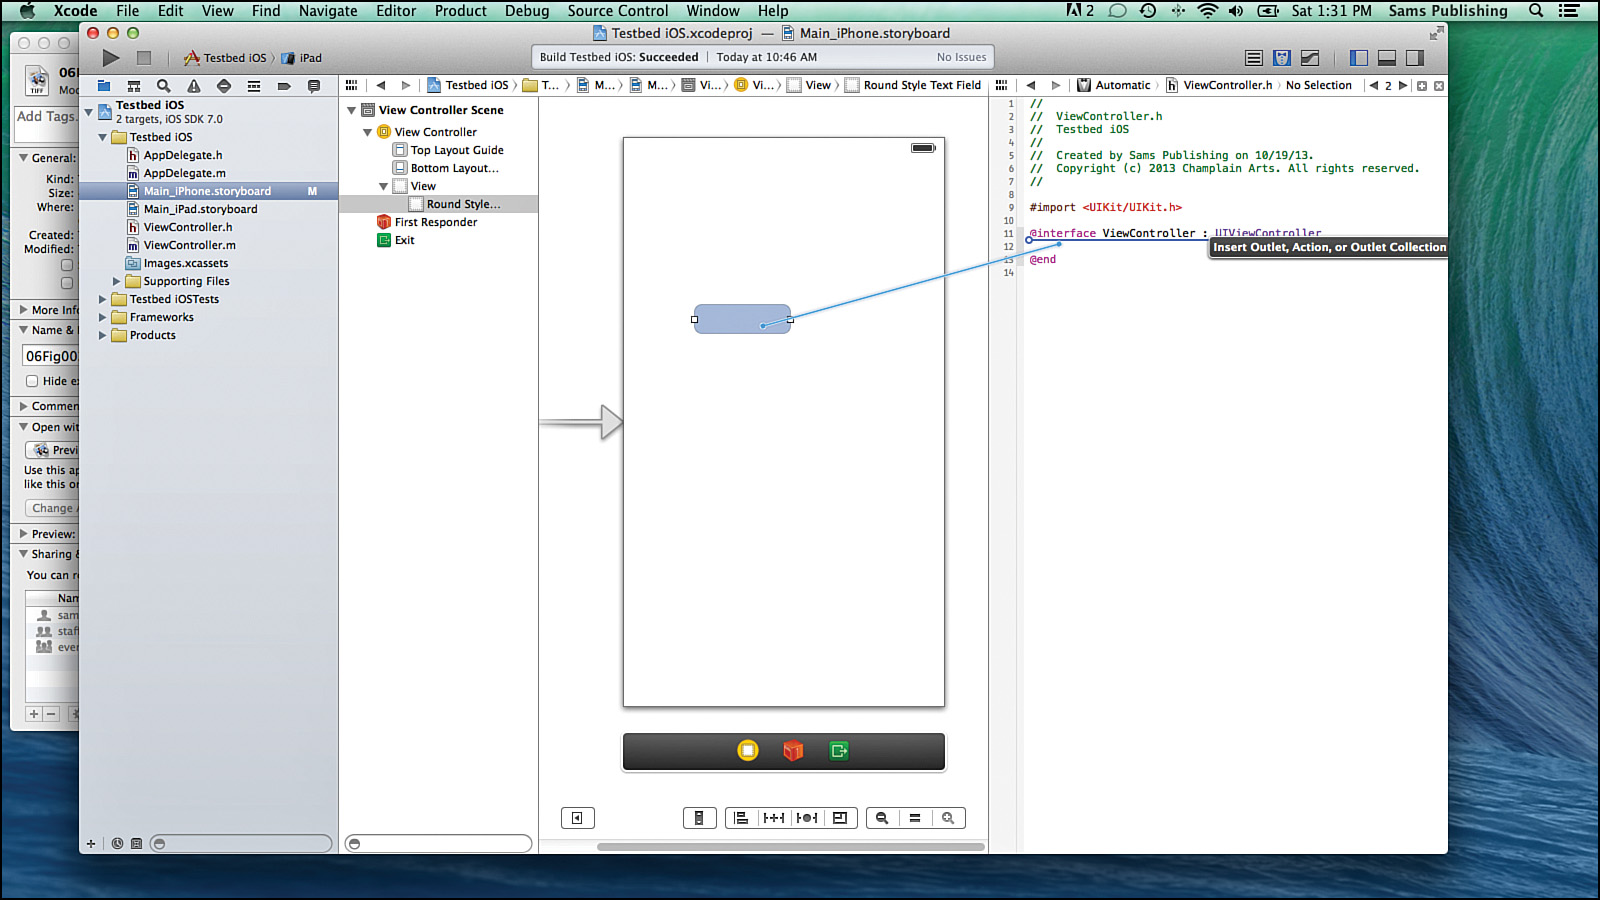
4. Use the jump bar at the top of the other assistant pane to open Main_iPhone. storyboard, as shown in Figure 6.13. It does not matter which file is in which pane. The point of this process is to connect the interface element in Main_iPhone.storyboard to the ViewController.h interface file.
5. Control-drag from the text field in the interface to the declarations in the header file, as shown in Figure 6.14.
6. In the pop-over, name the field myTextField, as shown in Figure 6.15. The other settings shown in Figure 6.15 are the defaults, and you do not need to change them. Just name the field.
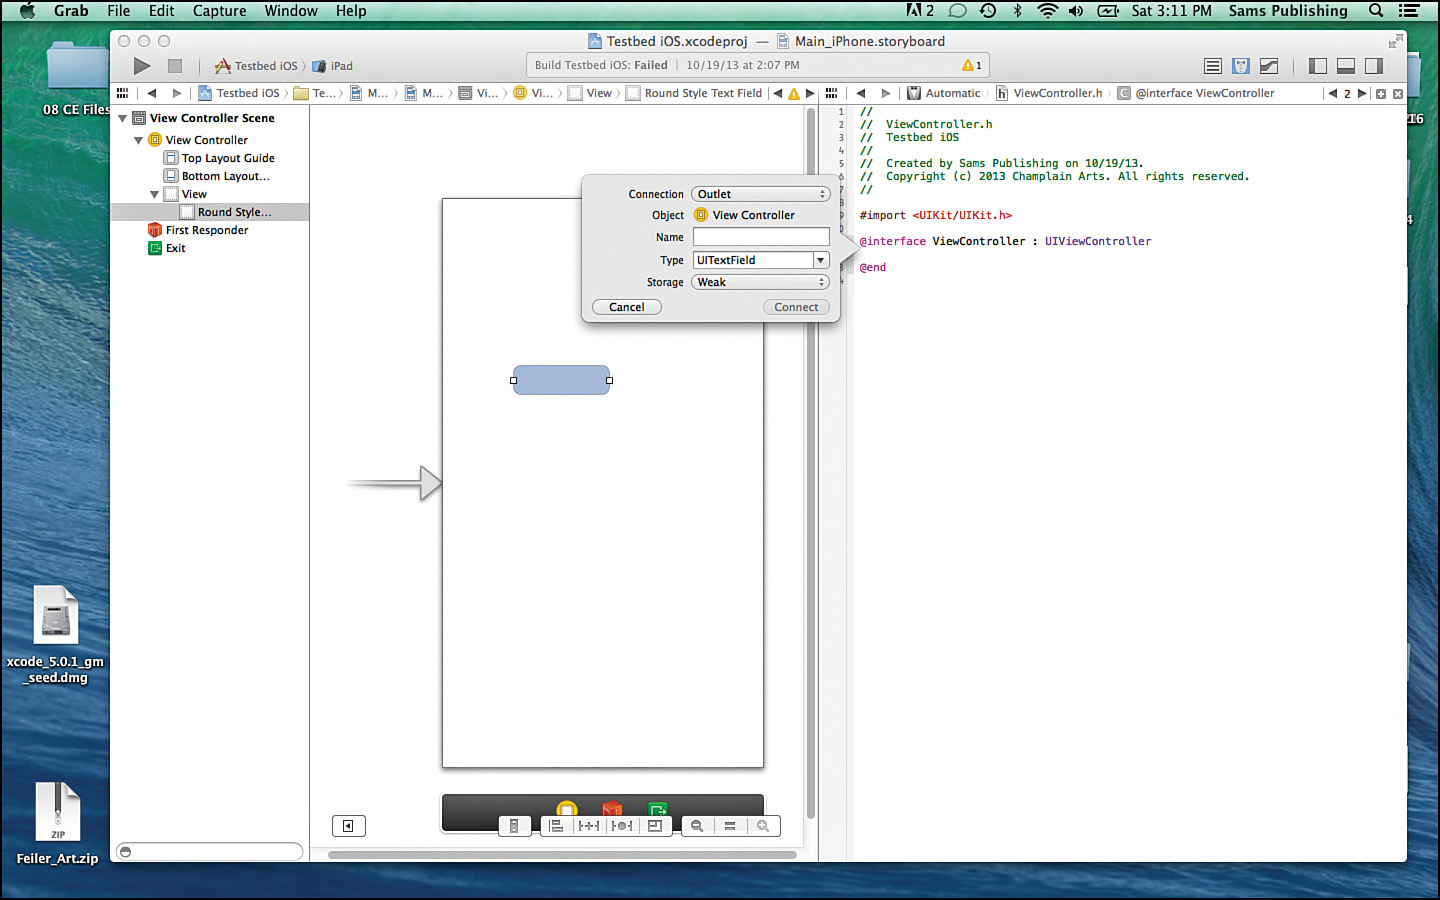
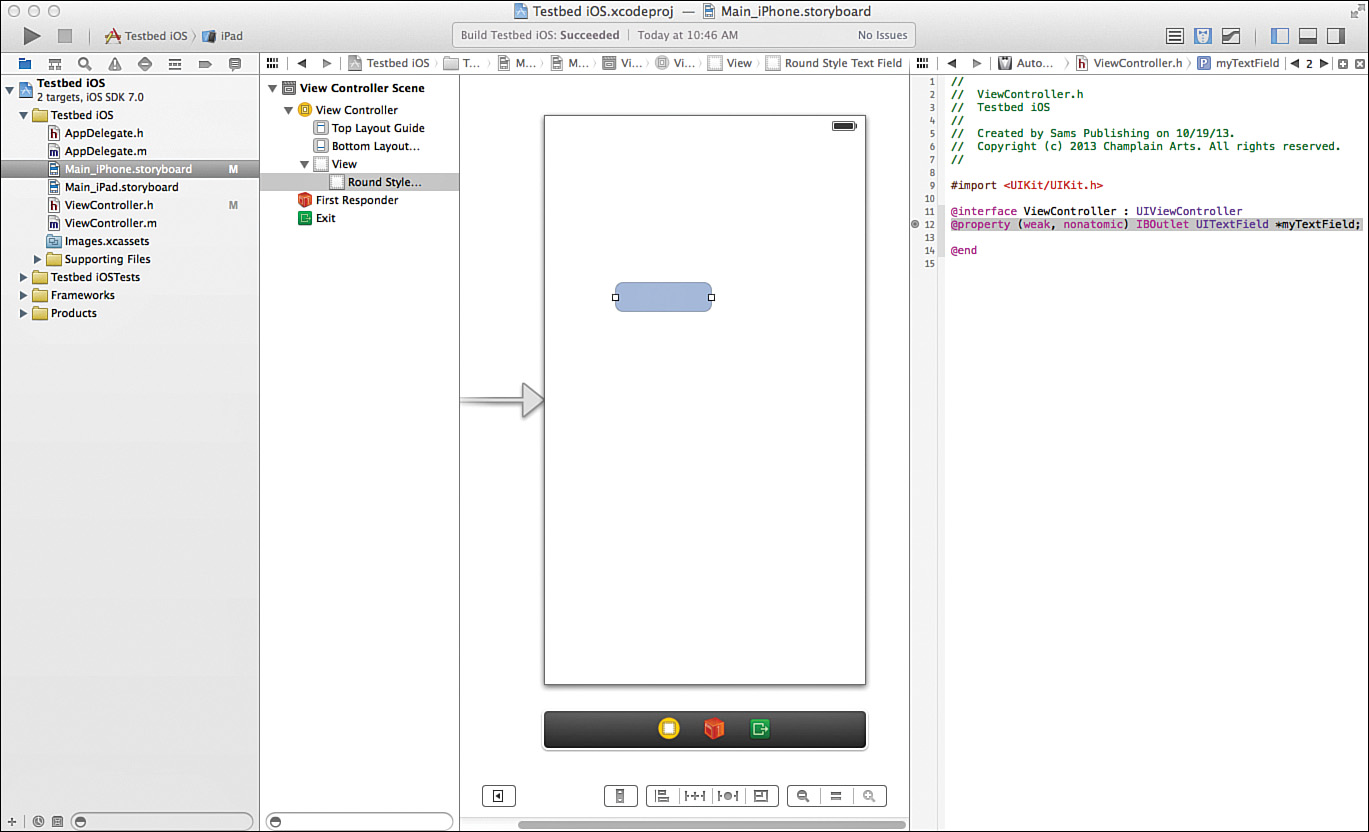
7. The property declaration is automatically generated, as you see in Figure 6.16. Also note that there’s a small dot to the left of the property declaration; it indicates that the property is connected to an interface object (the text field, in this case).
Sending a Message to the Text Field
Now that the property myTextField is linked to the interface element, you can send a message to it. This might seem like a lot of setup but, in fact, after you have been through the sequence of adding an interface element, connecting it to your code, and automatically generating the property, you will be able to do it in a matter of seconds. After you have the connection made, you can use the property to communicate with the object.
Remember that in Objective-C you are not calling methods of objects; rather you are sending messages to the objects. The structure of the message is basically the following:
[receiverName message];
You have the first part of the code: receiverName is myTextField. It is a property of the class in which it is declared, and you need to reference it as self.myTextField.
GO TO ![]() Hour 9, “Declaring Properties in an Interface File,” p. 127, for more information on working with properties of a class.
Hour 9, “Declaring Properties in an Interface File,” p. 127, for more information on working with properties of a class.
The brackets are essential for a message, so the code starts to look like this:
[self.myTextField message];
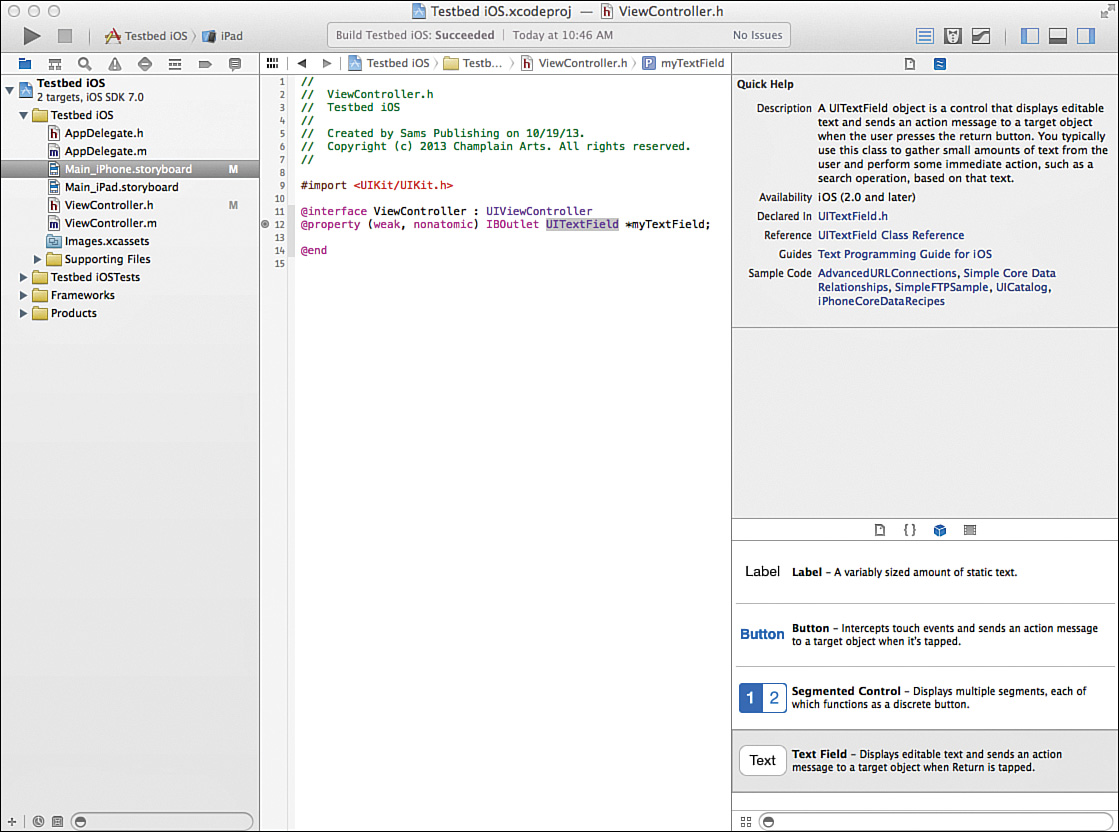
Where do you find the messages that can be sent to a text field? Highlight UITextField in the property declaration that was created for you. If necessary, show the utility area and choose Quick Help at the top to see the documentation (see Figure 6.17).
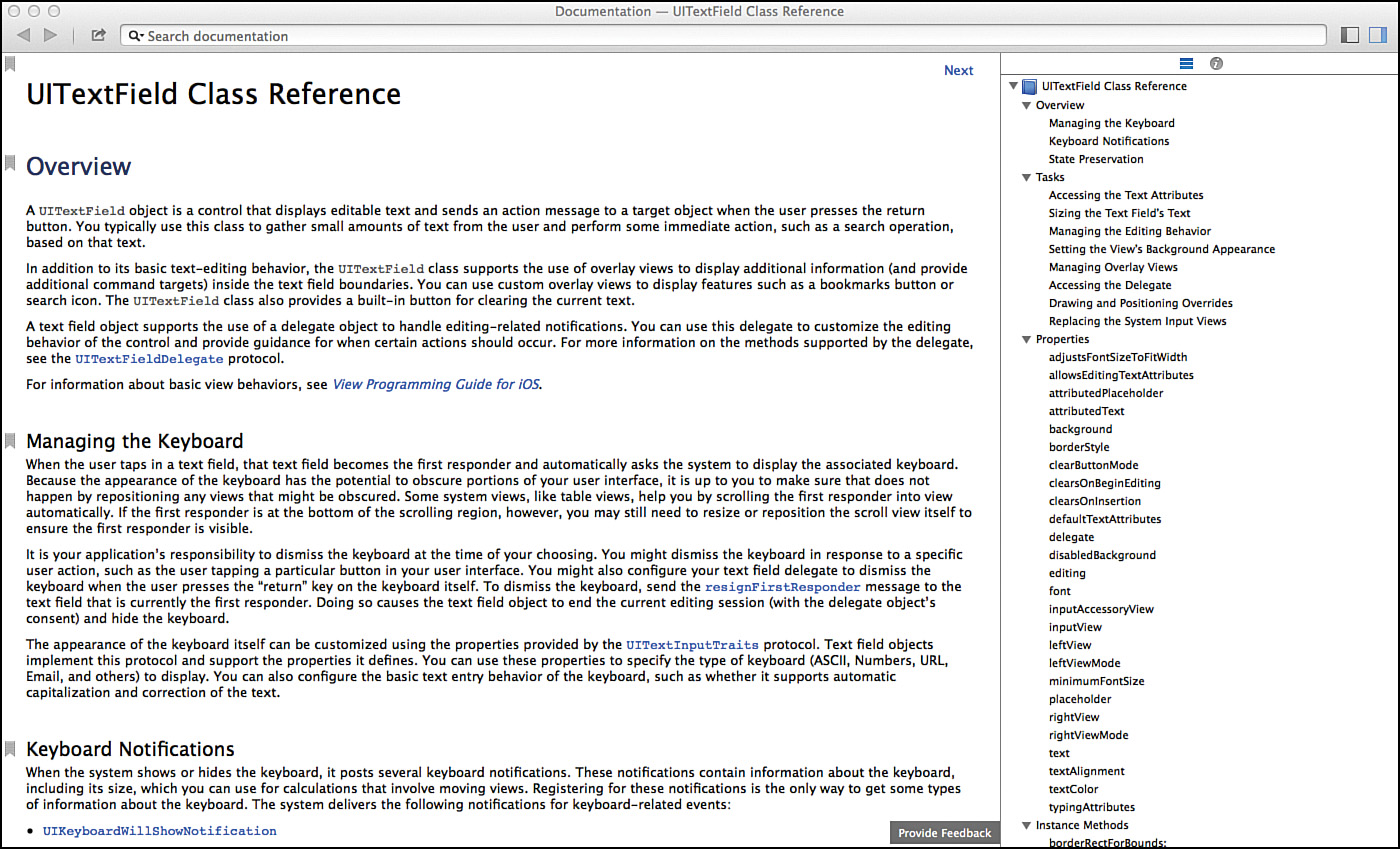
From there, you can click on the class reference and see what messages are available to you (see Figure 6.18).
Note
As the messages are part of the frameworks, you should explore them on your own because you will need them as you write your code. This is outside the scope of this book, which focuses on the Objective-C language and not the frameworks.
To set the color, you need an NSColor (OS X) or UIColor (iOS). You can use the class method blueColor (or yellowColor or blackColor and so forth) to get a color. The basic code is as follows:
[NSColor blueColor];
Remember, that for a class method, the recipient is the class and not an instance of the class. Putting it all together, you can add the line of code shown in Listing 6.1 to ViewController.m for iOS.
LISTING 6.1 Set a Color Using a Color from a Class Method on iOS
- (void)viewDidLoad
{
[super viewDidLoad];
// Do any additional setup after loading the view, typically from a nib.
[self.myTextField setTextColor: [UIColor blueColor]];
}
On OS X, add the code to AppDelegate.m, as shown in Listing 6.2.
LISTING 6.2 Set a Color Using a Color from a Class Method
– (void)applicationDidFinishLaunching:
(NSNotification *)aNotification
{
// Insert code here to initialize your application
[self.myTextField setTextColor: [NSColor blueColor]];
}
Build and test the app, and you see that the text is blue or whatever other color you have chosen.
Reviewing the Message Syntax
Messaging is at the heart of Objective-C, so it is worthwhile to review the syntax involved—the Objective-C syntax as well as the English-language syntax used to discuss it. Here is a quick review of the syntax and what happens:
![]() Messages are enclosed in square brackets. At a minimum, they specify a recipient and a message. The message specifies the method the recipient should perform.
Messages are enclosed in square brackets. At a minimum, they specify a recipient and a message. The message specifies the method the recipient should perform.
![]() The recipient can be a class or an instance of a class. Methods are declared differently if they are class or instance methods.
The recipient can be a class or an instance of a class. Methods are declared differently if they are class or instance methods.
![]() Methods can return values. Thus, you can use a class method to return a specific color:
Methods can return values. Thus, you can use a class method to return a specific color:
myColor = [UIColor textColor];
![]() An instance method may return a value; often it is a property:
An instance method may return a value; often it is a property:
myColor = [self.myTextField textColor];
![]() A message may take arguments that are preceded by a colon and identifier:
A message may take arguments that are preceded by a colon and identifier:
[self.myTextField textColor = myColor;]
![]() A message can have multiple arguments. Each is preceded by a colon and an identifier:
A message can have multiple arguments. Each is preceded by a colon and an identifier:
[self.myTextField insertSubview:myView aboveSubView:baseview];
Note that this is actually a method on UIView; because UITextField is a subclass, it inherits this method.
![]() Instead of returning a value, a message can simply perform an action and return nothing:
Instead of returning a value, a message can simply perform an action and return nothing:
[myTextField myMessage];
![]() The selection of a specific method to execute occurs at runtime. It is based on the recipient as well as on the method specified in the message. This enables you to write code such as the following. Because
The selection of a specific method to execute occurs at runtime. It is based on the recipient as well as on the method specified in the message. This enables you to write code such as the following. Because id refers to any type, from the code there is no way of knowing what type of object will be asked to respond to the message:
id myObject;
[myObject copy];
Because you may not know what type of object will be responding, you should be very careful with syntax like this. At the least, use respondsToSelector: to find out if you will crash. (respondsToSelector: is discussed in Hour 12, “Routing Messages with Selectors.”)
Summary
This hour extended the discussion of messaging from Hour 3, “Using Object-Oriented Features in Objective-C.” You have built a testbed to use for experiments and testing, and you have built up a very simple message to manipulate an interface element.
Q&A
Q. What is the point of a testbed project?
A. You can create the shell of a project and then do your testing in separate branches, which can be isolated from the rest of the testbed. In other words, you minimize the chances that one of your experiments breaks the whole testbed.
Q. How do you call a method?
A. You send a message to an instance of the class or, in the case of class methods, to the class itself.
Workshop
Quiz
1. When do you use the Assistant Editor?
2. How do you add an interface element to your interface with Interface Builder?
Quiz Answers
1. Use the Assistant Editor when you need to view two files at once. For example, if you need to control-drag from an interface object to a header file, you need both files open at the same time.
2. Find the object you want to add in the object library and drag it onto the Interface Builder canvas.
Activities
If you have not done so already, modify the code in Listing 6.1 to change the text color in the text field. Use Quick Help in the Organizer to review the UITextField class reference and modify the code to change other attributes of the text field.