Being able to view your code and move your cursor to whatever line catches your eye is just as important as being able to type your code as effortlessly as possible.
We’ve all used the mouse wheel to scroll code and text within the editor. The following tips introduce a few new keyboard shortcuts to improve your scrolling experience. Also, you may want to know how to hide the scrollbars altogether. Hey, you never know when those few extra pixels will come in handy.
Did you know that you can press down on the mouse wheel and have it act as a third button? For many applications that have an editor, pressing the mouse wheel displays an icon indicating which directions you can scroll in. Some require holding down the mouse wheel; others don’t.
In the editor, press the mouse wheel just once and you’ll see an icon indicating which directions you can scroll in.
The farther away the mouse is from the directional icon, the faster the editor will scroll.
Pressing the primary mouse button stops the scroll, but you have to press the button again to move the cursor to the desired location.
Unlike pressing PgUp or PgDn, which causes the editor to move either up or down a page, the following keyboard shortcuts cause only the cursor to move:
Ctrl+PgUp jumps the cursor to the top of the current editor view without moving the current view, unlike a PgUp.
Ctrl+PgDn jumps the cursor to the bottom of the current editor view without moving the current view, unlike a PgDn.

If you find yourself using the keyboard shortcuts just shown, you may find these additional shortcuts helpful:
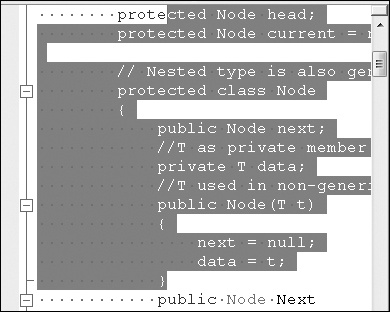
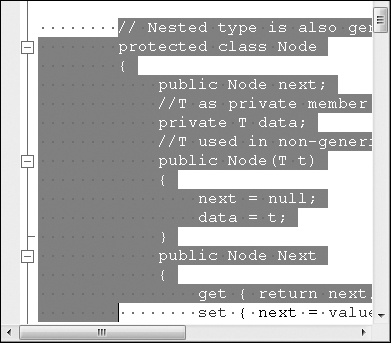
One thing to note is that all four commands jump the cursor straight up, meaning that it doesn’t go to the beginning of the line on that top line, but rather it goes as close as possible to the current column position, as you saw in the preceding illustrations.
This tip truly embraces the spirit of "Did you know?"
Go to Tools–Options–Text Editor–General, and under Display, you can uncheck the Vertical Scroll Bar and the Horizontal Scroll Bar options.
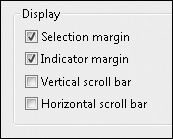
Now your scroll bars are hiding from you. And yes, you can still scroll both vertically and horizontally in this state.

Navigating code is another activity you do so frequently that any time you save greatly adds up in the long run. The next tips get you to where you want to be, or back to where you just were, as fast as possible.
In the standard toolbar, there are Navigate Backward and Navigate Forward icons.
In the editor, the Navigate Backward command is bound to Ctrl+Minus, and the Navigate Forward command is bound to Ctrl+Shift+Minus. I find these commands most helpful when navigating around multiple files or jumping through call stacks.
This concludes your "Basic Editor Navigation 101" course. Now it is time for the "Advanced Editor Navigation 201" course.
You may have noticed that the Navigate Backward button additionally contains a drop-down list box. Displaying the items in this list box shows you all the places that have a go-back marker. In other words, when you hit the Navigate Backward button, you are going to the most recently visited go-back marker.
If we’ve done our jobs right, the go-back navigation should feel natural. But if you’re like me, you like to know the little ins and outs of how things work.
A go-back marker is dropped under the following conditions:
An incremental search (including reverse) leaves a go-back marker at the beginning of the search and another one at the end.
A Go To Line action, like Ctrl+G, or a mouse-click that moves the cursor 11 lines or more from the current position drops a go-back marker at the new location.
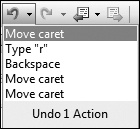
A destructive action (like hitting Backspace) after having moved the cursor to a new location drops a go-back marker.
Doing a search, like Ctrl+F, drops a go-back marker at the found location.
Opening a file drops a go-back marker wherever the cursor was on the old file and drops another on the opened file.
If you’ve found a condition where you’d like to see a go-back marker dropped, let me know.
In Tip 1.16: How to navigate forward and backward in the editor all because of go-back markers, you learned more than you ever wanted to know about go-back markers. For this tip, you’ll learn how insertion points are slightly different. They are similar to the go-back markers, but they are applied anywhere you click the mouse or jump the cursor to. The go-back marker "11 or more lines" rule doesn’t apply.
The option, which is shown in the next illustration, can be found at Tools–Options–Text Editor–General.
To give it a try, just click somewhere, then click somewhere else (or use Find or a Go To Line if you’re using the keyboard), and then click Undo. You’ll move back to that previous location.
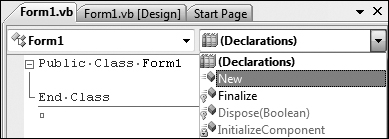
At the very top of the editor and just below the file tab channel, you’ll find the navigation bar. The left combo box lists objects, and the right one lists the selected object’s members. These combo boxes are very useful when you need to jump to various functions throughout a large solution or you want to see what functions an object has.
To jump to the navigation bar via the keyboard, press Ctrl+F2. This keyboard shortcut is bound to the Window.MoveToNavigationBar command. To toggle between the Objects list and the Members list, press Tab or Shift+Tab.
Additionally, you can hide (or show) the navigation bar by going to Tools–Options–Text Editor–All Languages–General and setting the Navigation Bar option to the desired setting. Note that since this option is found in the All Languages pane, you can customize it for any listed language under the Text Editor node.
There are two ways to split the current window:
From the Menu Bar, go to Window–Split.
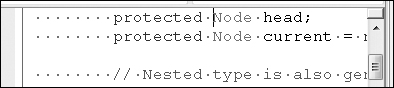
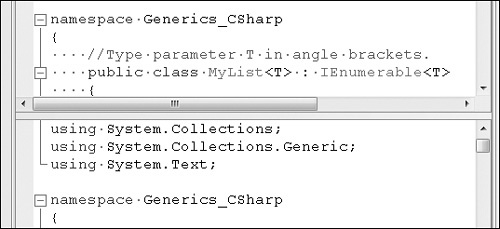
Using the mouse, grab the splitter control found directly above the document scrollbar, as shown in the next illustration.

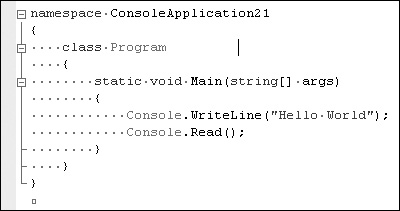
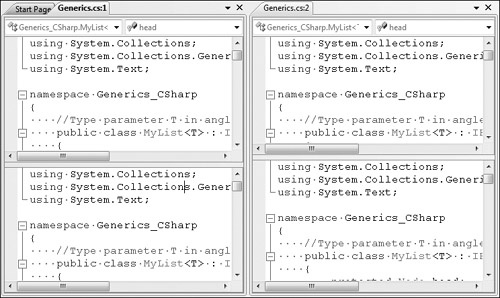
But the split command works only horizontally. If you need to split vertically as illustrated in the following picture, use the Window.NewWindow command found at Window–New Window. This will create the windows "Program.cs:1" and "Program.cs:2." Then you can use the Window–New Vertical Tab Group command to separate both files with a vertical divider.
Once you have used the splitter to split the editor window, you can use F6 to jump between the editor views.
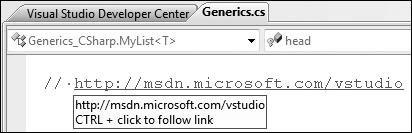
Under Tools–Options–Text Editor–All Languages–General, there is the Enable Single-Click URL Navigation option. This option is enabled by default for most editors. But, just in case you’re not able to click on a URL, here’s where to go to verify the option is set.
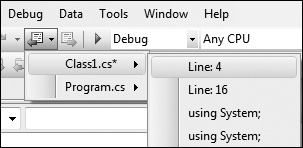
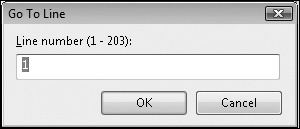
This tip is pretty straightforward: Pressing Ctrl+G will pop up the Go To Line dialog box.
But did you know there’s a way to use Ctrl+G without bringing up this dialog box?
Press Ctrl+D to go to the Find combo box on the standard toolbar.
Type in the line number.
Press Ctrl+G. (Note: Do not press Enter; if you do, you’ll search for the number!)
Congrats! You’ve just navigated to the line without the Go To Line window coming up.
You can try to navigate to line 0, but Visual Studio will take you to line 1.
The word wrap option wraps a long line of text, displaying on a new line the text that doesn’t fit on the first line. The virtual space option allows you to have an insertion point anywhere on the file, even beyond the end-of-line character.
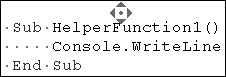
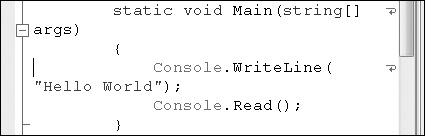
The next image illustrates wrapping a line of text onto the next line.
Go to Tools–Options–Text Editor–All Languages–General, and check the Word Wrap option. When it is checked, you’ll also have the option to Show Visual Glyphs For Word Wrap.
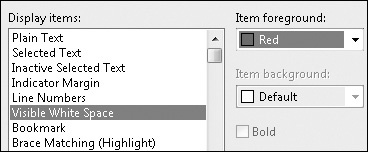
You can customize the foreground color of the visual glyph for a word wrap on the Tools–Options–Environment–Fonts And Colors by modifying the Visible White Space item.