You know a tool window when you see one. It’s basically a helper window that you want to keep around while you perform a task in the IDE. You could think of a tool window as a glorified modeless dialog box (meaning you can click other UI elements outside of the window) with additional functionality that makes it a tool window, such as the ability to dock and autohide.
At a high level, a tool window can be in one of five states: dockable, autohiding, tabbed document, floating, or hidden. These states can be combined and put into special cases to cause the tool window to be in interesting hybrid states, as illustrated in Tip 4.16: You can use docking targets to dock tool windows in new and crazy ways. But for now, we’ll explore the most common of these states.
Prior to Visual Studio 2005, it took some trial and error to dock a tool window where you wanted it. The Visual Studio team would watch usability studies of users trying to complete a task, where the user would be just mere pixels away from docking his tool window successfully but never quite make it. Many of us would nearly fall out of our chairs trying to mentally push the user’s mouse pointer to the correct location.
Fortunately, Visual Studio 2005 introduced docking targets, which not only provide a bird’seye view of what dock positions are available, but also provides a preview of where the tool window will be docked. No more falling out of our chairs.
When a tool window is in a dockable state, a set of docking targets appears when you move a tool window to a specific location, such as hovering it over another tool window.
But did you know that there are nine IDE docking targets? These docking targets allow you to pin tool windows to the inner and outer parts of the IDE itself.
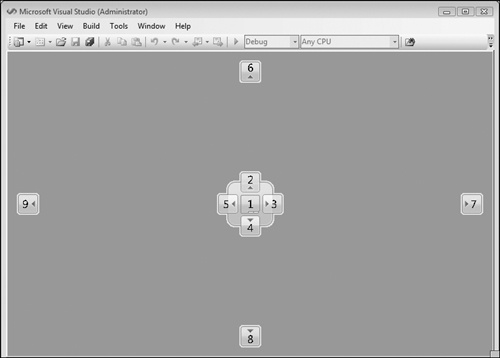
Docking target 1 puts a tool window into a tabbed document state, docking target 3 docks a tool window to the inner right edge, and docking target 7 docks a tool window to the outer right edge.
If there’s no tool window docked on the right, targets 7 and 3 seem to be the same. But if you dock tool window A using target 7 and then dock tool window B using target 3, you get tool window A on the outside and tool window B docked to the left side of tool window A.
You have no idea how crazy it was to test all of these combinations! But I loved it nonetheless.
You can always undock a single tool window by dragging its tool window tab.
I implied this possibility existed in a previous tip when I introduced all the various IDE docking targets (see Tip 4.13: You can choose from nine IDE tool window docking targets). But I wanted to call it out specifically since it is rare to see a tool window in this position.
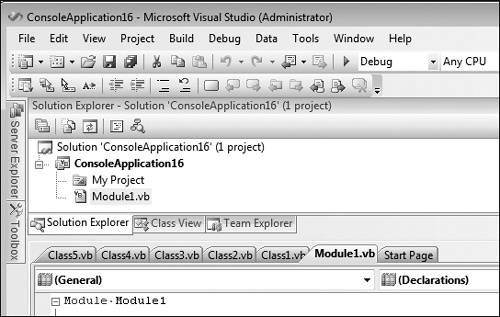
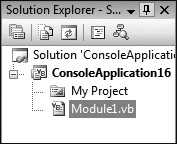
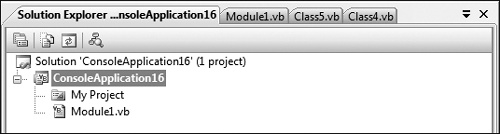
The Memory tool windows (when you’re in debugging mode) are the only ones that come to mind right now. But there’s nothing preventing you from docking your own tool windows up there, as illustrated with the Solution Explorer in the preceding screen shot.
When you drag a tool window over a docking target, you’ll get a preview, as you see in the next screen shot.
But, let’s have a little fun ...
I have no idea how the tool window tab group shown next could be useful, but maybe if it were resized to fit a secondary monitor ...
Can you tell I enjoyed being a tester?
Sometimes you don’t want to completely close a tool window, but you don’t want it in your way. Autohiding is a nice way of tucking the tool window away but keeping it ready to spring back out whenever the IDE thinks you need it, or whenever you want it to slide back out.
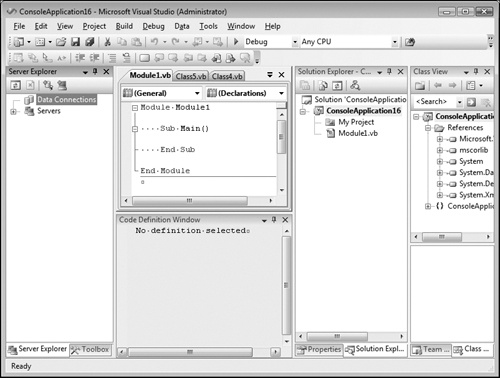
On the Window menu, there’s the Auto Hide All command. Your environment can go from looking like the following screen shot, with lots and lots of tool windows open:
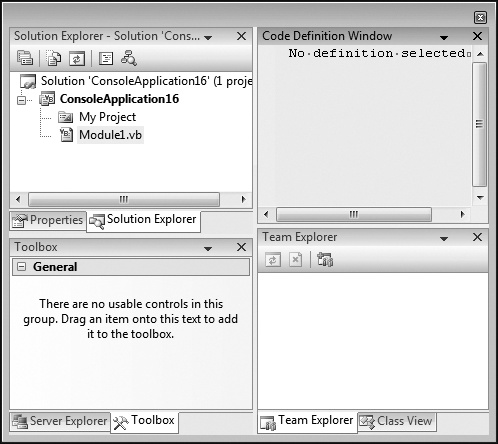
to looking like this screen shot:
However, there is one caveat: there isn’t a command to slide out all of your tool windows.
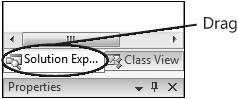
On the Tools–Options–Environment–General page, you’ll find the Auto Hide Button Affects Active Tool Window Only option. The next illustration is a snapshot of two tool windows docked together with the Auto Hide push pin circled.
If you want autohide to apply only to Solution Explorer when you click the push pin, enable the option. Otherwise, autohide will apply to both tool windows.
This is one of those features I always forget. The window management developer and I were discussing another tip, when he showed me the autohide channel context menu.
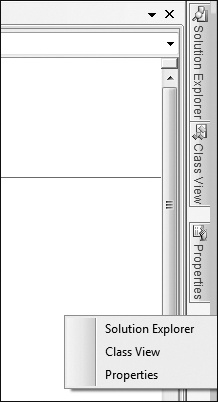
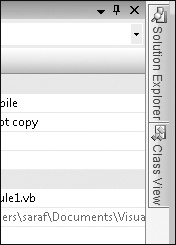
Right-click the tool window autohide channel to invoke the context menu, and click one of the tool windows to slide it out from hiding.
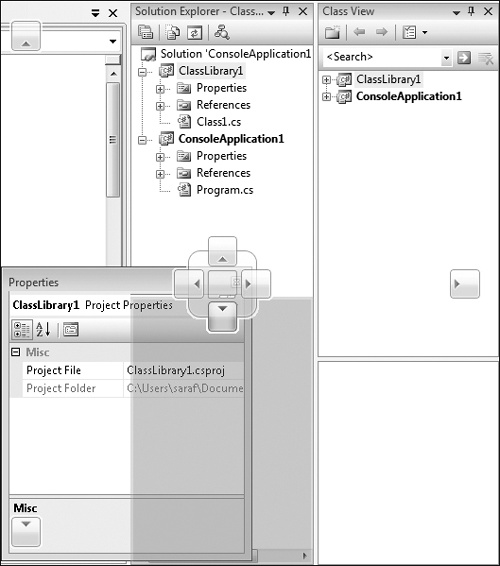
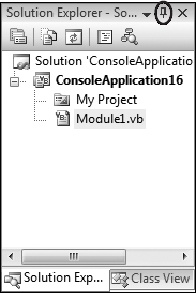
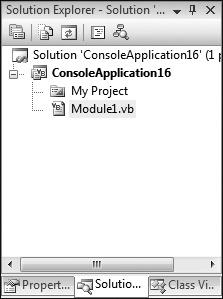
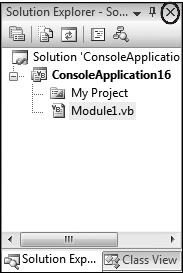
Note in the picture that the Solution Explorer and Class View tabs are side by side, whereas the Properties tab has some space separating it from the other tabs. This is because Solution Explorer and Class View are docked together and the Properties browser is docked next to it, along the edge.
After you drag a tool window to an undocked position, you can quickly redock the tool window to the previous location by double-clicking the title bar.
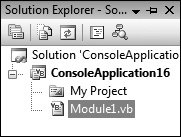
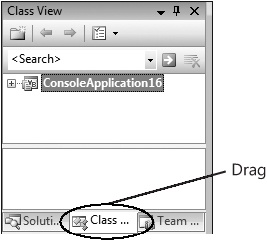
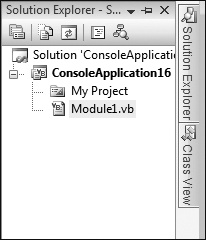
Also, you may notice some tool windows are in tool window groups (as shown in the following image), whereas others are docked individually. To separate a tool window from its group, either drag away or double-click the tool window tab, as shown in the following screen shot.
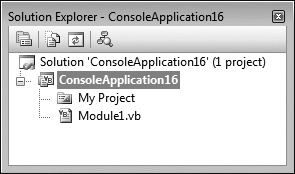
Let’s start with "Tool Window 101" training. When a tool window is docked (as discussed in Tip 4.13: You can choose from nine IDE tool window docking targets), you have the option to autohide. Just click the autohide push pin as shown in the following image. Or go to the Window menu and choose Auto Hide to autohide the currently selected tool window.
Clicking this push pin causes the window to autohide, as shown here:
You can mouse over the Solution Explorer and click the push pin again to redock. Or you can go to the Window menu and choose Auto Hide, which unchecks the Auto Hide setting. But what’s the fun in that?
Now for the actual tip. Did you know that you can press Shift+Click on the autohiding tool window (the second picture in this tip) to move it into a docked state?
However, if the tool window is already sliding out (as shown in the next screen shot), it is automatically hidden.
So you are probably wondering, "Okay Sara, so what is Shift+Click really supposed to do?" It is supposed to perform a Window.Hide command. But when the tool window starts to slide, stuff happens in the IDE and it goes into a docked state instead of a hide state.
More than you ever wanted to know about the Visual Studio environment, huh?
On the Tools–Options–Environment–General page, you’ll find the Animate Environment Tools check box. This option controls the speed at which a tool window slides in and out of an autohide state.
Additionally, you can opt out completely from the animation effect by unchecking the Animate Environment Tools check box. If you do that, tool windows pop to their new locations rather than sliding to them.
Floating is very similar to the dockable state, with the exception that docking targets never appear for a tool window that is in a floating state. In the General Development Settings, the Find And Replace window is in a floating state. I’ve seen questions about how to dock the tool window. To do so, the Find And Replace window must first be put in a dockable state.
Recall from earlier in this chapter how tool windows are available in five different states:
Floating
Dockable
Tabbed document
Auto Hide
Hide
I would say that the dockable state actually represents two mutually exclusive positions the tool window can be in:
Docked. The tool window is locked to a specific location, usually to the side of the IDE.
Hovering. This is my made-up term to describe a tool window that is in the dockable state but is not docked. Recall that the dockable state is different from a floating state, because the floating state cannot be docked.
Most of these states are self-explanatory, especially after a little bit of trial and error, but the floating state may be less obvious. In a floating state, the tool window hovers over the IDE but cannot be docked to a fixed position in the IDE.
How is this useful? Sometimes you just want to position a tool window in a certain area and, unfortunately, the dock targets appear. If you set it to Floating, you never get docking targets for the tool window. (See Tip 4.13: You can choose from nine IDE tool window docking targets.)
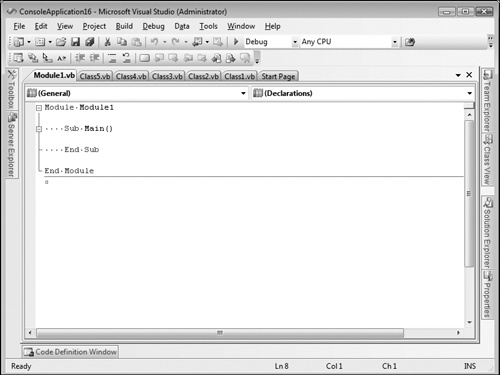
A tool window in a tabbed document state will appear in the file tab channel. I found this behavior most useful with the Output window, as it maximizes the tool window, allowing for the largest amount of text to appear on the screen at one time.
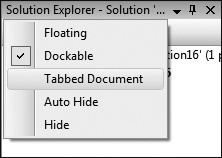
Yet another one of those "Wow, I didn’t know you could do that until someone showed me" moments happened when I found out you can maximize a tool window by setting it to a tabbed document state. With your desired tool window selected, either right-click the tool window title bar or tab window to bring up the tool window context menu and then select Tabbed Document. Alternatively, you can go to the Window menu and select Tabbed Document.
There are keyboard shortcuts for navigating among the various tool windows opened in your IDE. All the keyboard shortcuts are customizable on the Tools-Options–Environment–Keyboard page.
The tool windows you open and visit are saved in an MRU (most-recently used) list. So you can navigate among all the various opened tool windows, using Alt+F7 for next and Alt+Shift+F7 for previous.

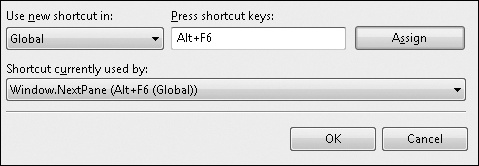
If you don’t want the IDE Navigator to appear when you navigate among various opened tool windows, use Alt+F6 and Alt+Shift+F6 to go to the next and previous tool windows, respectively, in most-recently used sort order.
A tool window can be in a hidden state, also known as a closed state, by either clicking the X on the tool window title bar, or by selecting Window–Hide.
On the Tools–Options–Environment–General page, you’ll find the Close Button Affects Active Tool Window Only check box. The following screen shot shows a snapshot of two tool window tabs docked together, with the close button circled.
If you want only Solution Explorer to close when pressing the X button, enable the option. Otherwise, both tool windows will close.
Hidden Keyboard Shortcuts
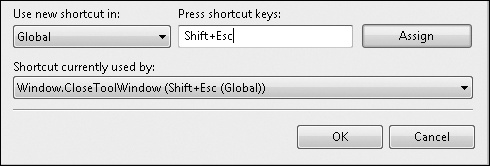
I call these "hidden keyboard shortcuts" because the keyboard shortcuts are not bound to a command, meaning you will never find them on the Tools–Options–Environment–Keyboard page. The only way you would find them is if someone told you about them.
I’ve made an exception for Shift+Esc and included it in this list because I don’t think it is very well known, and I’m always shocked whenever I’m reminded about it. I always think it’s one of these hidden keyboard shortcuts, but then I realize it’s bound to a command.
With the desired tool window selected, press Alt+Minus to bring up the tool window menu. Press the Down Arrow to select the Move command, and press Enter. Now you can control the tool window with the arrow keys.
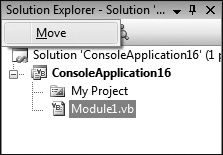
To dock, simply use the arrow keys to get to the desired dock target and hit Enter to commit to docking the tool window to the new location.
When a tool window is not docked, follow these steps to resize the window using the keyboard:
Note
Using the Move command from this menu prevents the docking targets from appearing. This is the same as pressing Ctrl and dragging an item using the mouse. If you want to use docking targets via the keyboard, see Tip 4.29: How to drag a tool window around using the keyboard.
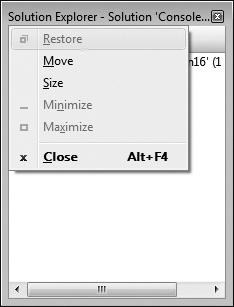
If you press Alt+Spacebar, you get the main Visual Studio window system menu; this is why you must release the Alt key before you press the Spacebar.
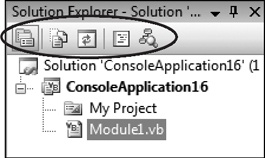
You may have noticed that within tool windows such as the Solution Explorer, you cannot reach the toolbar by hitting Tab or using the arrow keys. The keyboard shortcut to reach a tool window’s toolbar is Shift+Alt. Note that Alt+Shift will not work.
As I’ve said time and time again on my blog, it’s really the simple things in life.... I keep forgetting about this tip, until I see this keyboard shortcut and have to look up what it does.
Use Shift+Esc to close the currently selected tool window. If the focus is not on a tool window but in an editor, and you press Shift+Esc, Visual Studio will just look at you.