Chapter 18. Automating tasks with workflows
With all of the different ways that you can interact with data and documents on a Microsoft SharePoint 2013 site, you might start to notice certain patterns in how you work with a site. For example, before you have a coworker review a document that you have written, you might always change a status field on the document and send out an email requesting the review.
Workflows are a way of automating multistep processes to ensure that tasks stay on track. They not only facilitate performing multiple automated steps on a document or list item, but they also make sophisticated choices possible based on user feedback and document data. With these choices available, workflows can choose separate courses of action, such as processing a document differently if an approval step is rejected versus approved. You can even choose to have activities loop, such as sending a reminder email every two days, until an action occurs or a certain condition is met.
Within SharePoint 2013, you can use workflows to reduce the amount of repetitive steps you perform when working with content and ensure consistency with respect to the way you and your team handle documents. In this section, we’ll cover how to create, associate, and launch workflows on the content within your site.
Tip
Not all of these workflows are available on all sites. The available workflows are determined by features activated on the local site as well as your licensing model (Foundation, Standard, or Enterprise).
Associating workflows with lists
One of the simplest types of workflows in SharePoint 2013 is the list workflow, which you can launch on list items or documents in a library. You use list workflows when you want to have a workflow available only within a particular list or library. You can also use them for cases in which you want the workflow to be automatically triggered when a document is created, updated, or published (because these are list-specific events).
Associate a workflow with a list
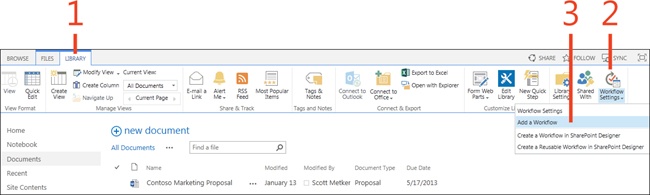
On a list on your SharePoint site, on the ribbon, click the Library tab.
In the Settings group, click the lower half of the Workflow Settings button.
On the menu that appears, click Add A Workflow.
Tip
If the workflow contains an initiation form (by which the person assigning the workflow can change certain workflow behaviors), the user will see a Next button displayed on the Add A Workflow page instead of an OK button. This Next button takes the user to another form on which workflow behavior can be changed.
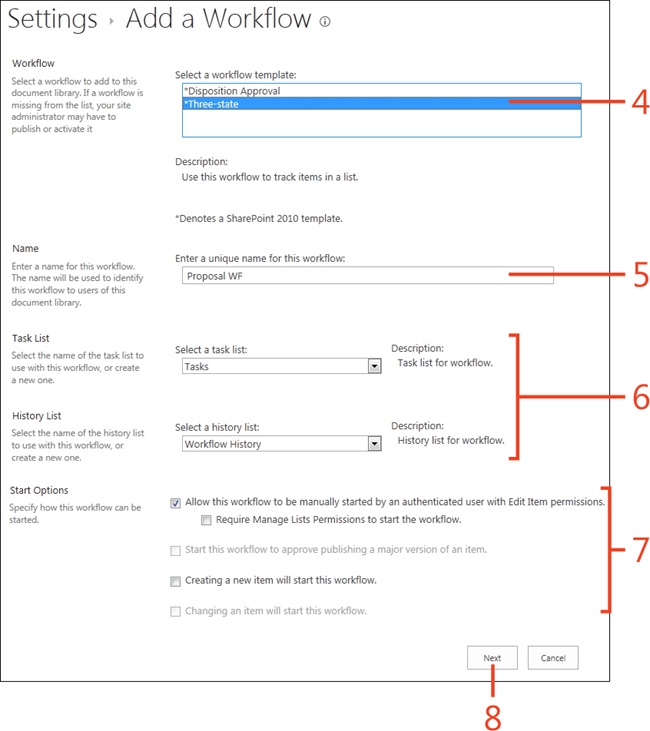
On the Add A Workflow page, choose a workflow to associate with the list.
Assign a local name for the workflow that will be displayed to users.
Choose the lists that will hold related workflow tasks and history.
Typically, the default values can be used, and these lists will be automatically created.
Choose the workflow starting options.
You can configure this workflow to automatically launch on certain events, if needed.
If additional, workflow-specific data is required, a Next button displays. Click the button, and enter any required information on the next page. Otherwise, an OK button is available. Click this button to save your settings.
Associating workflows with content types
You can also associate SharePoint 2013 workflows with a particular content type. This is quite effective because workflows often operate on specialized columns that are unique to a particular content type. You might have department-specific status fields that you collect on documents such as Legal Approval Status or Medical Approval Status.
In this case, you could associate specialized review and approval workflows that automatically set values on these fields. This also simplifies administration and maintenance. Workflows associated with a content type can be invoked on items of that content type within any library in the site collection.
Associate a workflow with a content type
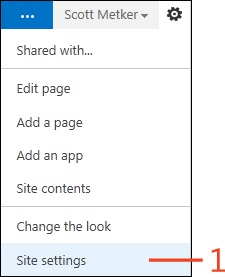
Click the Settings button (the small gear icon next to the name of the logged-on user) and then, on the menu that appears, click the Site Settings link.
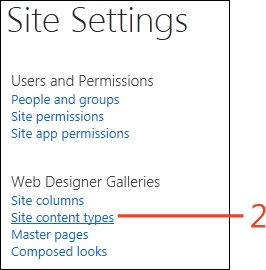
On the Site Settings page, in the Web Designer Galleries section, select the Site Content Types link.
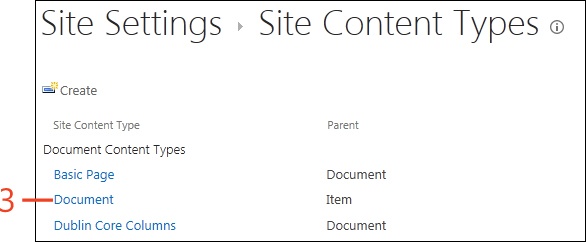
On the Site Content Types page, click the name of the content type to which the workflow will be bound.
Tip
If the workflow contains an initiation form (by which the person assigning the workflow can change certain workflow behaviors), the user will see a Next button displayed on the Add A Workflow page instead of an OK button. This Next button takes the user to workflow-specific initiation form on which workflow behavior can be changed.
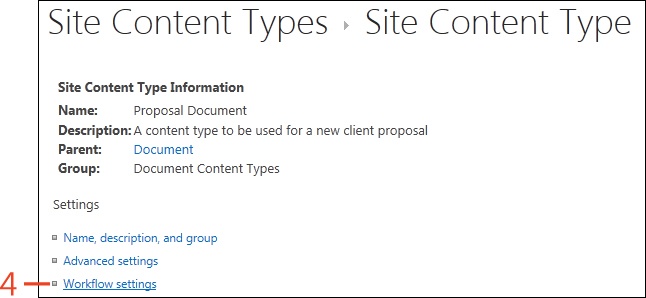
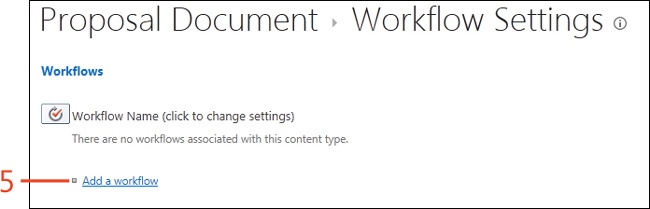
In the Settings section, click the Workflow Settings link.
On the Workflow Settings page, click Add A Workflow.
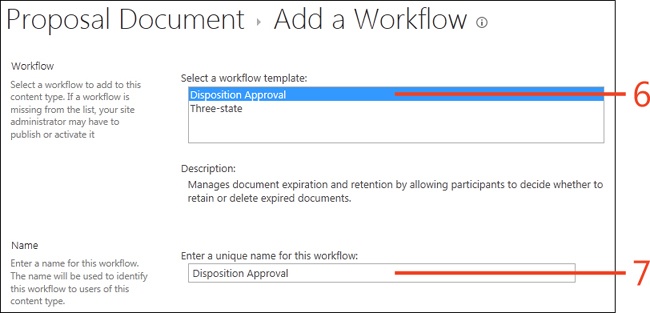
On the Add A Workflow page, choose an existing workflow to associate with the content type.
Choose a local name for the workflow that will be displayed on your site.
Enter any other settings required for this workflow and click OK to save your changes.

Starting workflows on documents
One of the simplest ways for users to automate document processes in SharePoint 2013 is for them to manually invoke a workflow on a selected document. You can launch workflows on a document manually if they are configured for manual start and if they are associated with the current list or content type of the selected document.
Start a workflow on a document
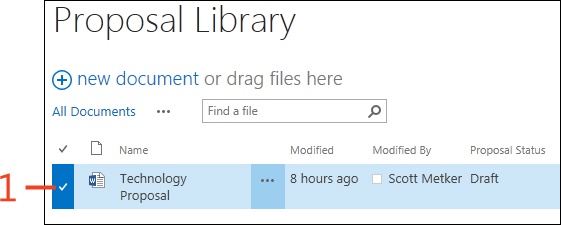
From within the list that contains your target document, select the file by clicking the row.
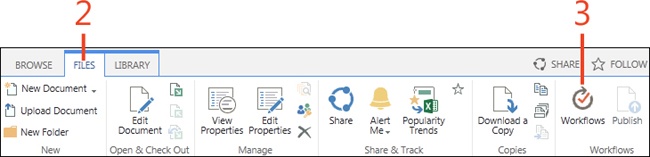
On the ribbon, click the Files tab.
In the Workflow section, click the Workflows button.
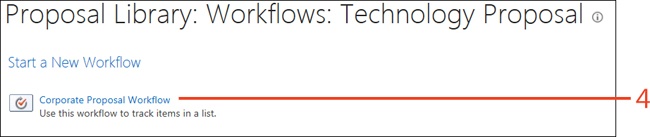
On the Workflows page, if a workflow is available, it will appear in the Start A New Workflow section. Click this workflow to start the workflow.
Checking the status of a running workflow
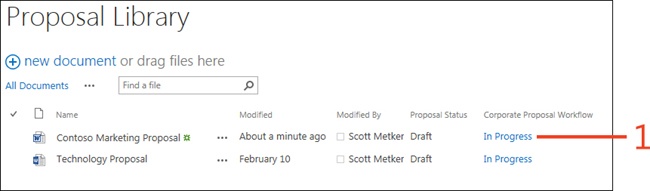
After you add a workflow to a SharePoint 2013 document library, a new column is created on the default view within the library. This column is named after your workflow and displays the status of this workflow on any documents in your library. For more detail, you can click the link and check the status of the workflow as well as the history of previously executed steps.
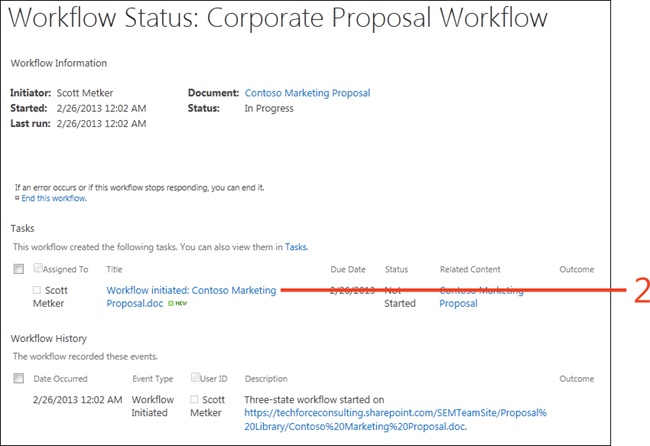
On the workflow status page, you can inspect the currently assigned tasks (there might be more than one active task if a workflow has parallel review steps, for example). Additionally, the workflow history shows all of the previous steps that have been completed in the workflow.
Check the status of a running workflow
Navigate to a library to which you have associated a workflow and launched the workflow on a document (see Start a workflow on a document). Locate the column named after your workflow and click the status field.
For further details on currently running tasks, click the hyperlinked title of each task or tasks displayed in the Tasks section. These represent currently running steps.
Creating a list workflow in SharePoint Designer
SharePoint Designer is an advanced tool used by high-level business administrators and developers who need to extend the out-of-the-box SharePoint 2013 functionality. If you want to create a new workflow from scratch, you will need to use SharePoint Designer.
At the time of this writing, SharePoint Designer 2013 is supported on the following operating systems only: Windows 7, Windows 8, Windows Server 2008 R2, Windows Server 2012. You can download the software directly from Microsoft or your IT staff can provide you with a download, as needed.
Create a list workflow in SharePoint Designer
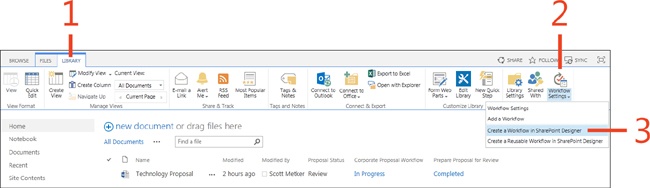
On a list on your SharePoint site, on the ribbon, click the Library tab.
In the Settings section, click the lower half of the Workflow Settings icon.
On the menu that appears, click the Create A Workflow In SharePoint Designer command.
Tip
When you first start SharePoint Designer 2013, if you are prompted with a warning asking “Do you want to allow this website to open a program on this computer?” you can click the Allow button to approve this action. Additionally, you can clear the check box to display this warning each time in the future.
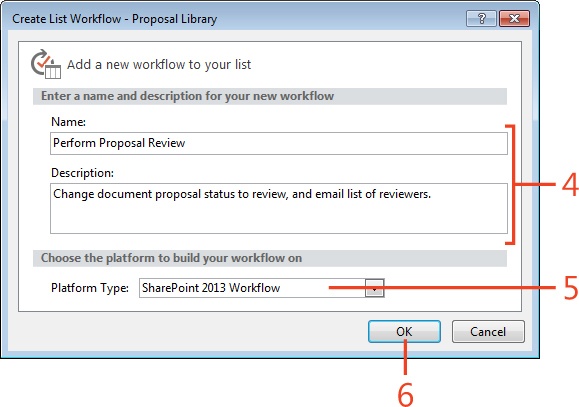
In the Create List Workflow dialog box, enter a name and description for the workflow.
Choose the Platform Type for this workflow.
Note: the remaining instructions are written for SharePoint 2013.
Click OK.
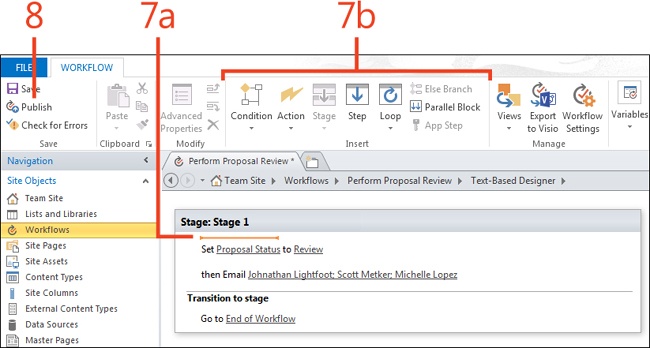
Add new items to the workflow. For each item, do the following:
Click a point to insert the item within the workflow.
Select one of the insert buttons to see a list of items that can be added at the current point.
On the ribbon, click the Workflow tab. In the Save group, click Publish to publish your workflow on the SharePoint site.
Editing workflows
Using SharePoint Designer 2013, you can also edit an existing list workflow associated with your site. This makes it possible for you to modify your workflows over time to support changing business processes.
Edit an existing list workflow
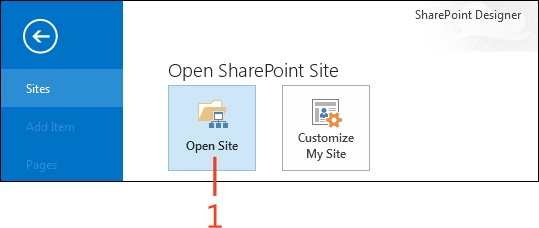
Open SharePoint Designer 2013 and click Open Site.
In the Open Site dialog box, enter the address of your site and click Open.
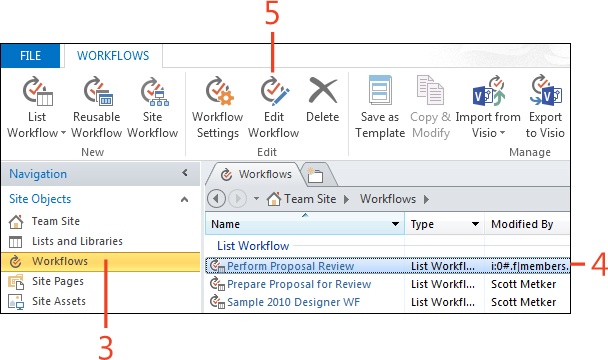
In the Navigation pane, under Site Objects, click the Workflows option.
Select a workflow on your site to edit.
On the ribbon, on the Workflows tab, click the Edit Workflow button in the Edit group.

Introducing Microsoft Visio integration with SharePoint workflows
Another way of manipulating workflows in SharePoint 2013 is to make use of the visual designer, with which you can view workflows in a graphical, flow-chart–based layout that some users might find more intuitive than the text-based editor. This visual layout uses Visio 2013 and supports dragging and dropping workflow tasks onto a process diagram.
Visio visual designer
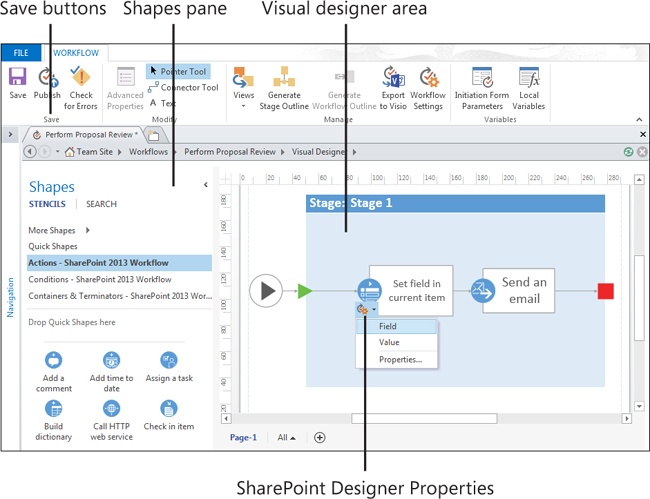
SharePoint offers a way of editing workflows by using a flow-chart look and feel, based upon integration with Visio 2013. This makes it possible for complex workflows to be displayed and edited by using simple visual designers. Here are some of the features and tools that you can take advantage of when editing your workflows:
The Shapes pane shows the Actions, Conditions, and Components that you can add to a workflow.
The visual designer area is where you can edit your workflows by using Visio shapes.
You can use the Save buttons to save, publish, or validate your work.
By clicking the SharePoint Designer Properties link that are available on each object, you can configure Actions, Conditions, and Components.
Switching to the visual designer
To switch to the visual designer, you first need to open a workflow within SharePoint Designer 2013. After you have made the switch to the visual designer, SharePoint Designer will remember your preference for the rest of your session.
Switch to the visual designer
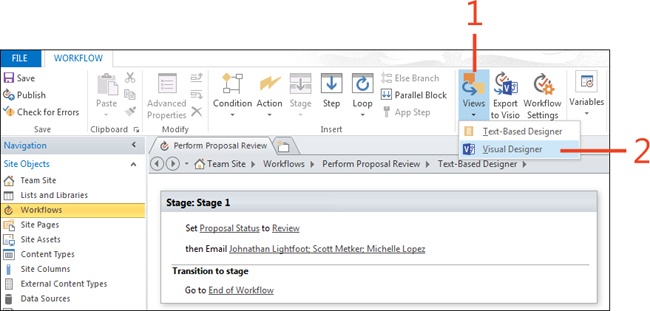
From an open workflow in SharePoint Designer 2013, on the ribbon, click the Workflows tab. Then, in the Manage group, click the drop-down arrow at the bottom of the Views button.
On the menu that appears, select the Visual Designer option.
Creating workflows in Visio 2013
Another option for creating complex workflows is to first draft the workflow completely in Visio 2013, which scan be used to flesh out the outline of a workflow without requiring connectivity to SharePoint 2013. This can also be used to document a high-level process prior to importing the workflow into SharePoint.
Create a workflow in Visio 2013
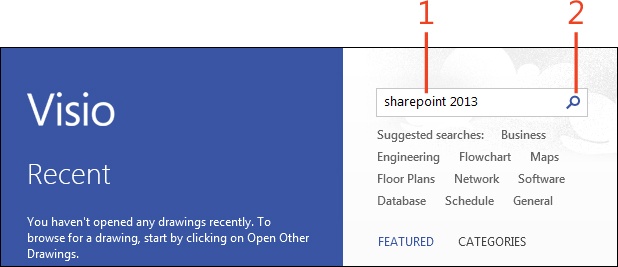
Open Visio 2013 and then, in the templates search box, type SharePoint 2013.
Click the Search button (the magnifying-glass icon).
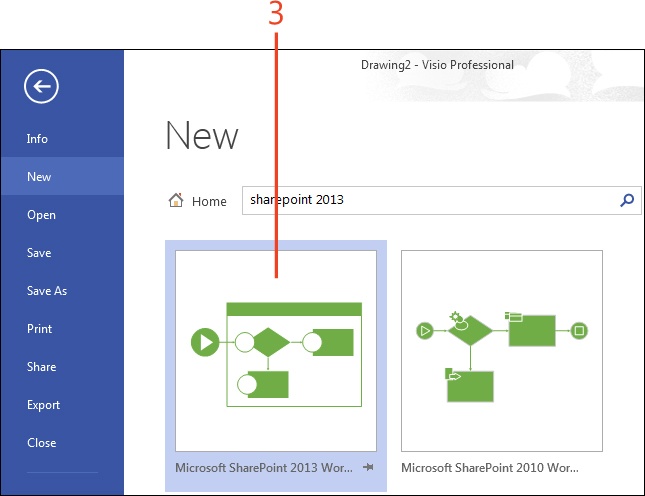
Double click the Microsoft SharePoint 2013 Workflow template to create a new file from this template.
Tip
Plotting out workflows first in Visio 2013 can be useful if you need to document and obtain approval for workflows that are a critical part of your company’s operating processes. Visio documents can be more readily exchanged and reviewed without requiring each user to have SharePoint Designer installed on their computer.
Importing Visio workflows into SharePoint Designer
Another option for users is to create complex workflows offline in Visio 2013 and import those workflows into SharePoint 2013 at a later time. However, when a Visio-created workflow is imported for the first time, you need to modify the items that refer to SharePoint site-specific data prior to publishing the workflow. For example, if the workflow modifies data on associated files, you will only be able to enter the specific columns that are modified after you have imported the workflow. This is due to the fact that the Visio application does not have visibility into the site columns defined on a particular list or library until the file has already been imported into SharePoint Designer.
Import a Visio workflow into SharePoint Designer
Open the SharePoint Designer 2013 window that is already connected to the SharePoint site that you will be using. In the Navigation pane, under Site Objects, click the Workflows option.
On the ribbon, click the Workflows tab. Then, in the Manage group, click the drop-down arrow at the bottom of the Import From Visio button.
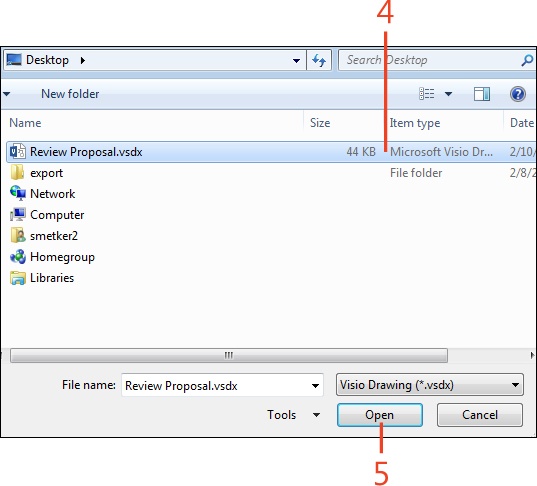
Select which version of Visio (2010 or 2013) was used to create the file you will be importing.
Click Open.
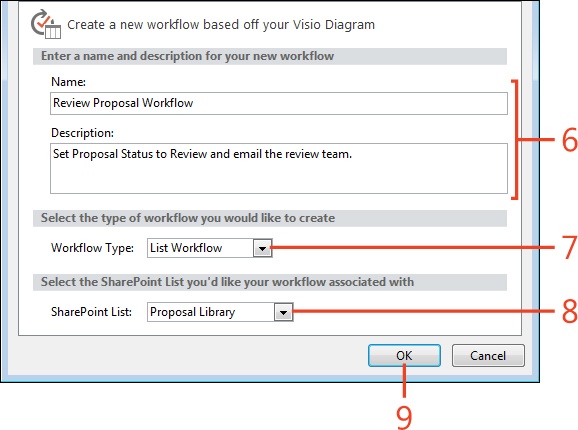
In the Create Workflow dialog box, enter a local title and description for the workflow.
Choose the Workflow Type (List, Reusable, or Site).
If you have chosen to import a List Workflow, you must choose which list on this site will have this workflow associated with it.
Click OK to import the workflow from the Visio file.