Creating an Android Marketplace Account
Now that you have your APK file created, you can release your application on the Android Market. However, before you do so, you first need to create an Android Market account. To create such an account you need a Google account — any Google-based account (such as a Gmail account) will do. If you do not have a Google account, you can obtain a free one by navigating your web browser to www.google.com/accounts/ and following the steps there.
 Please note that to create an Android Market account, you must pay a $25 developer fee with a valid credit card. If you do not pay this developer fee, you will not be able to publish applications.
After you have a Google account, use the following steps to create your Android Market account:
- Open your web browser and navigate to http://market.android.com/publish.
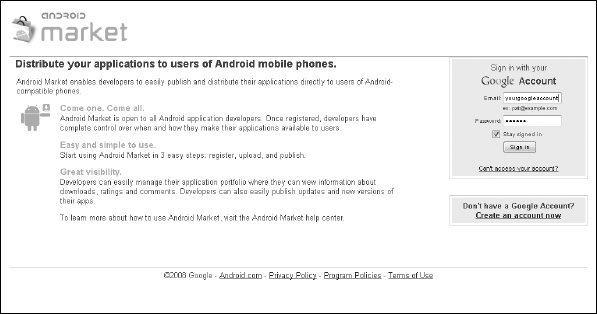
- On the right side of the screen, sign in with your Google account, as shown in Figure 10-6.
When you're logged in, you can complete the fields to define your developer profile.
Figure 10-6: The Android Market login page.
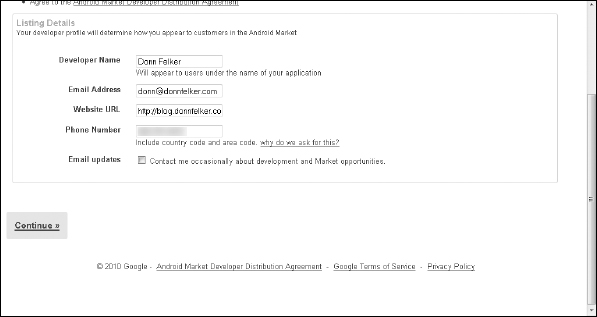
- Complete the following fields and then click the Continue link (see Figure 10-7):
- Developer Name: The name that shows up as the developer of the applications you release. The developer name can be your company name or your own personal name. You can change this later, after you've created your account.
- Website URL: The URL of your website. If you do not have a website you can get a free Blogger.com blog that will suffice as a website. You can get a free Blogger account from www.blogger.com.
- Phone Number: A valid phone number to contact you at in case users encounter problems with your published content.
Figure 10-7: Developer listing details.
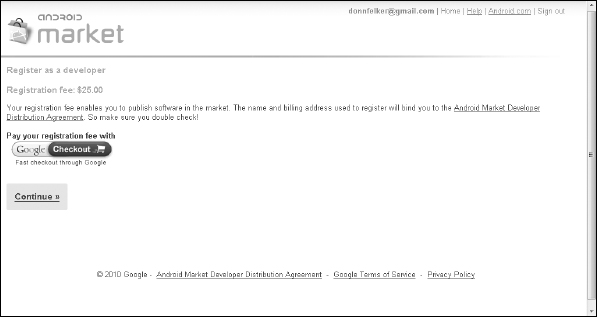
- On the next page, click the Continue link to go to Google Checkout to pay the developer fee. (See Figure 10-8.)
Figure 10-8: Developer registration fee.
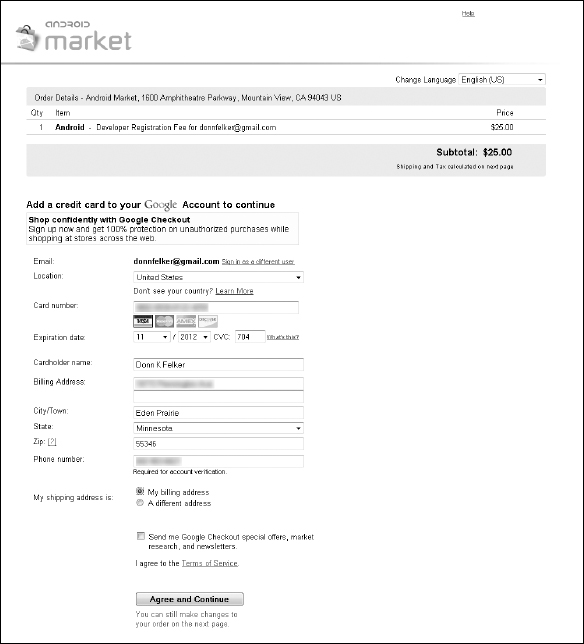
- On the secure checkout page, fill in your credit card details and billing information and click Agree and Continue. (See Figure 10-9.)
Figure 10-9: Personal and billing information.
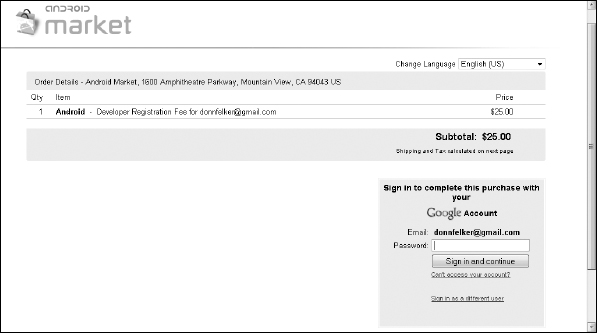
- To confirm your choice, type in your password and click Sign In and Continue. (See Figure 10-10.)
Figure 10-10: The sign-in page for registering as a developer.
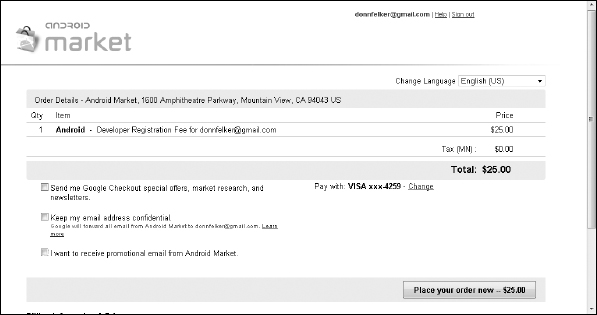
- On the order confirmation page (see Figure 10-11), click Place Your Order Now.
Figure 10-11: Order confirmation.
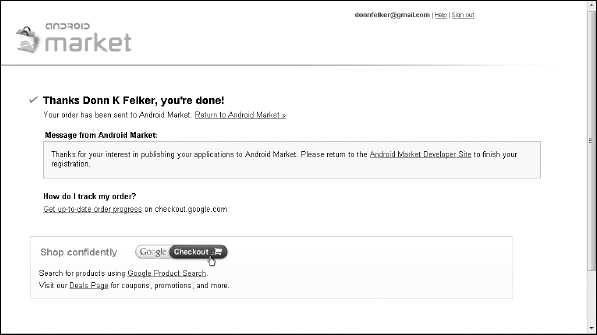
Once complete, you see the “You're Done!” page. (See Figure 10-12.)
Figure 10-12: Completing the registered Android application.
- Click the Android Market Developer Site link to arrive at the Android Market Developer Distribution Agreement page, shown in Figure 10-13.
Figure 10-13: The terms agreement.
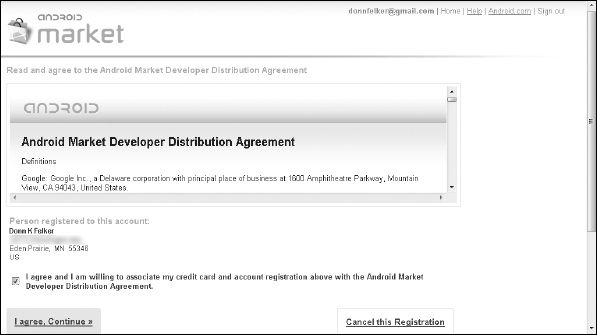
- Click the check box to agree to the terms and click the I Agree, Continue link.
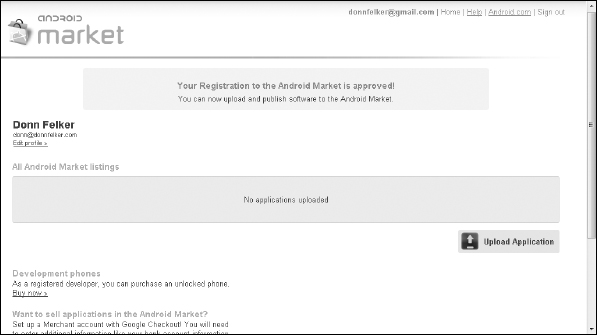
Once complete, you will now be an Android developer! You are taken to the Android Developer home page. (See Figure 10-14.)
Figure 10-14: The Android Developer home page.