
Appendix A
Anaconda and Jupyter Notebook Setup
In this appendix, you learn to install Anaconda Navigator on your computer, set up a Python environment that includes several common machine learning libraries, and configure Jupyter Notebook.
Installing the Anaconda Distribution
Anaconda is a Python distribution (pre-built and preconfigured collection of packages) that is commonly used for data science. The Anaconda distribution includes the conda package manager in addition to the preconfigured Python packages and other tools. The conda package manager can be used from the command line to set up Python environments and install additional packages that do not come installed by default with Anaconda.
Anaconda Navigator is a GUI tool that is included in the Anaconda distribution and makes it easy to configure, install, and launch tools such as Jupyter Notebook. Although we make use of Anaconda Navigator in this book, keep in mind that you can do everything through the command line using the conda command.
To begin the Anaconda Navigator installation process, visit https://www.anaconda.com and click the Downloads link at the top-right corner of the page (Figure A.1).

FIGURE A.1 Anaconda home age
On the downloads page, locate the download the link for a version that includes Python 3.7 or higher (Figure A.2). Click the download link to download the installer for your operating system.
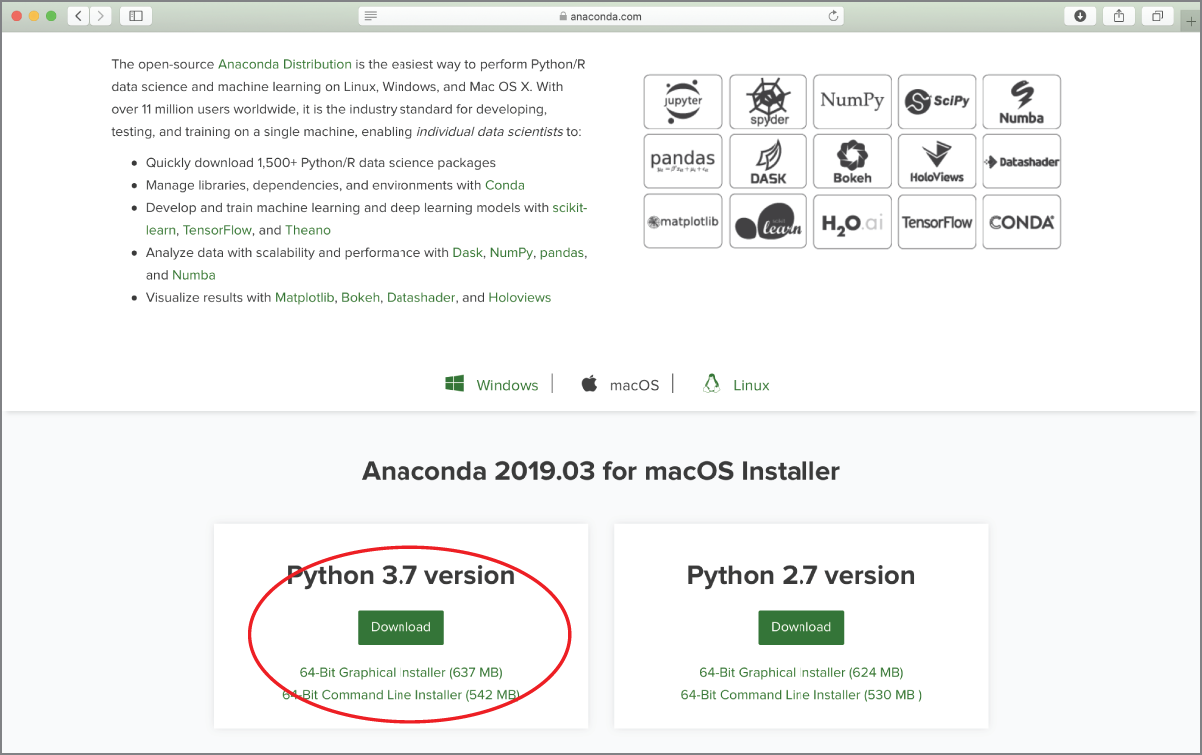
FIGURE A.2 Downloading the appropriate version of Anaconda
Locate the installer on your computer's download folder and launch it to begin the installation process (Figure A.3).

FIGURE A.3 Anaconda installer on macOS X
At some point in the installation process, you will be asked if you want to install Microsoft Visual Studio Code (Figure A.4). Visual Studio Code is a free IDE that supports Python and several other languages. In this book we do not use Visual Studio Code. If you wish to install Visual Studio Code, you can do so either during the Anaconda distribution installation process, or later on from the Anaconda Navigator user interface.

FIGURE A.4 The Anaconda Installer provides the option to install Microsoft Visual Studio Code
The Anaconda distribution will be installed on your computer when the installer completes successfully (Figure A.5).

FIGURE A.5 Anaconda has been successfully installed.
Creating a Conda Python Environment
A fresh Anaconda installation comes with a single conda Python environment called base (root) that includes a set of pre-installed packages. In this section you will create a new conda Python environment and install a set of packages that have been used for the examples in this book. A conda Python environment is an isolated environment and allows you to install packages without modifying your system Python installation.
Python's officially sanctioned package manager is called PiP (Pip Installs Packages) and gets its packages from an online repository called the Python Package Index (PyPI). Conda is a language-agnostic package manager and is used to install packages within conda environments. This is an important distinction—conda cannot help you install packages on your system Python installation.
A number of tools that are included with Anaconda Navigator, such as Jupyter Notebook and Spyder IDE, will pick up the conda environments available on your computer and allow you to switch between different environments with little overhead.
To get started with creating a new environment, launch Anaconda Navigator and switch to the Environments section of the user interface (Figure A.6).

FIGURE A.6 Environment settings in Anaconda Navigator
You will see the base (root) environment created by the Anaconda installer along with all the packages contained in the environment. Click the Create button to create a new conda environment.
Provide a name for the new conda environment (Figure A.7), and ensure the Python language is checked and the Python version is set to 3.7 or higher. Ensure the R language check box is unchecked. The examples in this book assume the conda environment is called AWS_ML_Book. However, you are free to use your own name. Remember to select the appropriate environment while trying out the examples in this book. Click the Create button on the Create New Environment dialog box to finish creating the environment.

FIGURE A.7 Creating a new Conda Python environment
After a few minutes, a new conda environment will be created on your computer and you will see it listed in Anaconda Navigator (Figure A.8).

FIGURE A.8 Switching to the AWS_ML_Book Conda environment
Clicking the new environment will display a list of packages in this environment. By default, all new conda environments are created with a minimal set of packages.
Installing Python Packages
In this section you will install a number of Python packages in your new conda environment. To start, ensure your conda environment is selected in the Anaconda Navigator application. Select the All option in the package type combo box (Figure A.9).

FIGURE A.9 Displaying all available Python packages
Use the search text box to search for the Pandas package. Locate the Pandas package in the search result, select it, and click the Apply button (Figure A.10).

FIGURE A.10 Searching for a package
Anaconda Navigator will present a dialog box that lists the Pandas package and all dependencies that will be installed (Figure A.11). Click the Apply button to finish installing the Pandas package and its dependencies.

FIGURE A.11 Package dependencies dialog box
Use the same technique to install the following additional packages along with their respective dependencies:
- matplotlib
- pillow
- scikit-learn
- tensorflow
- seaborn
- graphviz
- pydotplus
- python-graphviz
- NOTE If your computer has an Nvidia GPU, you will have the option to install a GPU-accelerated version of TensorFlow called TensorFlow-GPU.
Installing Jupyter Notebook
In this section, you will install Jupyter Notebook in the conda environment that you created earlier in this appendix. Launch Anaconda Navigator and switch to the Home tab. Locate the Jupyter Notebook icon and click the Install button (Figure A.12). This action will install Jupyter Notebook in the default base (root) environment.

FIGURE A.12 Installing Jupyter Notebook
After Jupyter Notebook has been installed, launch a Terminal window on your Mac (or Command Prompt in Windows) and type the following command to list all conda environments on your computer. Press the Enter key after typing the command:
$ conda info ––envsThe output on your computer should resemble the following:
AMBP:~ abhishekmishra$ conda info ––envs# conda environments:#base * /anaconda3AWS_ML_Book /anaconda3/envs/AWS_ML_Book
You should see the conda environment you created earlier in this chapter listed along with any other conda environments that exist on your computer.
Type the following command to switch to the conda environment you created earlier. Replace AWS_ML_Book with the name of the environment you have created. Press the Enter key after typing the command:
$ conda activate AWS_ML_BookType the following command to install Jupyter Notebooks in the conda environment you just activated with the previous command:
$ conda install jupyterThe output on your computer should resemble the following:
$ conda install jupyterSolving environment: done## Package Plan ##environment location: /anaconda3/envs/AWS_ML_Bookadded / updated specs:- jupyterThe following packages will be downloaded:package | build---------------------------|-----------------widgetsnbextension-3.4.2 | py36_0 1.7 MBipywidgets-7.4.2 | py36_0 151 KBqtconsole-4.4.2 | py36_0 157 KBpyqt-5.9.2 | py36h655552a_2 4.4 MBjupyter-1.0.0 | py36_7 6 KBsip-4.19.8 | py36h0a44026_0 252 KBjupyter_console-6.0.0 | py36_0 35 KB------------------------------------------------------------Total: 6.7 MBThe following NEW packages will be INSTALLED:dbus: 1.13.2-h760590f_1expat: 2.2.6-h0a44026_0gettext: 0.19.8.1-h15daf44_3glib: 2.56.2-hd9629dc:0icu: 58.2-h4b95b61_1ipywidgets: 7.4.2-py36_0jupyter: 1.0.0-py36_7jupyter_console: 6.0.0-py36_0libiconv: 1.15-hdd342a3_7pcre: 8.42-h378b8a2_0pyqt: 5.9.2-py36h655552a_2qt: 5.9.6-h45cd832_2qtconsole: 4.4.2-py36_0sip: 4.19.8-py36h0a44026_0widgetsnbextension: 3.4.2-py36_0Proceed ([y]/n)?
You will be presented with a summary of the packages that will be installed in the environment and asked if you want to proceed. Press the Y key on your keyboard and then press Enter to continue.
After Jupyter Notebook has finished installing in the new conda environment, type the following command to create a new kernel specification in Jupyter Notebook. A kernel specification will allow you to switch to your new conda environment from within Jupyter Notebook. Replace AWS_ML_BOOK with the name of your environment. Press the Enter key after typing the command:
$ python -m ipykernel install --user --name AWS_ML_BOOK --display-name "Python (AWS_ML_BOOK)"You should see a message on your computer confirming that the kernel specification has been installed:
Installed kernelspec AWS_ML_BOOK in /Users/abhishekmishra/Library/Jupyter/kernels/aws_ml_bookType the following command to install the nb-conda-kernels package from the conda-forge repository (also known as a channel). Press the Enter key after typing the command:
$ conda install --channel=conda-forge nb_conda_kernelsYou will once again be asked to confirm whether you want to download and install the nb_conda_kernels package along with dependencies. Press the Y key on your keyboard when asked to finish installing the packages.
You can now use Anaconda Navigator to launch Jupyter Notebook. The notebook is launched in your default web browser and configured to display the contents of your users directory (Figure A.13).

FIGURE A.13 Jupyter Notebook running in a web browser
Clicking the New button in the Jupyter Notebook page within your web browser will display a drop-down menu allowing you to create a new notebook using one of the kernels installed on your computer. A kernel corresponding to the new conda environment you created earlier in this chapter should be listed in the drop-down menu.
You can also launch Jupyter Notebook using the command line by typing the following command in a Terminal (or Command Prompt) window and pressing Enter:
$ jupyter notebookSummary
- Anaconda is a Python distribution (pre-built and preconfigured collection of packages) that is commonly used for data science. The Anaconda distribution includes the conda package manager in addition to the preconfigured Python packages and other tools.
- Anaconda Navigator is a GUI tool that is included in the Anaconda distribution and makes it easy to configure, install, and launch tools such as Jupyter Notebook.
- A conda Python environment is an isolated environment and allows you to install packages without modifying your system Python installation.