
Good documentation accelerates the development and consumption of the developed resources. It also reduces the money and time that would otherwise be spent in answering support calls. The documentation is usually considered part of the overall user experience. Complete and accurate documentation is always a key to saving resources and improving the efficiency and effectiveness of API usage.
The obvious question stemming from this point is how can we document our IoT platform’s API in an effective way? One of the most preferred ways is to use freely available or open source tools for documenting APIs. There are several options, which you can find at https://nordicapis.com/ultimate-guide-to-30-api-documentation-solutions/ .
We will use Swagger tools for generating our API documentation. It is easy to create interactive documentation while effortlessly maintaining it on the go with Swagger. More importantly, you can either host the interface (definition and sandbox) on the Swagger hub, or you can integrate it as a standalone on an independent cloud instance. This is what we will do in our case.
Discuss how to prepare an OpenAPI specification
Clone and update a Swagger package
Test API docs in a live environment
Preparing a Valid OpenAPI Specification Document
The first step in creating useful documentation is to create an API description document in a valid format. Since Swagger uses OpenAPI specifications that can be documented using the YAML format, we will create that at the outset.
YAML (YAML Ain’t Markup Language) is a human-readable data serialization language. It is commonly used for configuration files but could be used in many applications where data is being stored (e.g., debugging output) or transmitted (e.g., document headers).
If you are interested in learning more about the OpenAPI format and specifications, there are plenty of tutorials on the Internet. Some are easily available on the Swagger website as well.
The Swagger online editor is another open source and free tool that can be used to validate the specification document we are preparing; alternatively, we can make one from scratch in the same editor. This editor is available at https://editor.swagger.io/#/ .
While writing this book, I created an API specification document (api.yml), which you can access from GitHub. Download the file, which is in .yml (i.e., YAML format). Paste the contents of the file into the Swagger online editor, and make sure that there are no warnings or errors. What you see in the view on the right of the Swagger editor is a fully functional user interface that will be the actual output after deployment.
You can play with the document, make some changes, and see how they affect the output. Once finished, you can copy and paste the file content back to the local copy for further usage.
Platform API Specification File Explained
The first line states the version of the API specification, which in our case is 2.0. The following lines provide some description about the document, which will also be shown on the user interface. We specified which API calling scheme our API will follow; it has been fixed to HTTPS only. The definitions of Host and basepath specify the base URL for our API.
After those base definitions, we start defining our API’s endpoints. Our first data publishing API /pub is shown here. Notice how we have enabled authentication for the first API, and subsequently, this will be used for each API definition.
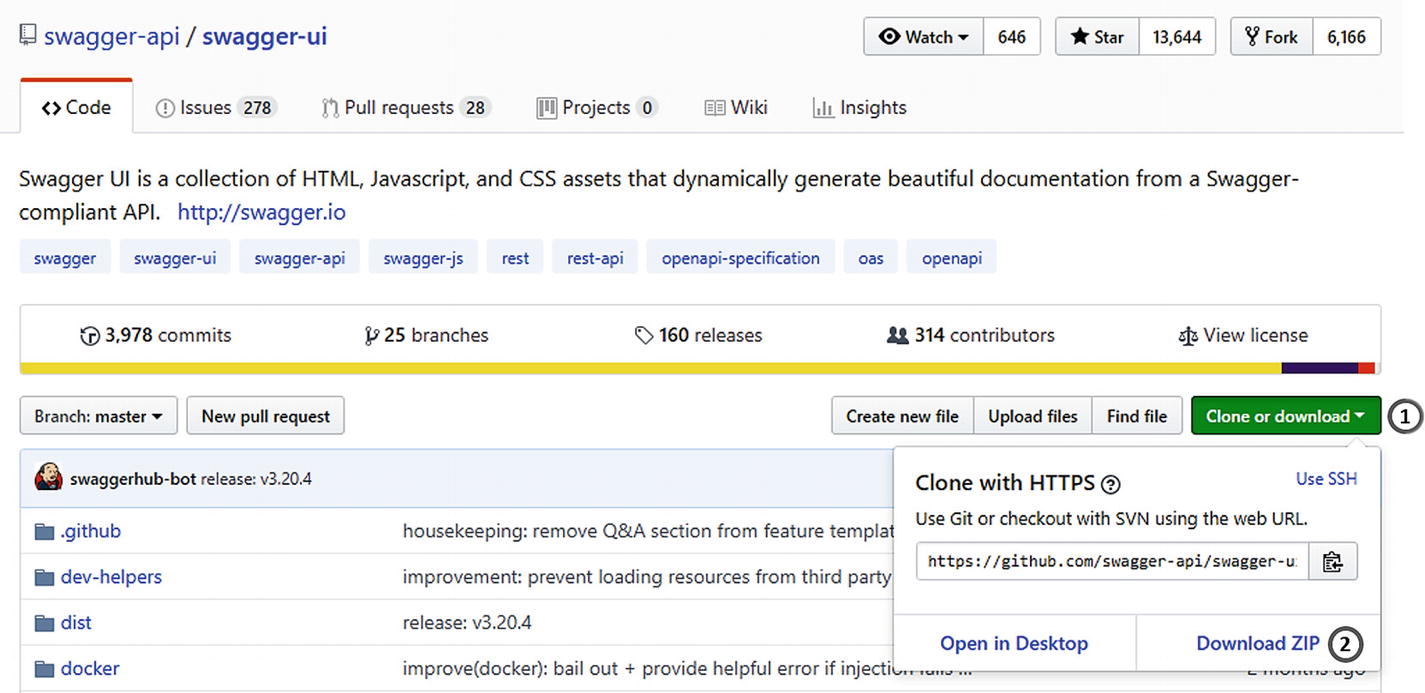
Download Swagger-UI files to your local computer
Since we are not going to compile the source, but only use the UI part of it, we will not need the entire downloaded package. Locate the dist folder in extracted files. Copy and paste this folder out of the main folder and place it in a standalone directory. At this point, you can safely delete the rest of the extracted package if you wish to.
Preparing Distribution Package for Final Upload
At this stage, if you already downloaded the api.yml file, place this file in the dist folder that we separated. There is a file named index.html in the dist folder, which now can be opened for editing in any text editor.
Now let’s change the name of the folder (from dist) to docs for convenience; you can change it to any name you want though. With this change, our API specification package is ready for upload.
Upload API Docs and Make It Live

Live API documentation page
Note the Authorize button at the top of the API. It is for providing authorization details to the UI. If you use the API now, especially the data reading API, you will not get anything in the output, because not providing authentication yields empty output.
The lock icons on each of the API listings indicate that authorization is required.
Authorize and Test API
In Chapter 10, we established a token-based API authorization and authentication. This expects an authorization header with contents as Bearer <token>, where token is an alphanumeric string used for a unique identification of the API caller.

Providing authorization in Swagger UI
If you want to test with a different authorization token, simply click the Authorize button, press Logout, and reauthorize with the new token.
There are several UI configuration parameters, which are explained in the Swagger documentation. These parameters could be utilized to make this UI more interactive and customized to your liking. It will not affect or change anything in the API specification file. If you spend enough time beautifying it, you can take it to a whole new level. However, at this stage, you should be able to test various APIs in our IoT platform on this page.
We now have our API clearly documented and available for developers or users to test interactively. Whenever you add any new endpoint to the platform, you can update the YAML definition in the api.yml file, and the UI will update with a new set of specifications.
Summary
In this chapter, we discussed the documentation method and created an API document for our own platform. Until this point, we had a fully working IoT platform along with the required documentation and all the core functionalities that we planned in the initial chapters. We also established a good and extensible framework, which we can keep improving and expanding as the development, usage, and overall business progresses without disrupting what is working.
In the next chapter, we review what we did throughout, and more importantly, why we did it! I also address a few commonly asked questions in various forums and discuss a few advancements that are in progress, which you might want to add to the platform when you build it.