Shading enables you to transform mere lines and shapes in your drawing into three-dimensional objects. As you read through this book, note how the words shape and form are used. Shape refers to the actual outline of an object, while form refers to its three-dimensional appearance. See the examples in this section.
This is an oval shape.
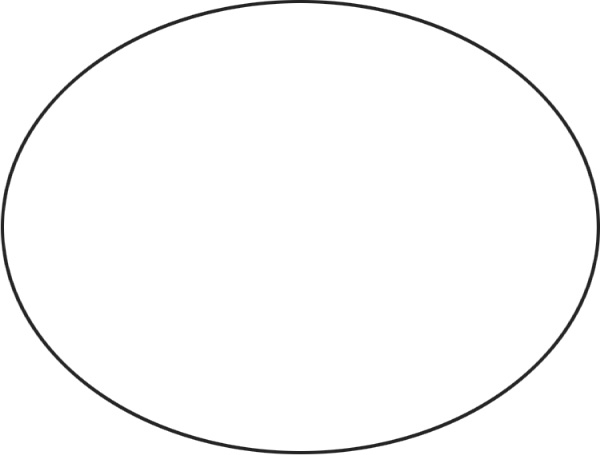
This has a three-dimensional, ball-like form.
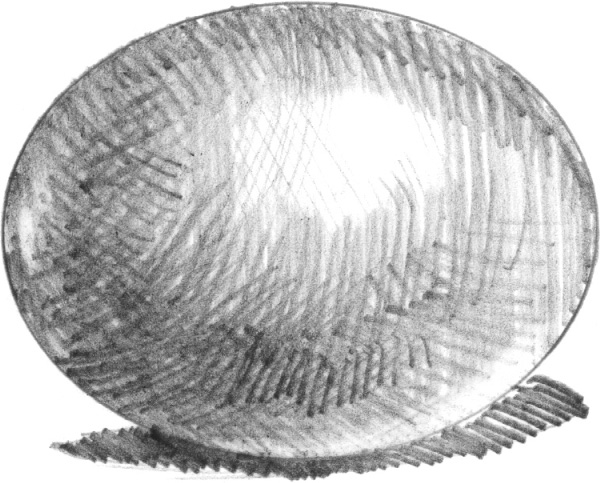
The diagram here illustrates the various shapes of the flower parts, which you should study closely before drawing. With effective shading you can bring out their individual forms.

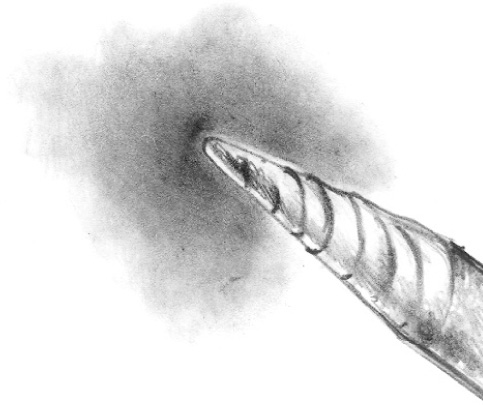
As you shade, follow the angle of the object’s surface, and blend to allow the texture to emerge.
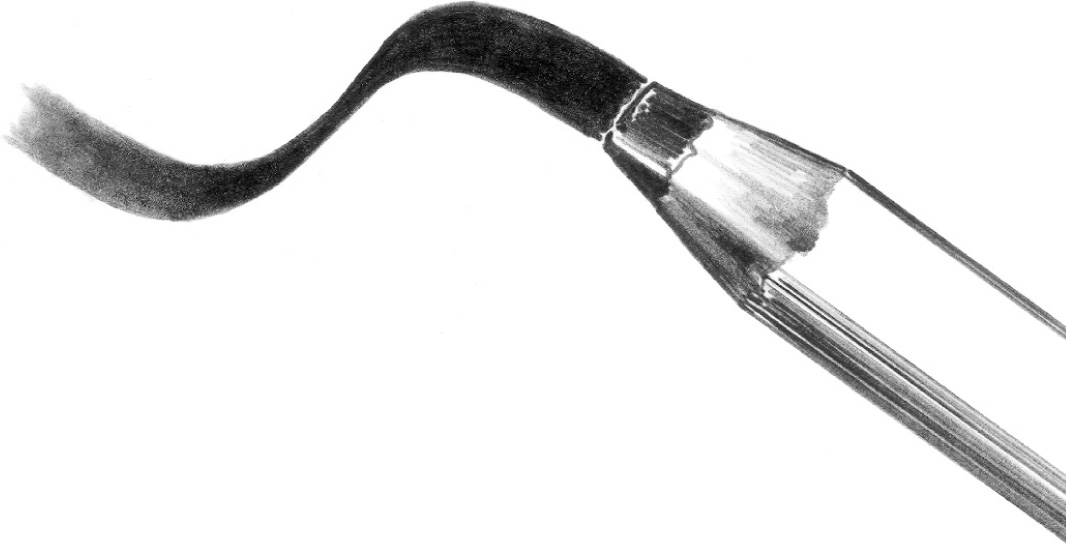
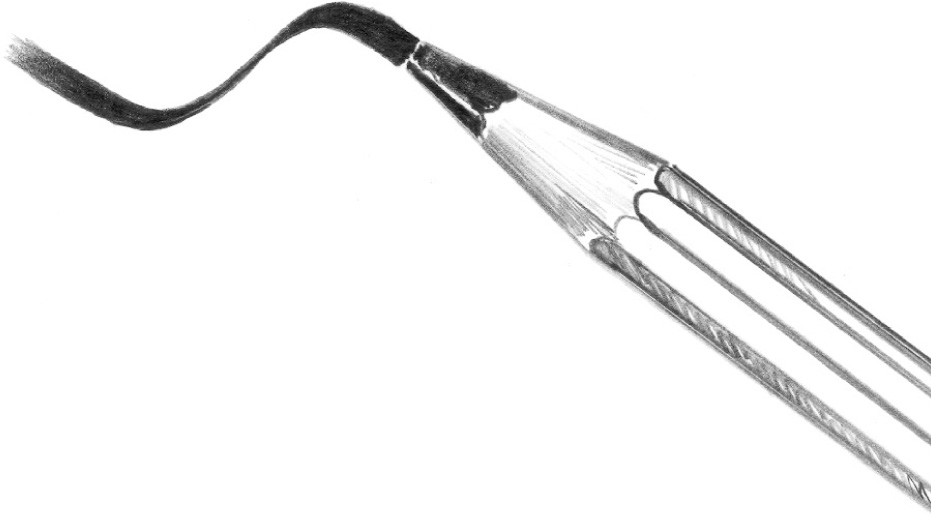
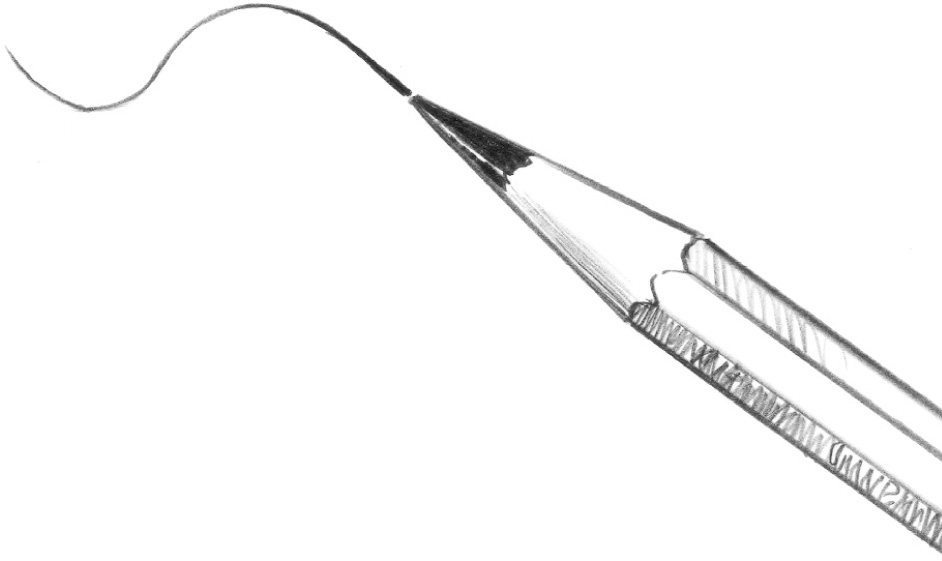
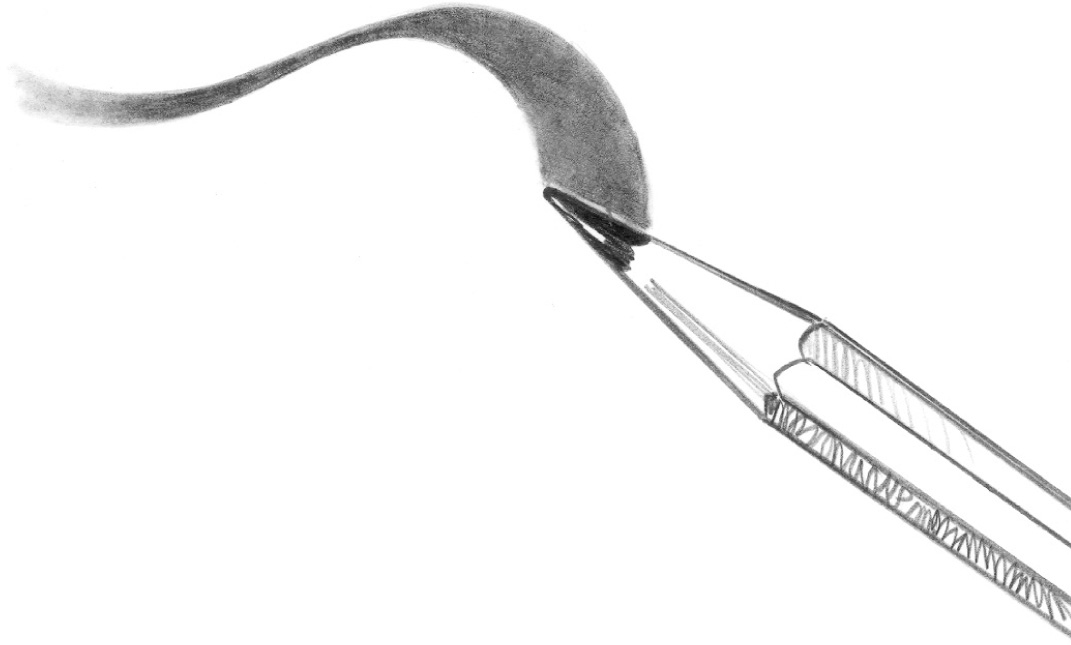
As you can see, pencils can be used with sharp, round, flat, and blunt points, and several techniques can be combined on one surface. The paper stump helps smear the lead, making a blend softer. Experiment and see what kinds of textures you can create on your own.
FLAT SKETCH
ROUND SHARPENED FLAT
TIP OF SHARP ROUND
SIDE OF THE ROUND
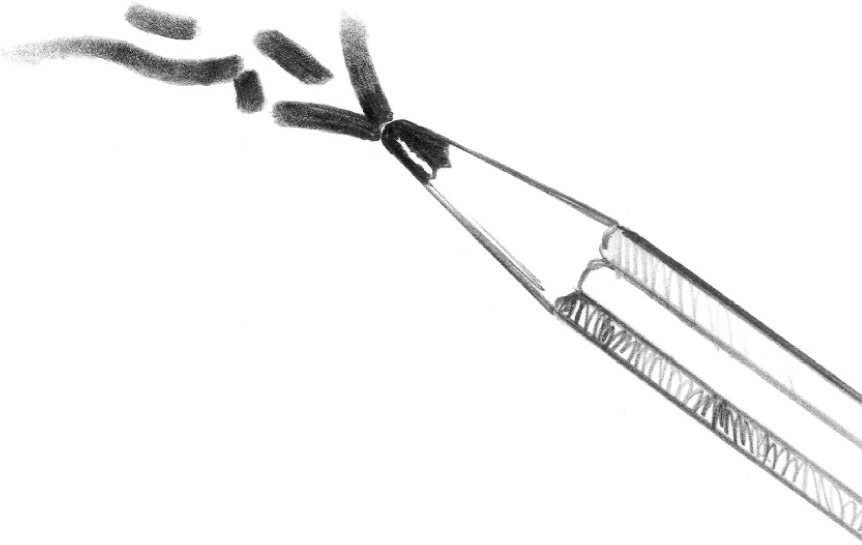
BLUNT ROUND
PAPER STUMP/TORTILLON
Note the different kinds of lines each type of drawing tool can create.

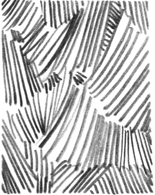
Make patterns like the ones above using the side, rounded tip, and sharpened point of an HB pencil. Shade backgrounds first; then draw patterns over them. Pressing harder creates darker effects.
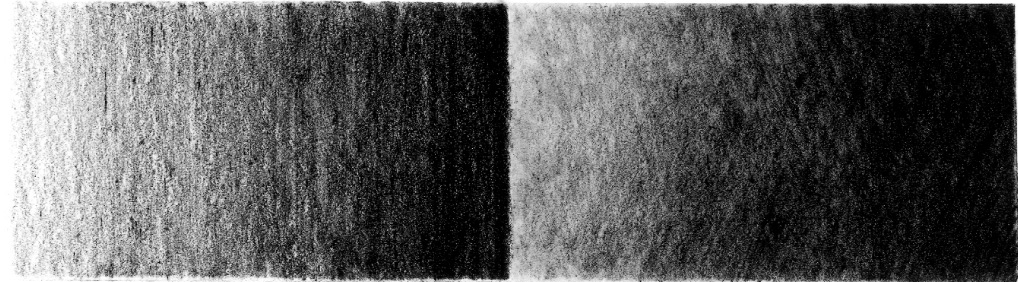
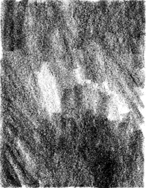
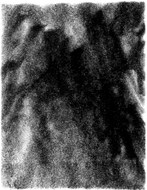
Gradual blends like these above can be created using the side of a 2B pencil. Shade in one direction to make the vertical finish on the left. On the right, see that two “blend angles” produce a smoother finish. Start lightly and increase pressure as you work to the right.
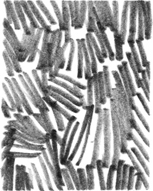
Use a sharp-pointed HB to draw this line pattern.
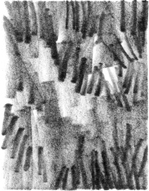
Shade a light background with a round-pointed HB. Then use a sharp-pointed one to draw the darker, short lines over the background.
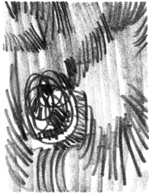
Draw groups of randomly patterned lines using a round HB lead.
Use the side of an HB to shade the background, blend with a paper stump, then add patterned lines over the background.

Create blends and lines like these with a blunt round 2B pencil.
Use the same technique as the left example, then blend softly with your finger or a paper stump.
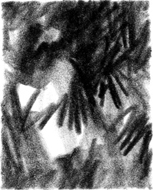
Make lighter background shading using the side of a 2B. Then apply a little more pressure for the darker patterns, varying the pencil angle.