
Now that we've created our inventory and can show it on the GUI, let's set up a test scene and try out our new inventory.
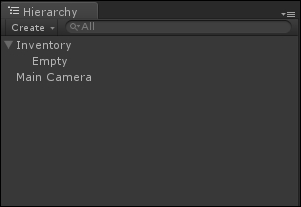
To start off, create a new scene and name it "Chapter 4". After this, create two empty GameObjects, name one of them "Inventory" and the other one "Empty". Drag Empty to Inventory, creating a parent-child relationship. This is what your hierarchy should look like now:
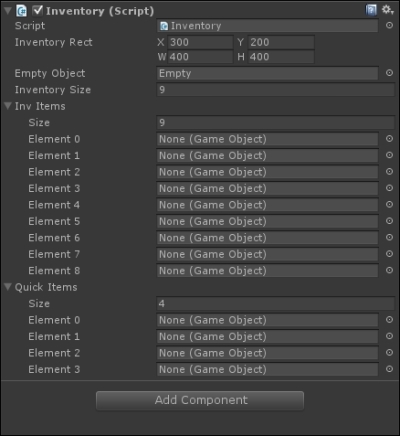
Once you've done this, drag the Inventory script to the Inventory GameObject. Set the X position of Inventory Rect to 300 and its Y position to 200. Then in Inv Items, set the Size value to 9 and in Quick Items set its Size value to 4. After this, drag the Empty GameObject to the empty slot next to Empty Object in the Inspector panel. This is what the Inspector panel of the Inventory GameObject should look like now:
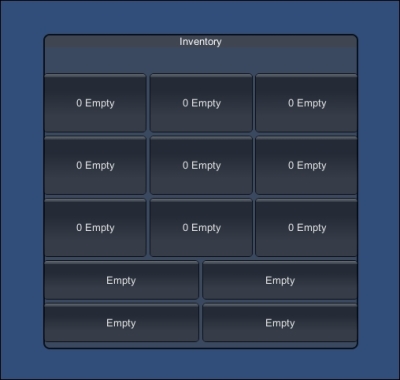
Once you have done this, the scene is ready to be tested. Now run the scene and press the I key; the inventory GUI should pop up on the screen. The GUI should look like what is shown in the following screenshot:
Also, the inspector should look like this:
Our inventory works without any errors! Now let's see whether we can add and remove items just as easily.
To test whether we can add items to our inventory, we're going to add a bit of code to the Update function:
if(Input.GetButtonUp("Fire1"))
{
GameObject test = new GameObject();
test.name = "Sword";
AddToInventory(4, test);
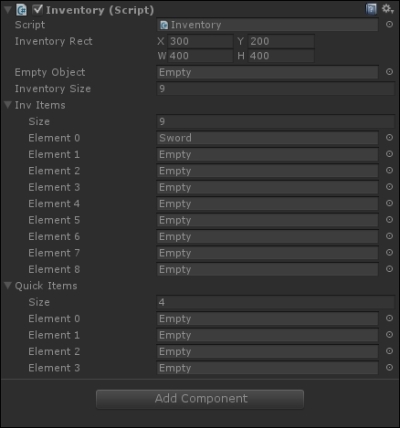
}When we click on the left mouse button, we create a new GameObject. We set the new GameObject's name to "Sword". Then we call the AddToInventory function, passing 4 and test. Here, 4 is the amount that we want to add to the item count and test is the new GameObject that we want to add. Now, run the scene and press I. Once the GUI is visible, click on the left mouse button a few times. Your screen should look something like this:
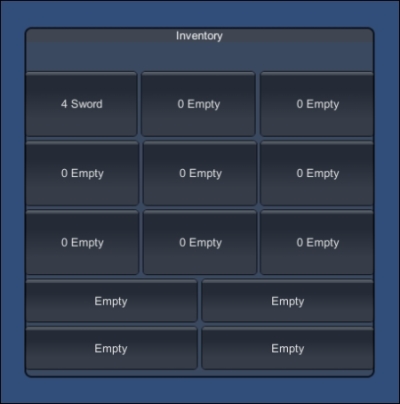
As you can see, the new item is placed in our inventory. The name of the object as well as its amount is shown. Now, you'll notice that in the Inspector panel you have a lot of empty GameObjects added to the scene. This is because you created multiple new GameObjects within your test code. Your Inspector panel should look like what is shown in the previous screenshot as well.
We can now add items to the inventory, so let's see whether we can remove them too. Add this bit of code under our previous test code:
if(Input.GetButtonUp("Fire2"))
{
  GameObject test2 = new GameObject();
  test2.name = "Sword";

  RemoveFromInventory(2, test2);
}
When we click the right mouse button, we again create a new GameObject. We also set its name to "Sword" and then call the RemoveFromInventory function. In the function call, we pass the 2 and the test2 GameObject. Now, when we run our game and click the right mouse button, it will remove two of the sword objects from our inventory. If "Sword" has a value of zero or less, the inventory slot will be set to our Empty object.
To make sure this works, run the scene and left click your mouse a few times to add a bunch of swords to the inventory. Now right-click a few times to remove some swords. You can even remove them until you don't have any swords left and the slot will be empty.