
To wrap up our AI package, we will now finish up the script and add it to the skeleton.
At the beginning of our AI script, we created some variables that we have yet to properly assign. We will do that in the Start function. We will also add the Update function to run our AI code. Add these functions to the bottom of the class:
void Start()
{
  navAgent = GetComponent<NavMeshAgent>();

  Stats.Add(new KeyValuePair<string, int>("Health", 100));
  Stats.Add(new KeyValuePair<string, int>("Speed", 10));
  Stats.Add(new KeyValuePair<string, int>("Damage", 25));
  Stats.Add(new KeyValuePair<string, int>("Agility", 25));
  Stats.Add(new KeyValuePair<string, int>("Accuracy", 60));
}

void Update ()
{
  RunBehaviors();
}
In the Start function, we first assign the navAgent variable by getting the NavMeshAgent component from the GameObject. Next, we add new KeyValuePair variables to the Stats array. The Stats array is now filled with a few stats that we created.
The Update function calls the RunBehaviors function. This is what will keep the AI running; it will run the correct behavior as long as the AI is active.
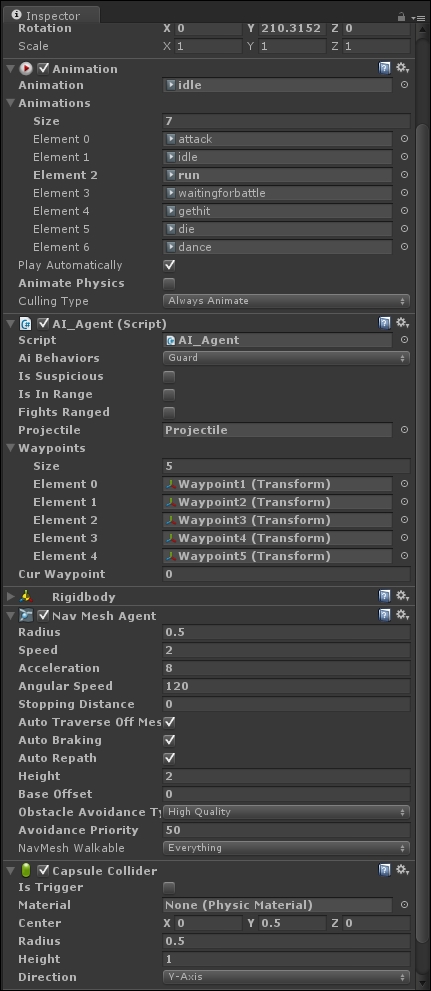
To complete the AI package, we will need to add the script to the skeleton, so drag the script onto the skeleton in the Hierarchy window. In the Size property of the waypoints array, type the number 5 and open up the drop-down list. Starting with Element 0, drag each of the waypoints into the empty slots.
For the projectile, create a sphere GameObject and make it a prefab. Now, drag it onto the empty slot next to Projectile. Finally, set the AI Behaviors to Guard. This will make it so that when you start the scene, your AI will be patrolling. The Inspector window of the skeleton should look something like this:
Your AI is now ready for gameplay! To make sure everything works, we will need to do some playtesting.