
The blueprints editor, like any other editor in the world, has its own hidden tricks that can be useful. This doesn't mean that you wouldn't be productive without it, but these tips and tricks make your life easier and help you progress faster. Since the engine was released, I started to sail in the blueprint editor world to figure out how I can make the best use of it. I found this:
- The thing that most of the users don't know is that the blueprint editor is not limited to using the mouse keys to navigate, manipulate, and connect nodes. There are many hot keys that can help you attain faster work flow. For a full list of the hot keys, you can refer to the documentation at https://docs.unrealengine.com/latest/INT/Engine/Blueprints/UserGuide/CheatSheet/index.html.
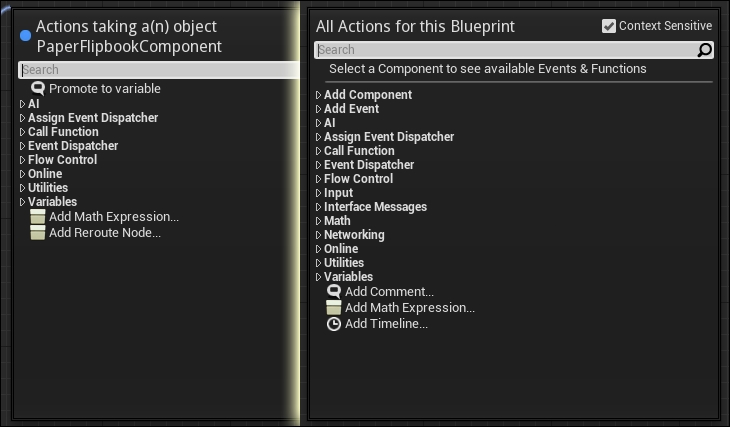
- Inserting nodes using right-click in the editor can be tricky. Right-clicking in an empty area will show you the nodes menu named All Actions for this Blueprint with all of the available nodes in the Unreal Engine editor for the current blueprint. This might be too complex for you sometimes, especially if you are a new developer.
However, when you draw a line from an output node, you will find a small tooltip with the text Place a new node. If you release the mouse button in an empty area, the menu that appears named with the dragged node name (in my case Flipbook), contains only those nodes that can fit and work correctly with the output socket you used for this drag action.
- When you use custom functions or events, if you double-click on the function/call, it will move your graph to show you the original function/ structure so that you can make changes to it. It is a very useful trick, which can save much of your time if your graphs are gigantic.
- When you add a new variable, let's say a Boolean (which means it is a variable that takes either a
TrueorFalsevalue), you will be unable to set a variable's default value until you press the Compile button in the top-left corner of the editor. So, as with the code, you need to compile and run to see the result, but in a faster way. Then the question mark on the button will change to a true green mark post, after which the default values will be editable.
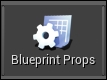
- After making a blueprint from any class type, let's say Character Blueprint, you will still be able to change the blueprint to a different class type. Sometimes, there will be some nodes that will be missed as not all of the blueprint classes share the same nodes, and sometimes you will get errors that need to be fixed; but at the end of the day, you can change a blueprint from a class type to another class type. All you have to do is click on the Blueprint Props button from the top shelf of your blueprint graph editor and this will activate a panel on your right-hand side.
In this new panel, you need to change Parent Class to any desired class. To be sure that the change has been made correctly, you will find that
Character.hor whatever the first class name in the top-right corner of the graph editor will change to the new class name.