
It is possible to use custom backgrounds in Tableau. This is useful when we are visualizing data that can be mapped onto a custom image, such as a floor plan or points of interest in a specific venue or conference.
In this recipe, we will use a custom background with Tableau, showing some sushi-related names for beginners:
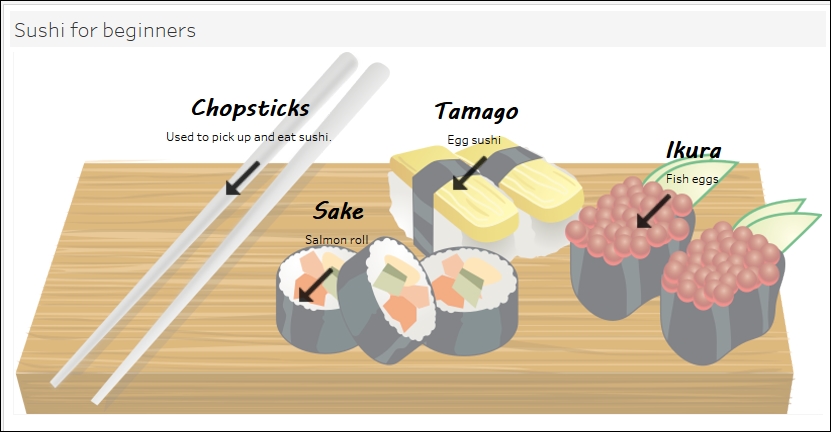
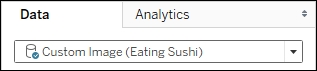
To follow this recipe, open B05527_05 – STARTER.twbx. Use the worksheet called Custom Background Image, and connect to the Custom Image (Eating Sushi) data source:
For this recipe, you also need to save the image, sushionaboard-800px.png, to a local folder. Remember the location of this image, as we will need to refer to it in the steps.
Here are the steps to create the view:
- While connected to the Custom Image (Eating Sushi)… data source, create a new worksheet.
- Go to the Map Menu, and under Background Images, click on Custom Image (Eating Sushi)…:

- In the Add Background Image window, do the following:
- For File or URL, use the
sushionaboard-800px.pngimage - For the X Field, select X and set Left to
0and Right to100 - For the Y Field, select Y and set Bottom to
0and Top to100:

- For File or URL, use the
- Click OK when done.
- Drag X to Columns and Y to Rows.
- Go to the Analysis menu, and uncheck Aggregate Measures. You should notice that only X and Y (not the aggregated format) are in your Columns and Rows shelves, respectively:

- Change the X and Y axes so they are each fixed from
0to100. To do this, you can right-click on each of the axes and select Edit Axis:
- In the Marks card, change mark to Shape.
- Click on Shape in the Marks card, and change the Shape Palette to thin arrows. Select a diagonal left-downward pointing thin arrow:

- Increase the size of the marks so that the arrows appear bigger and more visible. To do this, click on Size in the Marks card, and move the slider a little bit to the right.
- From Dimensions, drag Name and Description to Label. Format the label so that Name is in bold font, and is bigger than Description.
There are cases when we still want to map our points, but we need to map them on our own custom map or our own custom images. For example, if we needed to plot some measures against a floor plan or a park map, we cannot take advantage of Tableau's built-in geocoding database because we need to map coordinates that are specific to our floor plan or park map.
To use a background image, we can use the Background Images option under the Map menu to load a background image for a specific data source.

Once the image is loaded, we are also going to need to identify the fields in the data source that correspond to the X and Y coordinates:

In this recipe, we needed to figure out ahead of time what our x and y coordinates are relative to our custom sushi image. There are a few ways to do this.
One option is to load an Excel file into Tableau that has X and Y fields and one sample row of data, as follows:

Once we attach the background, we can use the point annotation in Tableau to mark the x and y values, and record them back into the Excel file:

Another way is to use the drawing tool for Tableau to get the coordinates, similar to what we did in the Mapping custom polygons recipe in this chapter. Instead of the Maps option, we can use the Images option and provide the URL to the image. As we select points, the x and y coordinates are recorded in the bottom section of the page:

Yet another alternative is to use your preferred photo editor. You can get the dimensions of the image there, and record the x and y coordinates from there.