Chapter 2: Prepping for Illustrator
Although it isn't overly complex to get started in Illustrator, there are several things you can do to improve your results. To begin a file, it's as easy as just hitting the Create new button on the left panel of the software's home screen. Once you do that, the New Document screen pops up with several additional choices for you as you prepare your document.
In this chapter, we are going to discuss developing a plan, consideration for output media, and utilizing a logical digital asset management (DAM) plan for keeping track of all your work and keeping your computer running fast.
To accomplish this, the chapter will be divided into the following main topics:
- Developing a plan
- Utilizing resources
- Media categories
- Artboards and Bleed
- RAM, scratch disks, and GPU performance
- DAM plan for organization and computer maintenance
Technical requirements
To complete this chapter, you will need the following:
- A sketchbook and drawing materials of your choice
- Adobe Illustrator 2022 (version 26.0 or above)
- High-quality internet access may be required for some situations
Developing a plan
A crucial part of beginning any task is having a plan in mind. When struggling to create in digital media, you should consider stepping aside from technology and developing the concept first, whether that be in the form of sketches or research (or a combination of both).
Sketchbooks are an ideal tool for starting your creative workflow. They allow you to fluidly conceptualize your design and make a multitude of variations with little time lost. They also allow you to quickly get your ideas down on paper and then you can later transfer them into Illustrator for further editing.
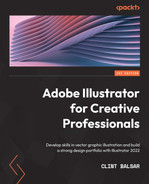
Illustrator allows you to bring in any raster-based image you want to work with. After importing the image into the desired layer, you can change it into a template layer, and it will automatically lock and dim the layer. In the Layers custom settings, you can dim the image to whatever works best for your specific situation. Note the change in the layer icon for the bottom layer that has been changed to a Template layer using the Layers panel's contextual menu:
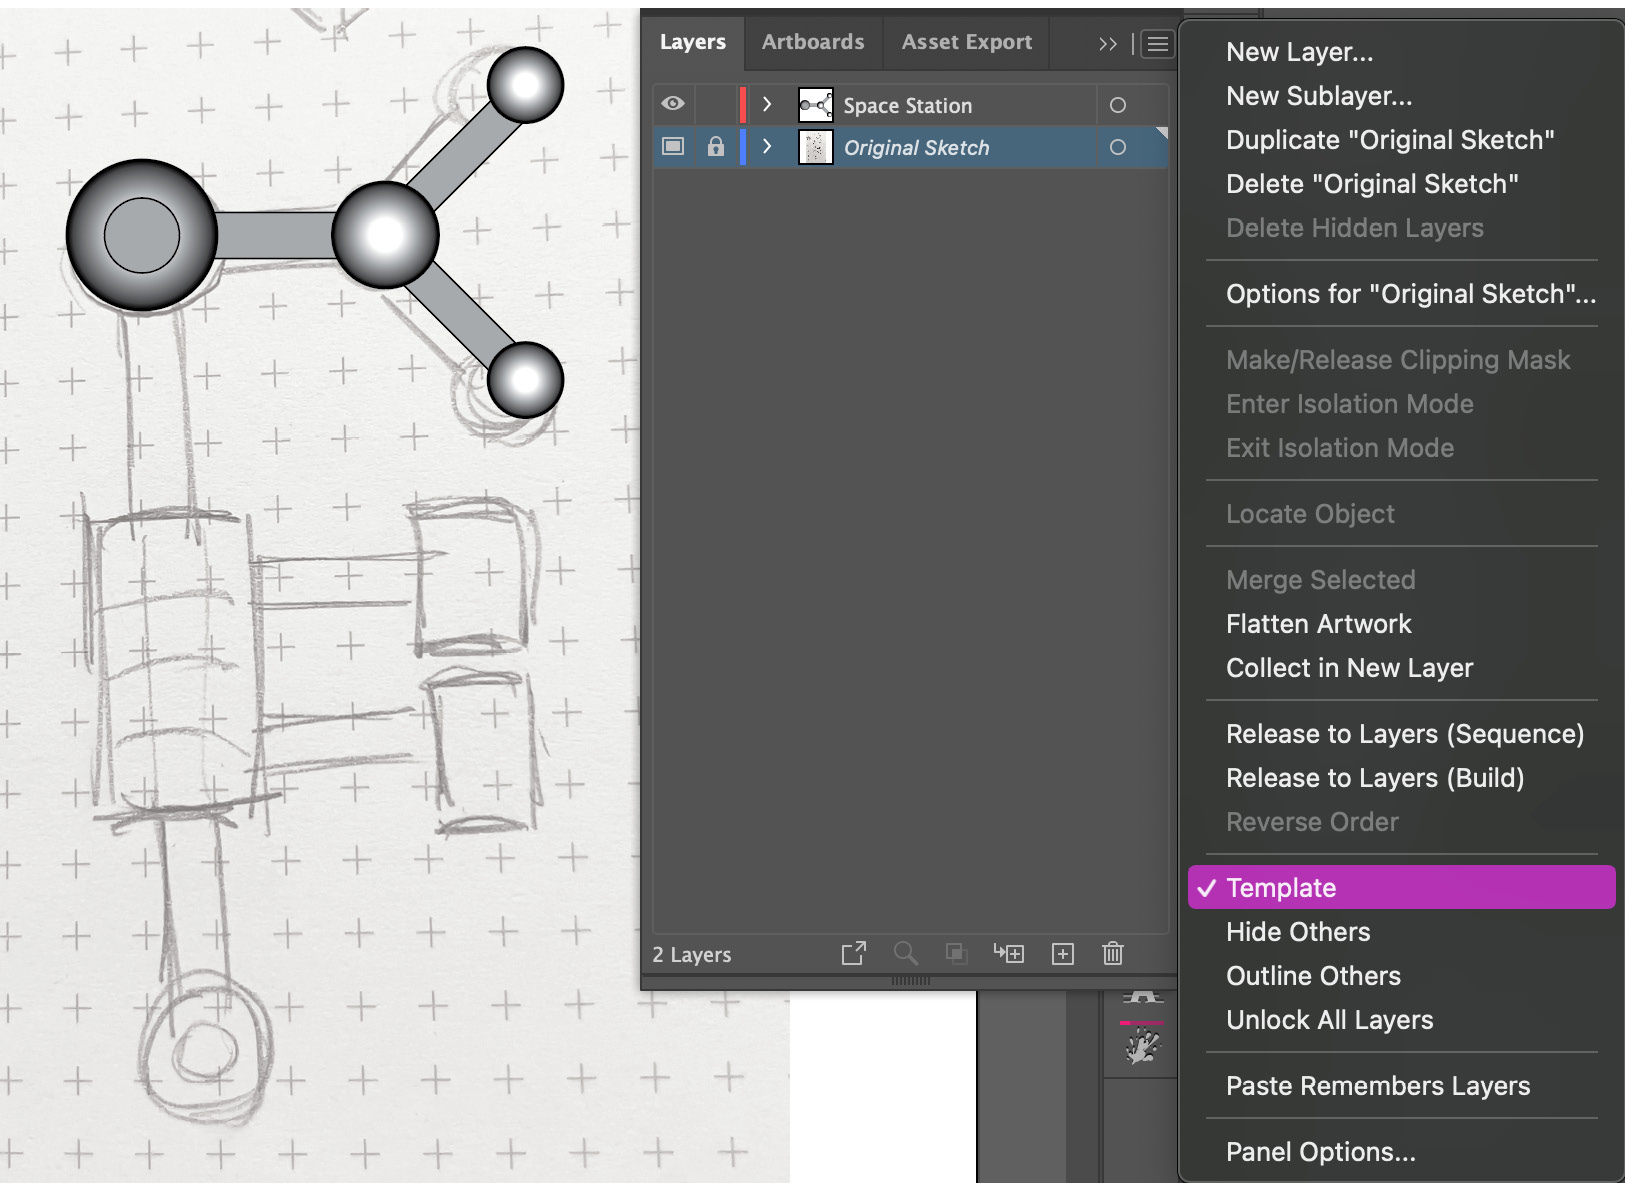
Figure 2.1 – Creating a template layer from a sketch
After changing the layer to Template, you can now further adjust it in the following ways:
- Under the Layers panel's contextual menu, you can choose Options for "name of layer" to find several options for layers, including Dim Images to for any Template layer. This allows you to soften the contrast of the image, giving it the appearance of tracing paper, but it does not change its opacity. Since the Template layer remains 100% opaque, you will need it to be the bottom layer.
- Turn on Grid using either the Properties panel or Ctrl/Command + ' (you may choose to uncheck Grids in Back in the Preferences panel to allow it to be on top of all layers).
- Turn on Rulers using either the Properties panel or Ctrl/Command + R.
- Turn on Guides with either the Properties panel or Ctrl/Command + ; (semicolon).
- Turn off the Template view with Shift + Ctrl/Command + W.
It may feel a bit like tracing paper, but remember you are actually creating your vector work on top of the Template layer.
The key point I want you to take away from this is that great ideas come from you and not the technology. Sketching allows you to process a concept (and its iterations) much faster than going directly to Illustrator. It often allows a more creative idea to come out because you aren't fixated on how to do something in the software, but instead, are focused on what you would like the final output to look like. Of course, the more you look at good designs, the more you will possess good ideas for what you want your work to look like.
Utilizing resources
Another way to feel more prepared to use Illustrator and continually keep your work at its peak level is to keep an eye out for techniques and trends of other creatives. There are a lot of resources out there to choose from that allow you to be inspired. You can still be creative and original while using these resources to learn from other artists.
The following is a short list of a few I would highly recommend:
- Adobe's portfolio site, Behance (https://www.behance.net):

Figure 2.2 – Behance website
- Another excellent portfolio site, Dribbble (https://dribbble.com):
Figure 2.3 – Dribbble website
Figure 2.4 – Logo Modernism, by Jens Muller
- A book chock-full of design inspiration, Pretty Much Everything, by Aaron Draplin:
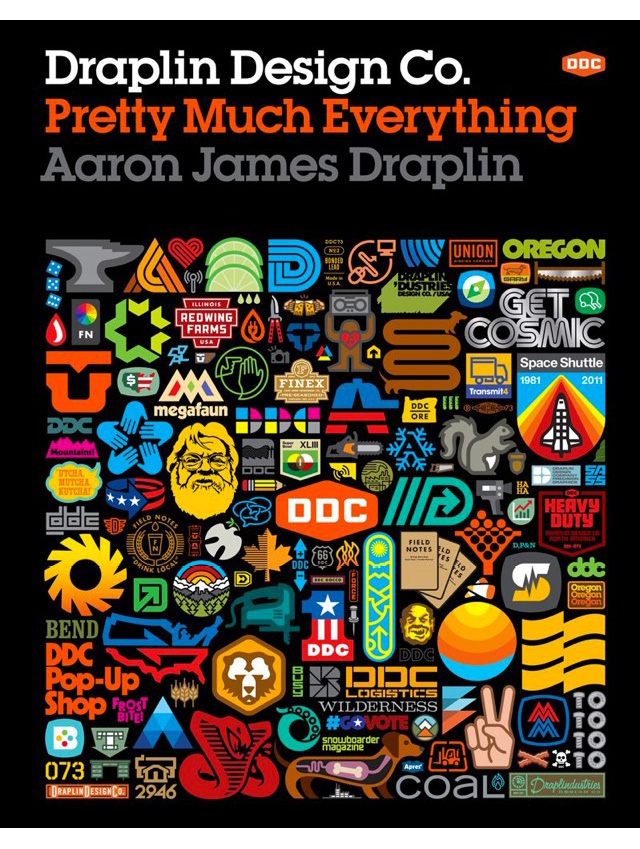
Figure 2.5 – Pretty Much Everything, by Aaron Draplin
- A subscription site for iconography, The Noun Project (https://thenounproject.com):
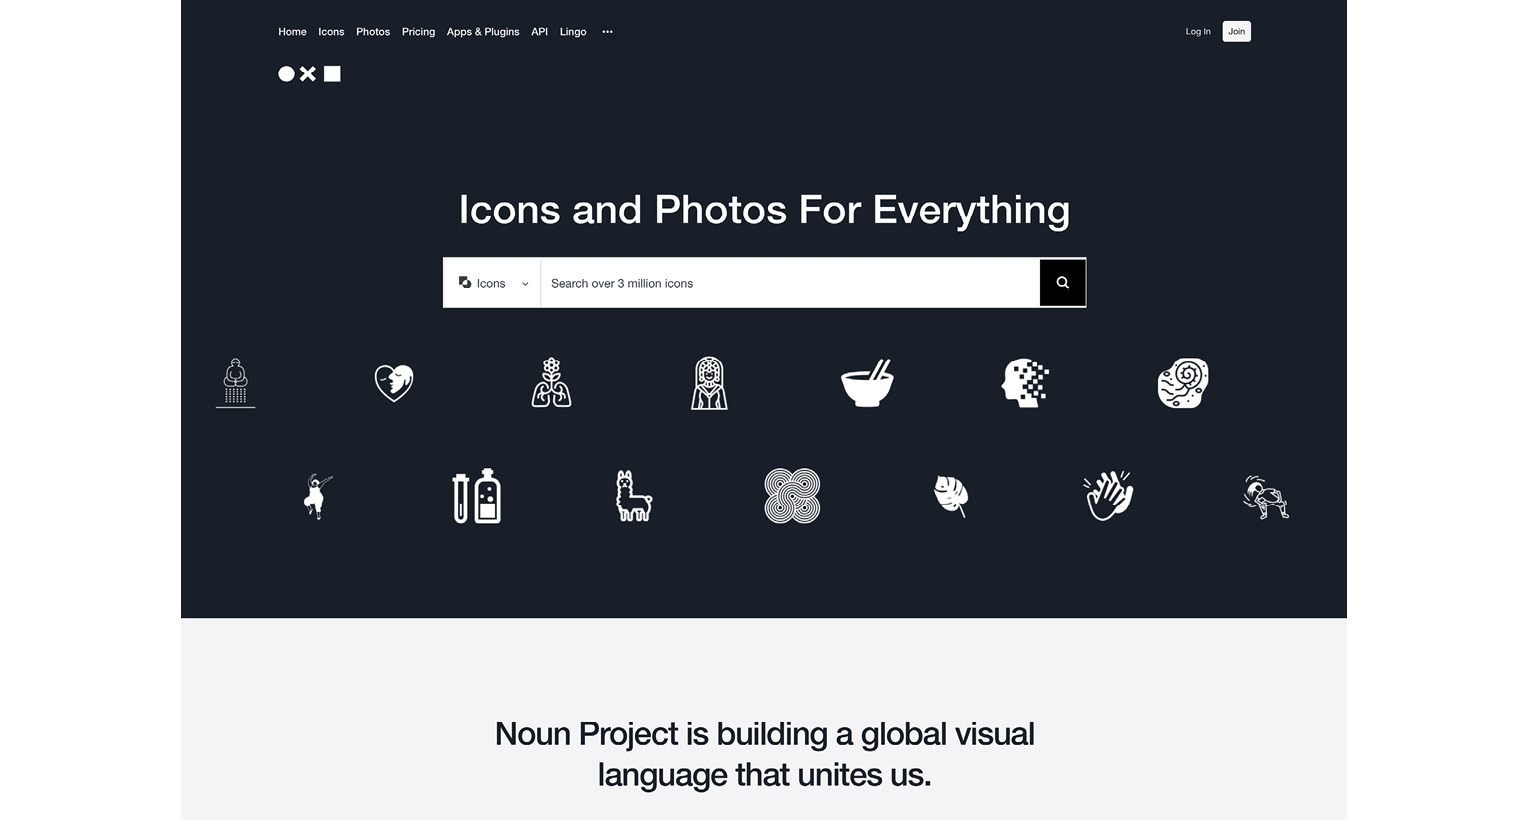
Figure 2.6 – The Noun Project website
- An excellent set of plugins, Astute Graphics (https://astutegraphics.com):
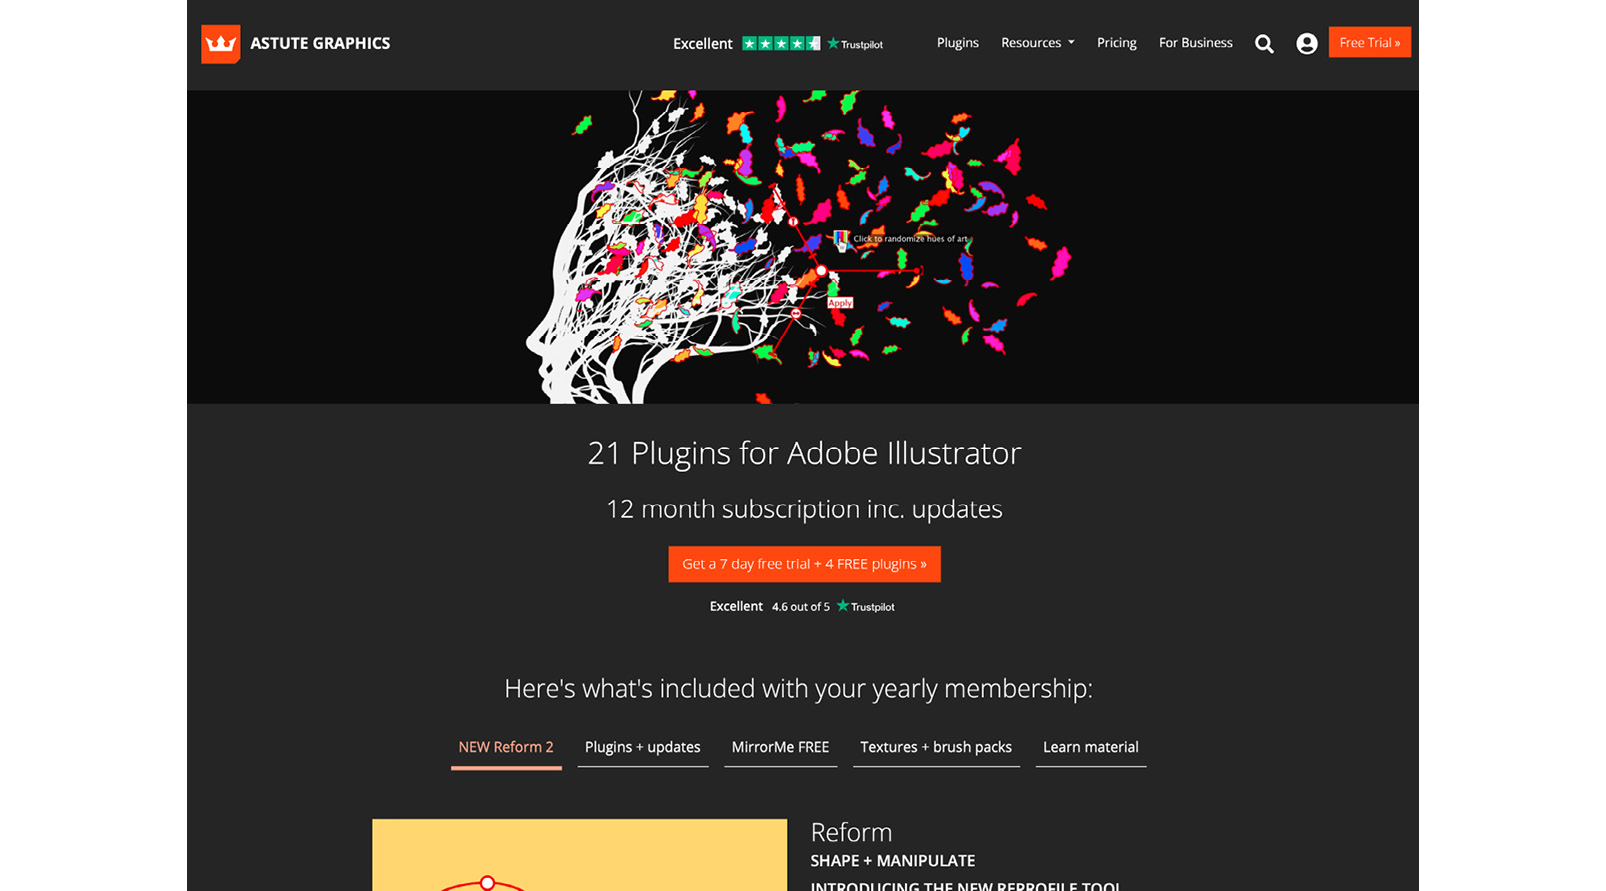
Figure 2.7 – Astute Graphics website
Of course, there are countless additional sources for inspiration and training: YouTube, Skillshare, workshops, podcasts, books, websites, and more! Just remember to enjoy the preparation as much as the creation and see how much your work improves. Once you feel prepared, it's time to choose which type of media you'll need for your file.
Media types
Once you have initiated Illustrator, you will be greeted with a welcome screen, which includes the following categories at the top of the New Document screen:
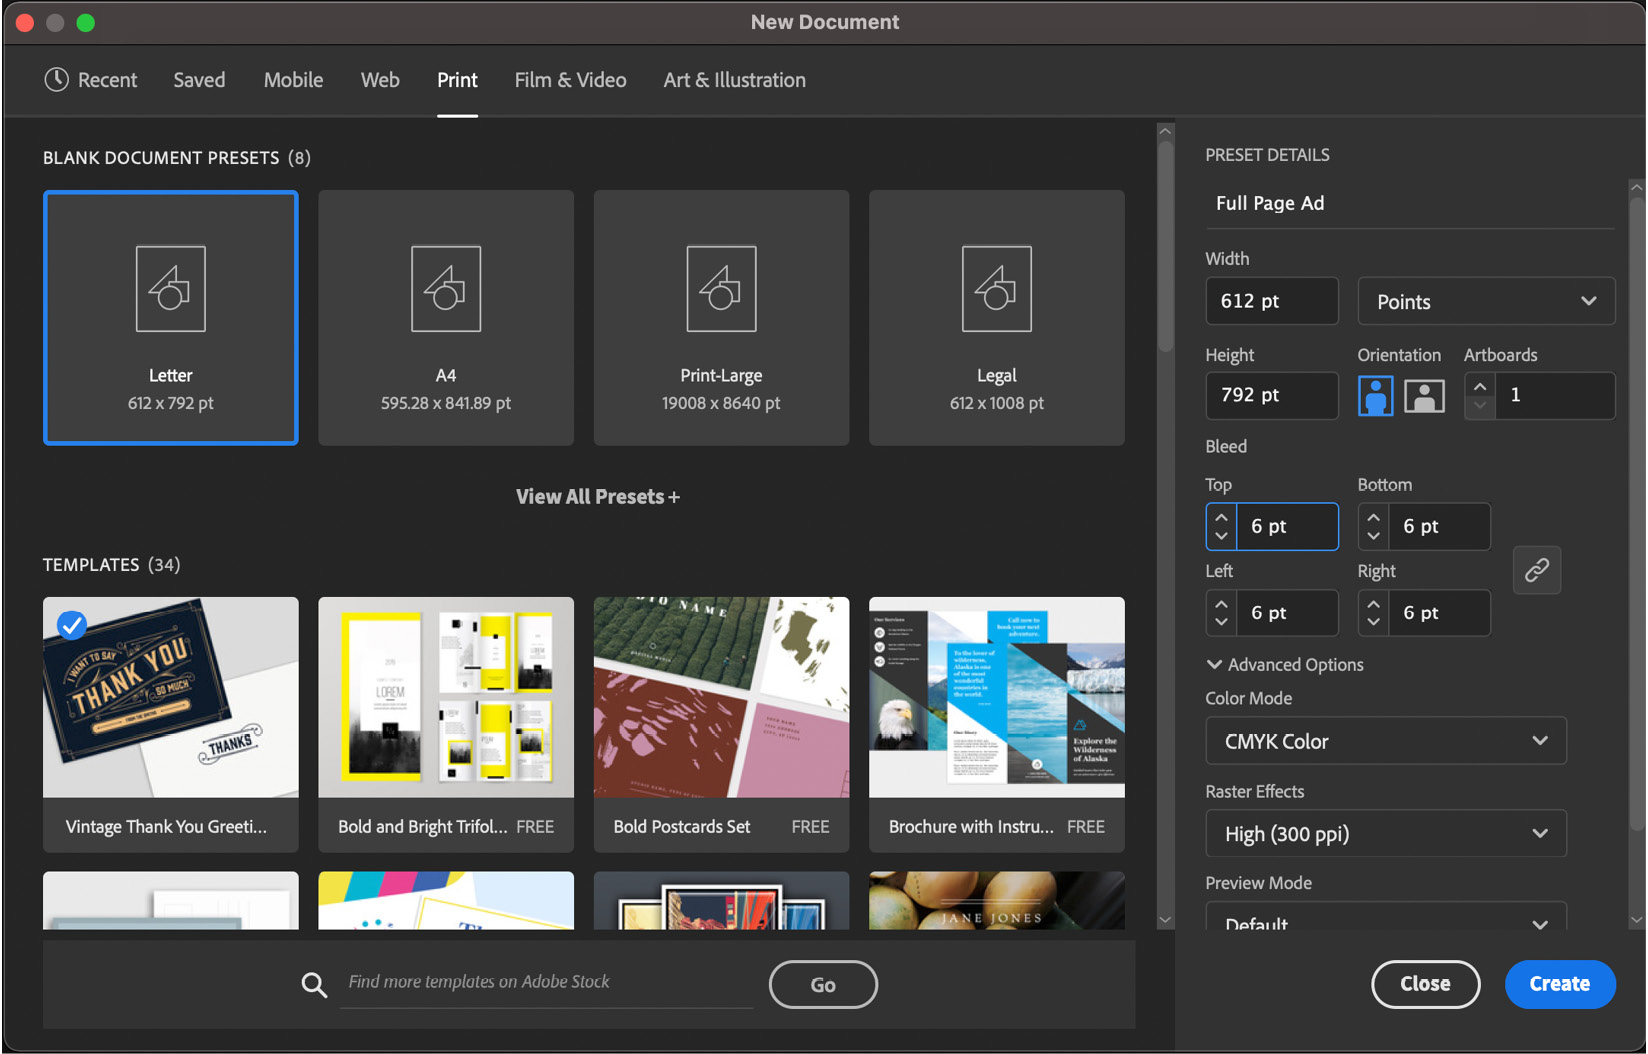
Figure 2.8 – The New Document screen
The New Document screen keeps track of any recent files you have been working on as well as any templates you have downloaded from Adobe Stock. Aside from the Recent and Saved categories, there are five additional media categories from which you can choose: Mobile, Web, Print, Film & Video, and Art & Illustration. Each of these media categories offers you several preformatted templates, each of which has their own specific purpose. Generally, these fall into two camps: items for print, and items for screen output. There is an exception though. In both the Print and the Art & Illustration categories, you will be offered several templates that offer common print sizes, but the Art & Illustration category is often set up for better screen viewing. Of course, you can adjust any of the document settings after they have been created if your or your client's intent for it has changed.
Although you will still be able to make further adjustments within the software, it is good practice to consider the output of your file as you are creating it. It develops good work habits where less needs to be decided when preparing to distribute the file for its ultimate purpose. If the intent of the file hasn't changed (that is, it is still intended for print), then simply saving the file with a keyboard shortcut of Shift + Ctrl/Command + S is all you need. This will bring up the Save As dialog screen, where you can choose the location you would like the file saved to.
Depending on the intent and/or media type, the next two options – Artboards, then Bleed – may prove to be very helpful tools available to you in your document.
Artboards
Artboards retain your art to the chosen media's resolution or proportion. With the ability to have multiple artboards, we have additional leverages. Artboards can be used in a multitude of ways, but let's go over a few popular methods for their use:
- View options
- Multiple artboards within one file
- Combination of different-sized artboards in a single file
- Combination of Landscape and Portrait mode artboards in a single file
Let's take a look at each method.
View options
Let's go over the view options first. After selecting Artboard Tool (Shift + O) from your toolbar, you will find that the Properties panel now presents an Artboard Options button to you under Quick Actions.
This will allow you to add a couple of valuable guides to your artboard view. Under the Display section of the panel, you can add a check mark to Show Center Mark, Show Cross Hairs, and Show Video Safe Areas (if you are working on video content). The Center Mark and Cross Hairs options allow you to better align content, as you will now see these elements continually on your artboard as a faint green guide, as shown here:
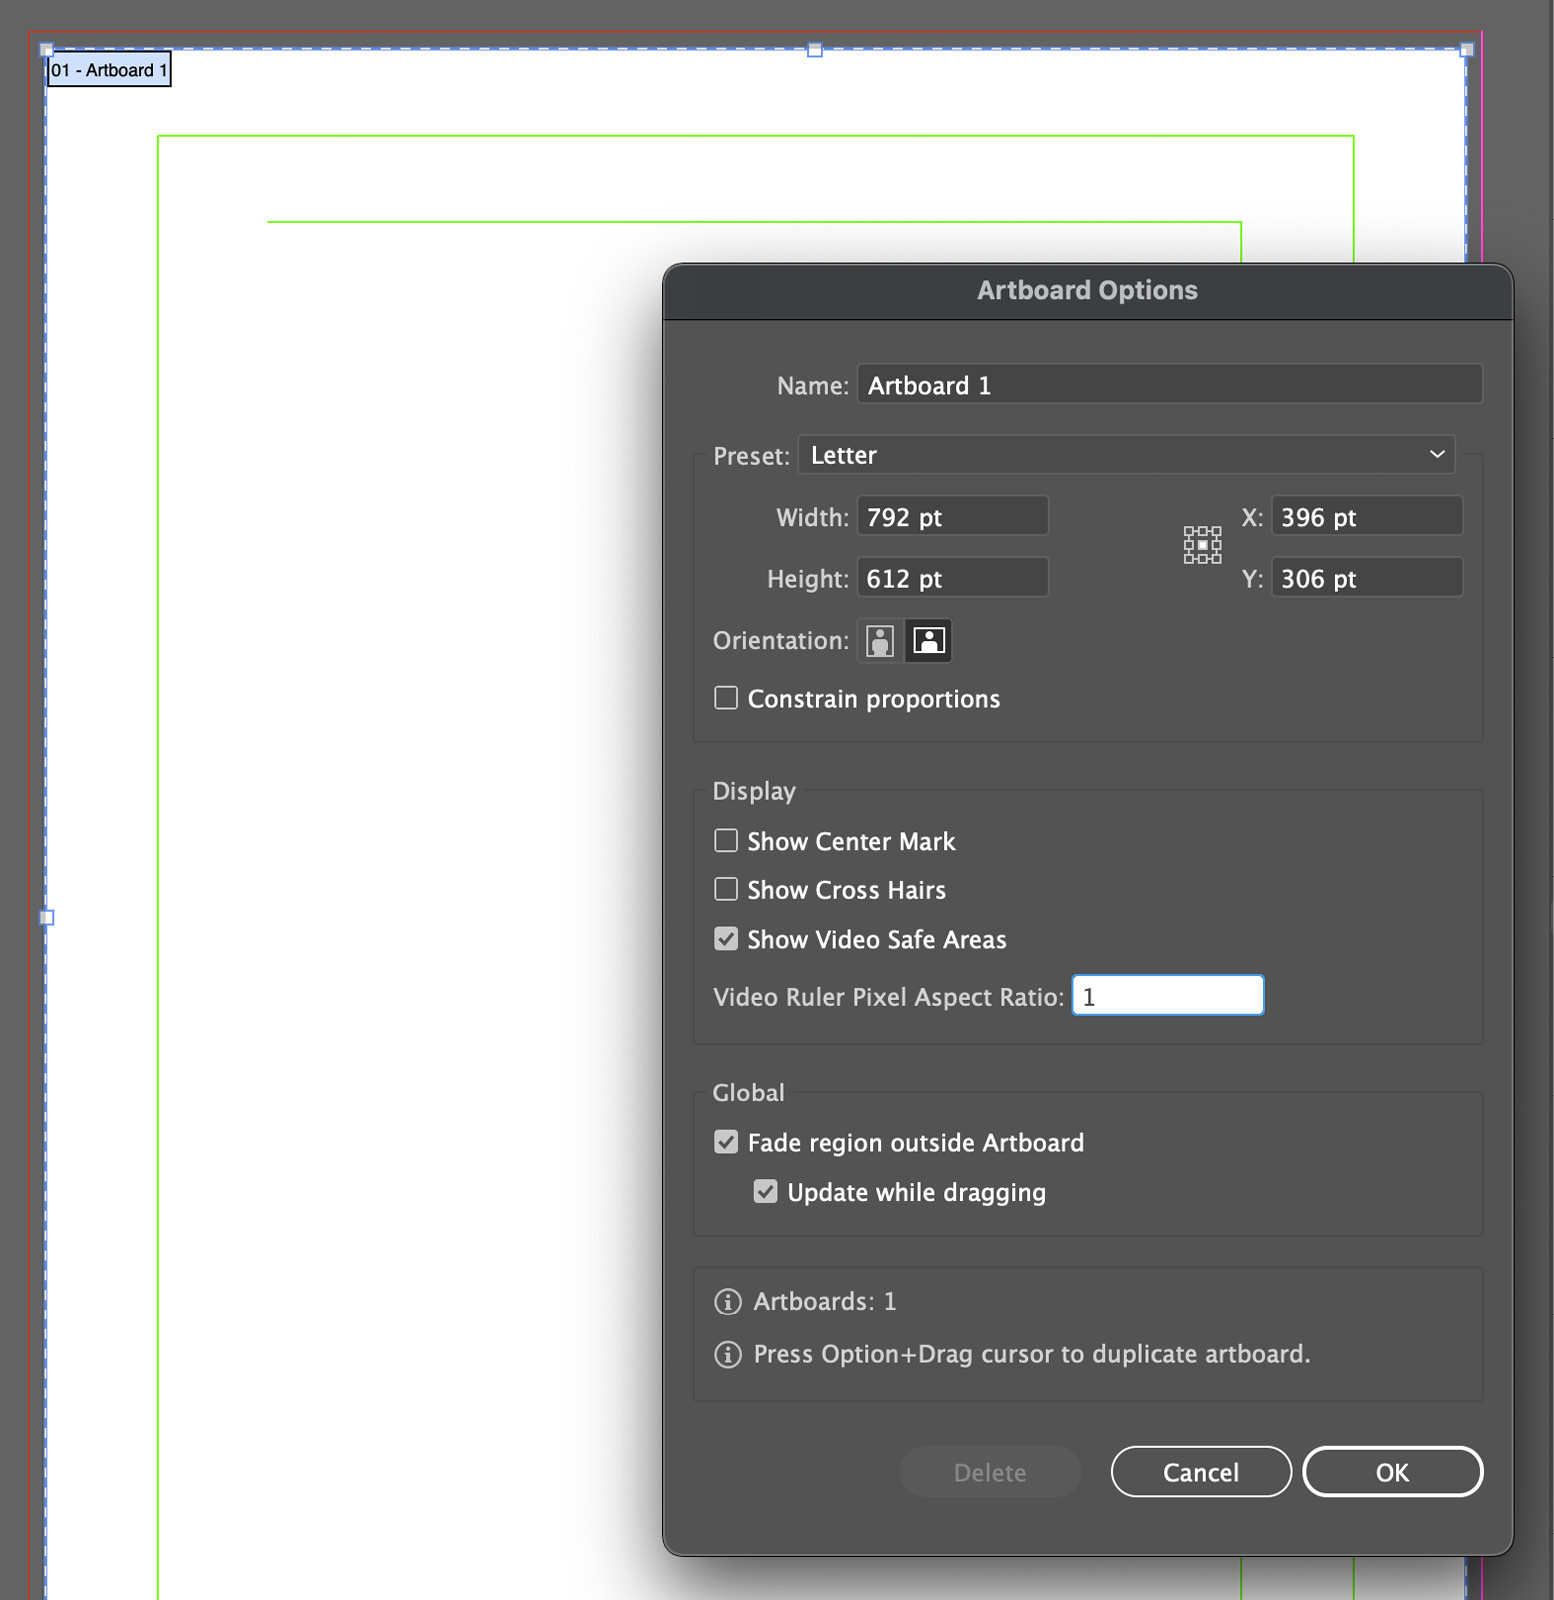
Figure 2.9 – View options for artboards
Although the Video Safe Areas were developed for TV broadcasts that would be presented on tube televisions, those devices are now few and far between. However, it is still recommended for video content creation, as this content is often adjusted and stretched from 4:3 to varied HD resolutions, and some content may be affected negatively.
If you are unfamiliar with what these guides represent, they represent three areas and their intended content:
- The innermost box is the title-safe area.
- The next box is the action-safe area.
- The area between the border of the action-safe area and the border of the artboard is the overscan (invisible) area.
These guides are represented as green lines in the following figure:
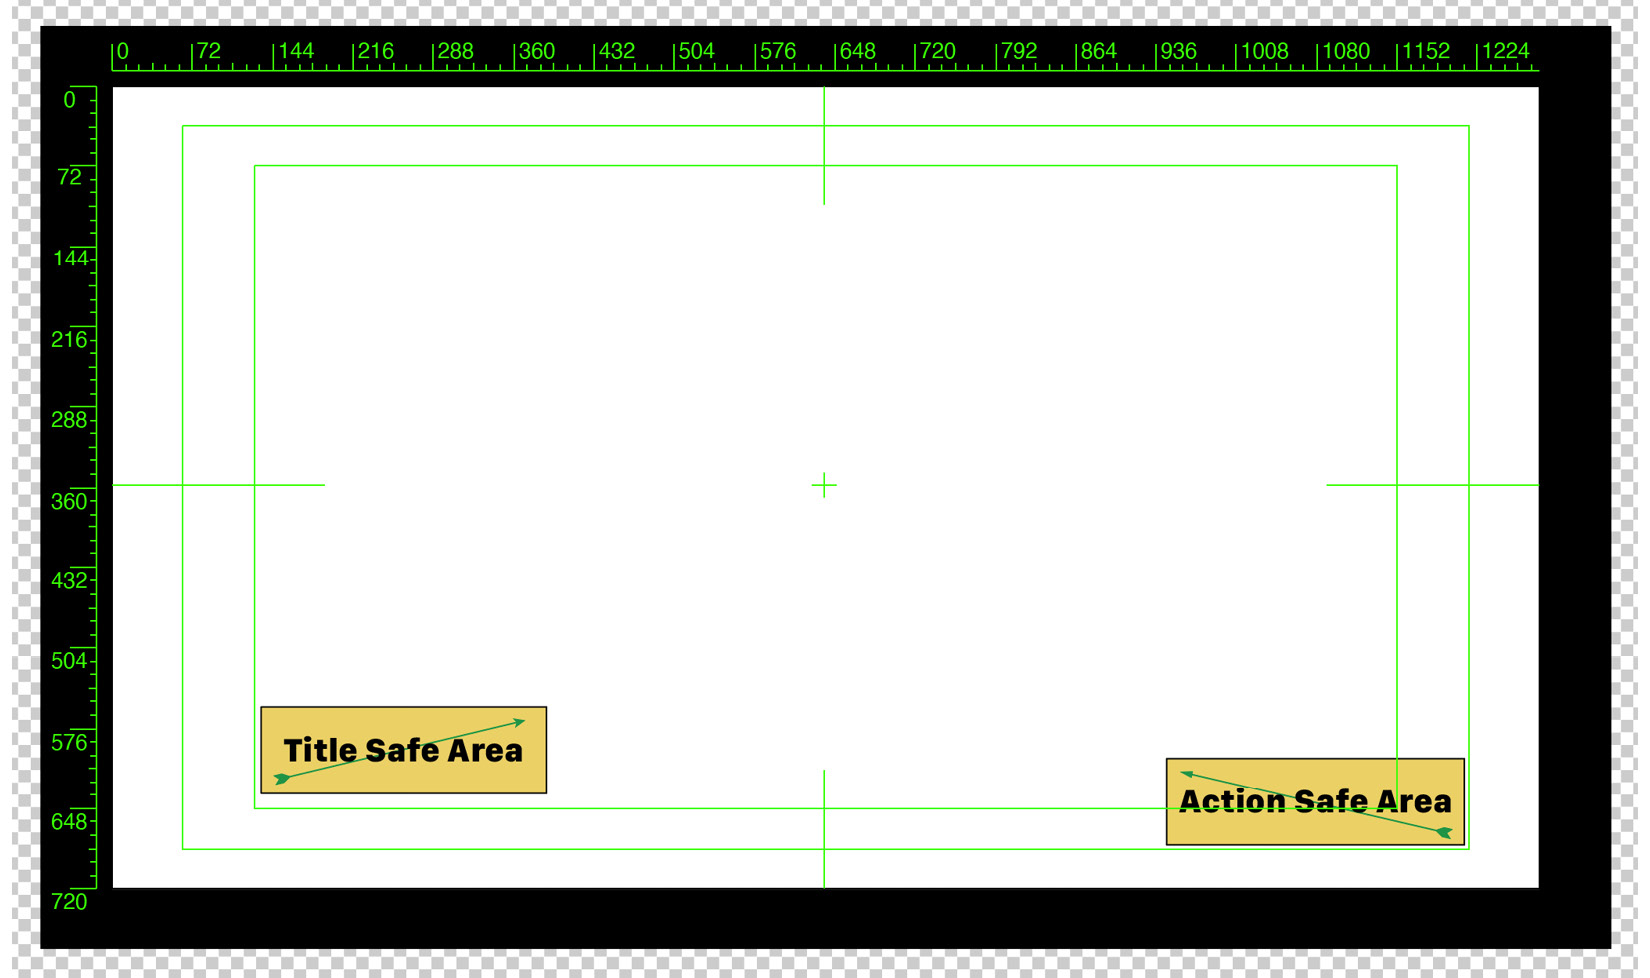
Figure 2.10 – Video Safe Area view option for artboards
The overscan area was given the nickname "invisible area" because, although it would indeed be part of the broadcast transmission, tube TVs would not be able to show that part of the broadcast. The action-safe area was thought to be the part of the video that most screens would be able to present to their viewers, but the title-safe area was used so that all TVs would be able to present text content without any clipping in this area. This was because the different manufacturers did not create their tube televisions to the same standard. Today's flat-screen televisions can present near edge-to-edge video from the television transmission, but it is still recommended that you consider the safe areas. This is even more important if you are making the content for streaming, as the device and/or end user may adjust the video player from its original aspect ratio and scale.
Multiple artboards within one file
You can think of this option as having multiple documents inside one file. To create additional artboards, you can use the Properties panel (be sure that no object(s) are selected). You should see an Edit Artboards button that will then adjust the Properties panel and allow for more artboard customization.
Here, you should see a group of four icons: the New Artboard icon, the Delete Artboard icon, and the Portrait and Landscape icons. Directly to their left, you will find that you can also choose a preset and name for the currently selected artboard.
Selecting the New Artboard button is one of the quickest ways to add an additional blank artboard to your current file. You can also tell Illustrator to create multiple boards when you are first setting up your document, under the Create New prompt.
You can view the artboards in the Artboards panel; it is often located beside the Layers panel, but if it isn't available, you can always find it (or any panel) alphabetically under the Window menu at the top of the interface. One benefit of having multiple artboards is that it allows you to host variations of a design within one file. The following screenshot shows the panel's location:
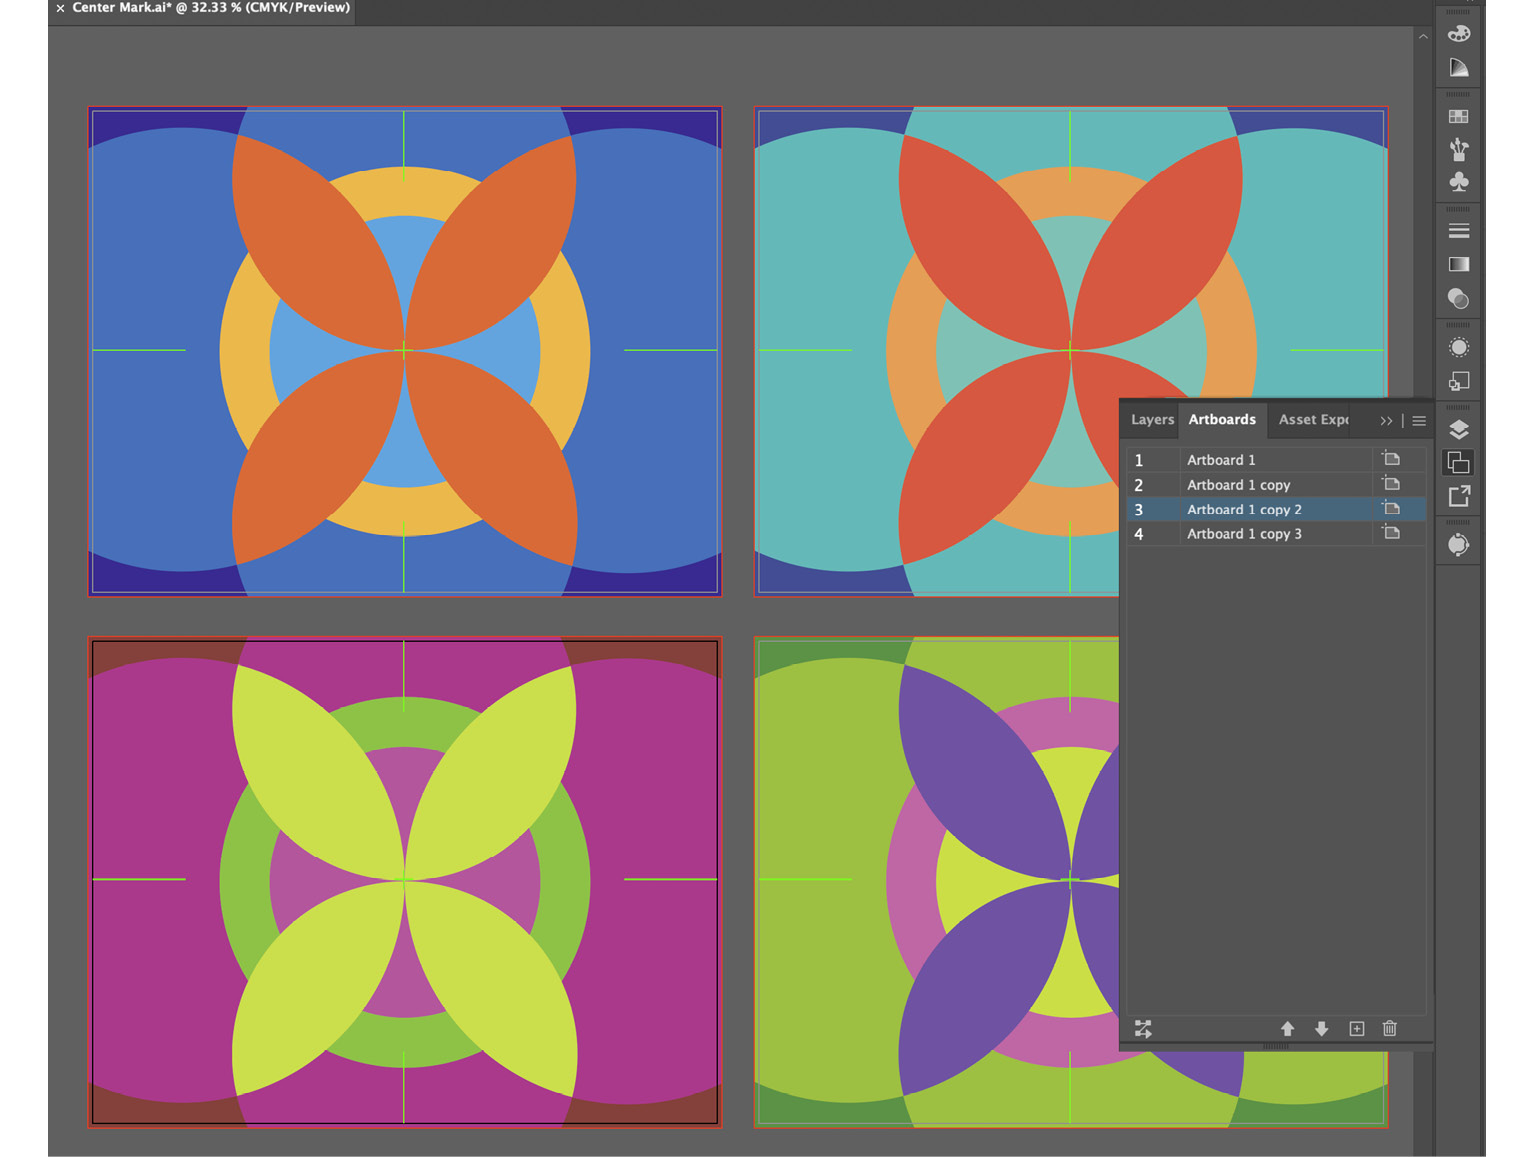
Figure 2.11 – Multiple artboards
You can navigate between artboards by selecting them in the Artboards panel and double-clicking on any area except for the name (as Illustrator will think you are wanting to rename it). It will instantly zoom in to fit the chosen artboard to the window, as shown in the next screenshot:
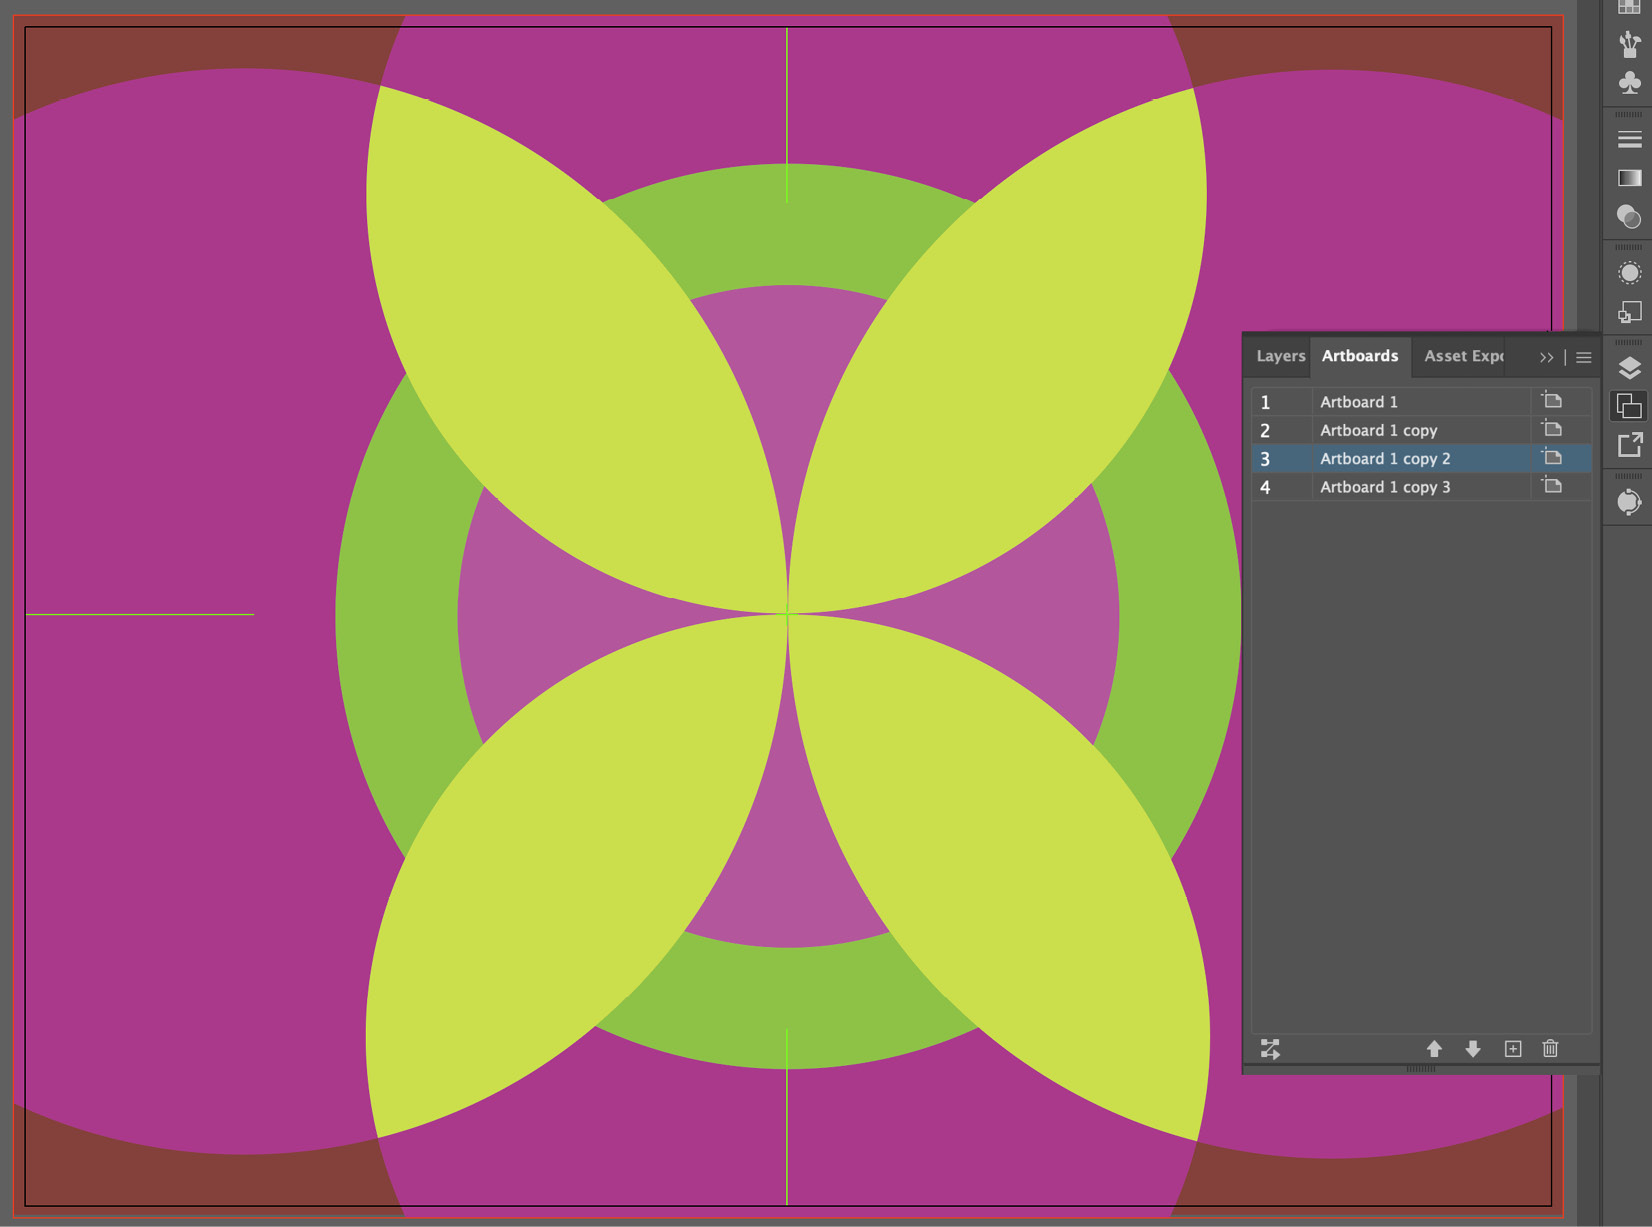
Figure 2.12 – Selecting a single artboard view
In the example illustrated in Figure 2.11 and Figure 2.12, you would be able to jump from one artboard to the other by double-clicking on the one you would like to target, making adjustments (such as color), and then double-clicking on another one to edit it next.
Combination of different-sized artboards in a single file
Another great benefit to artboards is the ability to allow them to present different media. After selecting one of your artboards, you can change its purpose by choosing a new preset from the list. There are presets for print, web, video, and devices, with several popular sizes for watches, phones, and tablets available. In addition, you can create a custom size if none of the presets work for your intent.
Illustrator allows you to host not only multiple artboards but multiple kinds of artboards within one file. An excellent example of the use of this technique is in creating an entire campaign for a brand design in one file. Designers can create one artboard for the letterhead as well as one for a business card and another for an envelope. Using this approach allows all the designs to be kept together within one file.
Combination of Landscape and Portrait mode artboards in a single file
Another benefit is the ability to quickly adjust the artboard's orientation to either Portrait or Landscape view. One application it works well for is presenting orientation on devices if you are a UI developer. If you work with multiple artboards often, you are going to love the following two keyboard shortcuts: Ctrl/Command + 0 for Fit Artboard in Window, and Ctrl/Command + Alt/Option + 0 for Fit All in Window.
The ability to have your files hold multiple artboards that can allow you to stay more organized and efficient has been a welcome addition to Illustrator for many users. I think you will find many ways you like using it too. It may take a while to get used to all the benefits of artboards, but after you have used them for a while, you will never want to be without them.
Bleeds
Bleeds are necessary (and usually required) when sending your work to a printing service and you want to be sure that all artwork will always make it to the edge of the document. This small area of Bleed is where the printer can account for small adjustments to the cutting and still be sure your work doesn't end up with any unattractive white edges. The Bleed space can be created either when beginning the document or can be adjusted from within the Properties panel. When nothing is selected, you will see the Document Setup button under the Quick Actions area of the panel. Select this, and you will then be able to add the desired dimensions for the Bleed:
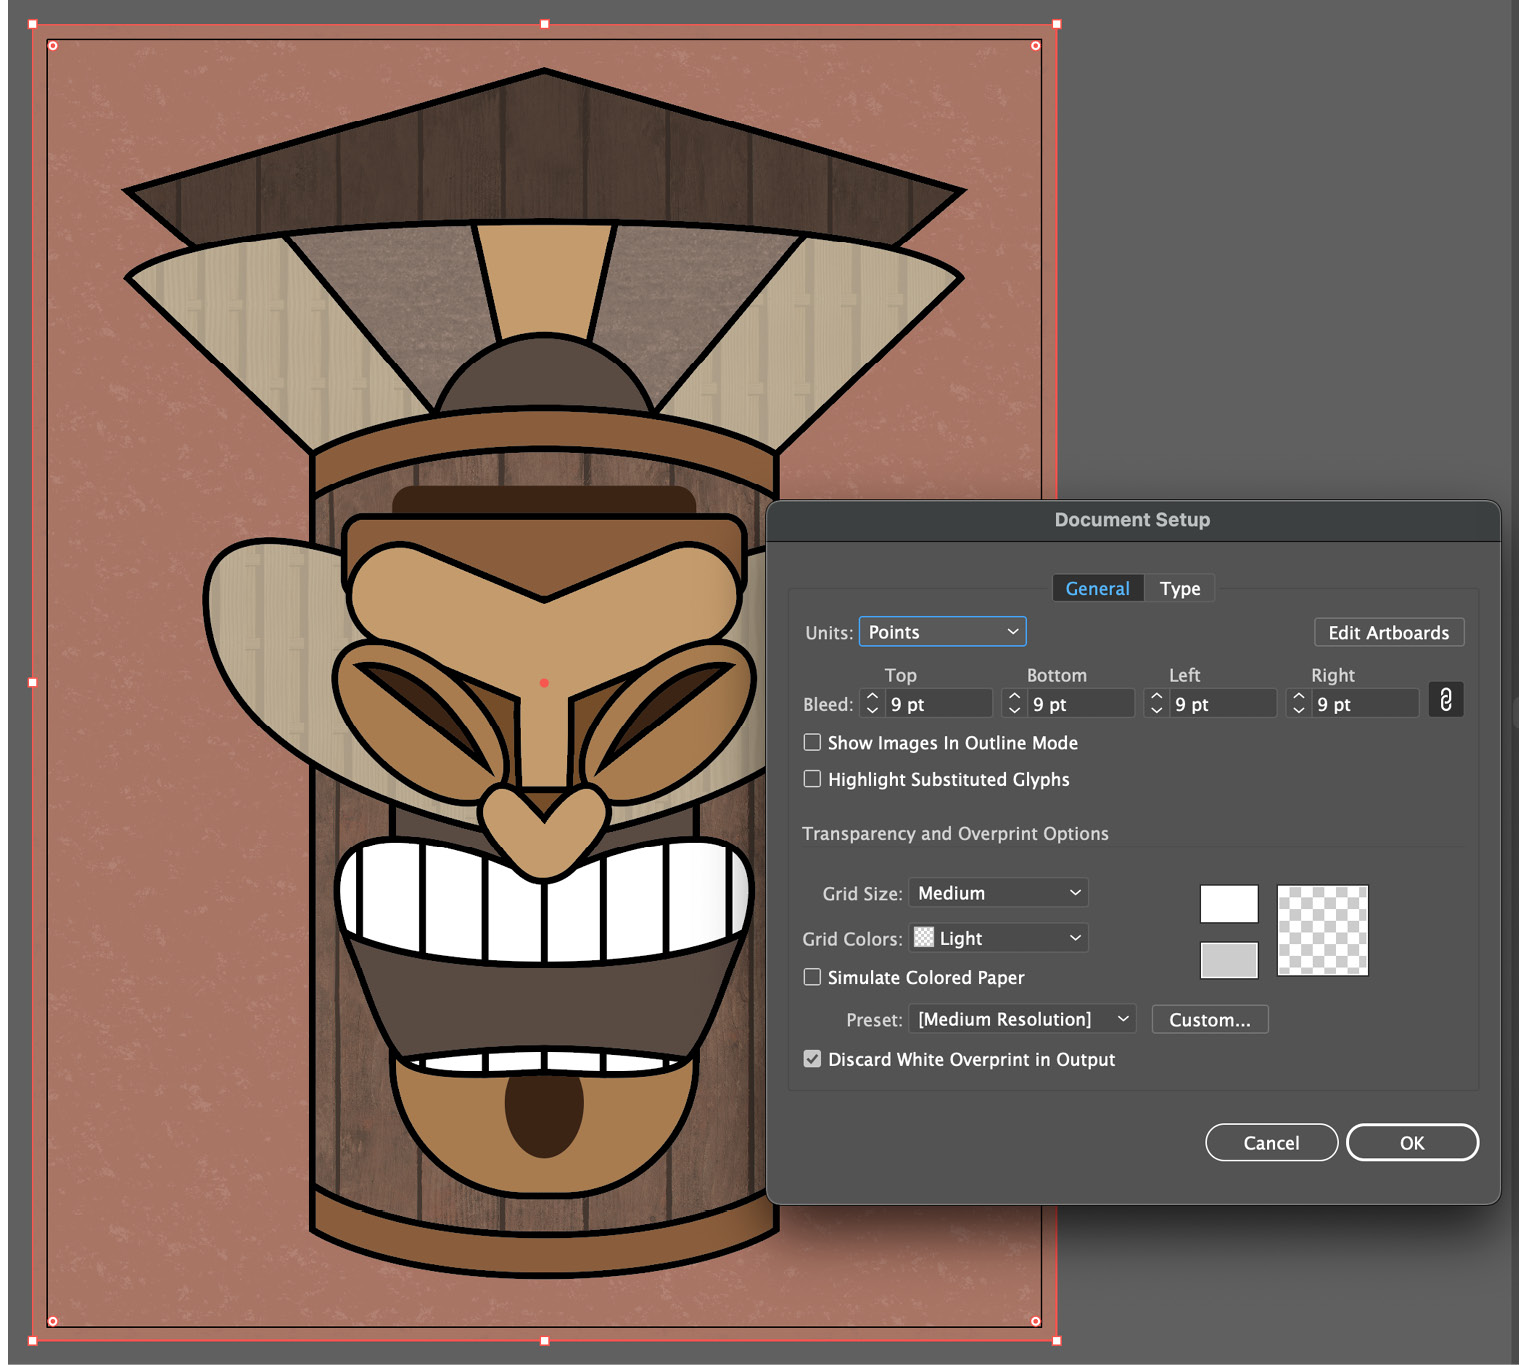
Figure 2.13 – Adjusting Bleed inside the Document Setup panel
After entering the Bleed amount, be sure to extend your artwork to the new Bleed guidelines, as in Figure 2.13.
When you are preparing to deliver your file to the printer, you want to save it as a PDF and check Use Document Bleed Settings in the Marks and Bleeds options panel. If you did not yet set them up in the document, then you can add them on this same panel, but be sure you have extended your artwork to this Bleed distance. Otherwise, you will just be creating a white border around your work. It is recommended that you talk to your printing provider to determine the Bleed size they would like.
Knowing how to set up Bleeds will assure you of a quality print within the tolerances given to you by your printing provider.
Throughout this chapter, the theme has been saving time by planning for what might be ahead. An important aspect of time management is having hardware that is sufficient for the job and has been well maintained for dependability over time.
RAM, scratch disks, and GPU performance
Having adequate random-access memory (RAM) is crucial to keeping Adobe Illustrator from processing slowly or even hanging during a complex command. Adobe states that the minimum system requirement is 8 GB but recommends 16 GB or more.
In addition, you should try to keep plenty of hard drive space available on your scratch disk. The scratch disk needs to be a local drive. This is usually your startup drive because it should be your fastest drive. A solid-state drive (SSD) makes for a great scratch drive since it is so fast. Before beginning, just direct Illustrator to your scratch disk using the Preferences panel. If you have more than one hard drive installed, you can also direct Illustrator to a secondary scratch disk from within the Preferences panel.
The third item that can really accelerate your workflow is the computer's graphics processing unit (GPU). This is often known as your graphics card, and Adobe lists several that are powerful enough to support the GPU performance features that are offered in Illustrator. To see a current list of these devices, go to the following link: https://helpx.adobe.com/illustrator/system-requirements.html. Generally, we need something that has more than 2 GB of video RAM (VRAM), but again, it seems that the more the better.
It is very important to check your hardware to make sure that it will allow Illustrator to work for you as intended. From there, you can focus your energy on planning, creating, and organizing your work. Staying organized is difficult, but it offers benefits to you and your hardware over time that you shouldn't ignore. Having an organized system improves your odds of finding what you're looking for, as well as keeping your hardware running Illustrator at peak performance level.
Digital asset management plan for organization and computer maintenance
DAM is the process of utilizing a logical, organized, and repeatable method of file control that allows the user to be more efficient. It should also allow you to have a much greater likelihood of finding what you are going to be looking for in the future. There are many ways to do this, and it is often not achieved without some trial and error.
The method I have adopted and recommend to others is the "time capsule" method. I start by building folders for a current year and then inside, place a folder for each month. Some people like to stay even more organized by creating folders for weeks or even each day, but I find that to be too specific. I have less to remember if I just bring it down to the month and year that the file was made. From inside the month folder, I usually build client or project folders (a client folder often gets project folders within it). If the date is not your most important factor when searching for files, you may have your client folders at the top level and then include the date, and then project folders inside. If you build a pattern that you continue to repeat, you should find it easier to manage files over time. Of course, you can allow technology to do search queries, but those do not always present the results we hope for.
Where you store all your files is also an important consideration. I highly recommend you store the bulk of your work on an attached drive to reduce the space used on your computer's main hard drive.
I find that developing your DAM plan is a continually evolving process and may never be perfect. Over time, though, I'm sure you will find the process easier and well worth the effort.
Summary
After having completed this chapter, you should now feel more confident in your preparation to begin creation. You have learned that there are some distinct benefits to planning and preparing your vision before beginning in Illustrator, as well as how to prepare the document once you do get started. I have aimed to emphasize why this is important to the creative process. Sketches and research should add quality and richness to your concepts before even entering the digital tool we know as Illustrator. It's important to remember that Illustrator is just that, a tool. Like any other tool, it takes training and practice to master.
I have also given you a bit of advice about organization in this chapter, whether it is organization within a file using templates and artboards, or the bigger picture of all your files being organized into a DAM workflow. The time it takes initially should help you avoid far more wasted time and stress later.
In the next chapter, we will be moving into the first steps of how we can create and manage objects with Illustrator. We will review how multiple objects can be collected into a group and utilized to create a compound path or a clipping mask. We will also be discussing the use of layers and migrating objects from one layer to another.