
Chapter 7: Linux Memory Acquisition
Despite Windows being the most common desktop operating system, the role of Linux-based systems cannot be overstated. Due to their flexibility, Linux-based operating systems can be installed on a wide range of hardware: PCs, tablets, laptops, smartphones, and servers. The latter is especially true when it comes to Enterprise.
Servers running Linux-based operating systems are an integral part of the infrastructure as they are often used as the basis for web, mail, application, database, and file servers. That is why, every year, attackers show more and more interest in these hosts. The number of attacks involving Linux-based systems steadily grows every year. More and more groups, both state-sponsored and financially motivated ones, have Linux-based tools and malware in their arsenals. For example, the notorious Fancy Bear APT was convinced by NSA and FBI in using an advanced Linux rootkit called Drovorub. Another good example is multiple ransomware operators – all major ransomware as a service programs now provide their affiliates with Linux versions.
All this leads us to the necessity of mastering the tools and techniques required for analyzing Linux-based systems. This will be our main topic of discussion in this part of the book.
As we did previously, it is paramount to collect the required data. In our case, this involves creating a memory dump. This is where we will start discussing this topic.
In this chapter, we will cover the following topics:
- Understanding Linux memory acquisition issues
- Preparing for Linux memory acquisition
- Acquiring memory with LiME
- Acquiring memory with AVML
- Creating a Volatility profile
Understanding Linux memory acquisition issues
In Chapter 2, Acquisition Process, we discussed general memory dumping issues, which are also relevant in the case of Linux-based systems. However, the process of creating Linux memory dumps also has unique problems that are specific to these systems. These are the problems we will focus on.
The main difficulty that's encountered by professionals when dumping memory is the number of distributions. Since the Linux kernel is open source and distributed under the GNU General Public License, it quickly gained popularity among the community and became the basis for many distributions, each of which has its own features. Naturally, this had an impact on the memory extraction process.
Earlier versions of the kernel, before Linux 2.6, allowed access to memory via /dev/mem and /dev/kmem devices. The /dev/mem interface provided programs with root access to physical memory for read and write operations, while /dev/kmem allowed access to the kernel's virtual address space. Thus, to create a raw memory dump, it was sufficient to use the simple cat or dd utilities to read /dev/mem and redirect the output to a separate file. This approach was undoubtedly handy but created obvious security problems. For example, due to non-sequential memory mapping from physical offset 0, inexperienced technicians could directly access sensitive memory regions, leading to system instability, memory corruption, or system crashes.
In newer versions of the Linux kernel, the interfaces described previously are disabled. The physical memory is now accessed by loading a special kernel module. The biggest challenge is that this kernel module must be built on the target system or a system with a matching distribution and kernel version to work properly. Naturally, it is not a good idea to build the module on the target system, as it requires many dependencies, and installing them may overwrite important data. Therefore, if you are using tools that require a kernel module to be loaded, it is best to build them in a testing environment.
There are various tools available from different developers for memory extraction. In this chapter, we will concentrate on the most convenient and effective tools for Linux memory dumping, but first, let's take a look at the preparation process.
Preparing for Linux memory acquisition
Since some commonly used Linux memory extraction tools require a kernel module to be loaded, you need to build this module in a similar environment to the real one. To do this, you can build the module on a prepared virtual machine. You can create such a machine using VMWare, VirtualBox, or other similar solutions. The most important thing is to have the same operating system distribution with the same kernel version as the target host installed on the virtual machine. Therefore, the first step in preparing a virtual environment is to determine the distribution and exact kernel version of the target host. To determine the distribution, run the following command in the terminal on the target host:
$ cat /etc/*-release
To get the exact kernel version, run the following command:
$ uname -r
You should get the following output:
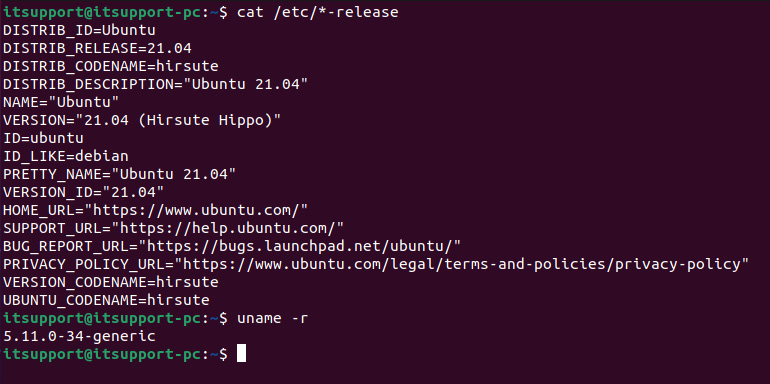
Figure 7.1 – Target distributive and kernel version
We now know that Ubuntu 21.04 is installed on the target host and that the kernel version is 5.11.0-34-generic. This information can be used to create a virtual machine. As most distributions are freely available, you should have no problem finding the right one. The same goes for the kernel version. Alternatively, if you already have a virtual machine with the correct distribution and updated kernel, you can do a kernel downgrade.
You will also need to prepare removable media to dump the memory onto. We already went through this process in Chapter 3, Windows Memory Acquisition, so we will not go into it now. If you plan to capture the dump over the network, you will need to prepare a network share and make sure it is available for the target host. In this chapter, we will look at both methods of capturing dumps. In the meantime, we will start discussing specific tools.
Acquiring memory with LiME
The first tool we will look at is the Linux Memory Extractor, or LiME. LiME is a loadable kernel module that makes it possible to dump memory from Linux and Linux-based systems, including Android. The main advantage of this tool is its minimal process footprint and how it can calculate the hash of dumped memory. Lime can also create dumps over the network. This tool can be found in the following GitHub repository: https://github.com/504ensicsLabs/LiME. The following is a screenshot of LiME:
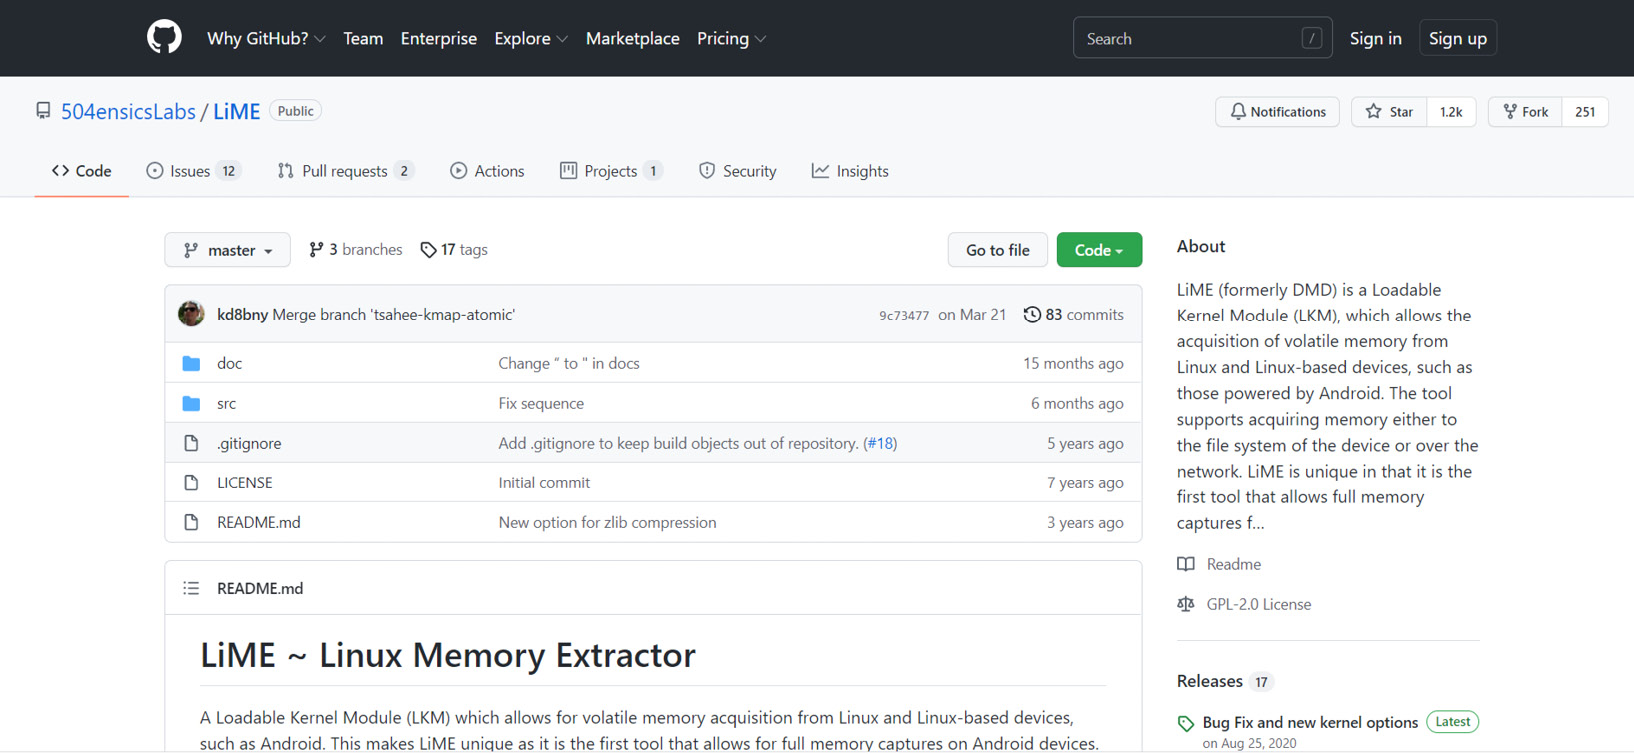
Figure 7.2 – LiME GitHub repository
Let's start by looking at the process of building the kernel module. For this, we will use a virtual machine with the same distribution and kernel version – Ubuntu 21.04 and 5.11.0-34-generic, respectively.
As we are working with Linux, we will do everything using the terminal. First of all, we need to install LiME and all the required packages. To do this, use the following command:
sudo apt-get install -y linux-headers-$(uname -r) build-essential make gcc lime-forensics-dkms
The command's execution will look as follows:
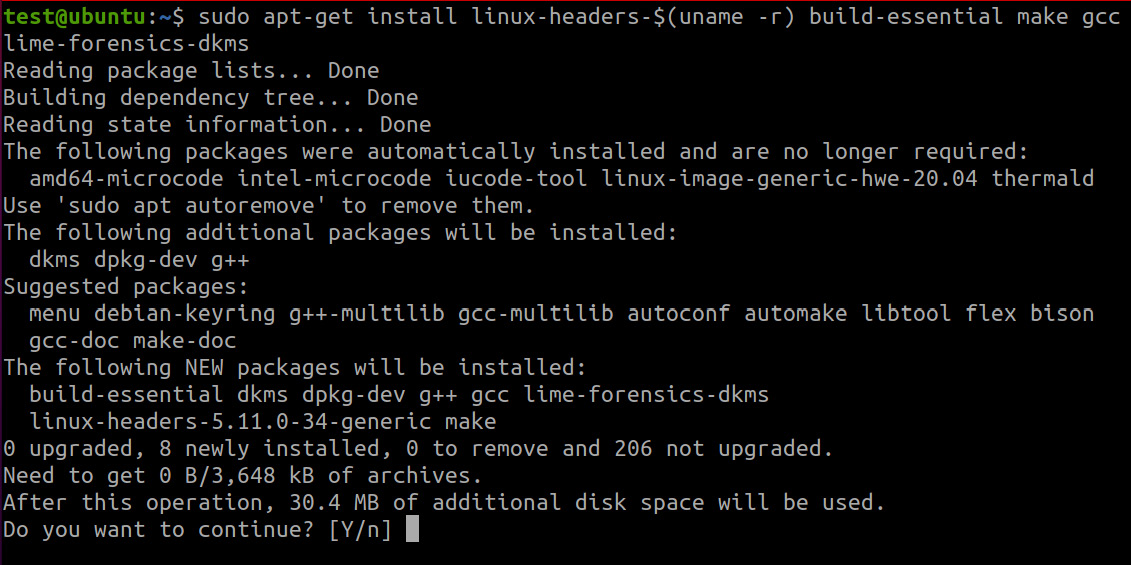
Figure 7.3 – Package installation
Once this process is complete, we can proceed to the next step: compilation. To do this, move to the lime directory with cd and run make, as shown here:
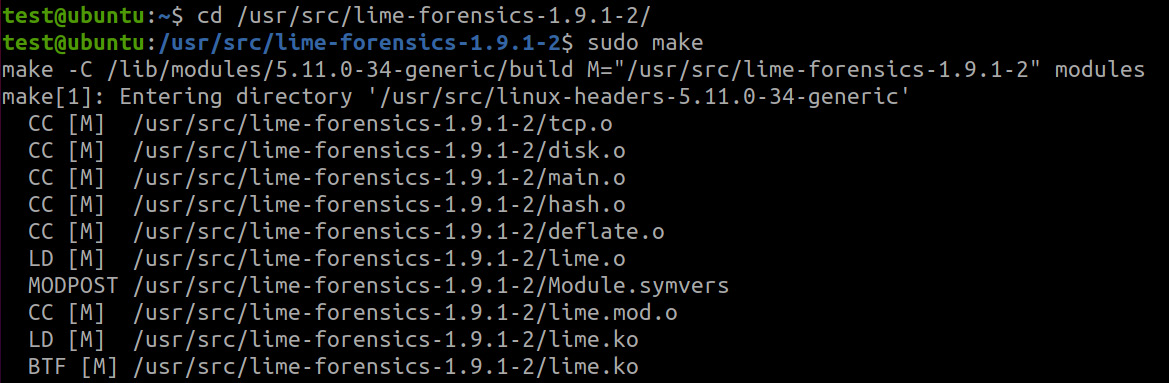
Figure 7.4 – Kernel module creation
make is a utility that's needed to automate how files are converted from one form into another. The conversion rules themselves are defined in a script named Makefile, which is located in the root of the working directory – in our case, /usr/src/lime-forensics-1.9.1-2.
Once make has finished running, we have a kernel module called lime-5.11.0-34-generic.ko. We can copy it to removable media or a network share and use it to dump the memory on the target host.
Let's look at the process of creating a dump over the network. First, we need to make the kernel module file available on the target host. This can be done by placing it on a network share or copying it to the target host using scp, a utility that allows you to securely copy files and directories between two locations, including remote ones. When the module is available, you can use insmod, a program to load kernel modules. This requires specifying the location and name of the output file using the path parameter, as well as the file format – raw, lime, and so on– specified in the format parameter. Since we have agreed to create the dump over the network, we will pass the protocol to be used and the port that the output will be sent from to the path parameter:
$ sudo insmod ./lime-5.11.0-34-generic.ko "path=tcp:4444 format=lime"
This command will load the kernel module, create a memory dump, and send it to port 4444. Note the format of the file. If you want the created memory dump to be recognized by Volatility, it is best to create it in lime format.
You should then run netcat on the investigator's host. Netcat or nc is a command-line utility that reads and writes data over network connections using the TCP or UDP protocols. You also need to redirect the output to a file. This can be done as follows:
$ nc 192.168.3.132 4444 > mem.lime
In this case, netcat will receive data from the 192.168.3.132 IP address and write it to the mem.lime file. In the end, the kernel module can be unloaded using the following command:
$ sudo rmmod lime
The resulting mem.lime file can be used for analysis, but more on that later. For now, let's look at another tool for memory dump creation.
Acquiring memory with AVML
AVML, or Acquire Volatile Memory for Linux, is a userland acquisition tool developed by Microsoft. The main advantage of AVML is that it does not need to be built on the target host and supports multiple sources:
- /dev/crash
- /proc/kcore
- /dev/mem
If no particular source is specified when you run AVML, the tool will go through all the sources, looking for a valid one and collecting memory from it.
The disadvantage, perhaps, is that this tool has been tested on a limited number of distributions, so it is better to check it into a virtual environment before using it.
At the time of writing this book, the following distributions have been tested:
- Ubuntu: 12.04, 14.04, 16.04, 18.04, 18.10, 19.04, 19.10
- Centos: 6.5, 6.6, 6.7, 6.8, 6.9, 6.10, 7.0, 7.1, 7.2, 7.3, 7.4, 7.5, 7.6
- RHEL: 6.7, 6.8, 6.9, 7.0, 7.2, 7.3, 7.4, 7.5, 8
- Debian: 8, 9
- Oracle Linux: 6.8, 6.9, 7.3, 7.4, 7.5, 7.6
So, the first thing you need to do is download the tool. To do this, open the repository on GitHub at https://github.com/microsoft/avml and go to the Releases tab.
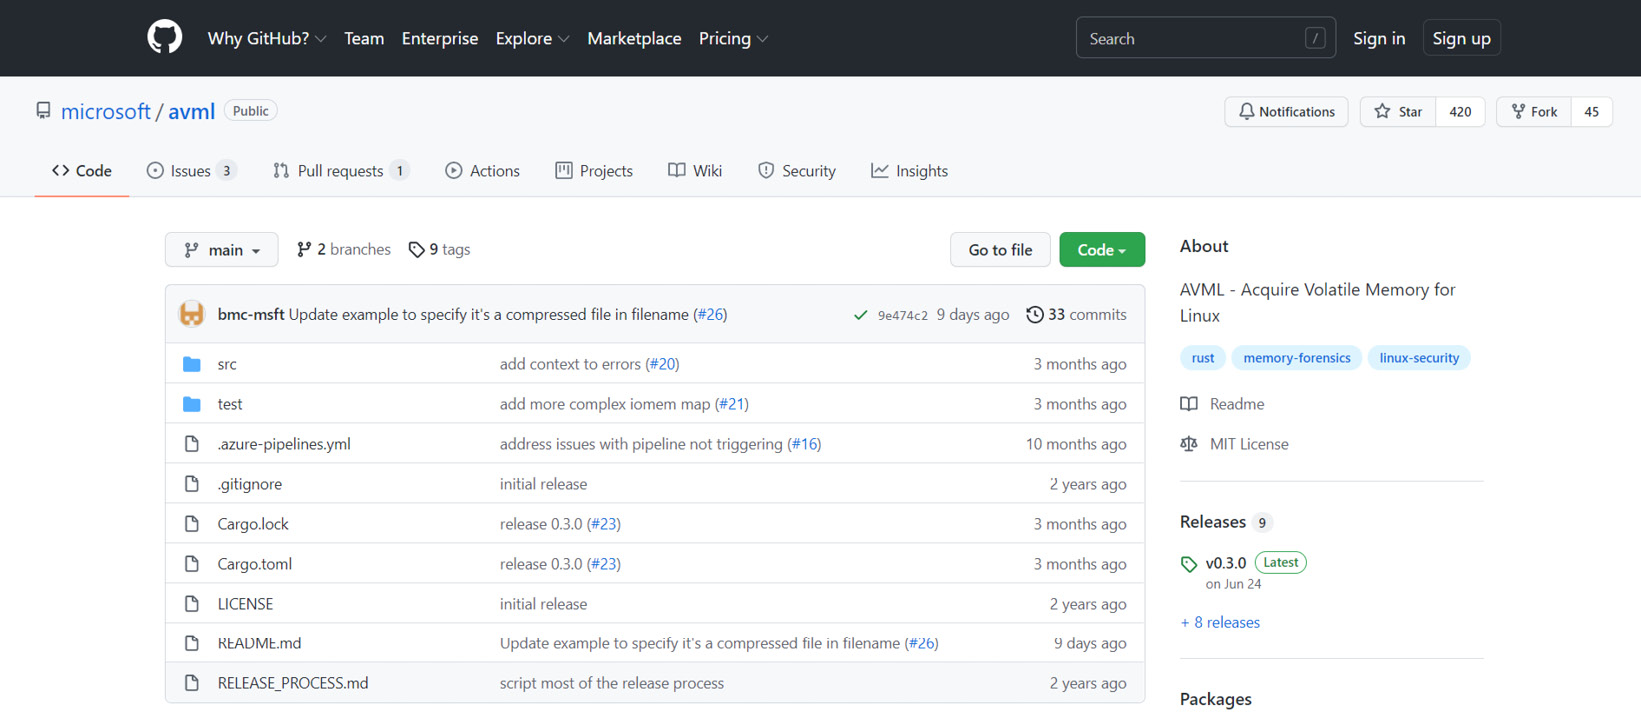
Figure 7.5 – AVML GitHub repository
Find AVML, download it, and put it on removable media or a network share where you can run it on the target host. We will use removable media this time. Before running it, you need to make the file executable by using the chmod command, which allows you to change the permissions of files and directories:
$ sudo chmod 755 avml
After this, you can start creating the dump. Simply run AVML and specify the location and name of the output file. This will result in the following output:

Figure 7.6 – AVML usage
Note that AVML does not require the kernel module to be built. Once this command completes, you will get a memory dump in LiME format, ready for analysis. However, note that Volatility does not have prebuilt profiles for Linux-based systems. With this in mind, we should also discuss creating a profile for Volatility.
Creating a Volatility profile
To analyze Linux memory dumps, you need to create a Volatility profile that corresponds to the target host configurations. Let's consider this with an example. First, you need to install the zip and dwarfdump packages, as shown in the following screenshot:
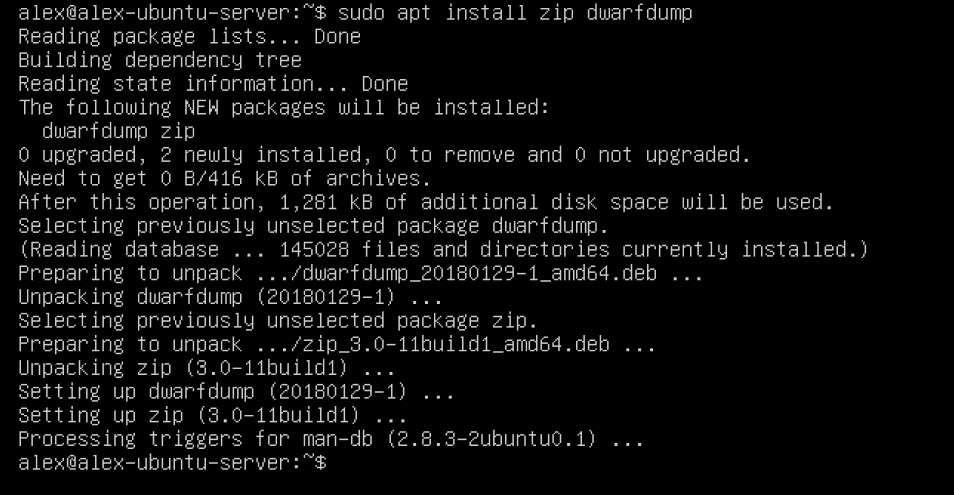
Figure 7.7 – dwarfdump and zip installation
Next, we need to download Volatility. To do this, we will use the git clone command, which allows us to clone repositories from GitHub. If you do not have git, it must be installed using apt:
$ sudo apt-get install git
$ git clone https://github.com/volatilityfoundation/volatility.git
After that, you should go to the volatility/tools/linux directory and run the make command:
$ cd volatility/tools/linux
$ make
The listed actions will look as follows:
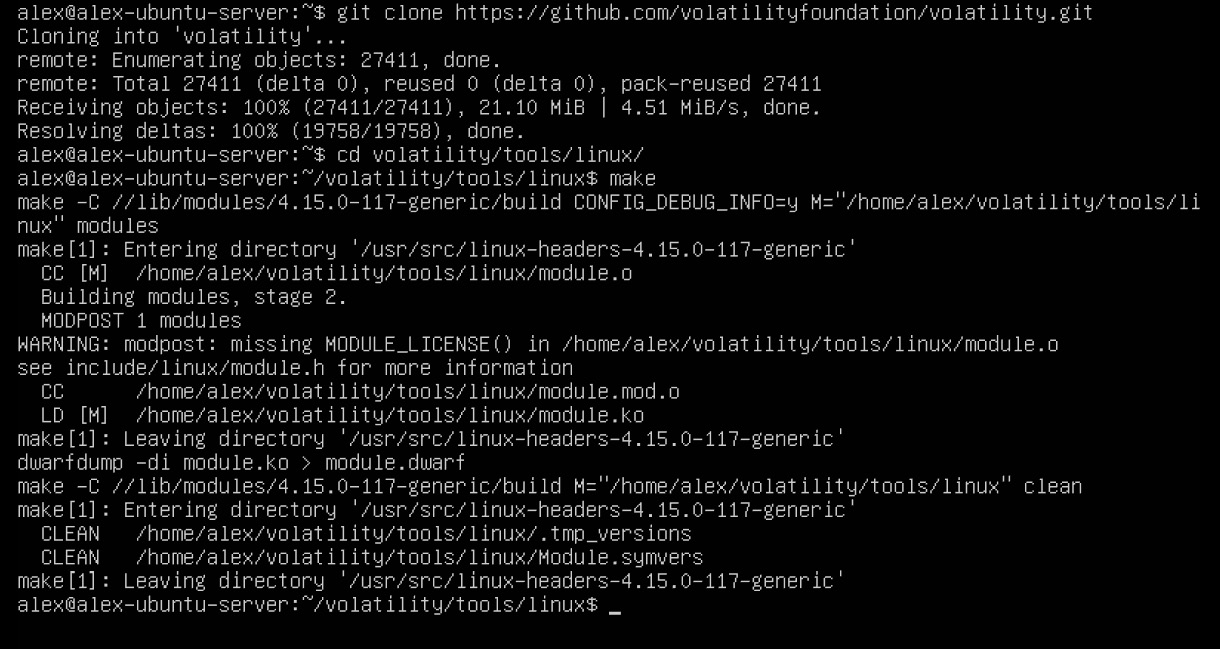
Figure 7.8 – Creating the dwarf module
As a result, you will get a module.dwarf file.
Important Note
Depending on the distribution you are working with, executing make may cause a variety of errors, ranging from dependency problems to license issues. Unfortunately, there is no one-size-fits-all recipe for solving all problems, but searching the web for solutions to individual make errors may help you.
The resulting dwarf module must be merged into an archive with System-map of the correct version. This can be done using the following command:
$ sudo zip $(lsb_release -i -s)_$(uname -r).zip ./module.dwarf /boot/System.map-$(uname -r)
Let's understand what is going on here:
- lsb_release -i -s outputs the name of the current distribution.
- uname -r will show the kernel version.
This will name your archive <distribution>_<kernel>.zip, but you can name it as you wish.
The output of this command may look like this:

Figure 7.9 – Creating a Volatility profile
As you can see, we ended up with the Ubuntu_4.15.0-117-generic.zip archive, which is the Volatility profile for this host. You can place this file in the profiles folder and pass the path to this Volatility folder as the --plugins option, as shown in the following screenshot:
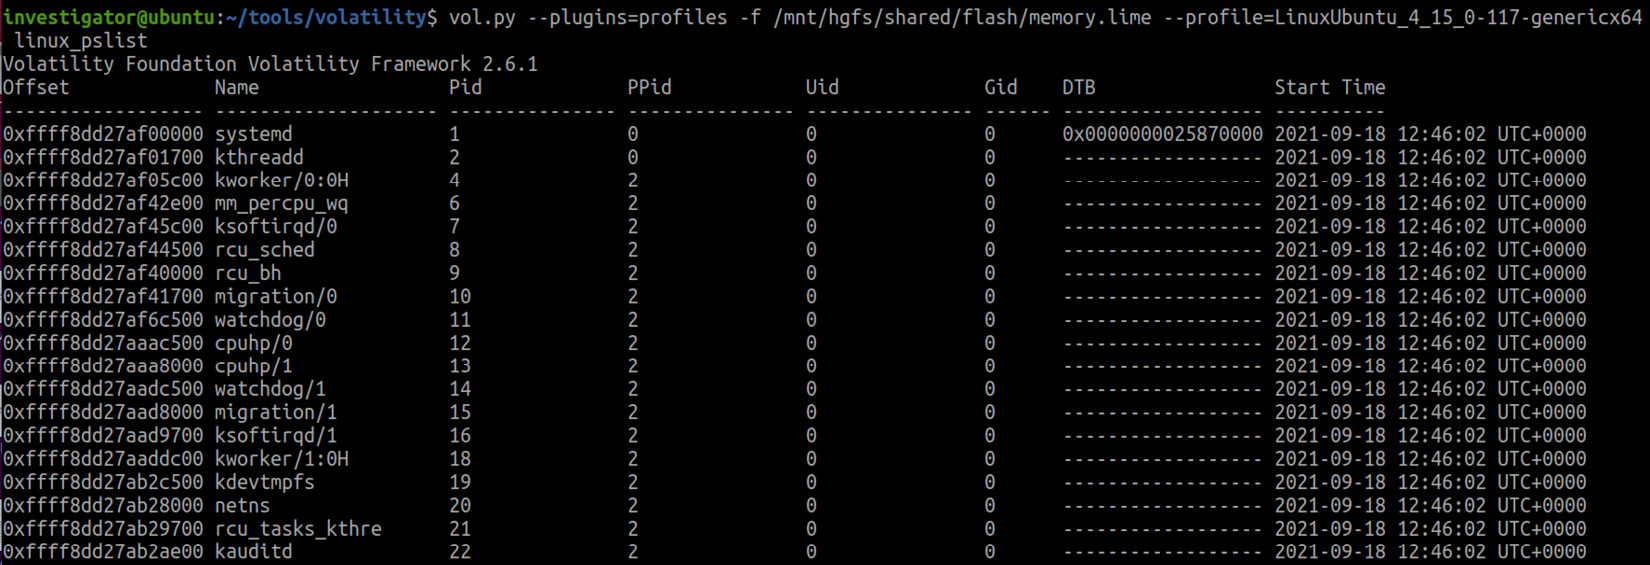
Figure 7.10 – Using a custom Volatility profile
As you have probably already noticed, the process of collecting Linux memory is not straightforward and requires a lot of different actions. However, in practice, you will often encounter such systems installed in virtual machines. In these cases, you will just need to create a snapshot of the virtual machine and simply work with the existing .vmem file. However, this will not save you from creating a Volatility profile. On the other hand, if you need to investigate a fairly popular distribution, you can always try to find ready-made profiles on the web. You can start with the official Volatility Foundation repository: https://github.com/volatilityfoundation/profiles/tree/master/Linux.
Among other things, there are also tools you can use to automate the previous steps. For instance, Linux Memory Capturer (https://github.com/cpuu/lmc) is a fork of Linux Memory Grabber, which was developed by Hal Pomeranz. This tool allows you to automate the process of creating Linux memory dumps and Volatility profiles. All you need to do is install and run the tool.
As this tool uses LiME, you will be asked to create a kernel module where both the module itself and the memory dump it generates will be stored on the host. You will then be prompted to create a profile for Volatility.
The output is a folder like this:

Figure 7.11 – lmc output
Here, you will find the following:
- hostname-YYYYY-MM-DD_hh.mm.ss-memory.lime: The memory saved in LiME format
- hostname-YYYYY-MM-DD_hh.mm.ss-profile.zip: The Volatility profile
- hostname-YYYY-MM-DD_hh.mm.ss-bash: A copy of /bin/bash
- volatilityrc: The prototype Volatility config
The generated kernel module can be found in /usr/src/lime-forensics. You can then use the generated module to create a memory dump on the target host and the Volatility profile to analyze it further.
Looks good, right? However, at the moment, the tool uses Python 2.7, which means you can only use it in a limited number of cases. Also, using tools such as this does not take away from the make issues described previously. So, before using such tools, it is best to test them in a virtual environment with a configuration similar to that of the target machine.
Summary
Creating memory dumps of Linux-based systems is a tedious process. You do not have a huge range of tools that do everything you need at the click of a button. However, there are fairly efficient solutions that, when used correctly, will help you get everything you need.
Different tools may use different methods to access memory. The most common method is to load a kernel module; however, this method requires a lot of preparation as the module must be built on a system with a distribution and kernel version similar to the target host. The same conditions are needed to create Volatility profiles, without which further analysis of the dumps would be challenging.
Several scripting solutions can automate the process of creating memory dumps and Volatility profiles, but such solutions will often work with a limited number of distributions, so it is better to test them in conditions similar to the real ones before using them.
In this chapter, we reviewed the tools that allow you to create memory dumps of Linux-based systems. Now, it is time to talk about memory dumps analysis. This is what we will do in the next chapter.