
In this chapter, we will cover the following recipes:
- Configuring TFS for project hosting and management
- Working with branching and merging in Team Foundation Server
- Creating TFS scheduled jobs
Team Foundation Server (TFS) is one of the most important components required for any small or big project. Once a project is defined, the optimal utilization of time and management of the team for successful delivery of the project is one of the primary concerns for any development team. This is called Application Lifecycle management (ALM). To solve issues at different stages of application life cycle, we employ a number of tools and other components, such as product backlogs, source control, and work item management. Visual Studio Team Foundation Server comes with a complete toolset for Microsoft Application Lifecycle Management solution. It provides Agile development practices and can be used either locally or in a cloud to provide tools that can effectively manage the software projects.
After you have successfully downloaded the latest bits of the TFS installer (you can download TFS at http://bit.ly/tfsbitdownload), you can start installing it. You can either install it on a client or a server operating system, but if it is server operating system, you can additionally add a SharePoint portal and SQL Server reporting. We use the basic configuration for standard server installation, but there are options, such as Standard Single Server, which is used for single server installation with all standard features. Also, there is an advanced installation option that allows you to choose components that you need (you can read more about TFS Installation at http://bit.ly/benjamintfsinstall). The wizard will install and configure Install SQL Server (IIS), where all the configurations and source codes will be saved. It will create websites for server-side portal and administration, and finally you will see what is shown in the following screenshot:
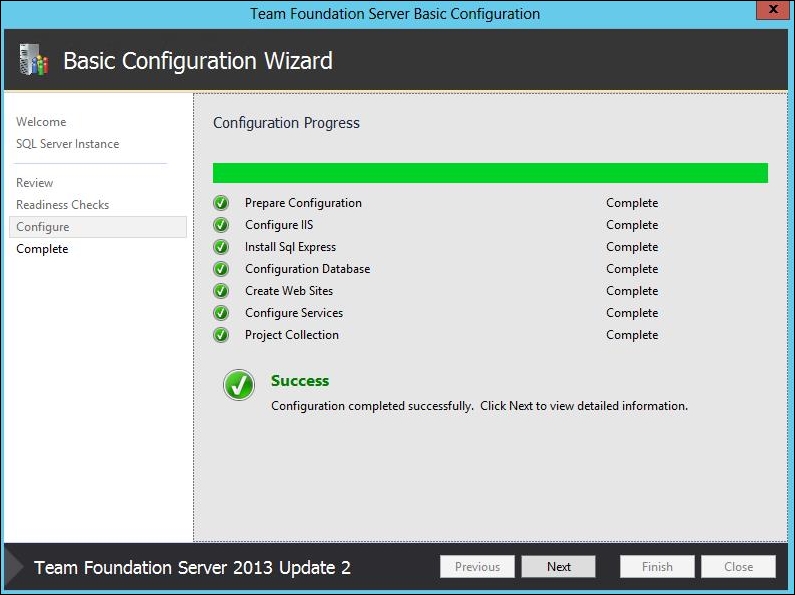
The preceding screenshot shows that everything was successfully installed. After finishing the basic installation of TFS, you can install the build server component on a server. The Build server will automate the builds of your software projects, as shown in the following screenshot:
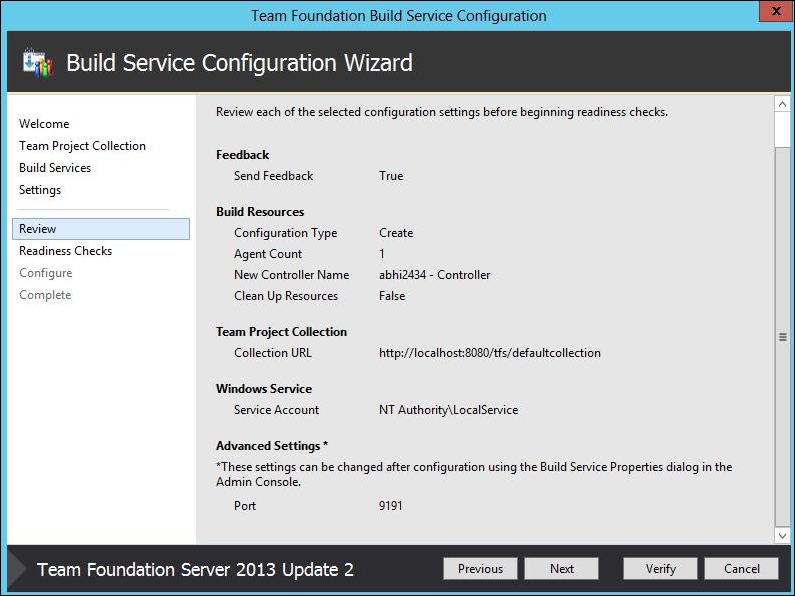
The Build service will automatically create a default collection for which the Build service will work. We can configure the Build service to create a build in the server itself upon updating the source for a project.
TFS has a SharePoint portal as well, which lets the TFS have a website referred to as a team project portal for each team project. This portal will help the team members share the process guidance, project documents, templates, and reports. The SharePoint portal is generally used to share documents and information.
Even though it is not necessary, sometimes to administrate team projects you might also need Team Explorer. Team Explorer provides a unique functionality to create projects for development teams.