
What we have covered so far is actually the basics of TEA. The real power lies in bolting things together to form a complex set of Tasks and TaskChains. To enable you to get the most out of TEA, we will outline some more use-cases in this chapter. Not all of them will have the full implementation with them because some of them are quite specific to how your setup looks.
Accessing the E4 Context
Accessing the Current Eclipse Selection
As you can see, any Task (and TaskChain) can have the E4 context injected by TEA by annotating an IEclipseContext-typed parameter with @Named(E4WorkbenchContextFunction.E4_CONTEXT_ID). As always, you can try it by using the TEA-Book-Samples launch configuration and TEA ➤ Samples ➤ CH15-S01: Print current selection. I’ll leave it to you to figure out some output—it changes with whatever you selected in the IDE.
Menu Grouping
We talked about menu entries (using the @TaskChainMenuEntry annotation) in Chapter 6. Since grouping can be a little hard to understand at first, I have decided to include the more advanced parts of the explanation in this chapter.
When you have a lot of entries in the TEA menu, it can quickly get messy. This messiness is the reason for grouping. A very simple mechanism for ordering menu entries would have been to let each TaskChain decide on where in the menu it is. This is not sufficient, though, since different combinations of available TaskChains are possible with TEA, depending on which plug-ins are available/installed into Eclipse. Thus, we have the concept of the @TaskingMenuGroupingId . It allows the creation of groups of TaskChains. Each TaskChain knows the group it belongs to. Each group can (but is not required to) know and relate to another group. It can also specifically reference the “ungrouped” group, which is the group where all menu items without any group will be put.
Menu groupingId Definitions
- 1.
Create a group “my.A”, which will be located before all ungrouped menu items.
- 2.
Create a group “my.B”, which will be located after “my.A”. This effectively places items in the group “my.B” in between items of the “my.A” group and any ungrouped item.
An important detail here is that the menuPath attribute must match the path attribute of the @TaskChainMenuEntry annotation on the TaskChain.
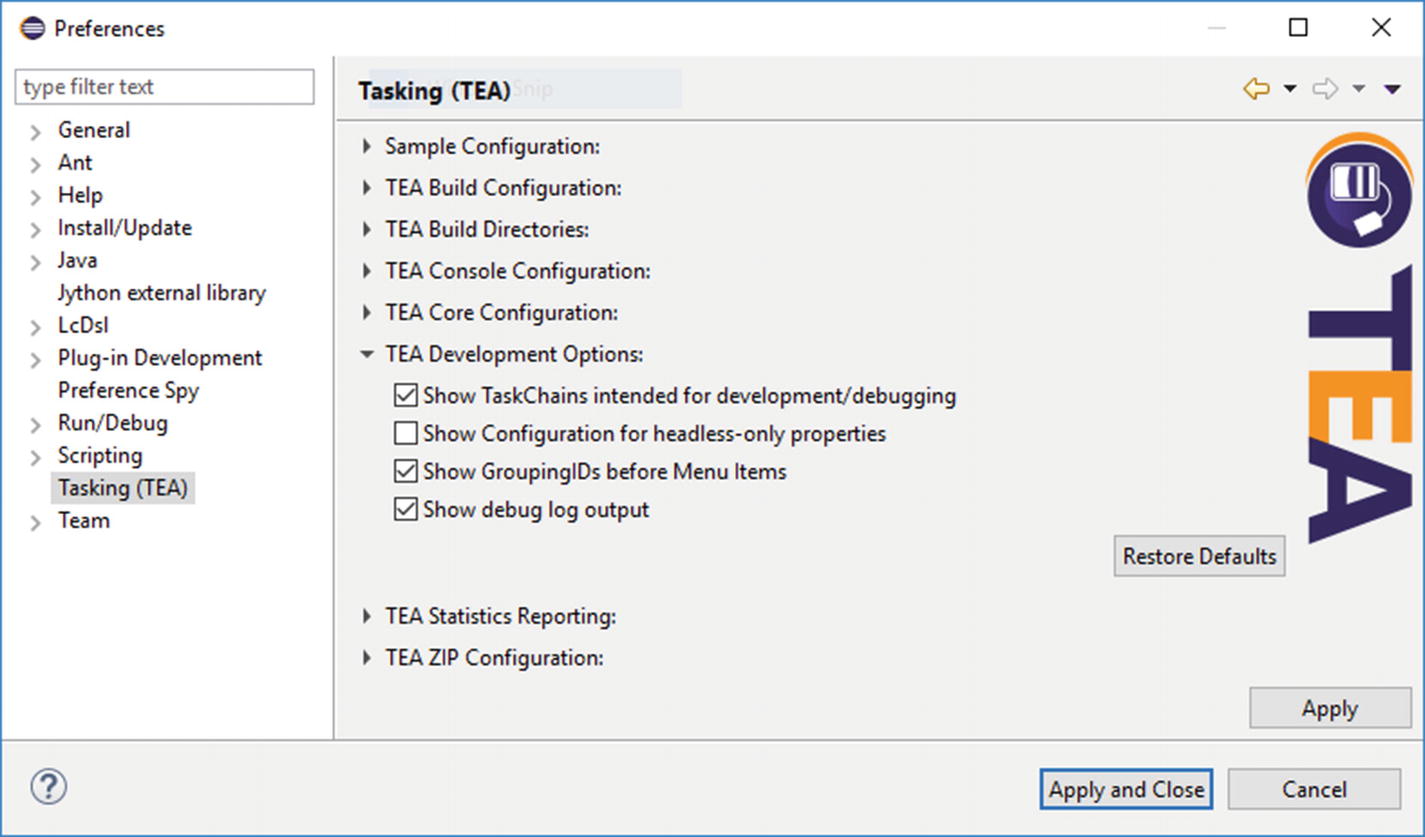
Setting to show groupingId for each TaskChain
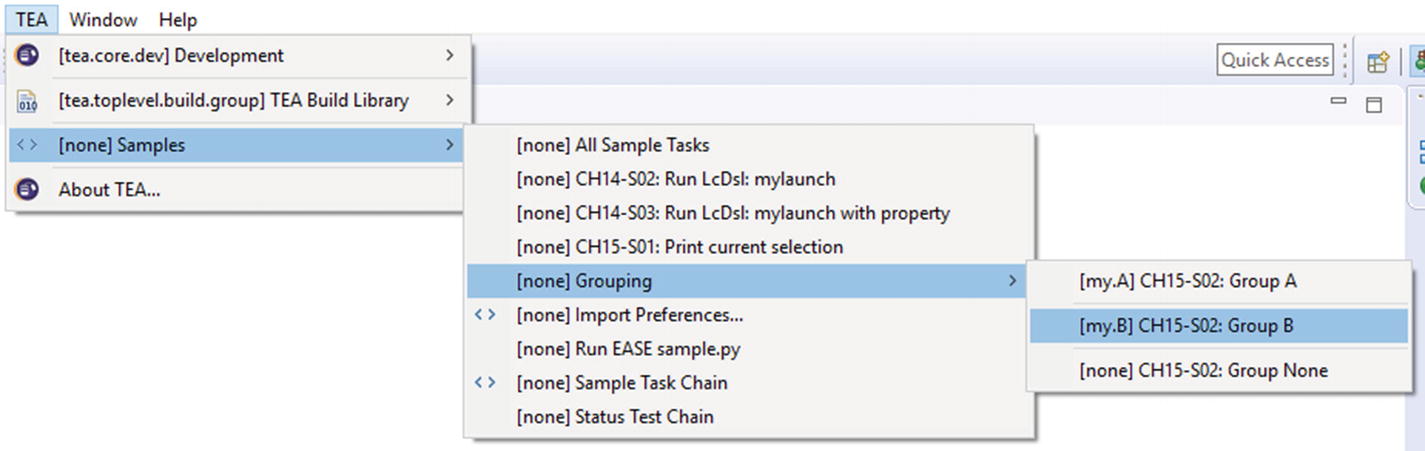
Menu items with groupingId
You can try this on your own in the TEA-Book-Samples runtime workspace.
Setting Up a Headless Workspace
I will now provide a very brief outline of how you would achieve setting up a workspace in a headless environment—at least how it is done at my current company at the time of writing. This outline changes from time to time, and there is no such thing as the only true way to achieve a workspace setup in a headless environment.
- 1.
A Task that will detect a pre-cloned repository in the workspace directory. This repository is usually cloned by a Jenkins instance (using – in our case – the GIT plugin).
- 2.
This Task will import a single hard-coded project from this repository. This project contains a file that describes the available projects, working sets, and so on. This can be as sophisticated as required, contain additional setup instructions, metadata, and so forth.
- 3.
From there, the Task will calculate the projects that should be imported into the workspace. It will then use the IProject.create() Eclipse API to import those projects.
At this point, all projects are imported into the workspace. This is nearly the time to start building (using the CleanBuildAllProjects TaskChain).
Set Active Target Platform from File
This code will look up a project named com.example.target in the runtime workspace. (Make sure to create it or adapt the name if you want to test this.) From there, it will try to find a file named test.target and set that as an active target platform. It is sufficient to only have test.target; no other files are required. The test.target file needs to contain a PDE target platform.1
Note
The example code in org.eclipse.tea.samples.ch15.s03 (in the TEA workspace) is set up to be executable from the TEA-Book-Samples runtime workspace. This demonstrates once more that there is no difference between headless and inside the IDE, except for how a TaskChain is started (in this case from the TEA menu).

Setting a target platform
That’s basically all that is needed. Now run the TaskChain CleanBuildAllProjects to compile all projects in the workspace. Of course, you are free to do more setup steps (such as connecting the resulting IProjects to the GIT provider).