
Going back into the HTML, let's add a range input control to allow the user to change the volume. We will put it right under the sustain label and control we just added:
<label for="volume">Volume: </label>
<input type="range" id="volume" min="1" max="100" value="100" step="1" />
We define a label and a range input with an id attribute of volume. We set the range of the control from 1 to 100 with a step value of 1. We also default the value to 100.
Back in our PianoApp object we add another global variable named volume and set it to 1.0, the maximum volume, by default:
function PianoApp()
{
    var version = "6.3",
    // Code not shown...
    sustain = true,
    volume = 1.0;
Like the sustain checkbox, we need to add a change event handler to the start() method of our application for the range control:
$("#volume").change(function() {
    volume = parseInt($(this).val()) / 100;
});
You may have noticed that our range input control has a range of 1 to 100, while the volume of an audio
element is defined from 0 to 1.0. Therefore, in our event handler, we set the volume variable to the value of the range control divided by 100.
Now all we need to do is add one line of code to the keyDown() method to set the volume property of the audio element before playing it:
audio.currentTime = 0;
audio.volume = volume;
audio.play();
Let's do a little styling in our CSS now for the controls section of the page:
.controls
{
    margin-top: 2em;
    color: white;
}
.controls input
{
    vertical-align: middle;
}
.controls input[type=range]
{
    width: 10em;
}
We set the top margin to give the controls a little breathing room, set vertical align for the controls so labels line up in the middle, and set the width of the volume range control.
There's one more thing we should do to make our application more dynamic. The range input control isn't widely supported by all browsers, so let's add some code to check if it's supported. We'll add an isInputTypeSupported() method:
function isInputTypeSupported(type)
{
    var $test = $("<input>");
    // Set input element to the type we're testing for
    $test.attr("type", type);
    return ($test[0].type == type);
}
First, we create a new <input> element in memory. Then we set the type attribute to the type we are testing. In our case, that will be range. Then we check the type attribute to see if it is stuck. If the element retains that type, then the browser supports it.
In the start() method we'll add a check for the range type. If you recall from Chapter 3, The Devil is in the Details, that if an input type isn't supported, it will just be displayed as a text input field. So if the range type isn't supported, we'll change the width of the field to make it smaller. We don't want a text input field that's 10em wide to input a number from 0 to 100 :
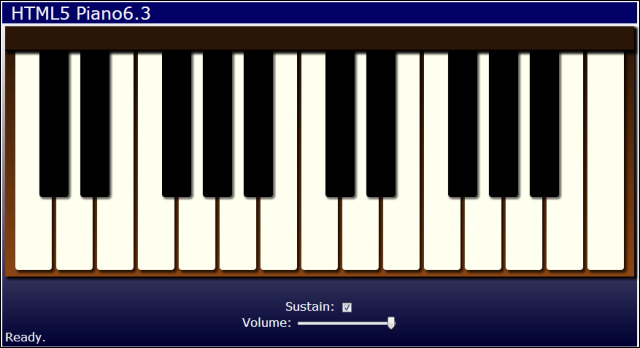
if (!isInputTypeSupported("range")) $("#volume").css("width", "3em");We added a range input control to allow the user to change the volume of the sounds with a slider. Before playing the sound, we set the volume to the value selected by the user. We also wrote a method to check if certain HTML5 input types are supported by the browser. The following is what we have created:
Create a wrapper object for <audio> elements that takes the element as a constructor and contains public methods to access the Audio API methods. Add some convenience methods, for example, rewind(), which sets audio.currentTime = 0, or stop(), which calls pause() and rewind().