
In the previous chapters of the book we discussed automation of functional testing using Selenium and Visual Studio and getting the test automations running with CI/CD pipelines. For any application, it is essential to go through load and performance testing, before getting it to the production. Ideally these tests should be performed in an environment similar to the production environment in order to identify any issues in the pre-production stage.
For load and performance testing, Selenium can only be used with some open source and paid third-party tools and frameworks. One such tool is Selenium Grid ( https://github.com/SeleniumHQ/selenium/wiki/Grid2 ) and another limited free and paid option to use is WebLoad ( https://www.radview.com/selenium-performance-testing/ ).
However, the focus of this chapter is to guide you to get you started on the load and performance testing in cloud. For authoring and executing these tests, we would be using Visual Studio, Azure, and Azure DevOps. Furthermore, you can learn how to generate load from multiple regions and test your application by using real world scenarios.
Lesson 7.01: Load Test with Visual Studio and Azure DevOps
In this lesson, let’s author the load tests with Visual Studio and run them as cloud-based load testing using Azure DevOps.
Prerequisites: You need to run Visual Studio 2017 on Windows 10 or on Windows Server 2012 R2 or a newer version of the Windows server. You must have an Azure DevOps account. You must be familiar with Azure DevOps and using the Team Explorer in Visual Studio.
Install Web Performance and Load Testing Tools Components in Visual Studio 2017
- 1.
Launch Visual Studio Installer.
- 2.In the Visual Studio Installer, move to Individual components and select web performance and load testing tools under the Debugging and testing section (see Figure 7-1).
 Figure 7-1
Web performance and load testing tool component in Visual Studio Installer
- 3.
Click on the Modify button to apply the changes to the Visual Studio.
Setting Up Visual Studio Web Performance and Load Test Project
- 1.
In Visual Studio 2017, select Files ➤ New ➤ Project
- 2.In the New Project pop-up window, select Test under Visual Studio C#, and select Web Performance and Load Test project from the test project list. Give a Name to the Project, specify a Solution Name, select Location, and click on the OK button. Leaving Create directory for solution checked will allow you to have a new directory created for the new solution in the selected location (see Figure 7-2).
 Figure 7-2
Create new web performance test project
- 3.After creating a new web performance test project, you can find project items in the Solution Explorer as follows (see Figure 7-3).
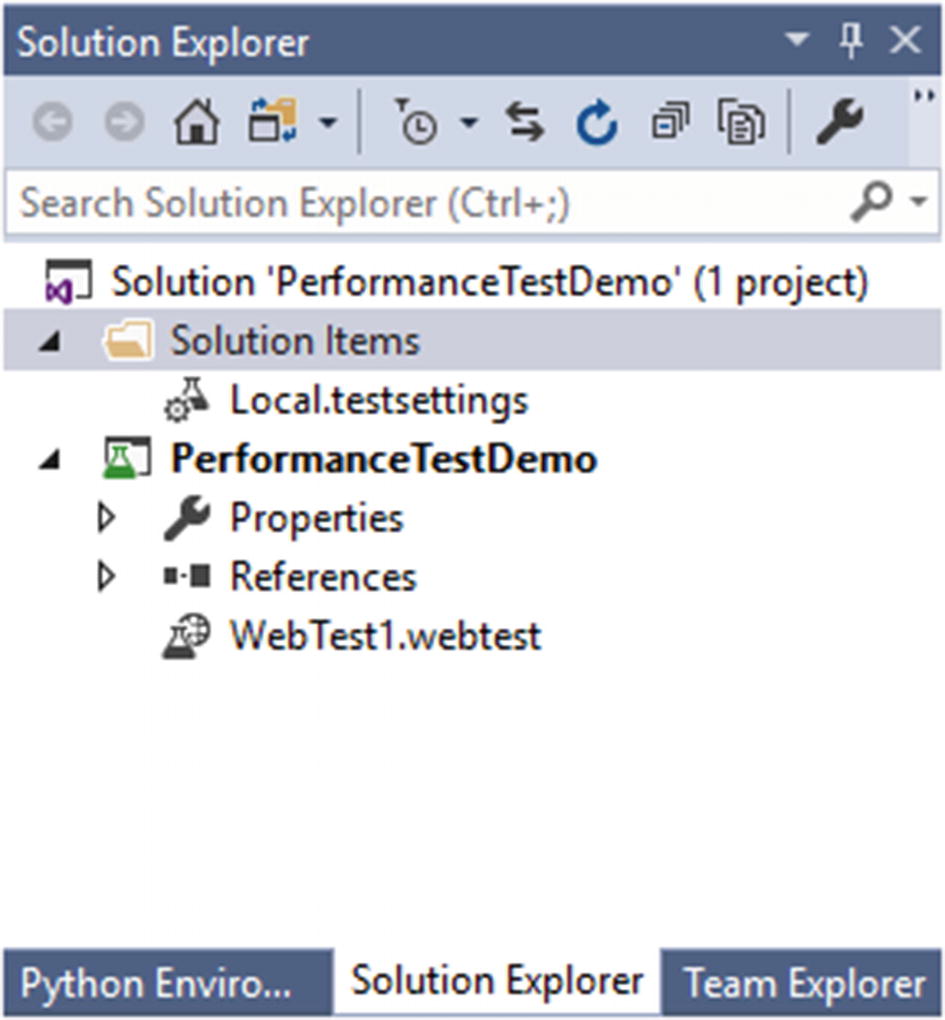 Figure 7-3
Solution Explorer view of web performance test project
- 4.Now we can record a web performance test. To record the performance of the web application, the Internet Explorer browser is configured as the default browser. If the Web Test Recorder add-on in the browser is disabled, recording action cannot be performed. So, let’s enable the Web Test Recorder add-on in the browser before we proceed into the next steps. Open the Internet Explorer browser and open the Manage add-ons in browser settings (see Figure 7-4).
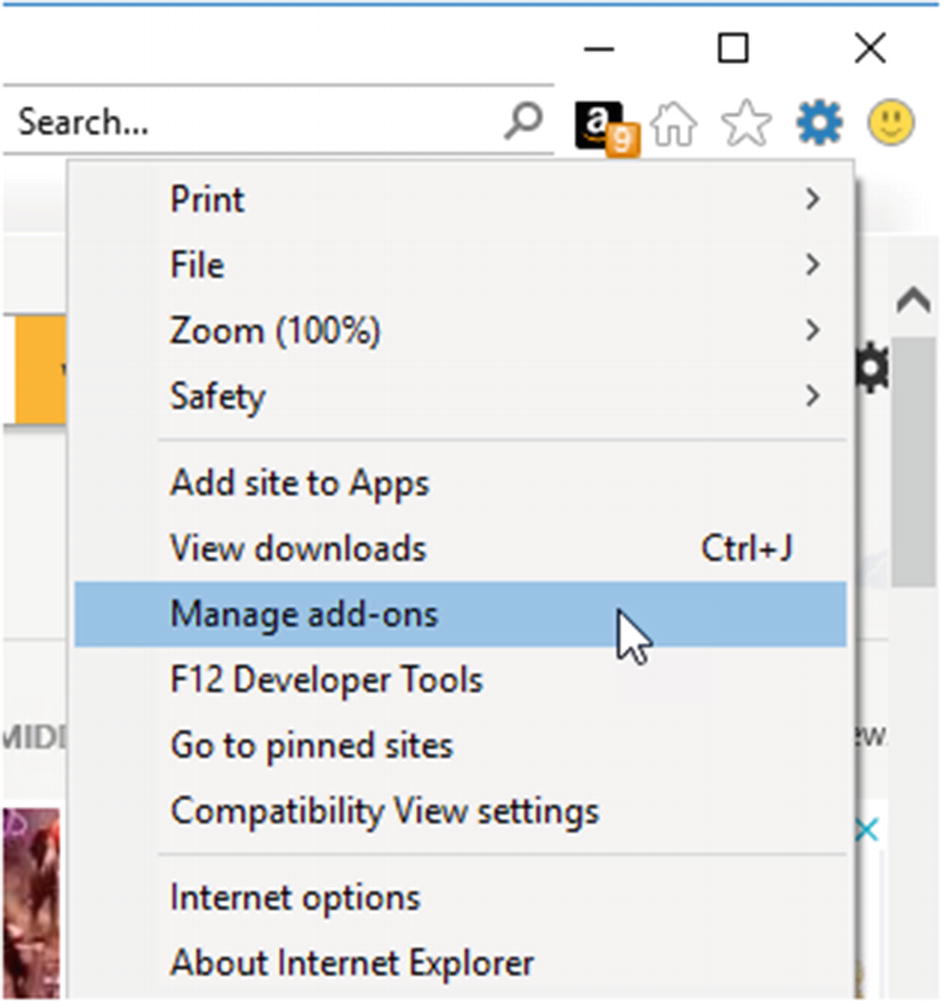 Figure 7-4
Select Manage add-ons from Internet Explorer settings
- 5.The Manage Add-on window will be displayed. Select the web test recorder and enable it by clicking the Enable button (see Figure 7-5).
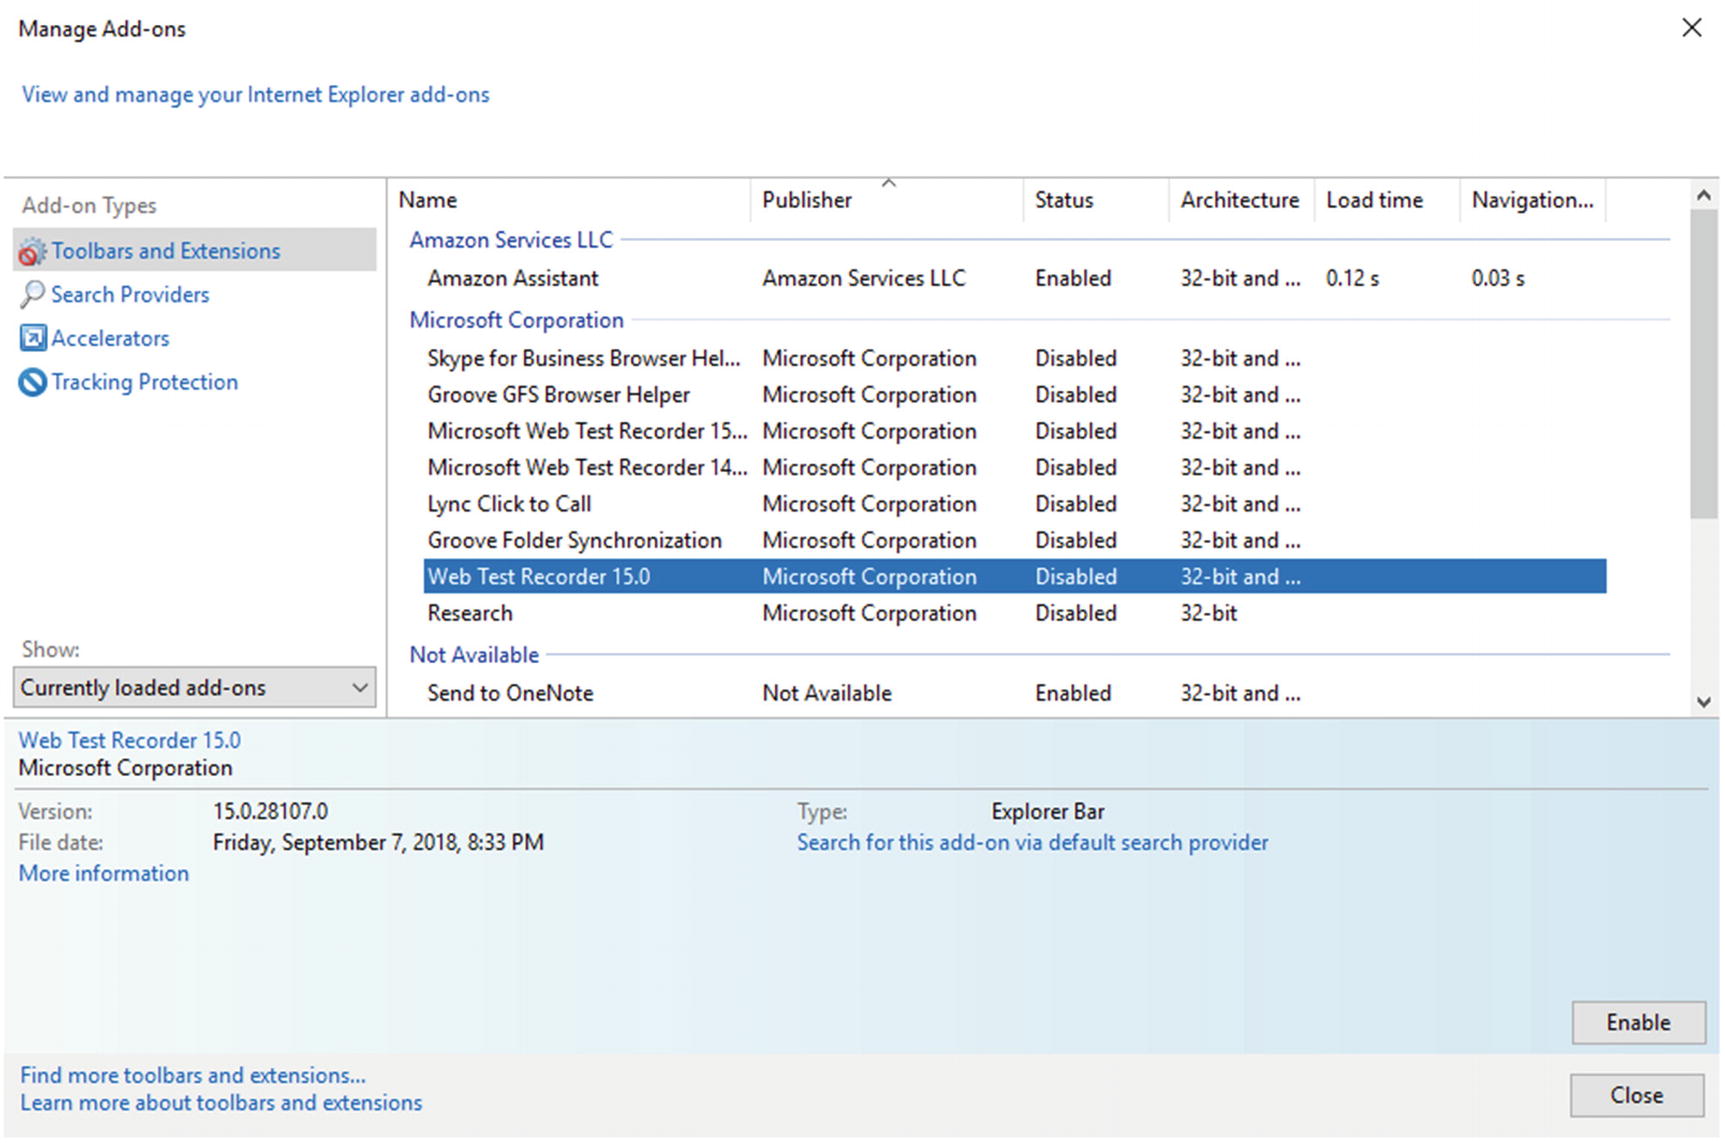 Figure 7-5
Enable the Web Test Recorder add-on
- 6.
With the Web Test Recorder enabled, let’s try to record user actions in the web application. To do that, open Web Test1.webtest file.
- 7.Click on the Add Recording icon (see Figure 7-6).
 Figure 7-6
Click on Add Recording icon
- 8.Perform the test steps and click on the stop icon to stop recording (see Figure 7-7).
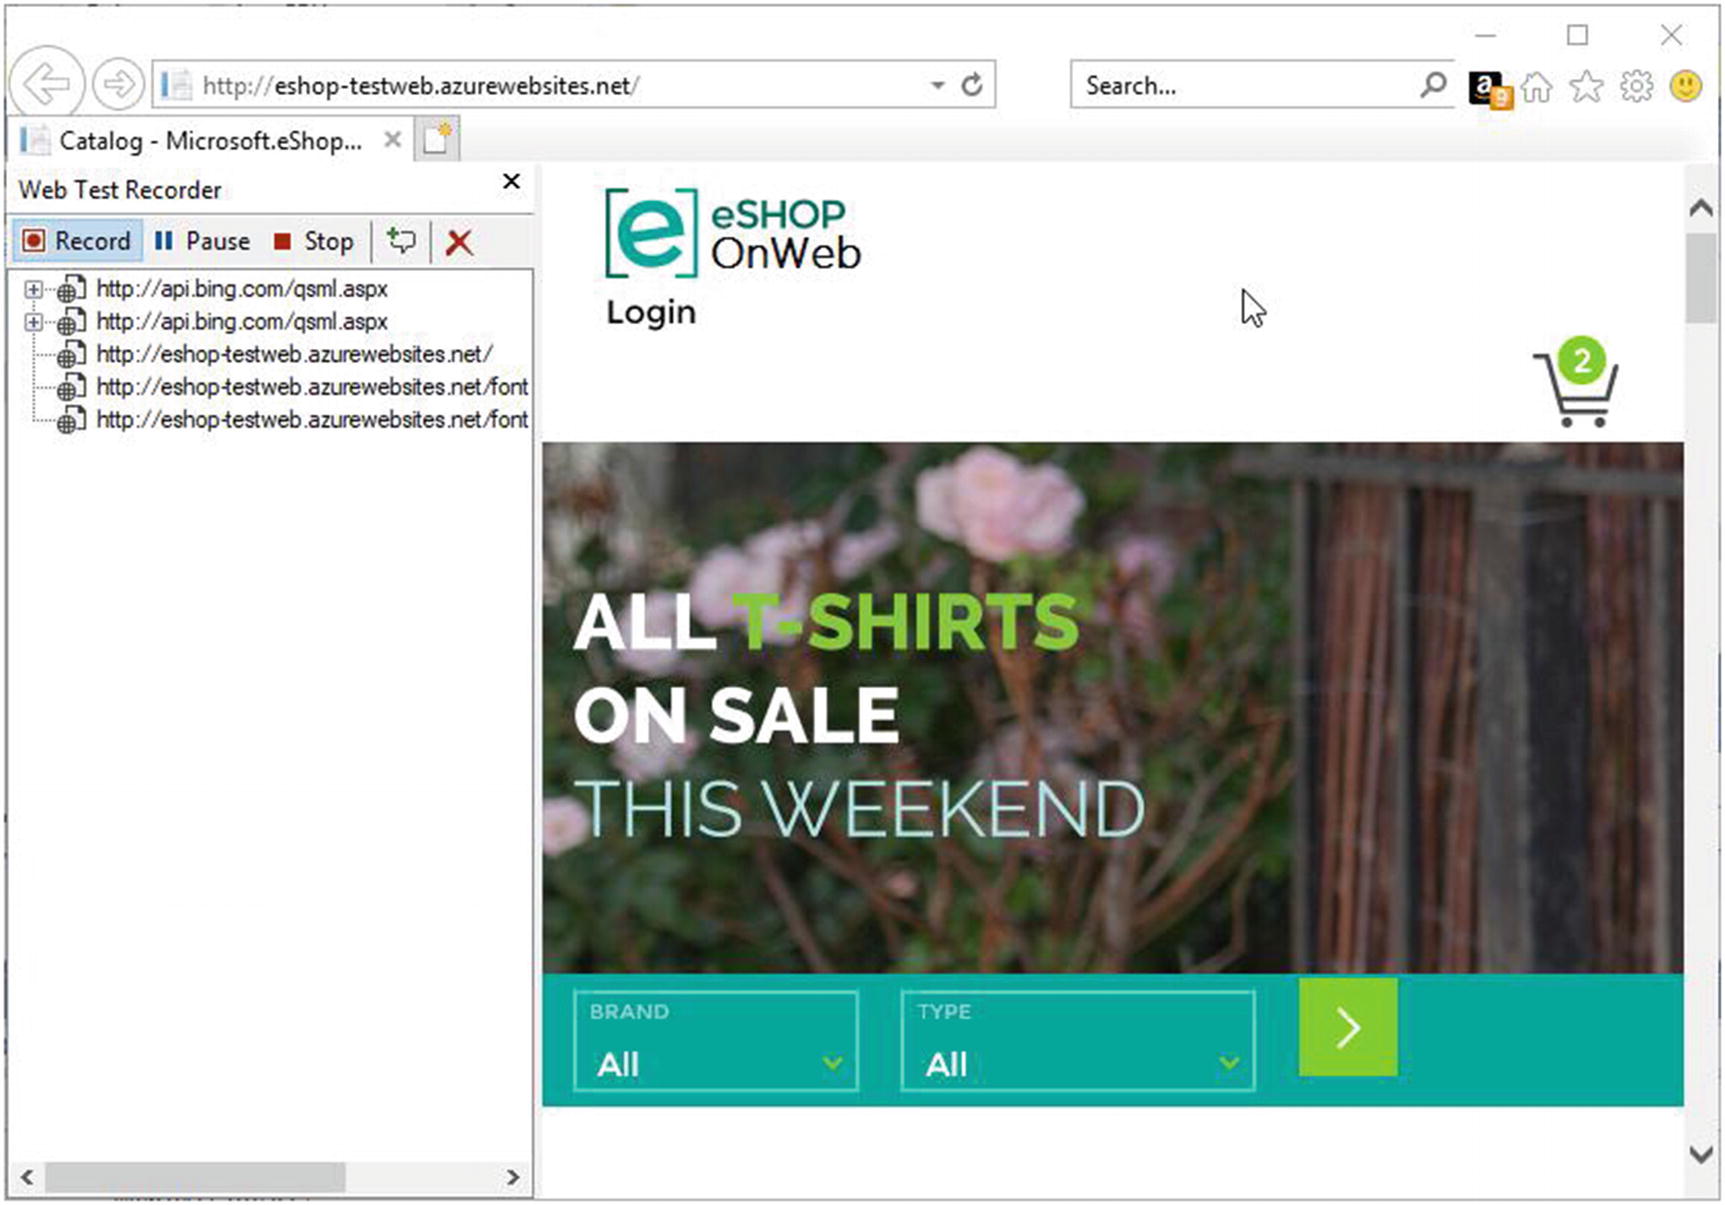 Figure 7-7
Recording actions performed on web application
- 9.After you click on the stop icon, you can see the web test is created with a list of http requests (see Figure 7-8).
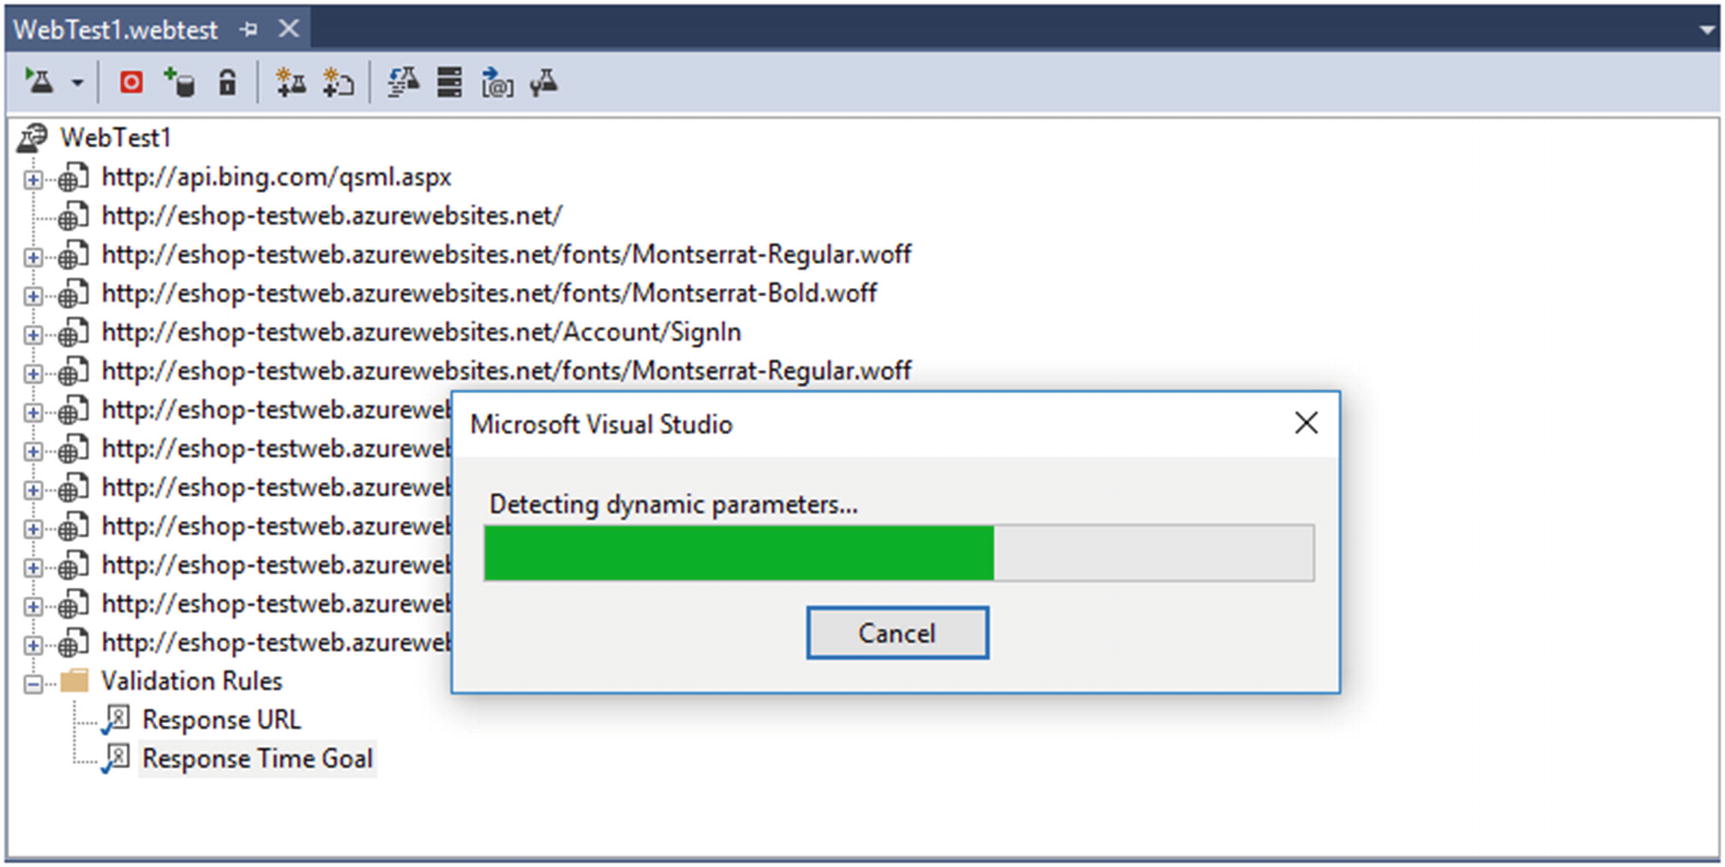 Figure 7-8
Web Test1.webtest file with a list of web requests
- 10.
- 11.After setting the performance goals, run the web test (see Figure 7-10).
 Figure 7-10
Run the web performance test

We should set the Response time of a specific request to be 2 seconds to achieve performance goals.
After the test execution is complete, the test result status is given as fail. But it still indicates the web request found the requested page.
- You can select failed request and see all the relevant details. In the Details tab, you would be able to find the reason for failure as The response time (3.070 seconds) exceeded the response time goal of 2 seconds (see Figure 7-11).
 Figure 7-11
Web test run results
It indicates that this test has failed because it took more time than our expected performance time goal.
Now you know how to create a web performance test and set performance goals. Likewise, you can change different properties and identify performance problems with the application.
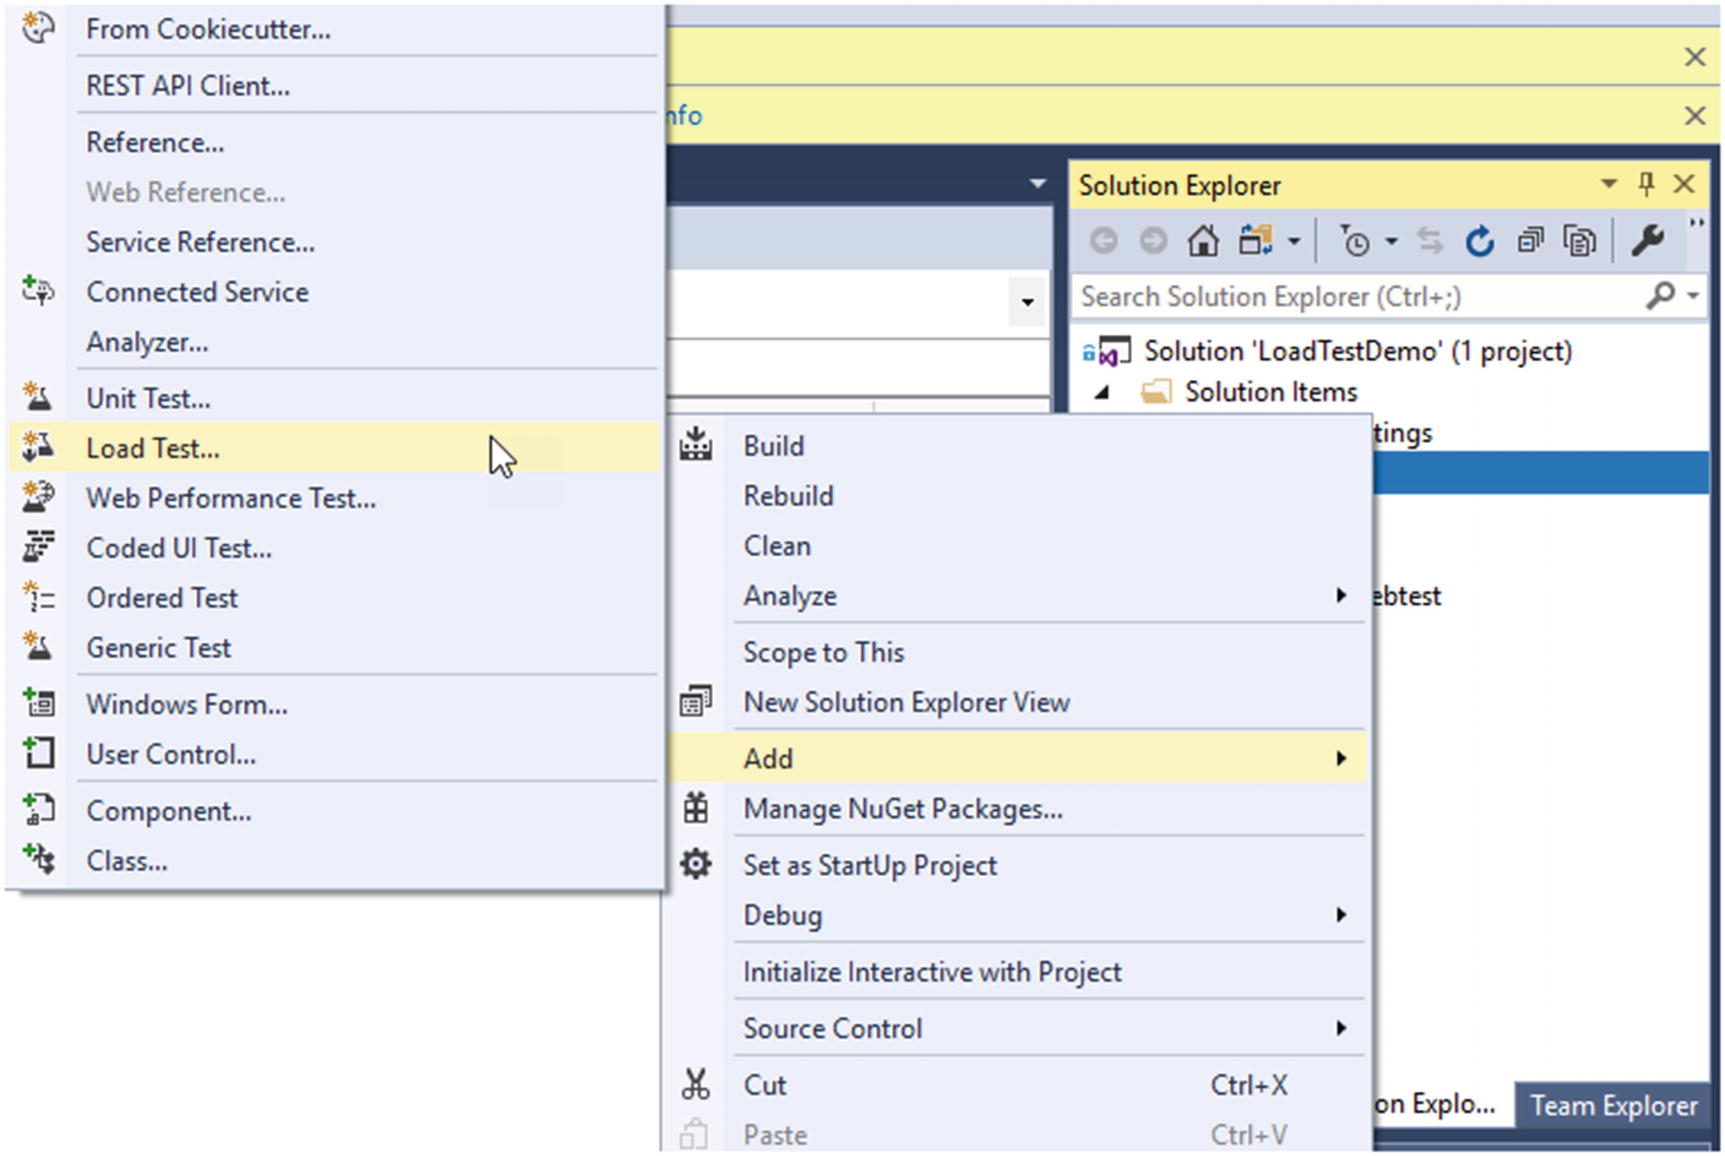
Add a load test file

Select On-premises option
Note
On-premises load testing is deprecated in Visual Studio.

Select geo location

Add test mix

Select test from available test
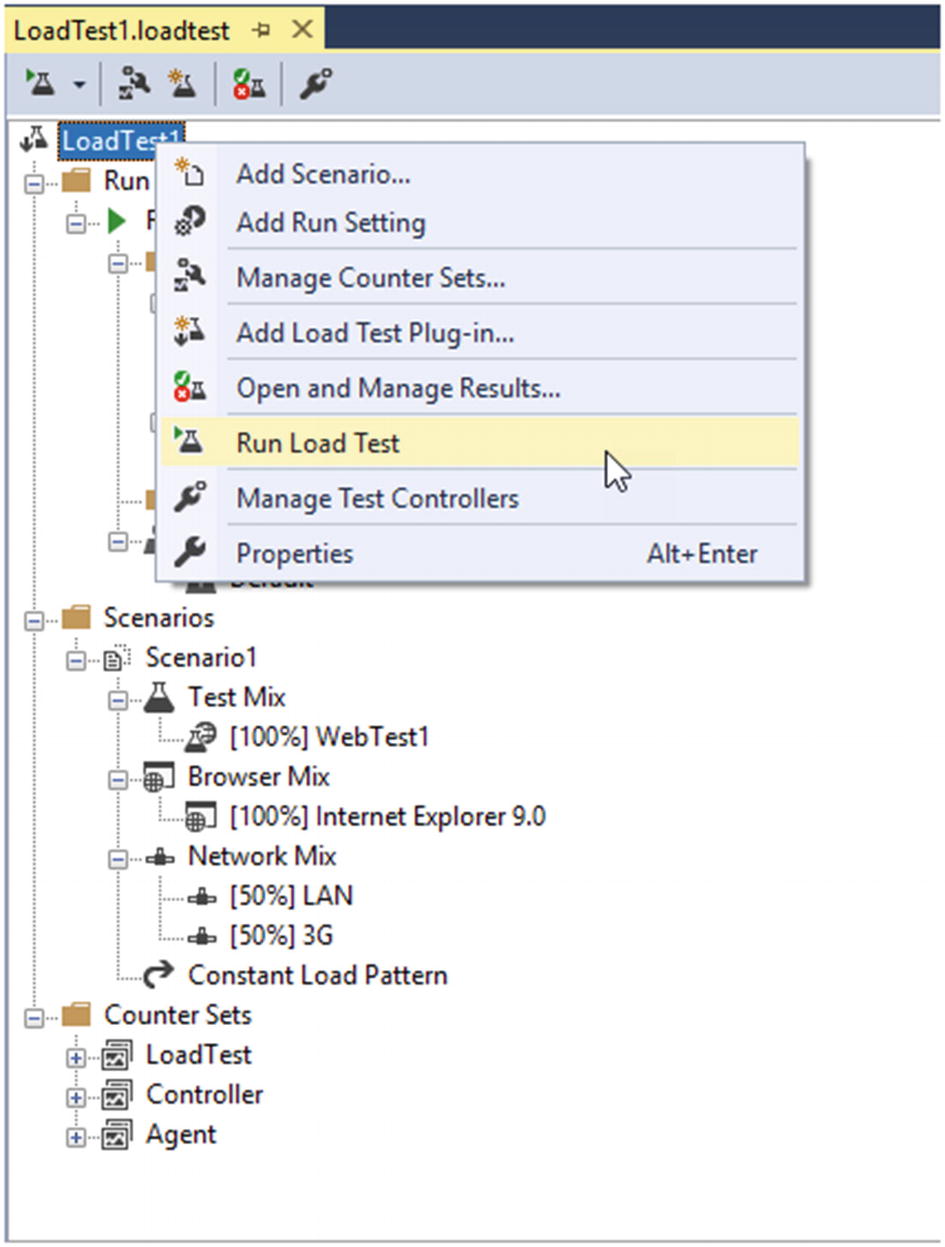
Run load test

Load test running

Load test running
In this lesson, we have explored how to author a load test using Visual Studio and run it as a cloud load test from the Visual Studio.
Lesson 7.02: Load Testing with Azure DevOps
This lesson will explain how to load test your application using the Azure DevOps URL-based load test option.
Prerequisites: You need to have Visual Studio Enterprise Subscription for the account you have used to log on to your Azure DevOps organization. You are familiar with using Azure DevOps.
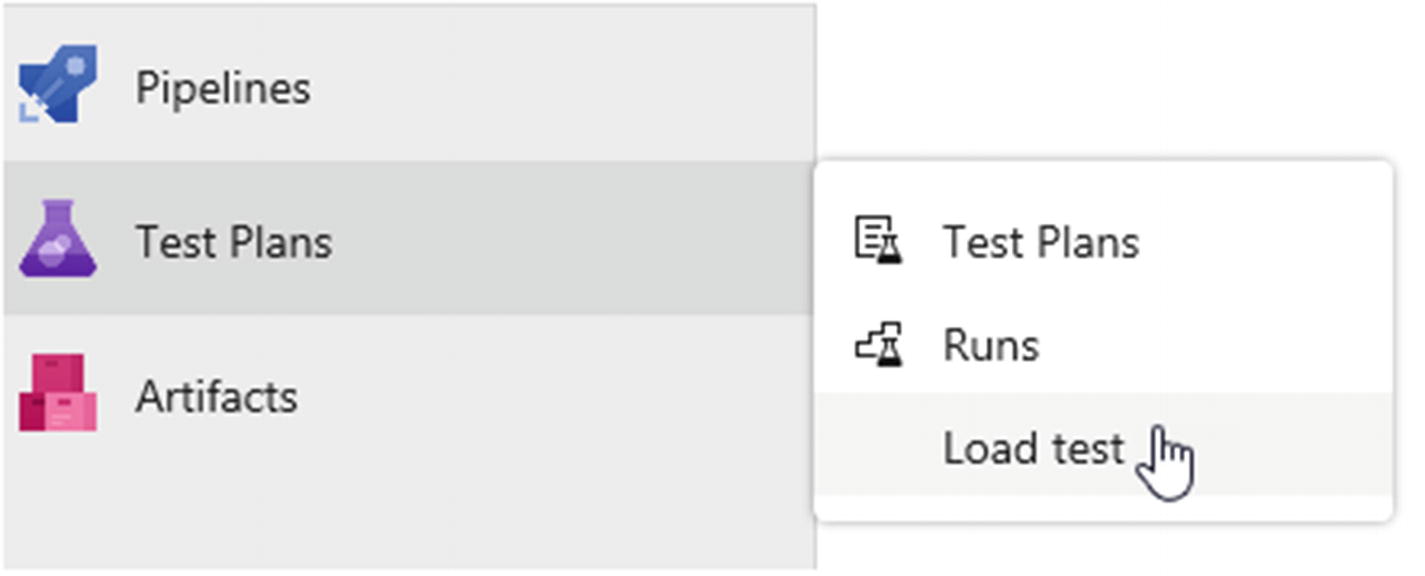
Select Load test
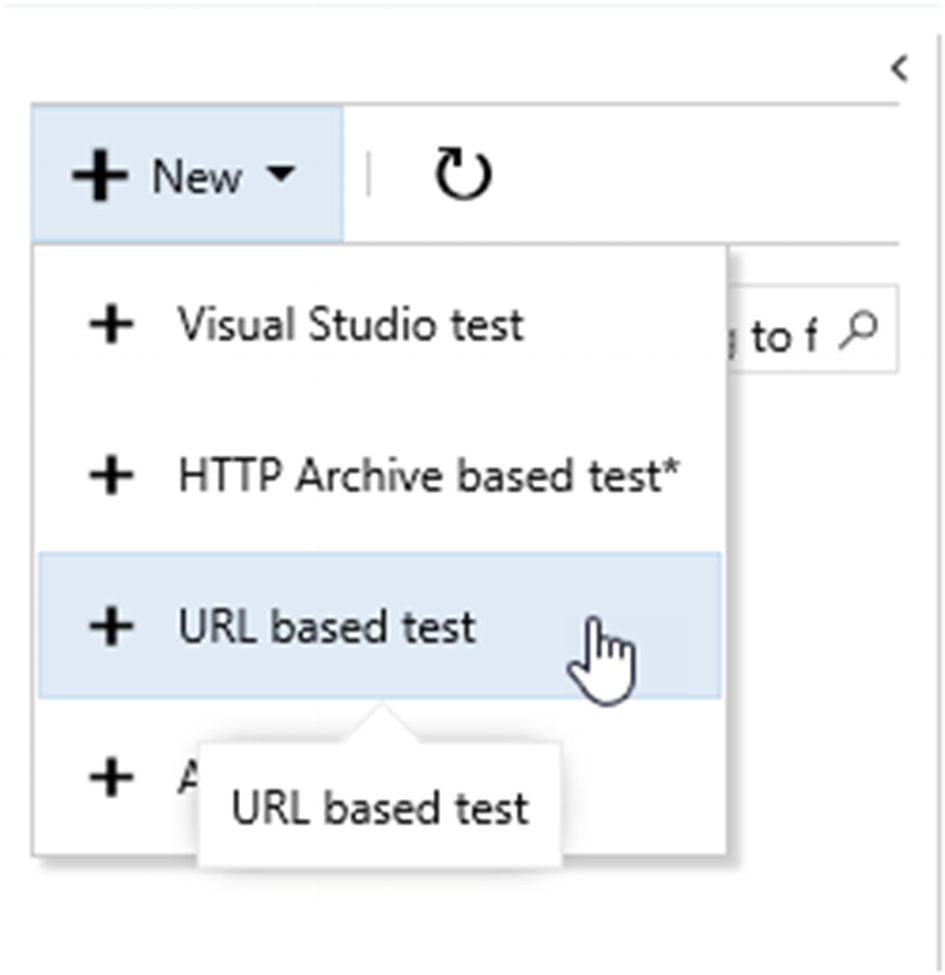
Select URL-based test
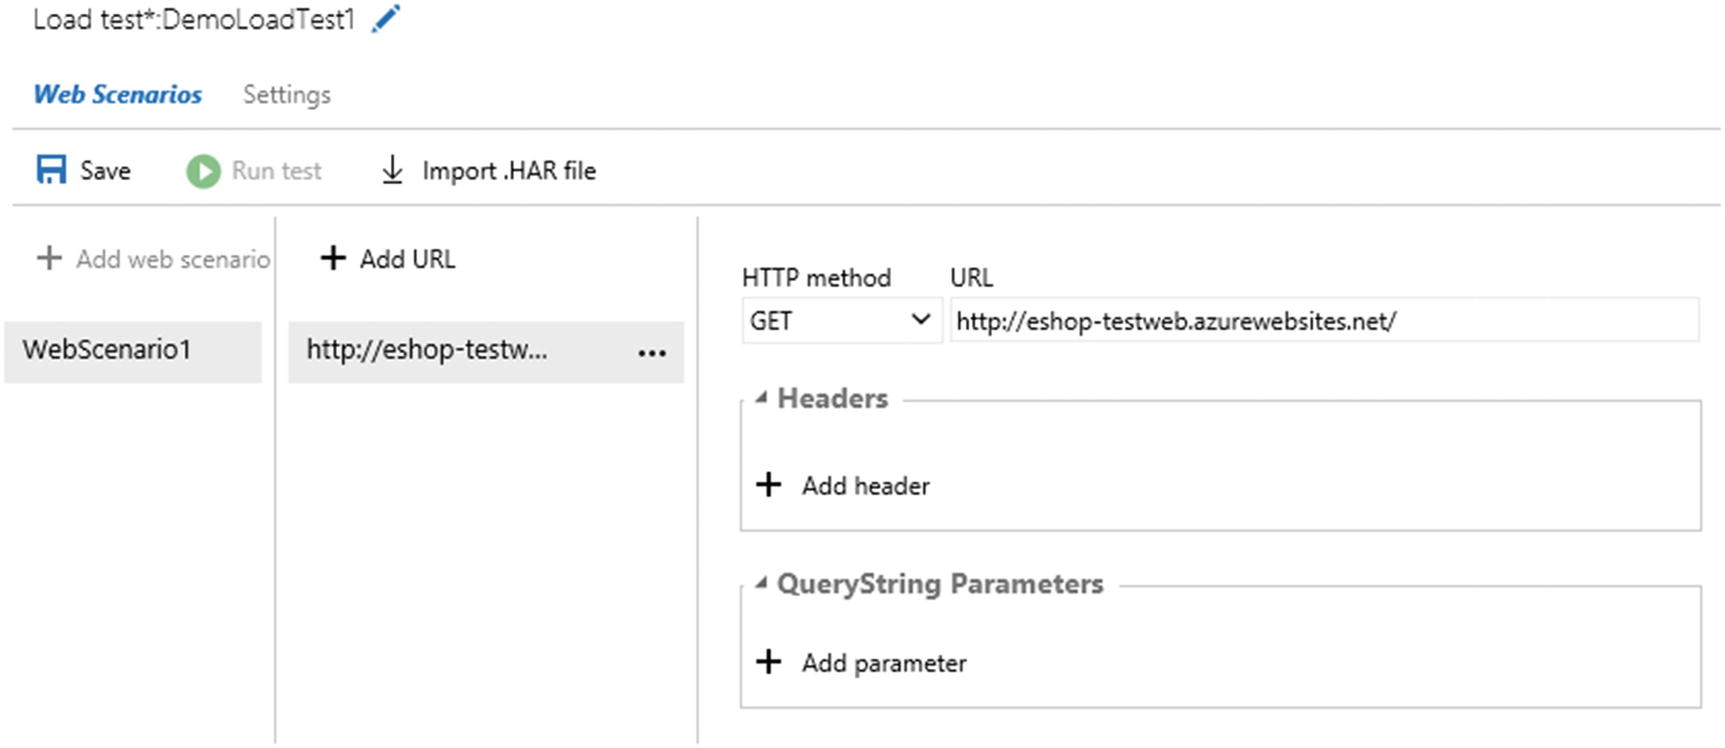
Add URL to test

Add load test settings
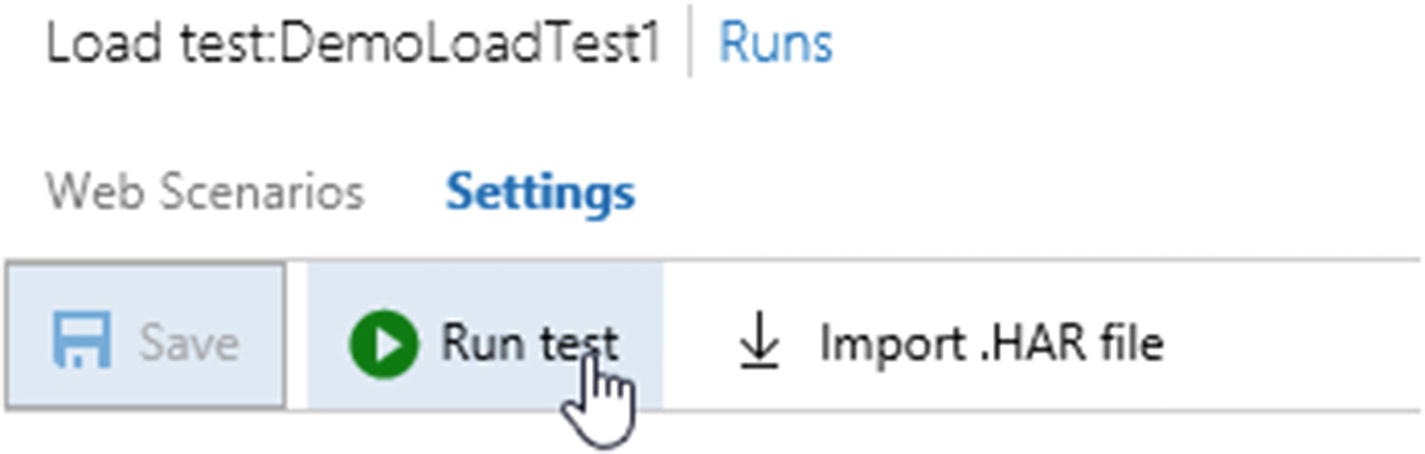
Click on Run test
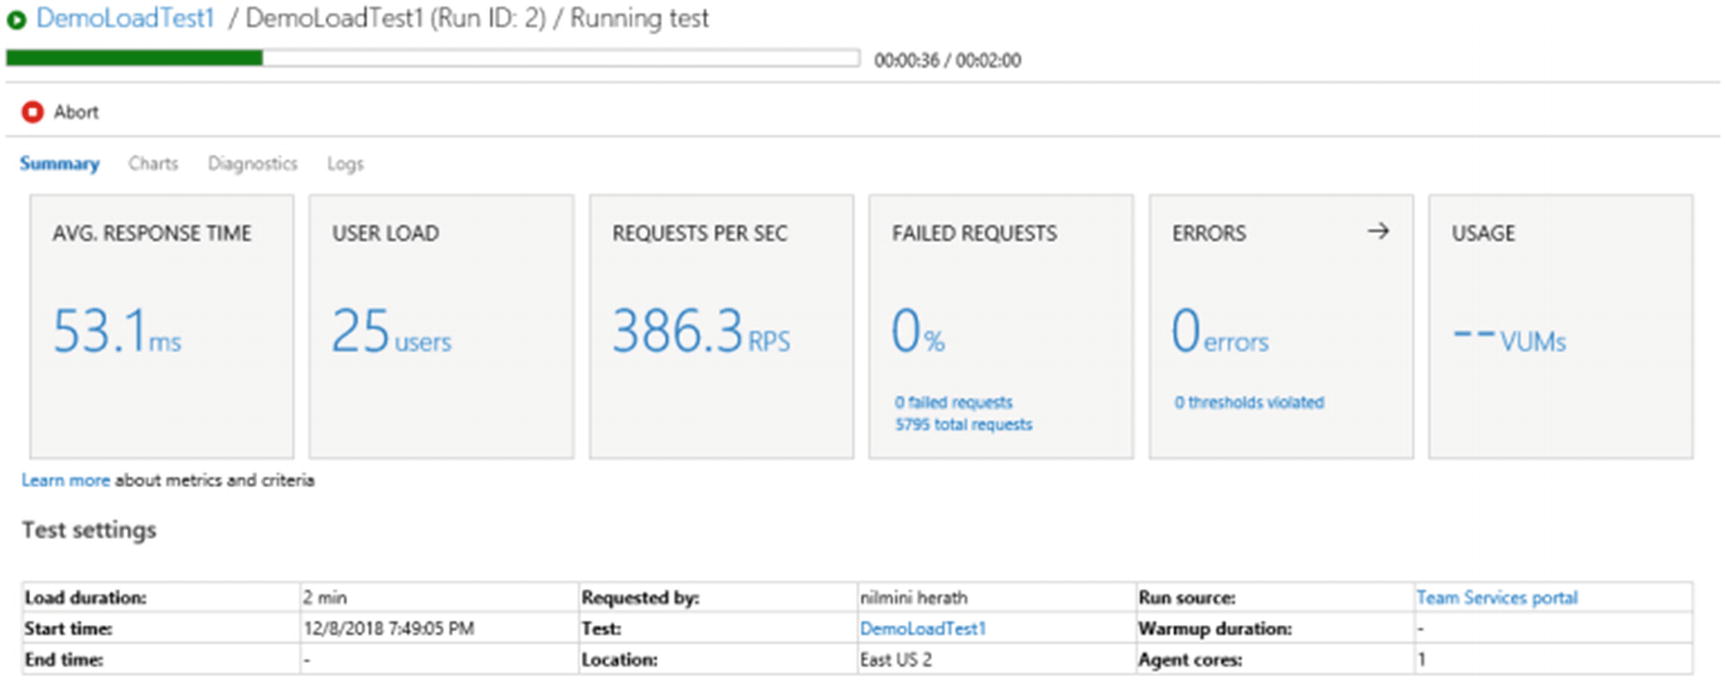
Live test run view
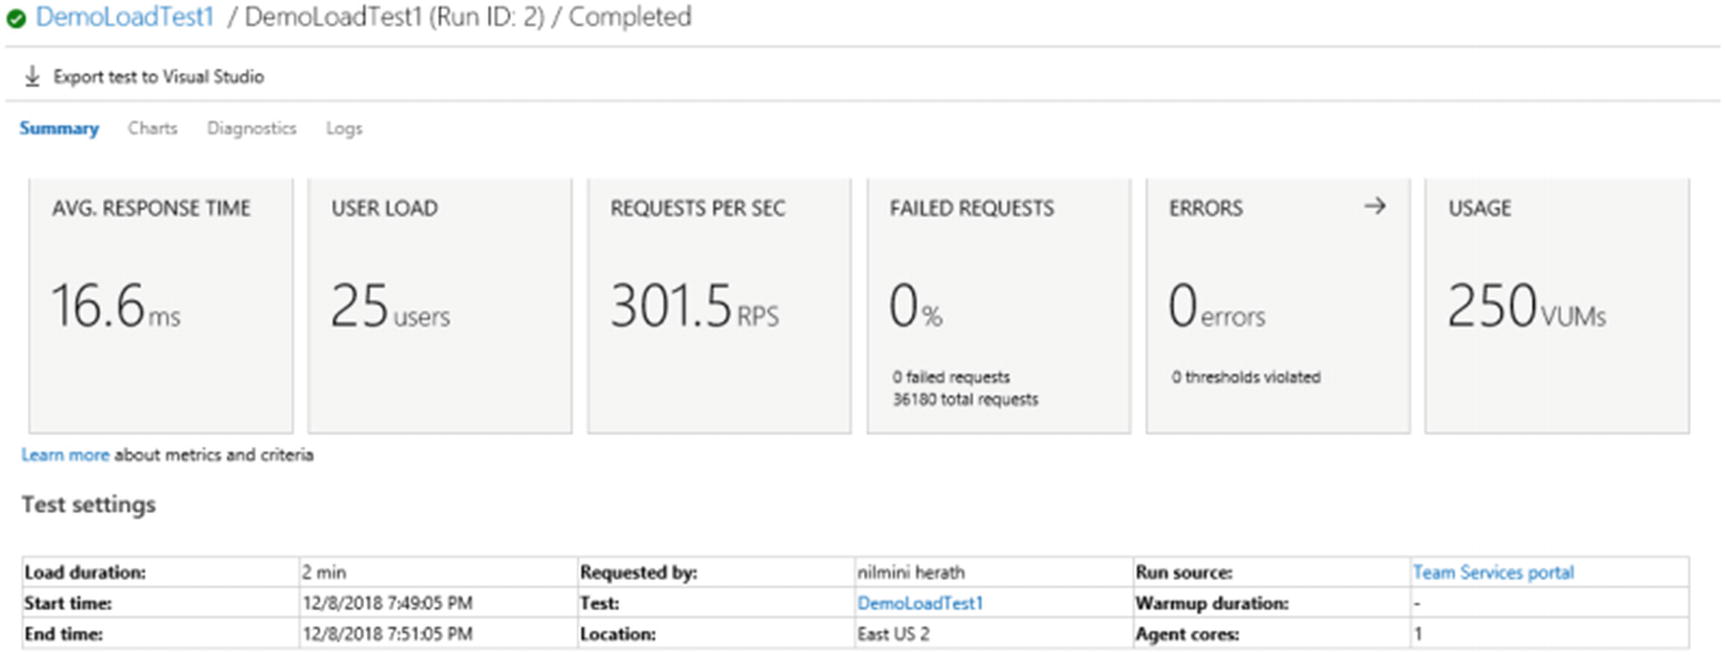
Load test run result
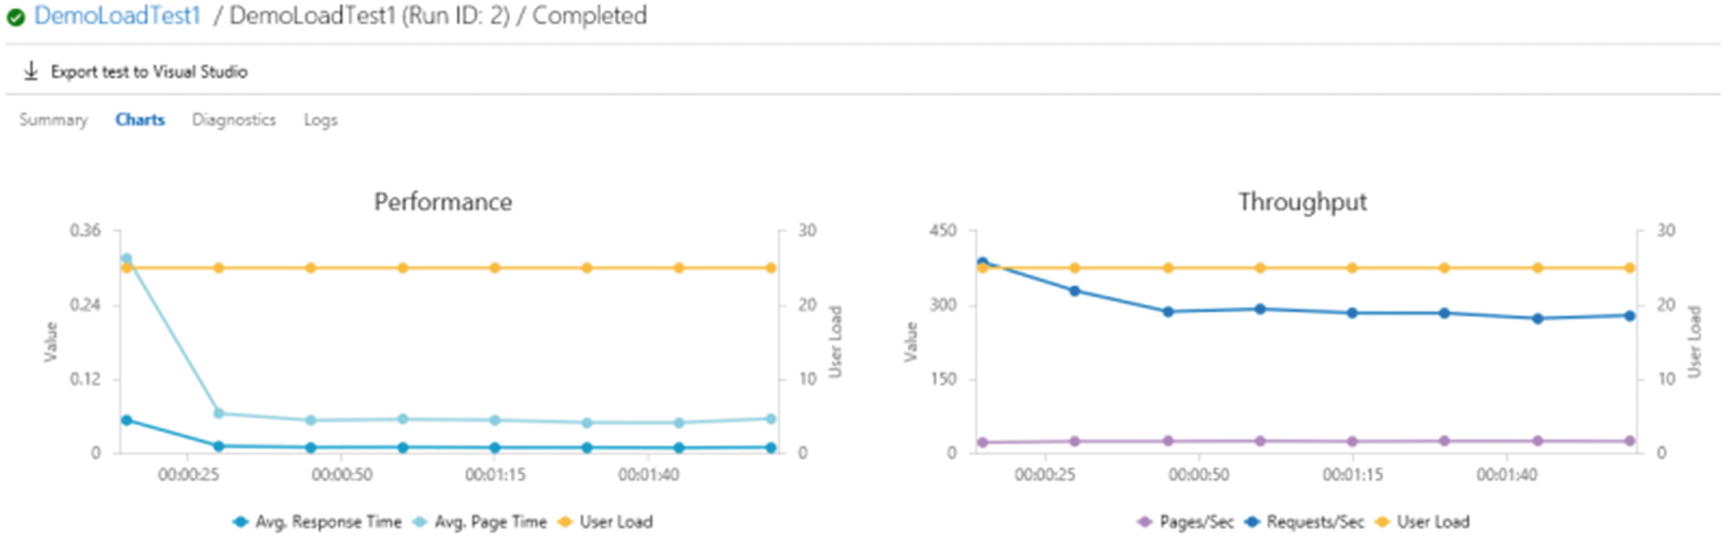
Load test result charts

Diagnostics page

Logs file
We have explored how to author and run Cloud-based load tests in Azure DevOps in this lesson.
Lesson 7.03: Load Testing in the Azure Portal
This lesson explains how to do load tests using the Azure portal.
Prerequisites: You need to have an Azure subscription and be familiar with using the Azure portal. You must have a web application running in Azure App services. You need an Azure DevOps organization and be familiar with working with Azure DevOps.
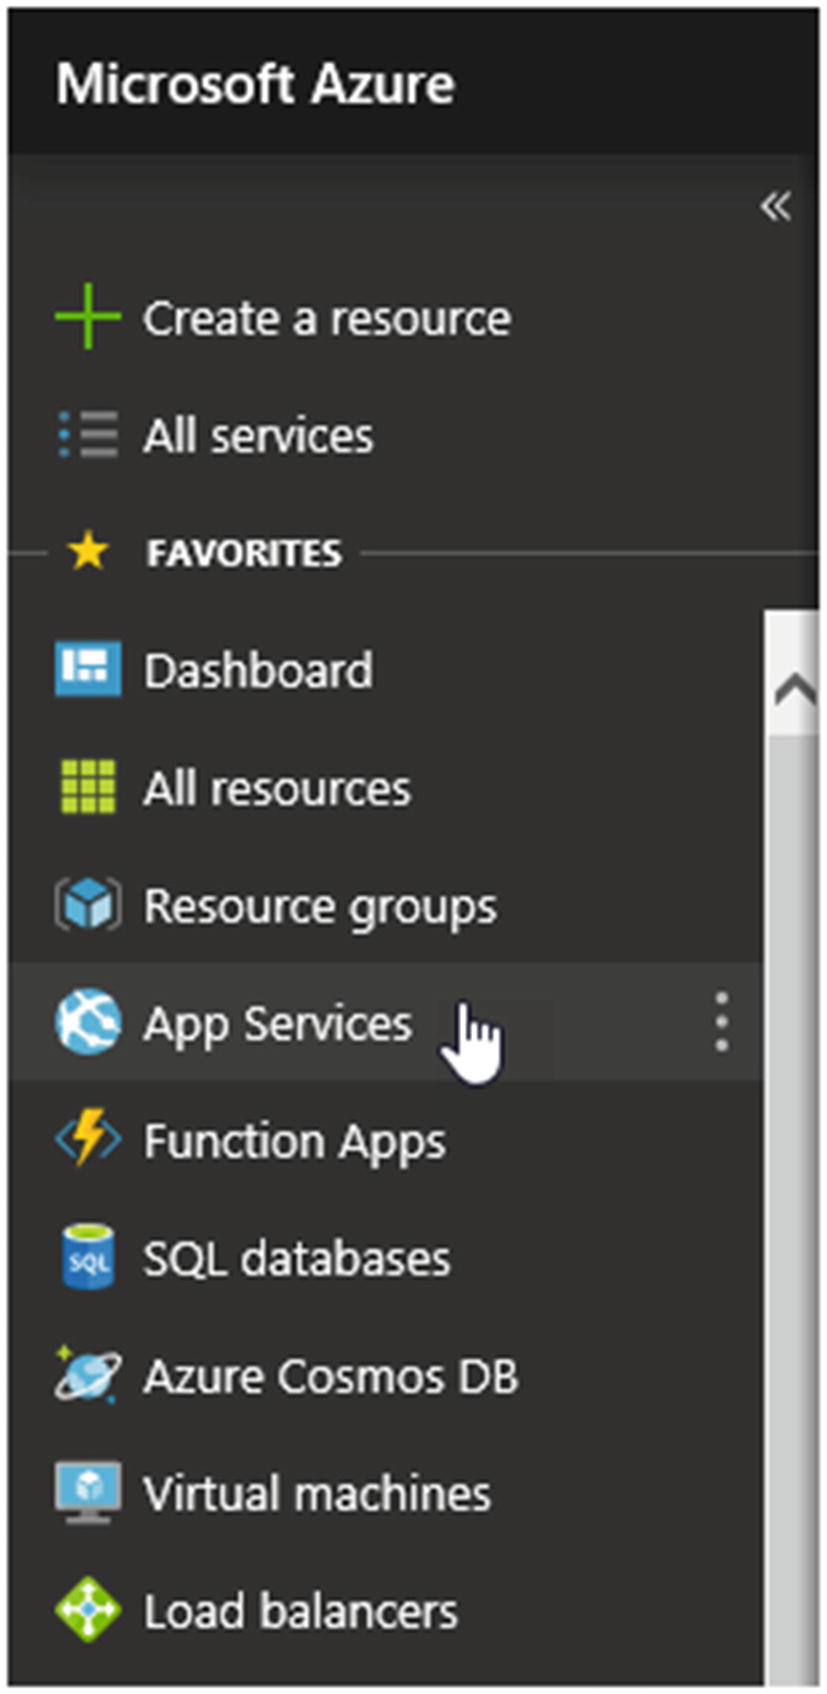
Select App services from side menu

Select the web app
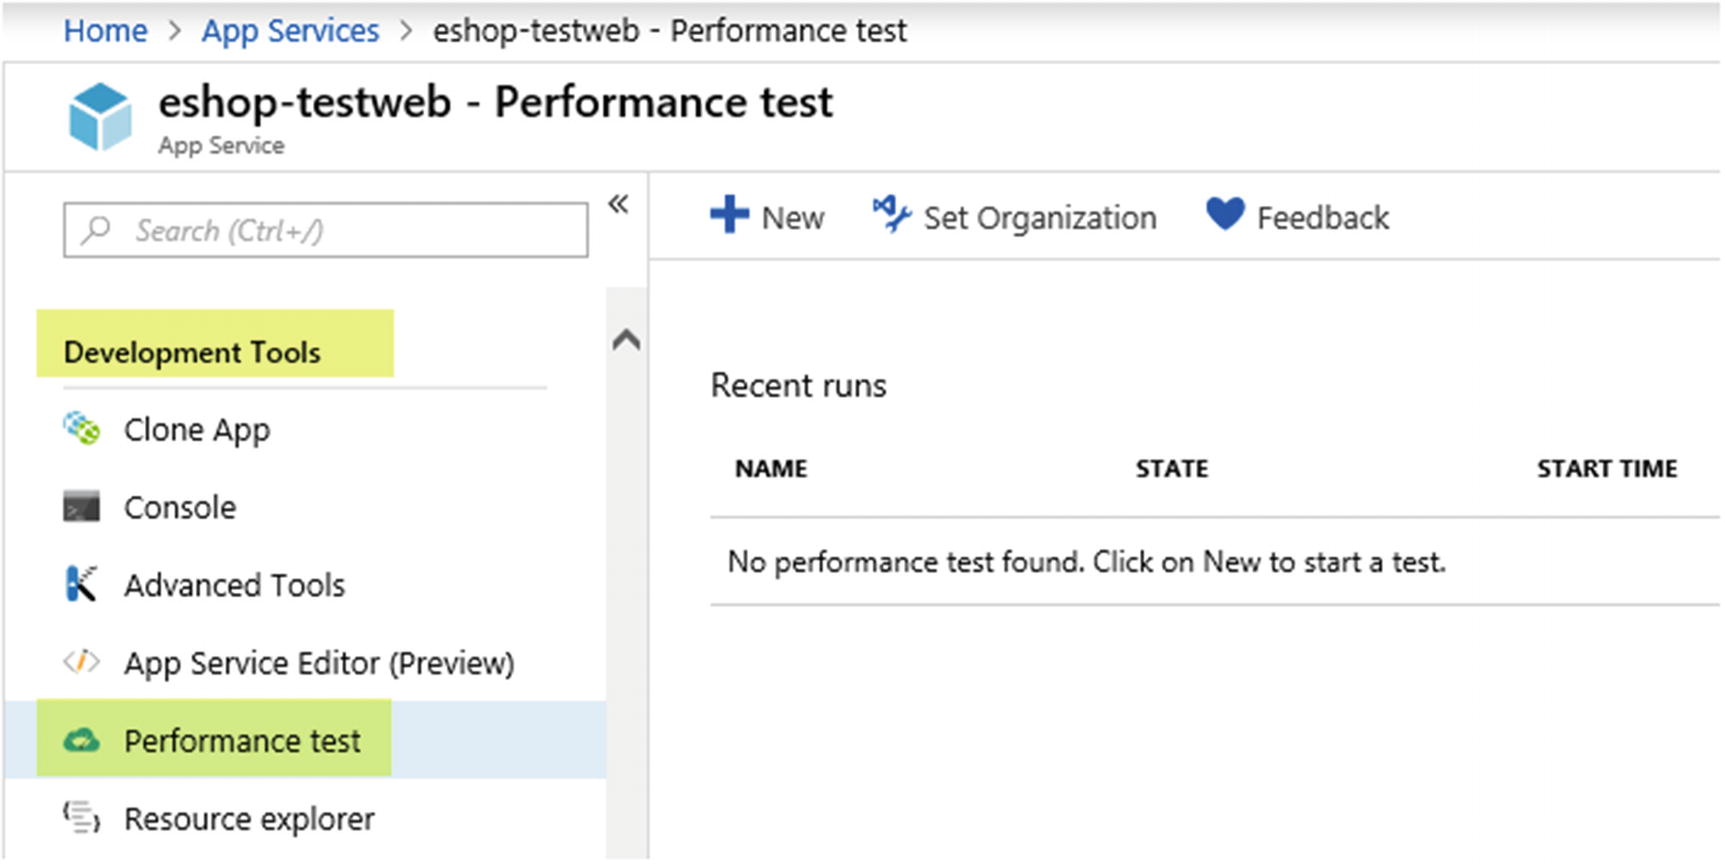
Select performance test
Now you need to connect with your Azure DevOps organization to keep the performance test history details.

Click on Set Organization

Select Azure DevOps subscription
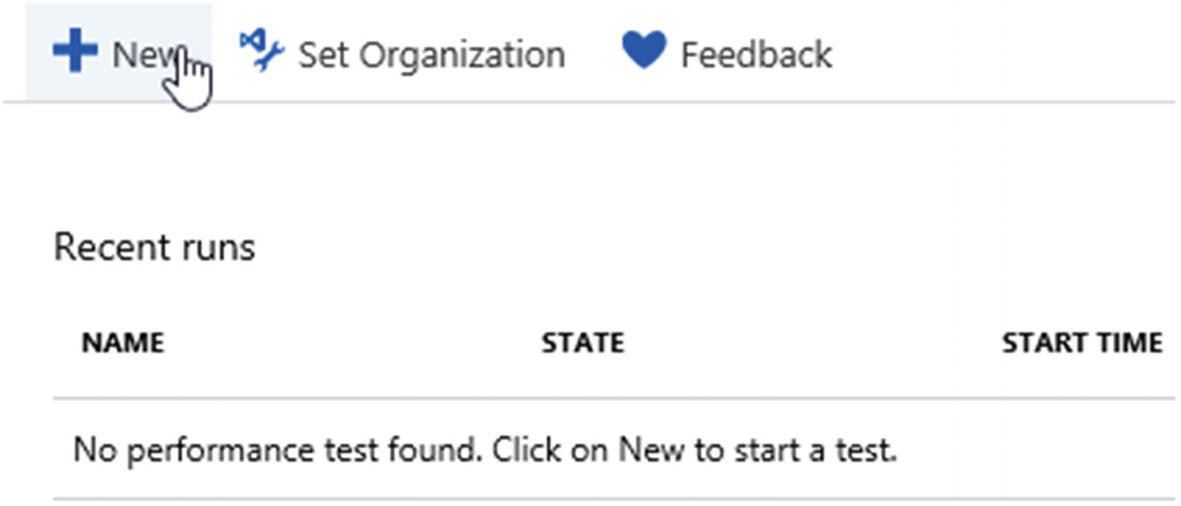
Click on New link

Add test run settings

Queued performance test

Test run result
In this lesson, we have explored load test authoring with the Azure Portal, which is available as a preview feature at the time of writing this book.
Lesson 7.04: Comparing Load Test Results
This lesson will explain how to compare load test run results.
Prerequisites: You need to have an Azure DevOps organization that has been used to practice the previous lessons. You need to have completed previous lessons and have run the load tests as instructed in the lessons.
Go to Azure DevOps and select Load Test under the Test Plan section.

Load test filters

Compare two tests

Performance comparison
In this lesson, you have learned how to compare load test run results in Azure DevOps.
Summary
In this chapter, we have explored options of authoring and running Cloud-based load tests involving Azure DevOps as the test running facilitator. You can use this knowledge to make sure you are delivering applications to your production environment after doing thorough analysis of the performance of the applications under real traffic and load.
In this book, we have learned wiring functional test automation using Selenium and Visual Studio. You have used C# and Python to author tests and have used few frameworks, such as MAQS and, SpecFlow to make test automation authoring more stable. Getting the tests integrated with CI/CD pipelines will come in handy as you will be able to leverage capabilities of Azure DevOps to achieve real benefits of functional test automations, which will bring your organization one more step toward being a DevOps-enabled organization. Further, the theoretical explanations and hands-on lessons in this book have given you essential knowledge for implementing functional test automations. Finally, we have explored the load testing options as well to help you implement applications that can handle real-world usage needs.