Chapter 3. Before We Get Started
In this chapter we are going to set up all the tools needed for smart contract development. We will start by installing an Ethereum client, which is software that can be used to interact with the Ethereum blockchain. We will then install Node.js, which provides the JavaScript environment for Truffle. Lastly, we will install Truffle and Ganache from the Truffle Suite. Truffle provides a fantastic set of utilities used for testing and deploying our contracts, while Ganache gives us a local blockchain environment to run our application locally.
Once these tools are installed, we’ll be ready to write our first smart contract. Without further ado, let’s get started.
Ethereum Clients
Before we dive into installing an Ethereum client, we should take a moment to discuss how an Ethereum client is different than HTTP clients, which you are likely far more familiar with.
In a traditional web application, the server is centralized and located with a URL or IP address. This software can be written in any programming language that is capable of sending an HTTP request. The client software would make interacting with the server easier since it would contain all the logic and abstractions for building the requests and parsing responses. The client could also be released as a library and made available for other applications to speed up adoption of the service.
Twilio is a great example for this type of client. If you visit their GitHub page, you can see they support libraries in languages like Java, C#, Ruby, Node, etc. This means installing a Twilio client is normally done by using the languages dependency manager and running a few commands on the command line or IDE.
When you install an Ethereum client, you are installing software that will allow you to run an Ethereum node on your machine. This software comes with a command-line interface (CLI), which allows you to create accounts or launch an interactive console that preloads Web3 (more on that in later chapters). Additionally, this software will run a server to expose the Ethereum JSON RPC API.
If you are unfamiliar with JSON RPC, it is a lightweight remote procedure call (RPC) protocol. This means we use JSON to send a request to a server, which then executes some predefined operation. It is through this JSON RPC that we will be interacting with the blockchain. A full specification of what is available can be found on the Ethereum wiki.
There are a number of Ethereum clients you can use, including cpp-ethereum, go-ethereum (otherwise known as Geth), and a few others, but the one we will be using is called Parity. Parity is a client written in Rust and provides one of the faster syncing options of the available clients. It also happens to be the client that is maintained by Parity Technologies, a company founded by the author of the Ethereum yellow paper, Dr. Gavin Wood. Though we have opted for Parity for the purposes of this book, any of the clients that have implemented the Ethereum spec will work. For a full up-to-date list, check out the docs.
Installing Parity
Parity maintains prebuilt binaries for Windows, Mac, and Linux operating systems. If you are running Mac or Ubuntu (or the Windows 10 WSL version of Ubuntu), then you can use the automated installation script by running the following:
$bash <(curl https://get.parity.io -L)
Once the script finishes the installation, you can begin to sync the blocks from the network. In our case, instead of syncing from the mainnet, or what you would likely consider “production,” we will sync one of the test networks. This will be much faster while providing the tooling needed for our development. We have opted to use the Goerli, which is a network designed to work with several different Ethereum clients such as Geth and Parity. Let’s start syncing with the following command:
$parity --chain=goerli
Once you run this command, you will begin to see terminal output that looks similar to Example 3-1.
Example 3-1. Parity syncing output
2019-07-17 14:28:17 Starting Parity-Ethereum/v2.5.5-stable-3ebc76975-20190708/...2019-07-17 14:28:17 Keys path ~/Library/Application Support/io.parity.ethereum/...2019-07-17 14:28:17 DB path ~/Library/Application Support/io.parity.ethereum/...2019-07-17 14:28:17 State DB configuration: fast2019-07-17 14:28:17 Operating mode: active2019-07-17 14:28:17 Configured for Görli Testnet ...2019-07-17 14:28:19 Listening for new connections...2019-07-17 14:28:24 Syncing #954677 0x6105…6a9a ......
Reviewing the output, the first line gives us feedback about what the client is launching and what version. The next few lines output configuration details, which include where the keys and DBs are stored. After that, we see a server is started on 127.0.0.1:8546. Lastly, we see the sync begin. After the initial sync, launching Parity will be quick, as it will only need to grab the latest blocks that have been added to the chain. At this point you can go ahead and kill the process with Ctrl-C.
We will go into Parity more when it comes time to deploy a smart contract in Chapter 6. For now, we’re ready to move on to MetaMask.
Installing MetaMask
If your application required users to download and run a full Ethereum client such as Parity or Geth, you just lost a lot of potential users. Asking a user to install and run a full Ethereum node is a bit much for all but the devoted crypto enthusiast. Outside of early adopters, you will need to provide a much easier way for those less tech-savvy to begin using the application, and that is exactly where MetaMask comes in.
MetaMask is distributed as a browser extension available on Chrome, Firefox, Opera, and Brave. The MetaMask software provides users with the ability to create accounts, and loads a preconfigured instance of Web3 into the browser that is used to interact with the blockchain via JSON RPC. It also provides the user with a 12-word mnemonic that they can store to later recover their accounts should they change computers, browsers, or lose their password. If that’s not enough, MetaMask also provides a few options for users to buy ether to fund their accounts, making it the easiest way for new users to get going with Ethereum.
Let’s first get MetaMask installed so we can interact with our application later. Go to https://metamask.io and install the Chrome extension. Let’s walk through the setup, as illustrated in Figure 3-1.
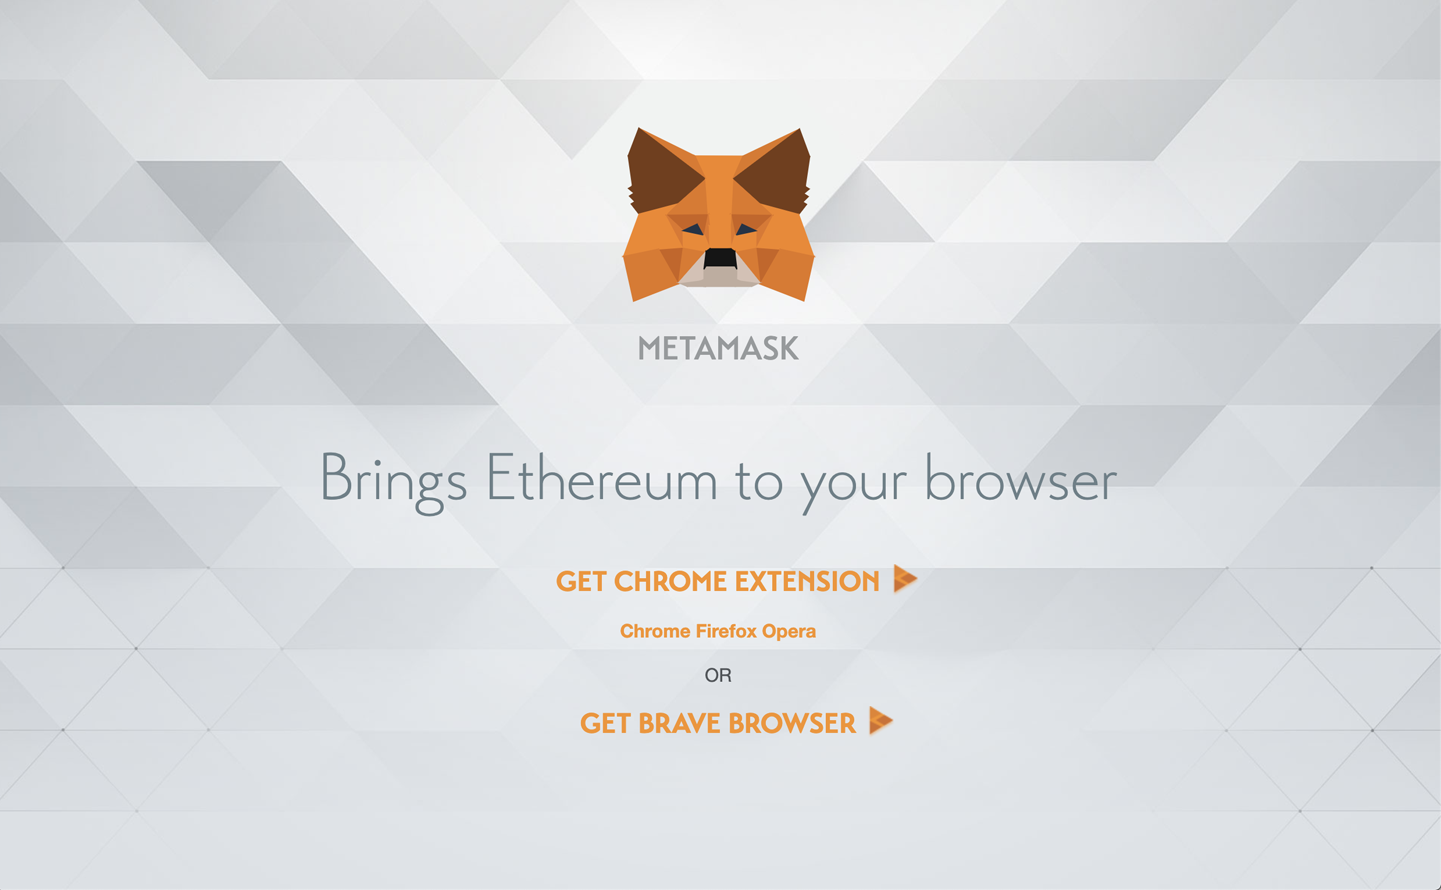
Figure 3-1. Installing MetaMask
Once you click Download, you’ll be directed to the Chrome store, as depicted in Figure 3-2.

Figure 3-2. Google Chrome store
Install the extension and accept the “Add MetaMask?” prompt in Chrome, as shown in Figure 3-3.
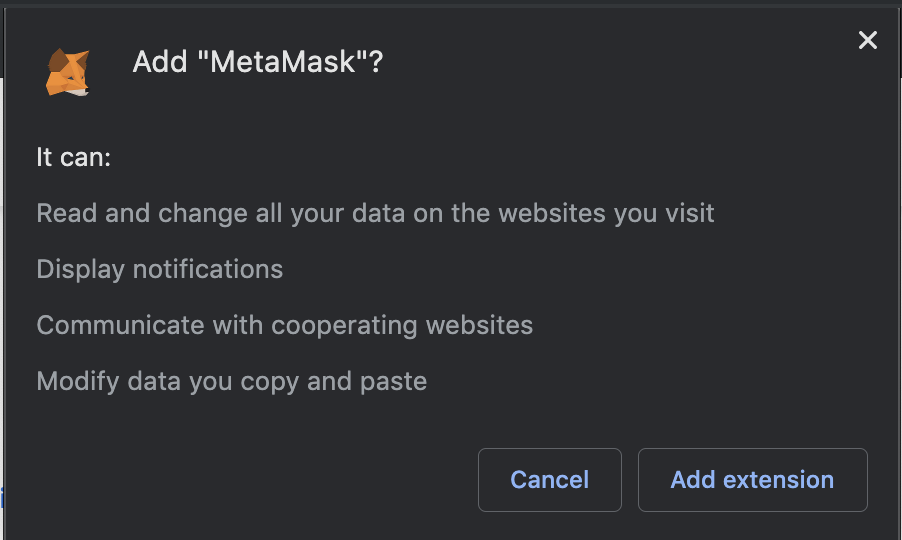
Figure 3-3. Accept MetaMask access controls
If it’s installed correctly, you should be redirected to a page asking you to set up MetaMask, as shown in Figure 3-4.
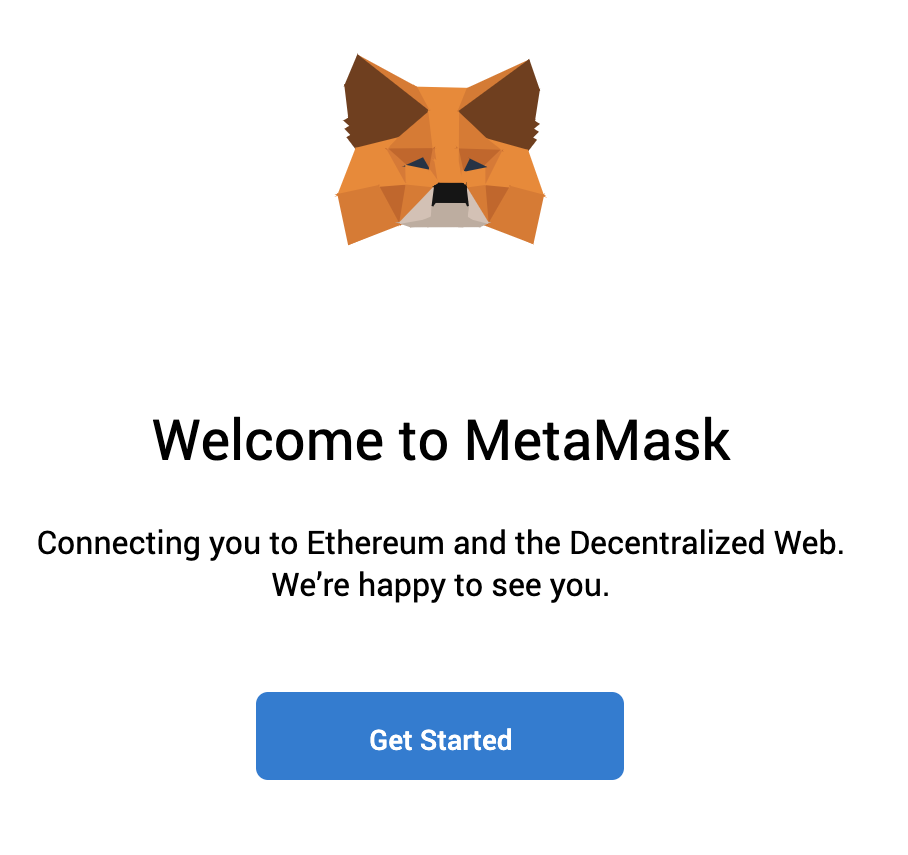
Figure 3-4. Getting started after install
As part of the setup, we’re going to create a new wallet on MetaMask. We’ll click the button on the right in Figure 3-5 labeled Create a Wallet.
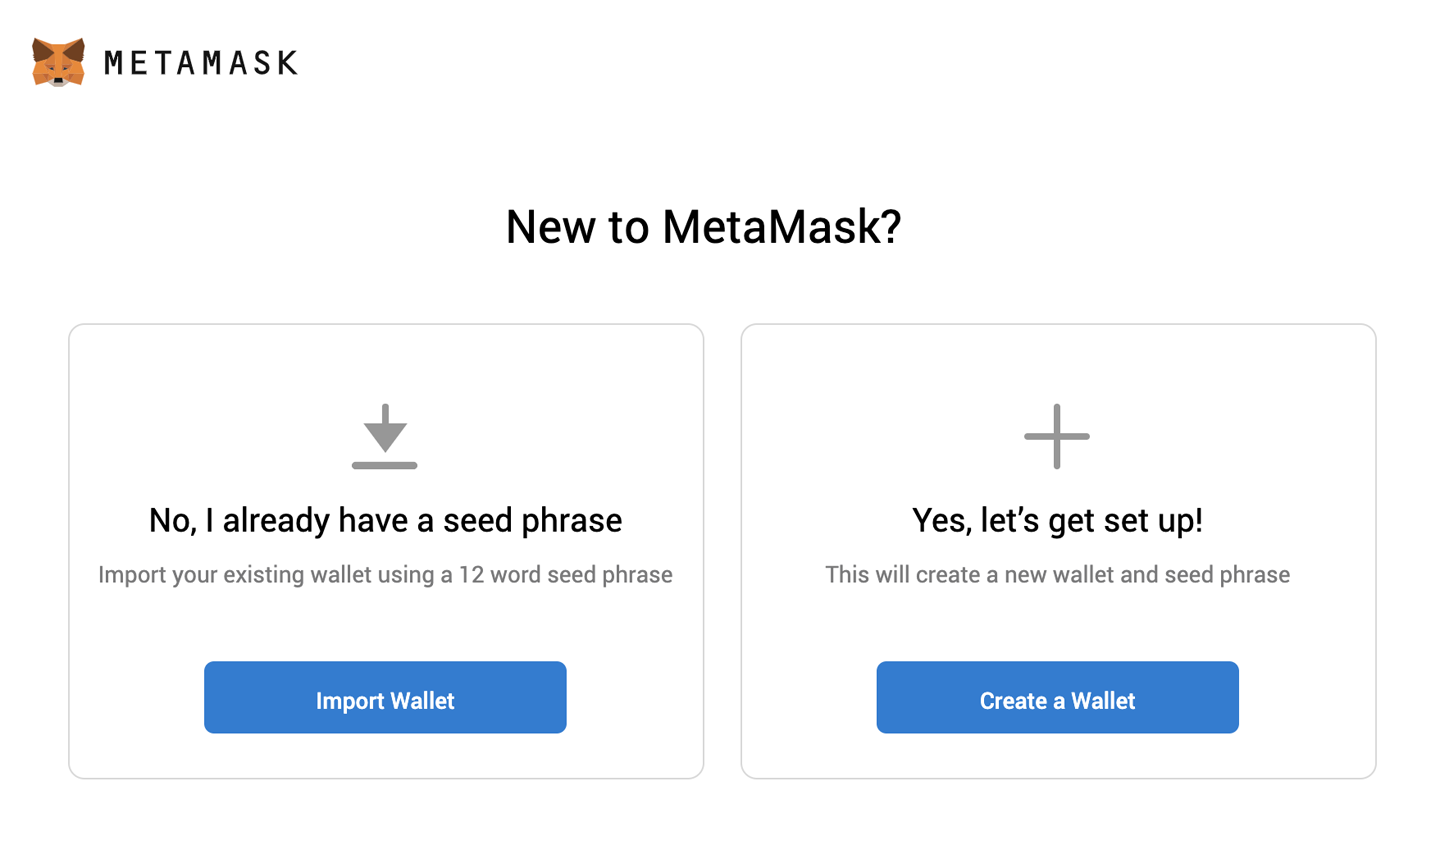
Figure 3-5. Creating a new wallet
In Figure 3-6 you are prompted to create a password. Be sure to make this a difficult password; better yet, use a password manager to generate one for you. If someone is able to guess your password on your computer, they will gain access to your private keys and with that they would be able to send transactions from your EOAs.
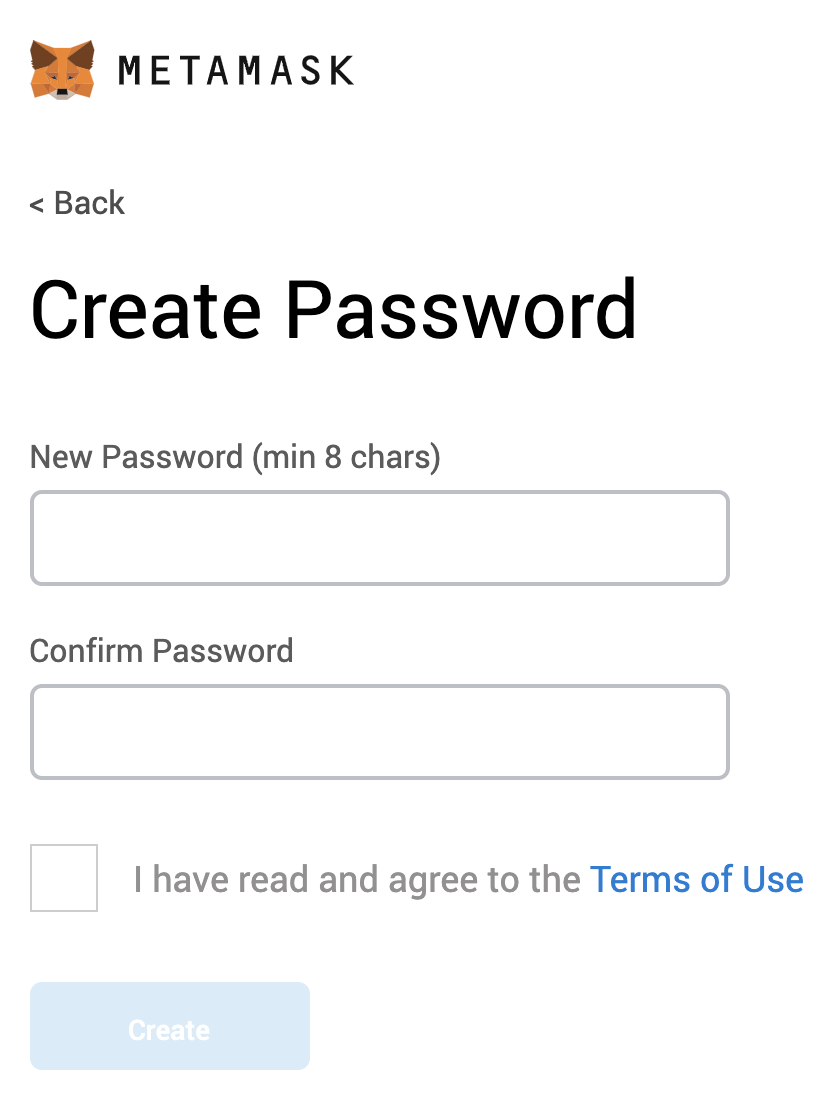
Figure 3-6. Create a secure password
Moving on to Figure 3-7, you’ll see a clickable area, which reveals a secret backup phrase. Write this down on a piece of paper and secure it in a safe location. If you are using a password manager, save this there as well.

Figure 3-7. Save the secret backup phrase
After you save your backup phrase, click Next and you’ll then be taken to the page shown in Figure 3-8. Here you will need to select these one by one. This is a nice little reminder from MetaMask to save these!
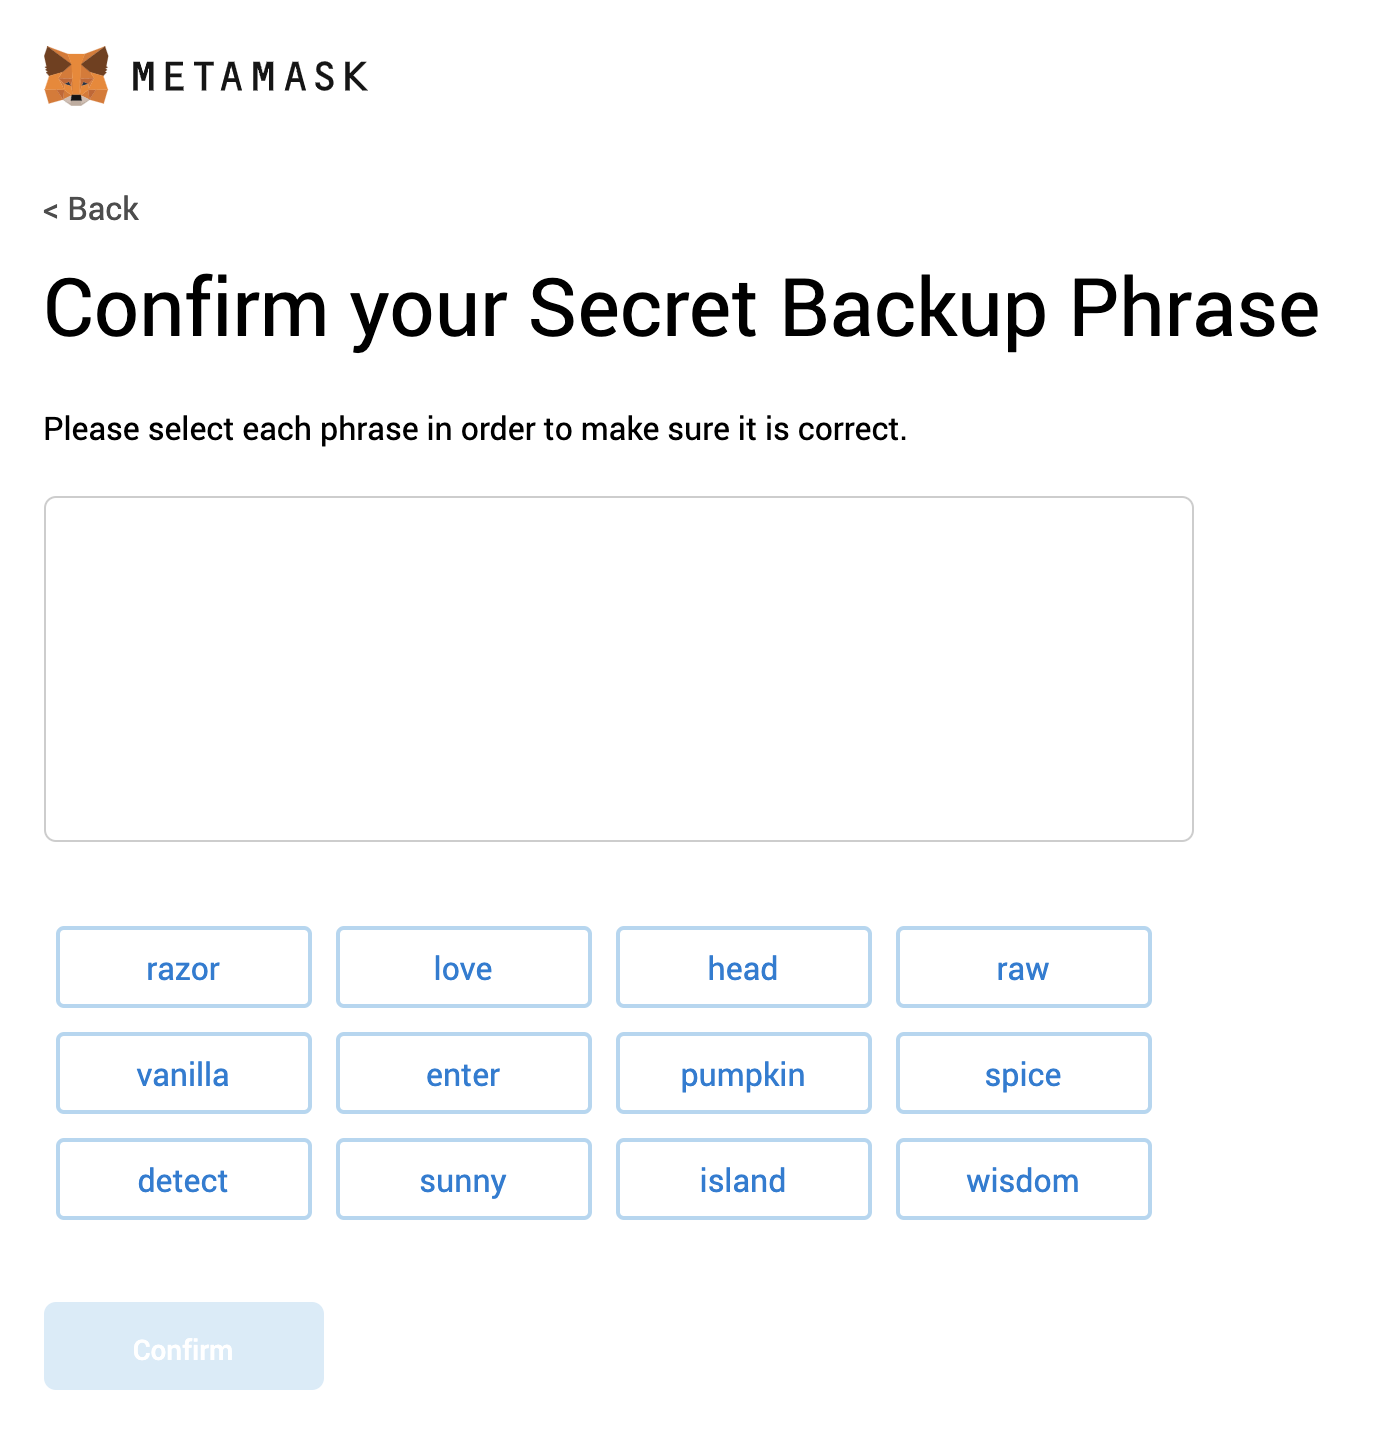
Figure 3-8. Select the phrase in order
Once you’ve finished the setup, you should be redirected to the page in Figure 3-9.

Figure 3-9. Completed setup
Now, if you select the MetaMask extension in your browser, you should be able to see your new wallet and address, as shown in Figure 3-10.

Figure 3-10. Viewing MetaMask account
With MetaMask installed, you can now begin to interact with existing decentralized applications (DApps) from your browser. If you would like to explore a few games or other applications, make sure to stop by State of the DApps.
When you are done exploring some options, it’s time to install Node.js for the JavaScript tools we’ll need for smart contract development.
Installing Node.js
For better or worse, the little language of the web has become one of the most ubiquitous languages in software, and Ethereum has not escaped its reach. In fact, the primary development tools we will use to develop our smart contracts or interact with the Ethereum network have been built using JavaScript, which means we need Node.js to provide the JavaScript runtime environment.
Ubuntu Installation (Including Windows WSL Ubuntu)
Ubuntu users, including those using Windows WSL, can use the following commands to install Node.js:
$curl -sL https://deb.nodesource.com/setup_10.x|sudo -E bash -$sudo apt-get install -y nodejs
The curl command will begin running a script that will prepare everything for the package manager to install Node.js, and will have output that begins with the following example:
## Installing the NodeSource Node.js 10.x repo...## Populating apt-get cache...+ apt-get updateHit:1 http://security.ubuntu.com/ubuntu bionic-security InReleaseHit:2 http://archive.ubuntu.com/ubuntu bionic InReleaseHit:3 http://archive.ubuntu.com/ubuntu bionic-updates InReleaseHit:4 http://archive.ubuntu.com/ubuntu bionic-backports InReleaseReading package lists... Done...
The apt-get command will then install the package and its dependencies to your system. Once this is complete, run the following:
$ node -vThis will verify you are all set with Node.js 10.16.2.
Note
The installation commands assume that the following packages were previously installed on the system:
-
curl
-
gcc
-
g++
-
make
Mac Installation
The easiest way to install Node.js on Mac is to use Homebrew, the package manager for OSX. If this is not already installed on your Mac, you can install it with the following script:
$ /usr/bin/ruby -e "$(curl -fsSLhttps://raw.githubusercontent.com/Homebrew/install/master/install)"
Once the script is installed, you can run the following command to install node:
$ brew install node@10When running this command, you will see output similar to the following snippet:
==> Downloading https://homebrew.bintray.com/bottles/[email protected]...==> Downloading from https://akamai.bintray.com/73/73c748436730dab39a79c579c6...######################################################################## 100.0%==> Pouring [email protected]==> Caveatsnode@10 is keg-only, which means it was not symlinked into /usr/local,because this is an alternate version of another formula.If you need to have node@10 first in your PATH run:echo 'export PATH="/usr/local/opt/node@10/bin:$PATH"' >> ~/.zshrcFor compilers to find node@10 you may need to set:export LDFLAGS="-L/usr/local/opt/node@10/lib"export CPPFLAGS="-I/usr/local/opt/node@10/include"==> Summaryߍ /usr/local/Cellar/node@10/10.16.2: 4,144 files, 49.4MB
Once this step is completed, you will likely need to update your PATH manually by following the instructions in your terminal output to add node@10 before other instances of Node.js. As of this writing, there are some dependencies in the React Truffle Box (we’ll need it later) that are not compatible with Node.js 12; therefore, we will stick with the most recent long-term support (LTS) version for this book.
To verify that the correct version has been installed, run the following command:
$ node -vNow that the JavaScript environment is ready, we can install the Truffle Suite, which is used to create our smart contracts.
With Node.js all set, we are ready to consider tools that specifically relate to smart contract development: Truffle and Ganache.
Installing the Truffle Suite
We are in the home stretch of setting up our machines for smart contract development. The next two things we will install are part of the Truffle Suite: Truffle and Ganache.
Truffle
Though Truffle is often referred to as a framework, it is really more of a blockchain utility belt. It provides tools that make compiling, testing, deploying, and packaging your application as easy as possible. These utilities rely on the generated directory structure, which is where the framework aspect comes into play, and the Truffle CLI.
Truffle is distributed as a npm package. To install it, run the following command:
$ npm install -g truffleAfter running this command, you should see the following output:
/usr/local/bin/truffle -> /usr/local/lib/node_modules/truffle/build/cli.bundled.js>[email protected] postinstall /usr/local/lib/node_modules/truffle>node ./scripts/postinstall.js- Fetching solc version list from solc-bin. Attempt #1- Downloading compiler. Attempt #1+ [email protected]added 27 packages from 439 contributors in 22.559s
Since we used the -g flag when running the install command, the output lets us know where to find the symlink that is creating the globally available executable.
To confirm everything is working, run the following command:
$ truffle -vThis should show that you are using version 5.0.31 and should list the available commands.
With Truffle installed, the last thing we need to do is add Ganache.
Ganache
Ganache is your very own blockchain. In many regards, it is very much like the Ethereum client we downloaded earlier. It provides tools for creating accounts and runs a JSON RPC API server for you to connect and read/write to the blockchain. The main difference is that it doesn’t actually connect to the Ethereum network; in fact, older versions would destroy all data when you shut down so you had a clean slate when starting up again.
The full version of Ganache comes with a GUI that provides controls to update configuration settings and to explore blocks, transactions, and logs. You can also install a CLI-only version of Ganache through npm, but for now we will go ahead and install the full version.
Go to the Ganache page and there will be a button to download the version for your OS, as seen in Figure 3-11.

Figure 3-11. Ganache launch screen
After installation is complete, launch the application and you should see a launch screen like the one in Figure 3-12.
With that piece in place, we have everything needed to begin developing smart contracts.
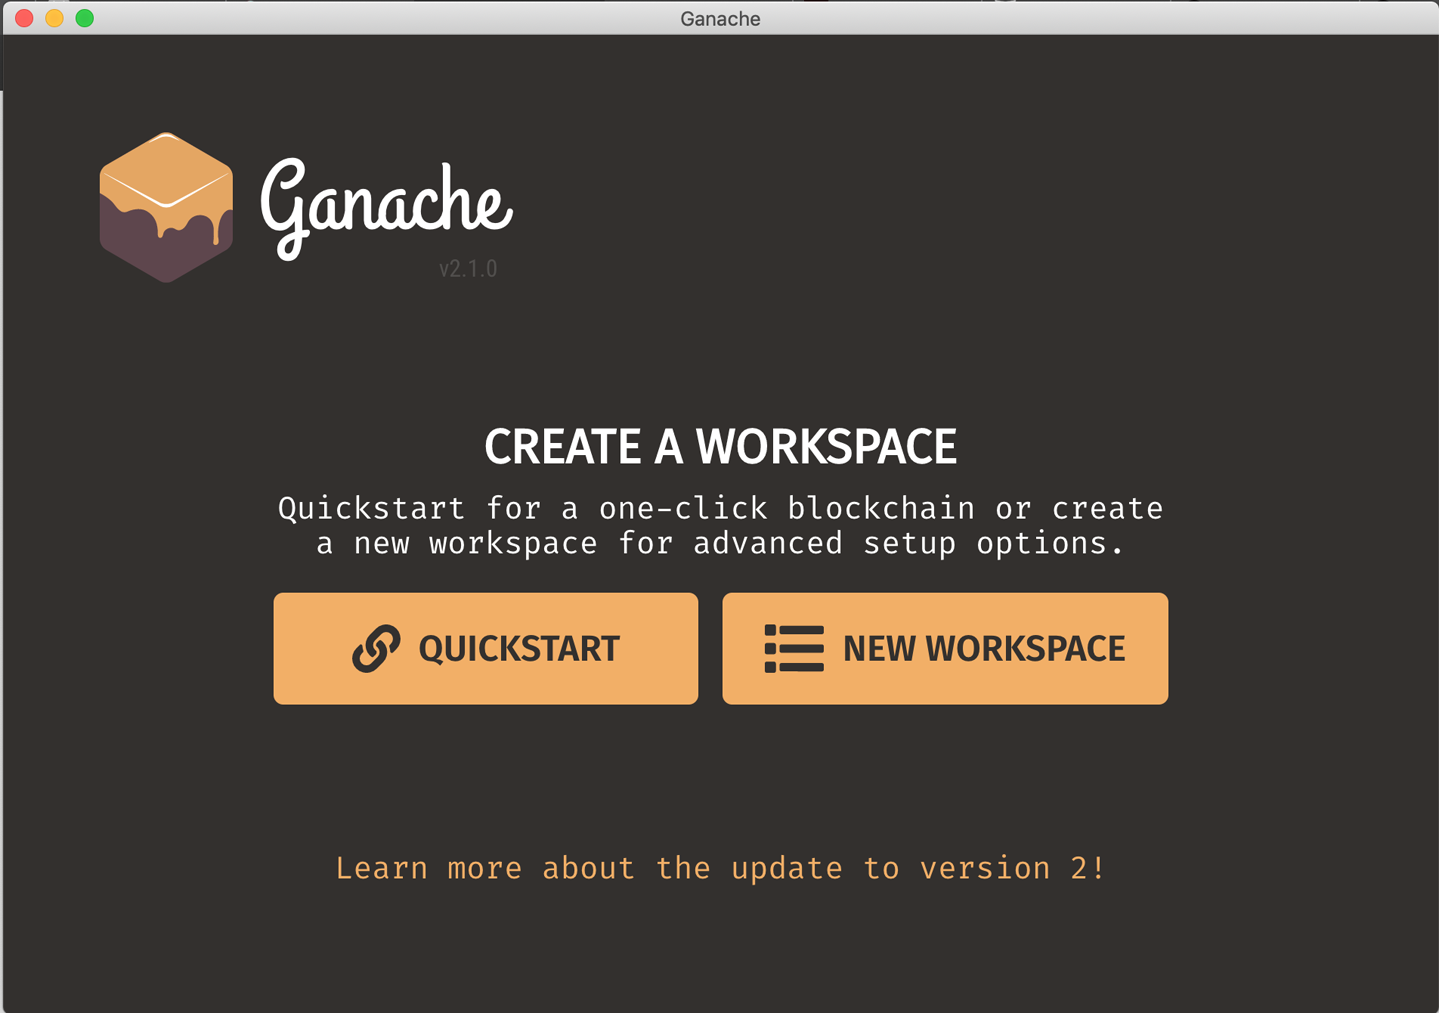
Figure 3-12. Installing Ganache
Summary
In this chapter, we set up a local environment for blockchain development. This included setting up a full Ethereum client with Parity, which included syncing the Goerli test network. We also installed the Chrome plug-in MetaMask for interaction with DApps from our browser. We then installed the JavaScript environment needed for our smart contract tools by using Node.js. Lastly, we installed both Truffle and Ganache from the Truffle Suite, giving us everything we need for smart contract development.
In the next chapter, we will develop a small application to explore the Truffle toolset and the Solidity programming language.