For best results, it is always advisable to shoot your photographs in RAW format, rather than JPG. This allows a lot more flexibility when it comes to post production - adjusting brightness, shadows, contrast, color, and so on.
Think of RAW files along the same lines as a negative as was used in the old film days, or digital negative today. You process your RAW photos then save them out as JPG to use on the web, post on social media, or some design project. This means you always have a copy of your original photograph you can go back to.
There are two applications for storing and editing photos: Lightroom Classic, and Lightroom.
The primary difference is that Lightroom Classic is a full featured desktop-based application and Lightroom is a streamlined cloud-based application available for tablets and phones as well as desktop PCs.
Since we are using a PC (or Mac), we’ll be using Lightroom Classic.
Installing Lightroom Classic
To install lightroom classic, open up adobe creative cloud on your start menu.

A Windows search panel. The displayed options are Adobe Creative Cloud, Adobe Photoshop 2022, calculator, calendar, camera, clock, Cortana, and get help.
Select “All Apps” on the left-hand side, then select the “Desktop” tab.

A window displays the app installation panel on a Windows computer. The icons of the different installed applications and software are exhibited.
Click “Install” next to “Lightroom Classic.”
Allow lightroom classic to install.
Click “Lightroom Classic” on the start menu to launch the app. Or launchpad if you’re using a Mac.

A Windows search bar. The applications displayed are Adobe Creative Cloud, Adobe Lightroom Classic, Adobe Photoshop 2022, and other default applications of Windows.
Once Lightroom opens, you can select photos, edit them, or import new ones off your camera.
Import Photos
Using Lightroom Classic, connect your camera to your computer, then hit “Import” on the bottom left of the screen.

A user interface panel of Adobe Lightroom. The tab Import is highlighted.
In the next window, select the photos you want to import. Either click the tick box on the top left of each image you want to import, or click “Import All” if you want to import every photo on your camera.
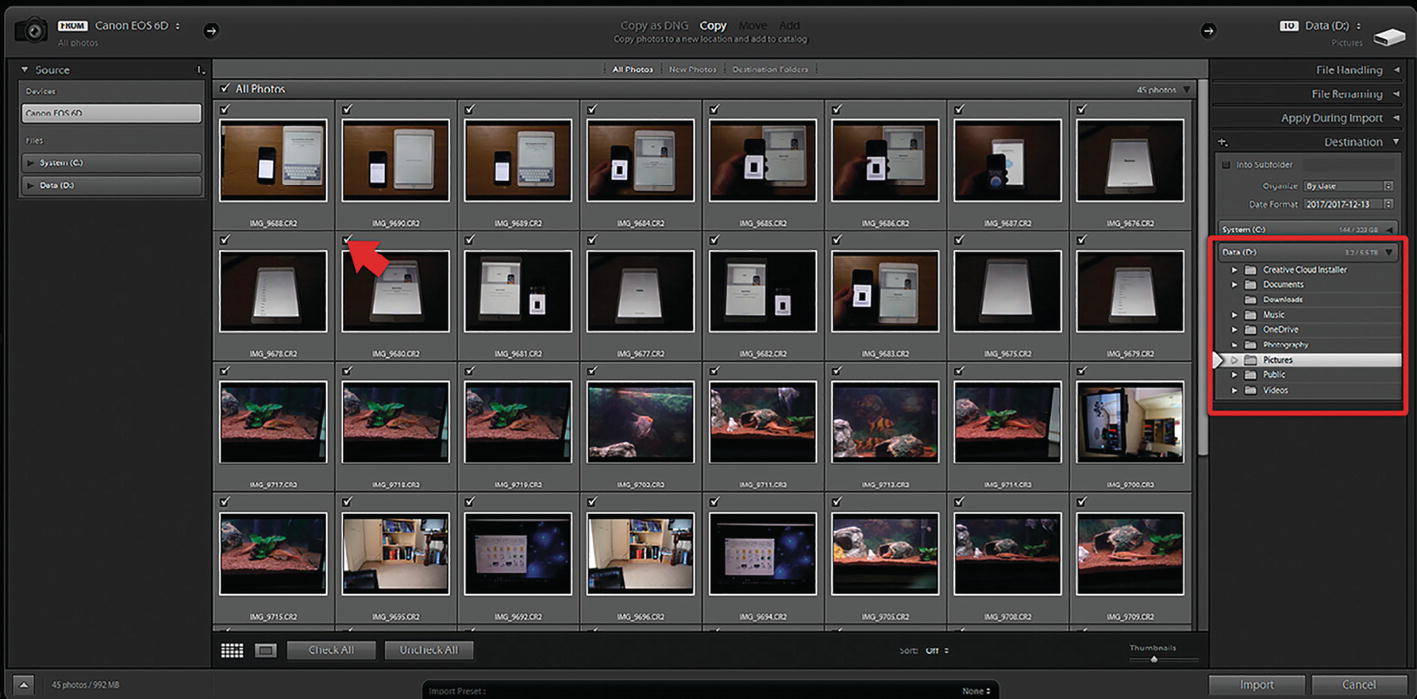
An Adobe Lightroom window displays the different photos selected for importing. The My Catalog option is highlighted on the right side of the window.
On the right-hand side, select “Destination,” usually “My Catalog.” This is the folder on your computer where you want Lightroom classic to store all your photos. Once you’re done, click “Import” on the bottom right.
Adjusting Photos
If you want to adjust any image, click the thumbnail. In the following example, I’ve selected image number 6. Select the “Develop” module on the right-hand side.

A window of the library tab of Adobe Lightroom. A thumbnail of a photograph is selected and a histogram panel is displayed on the right side of the window.
Here, you can adjust the brightness, highlights, shadows, and contrast. To do this, select the “basic” folder on the right-hand side. Adjust the sliders. Here in the following example, I’ve pulled up the shadows.
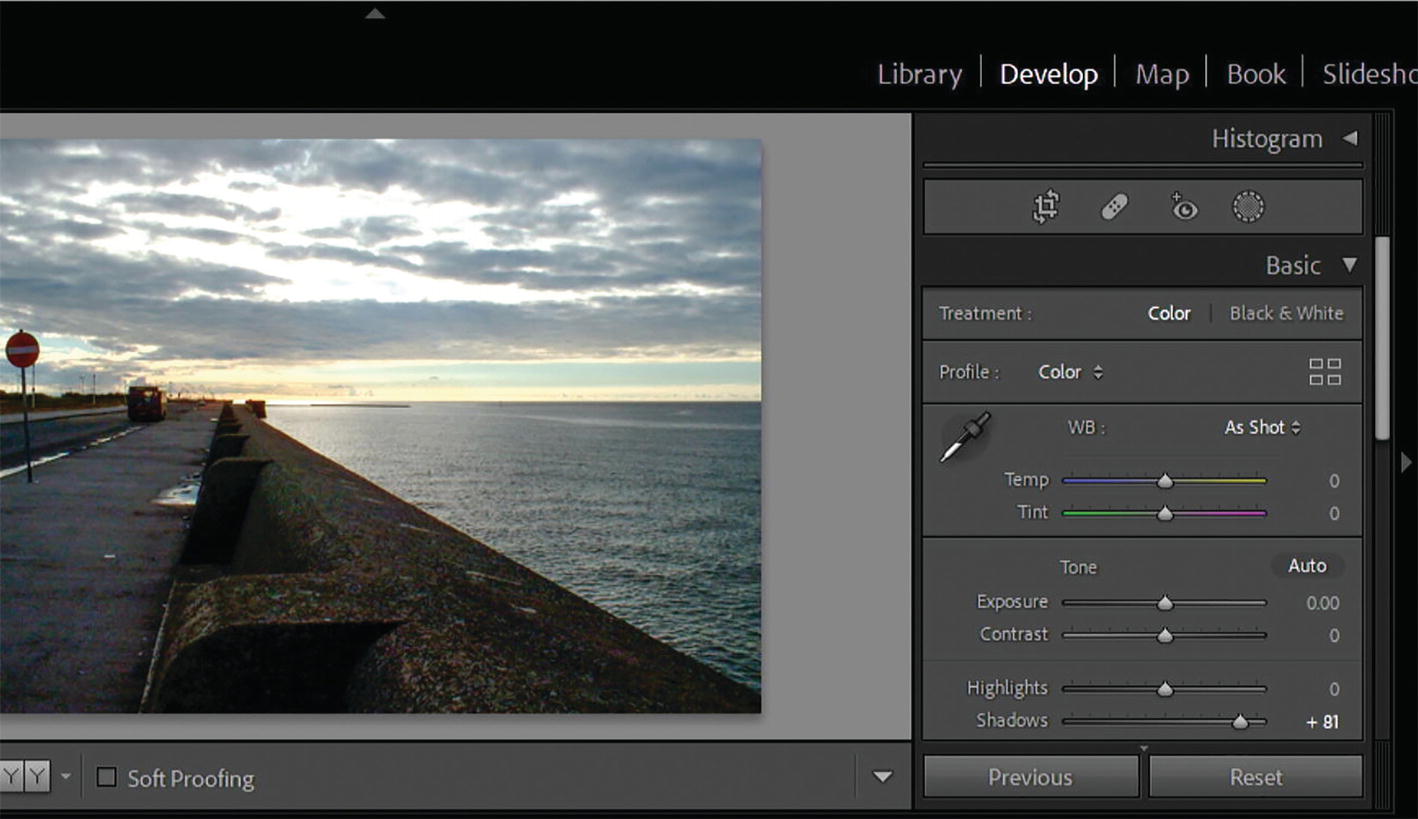
A window of the Develop tab of Adobe Lightroom. A photograph of a road by the sea with a sunset in the background and the settings panel on the right is displayed.
This works in the same way as the camera raw filter we looked at in Chapter 4. Try some of the other adjustments to see what happens to the image.
Send Image to Photoshop
You can open any image in Photoshop from Lightroom classic. Right-click the image thumbnail, go down to “Edit in,” then select “Photoshop....”

A windows panel of the Lightroom application. A photograph is selected, and the context menu highlighting the option for edit in and edit in Adobe Photoshop C C 2018 is displayed.
If you have adjusted the photograph in Lightroom classic, you may be prompted with a few options. If not, the photo will open up in Photoshop.

A dialogue box of the Edit photo with Adobe Photoshop C C 2018 has a What to Edit section where edit a copy is selected. Below are the buttons for editing and cancelling.
If you want Lightroom classic to open the photo with the adjustments you have made, select “Edit a Copy with Lightroom Adjustments.” Do not select “Edit Original.”
Summary
You can use adobe bridge or lightroom classic to edit and organize your photographs.
A histogram shows the tonal range of a photograph - the range of brightness levels from pure black to pure white in the photo.