
In Unix-like systems, the superuser is a special user account used for system administration and has privileges to access and modify all of the files in an operating system. The process of rooting mainly involves copying the su (superuser) binary to a location in the current process's path (/system/xbin/su) and granting it executable permissions with the chmod command. Hence, the first step here is to unlock the boot loader. As explained in the Locked and unlocked boot loaders section, depending on the device in question, unlocking a boot loader can be done either through fastboot mode or through following a vendor specific boot loader unlock procedure.
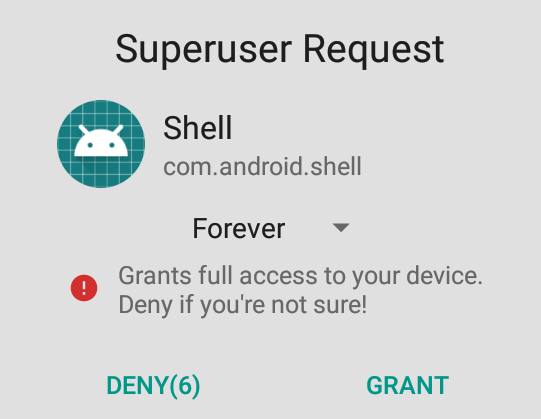
The su binary is usually accompanied by an Android application, such as SuperUser, that provides a graphical prompt each time an application requests root access, as shown in the following screenshot:
Once the boot loader is unlocked, you can make all of the desired changes to the device. Hence, copying the su binary and granting it executable permissions can be done in many ways. The most common method is to boot a custom recovery image. This allows copying the su binary into the system partition and setting the appropriate permissions through a custom update package.
Here is how to root a Samsung Galaxy S7 (International SM-G930F/FD/X, Korean SM-G930K/L/S, and Canadian SM-G930W8 Exynos models):
- Make sure OEM unlock is enabled in Developer options.
- Download ODIN (available here: https://build.nethunter.com/samsung-tools/Odin_3.12.3.zip) and extract the contents of the archive in the directory of your choice.
- Download the TWRP image (available here: http://teamw.in/devices/samsunggalaxys7.html).
- Reboot your device into Download mode. To do this, hold the [Volume Down] + [Home] buttons while your device reboots. Once you see the Download mode warning screen, press [Volume Up] to continue.
- Start Odin and put the TWRP image in the [AP] slot; don't forget to disable Auto-Reboot. Start flashing the recovery.
- To exit Download mode, hold [Volume Down] + [Home] + [Power]; when the screen blanks, immediately change [Volume Down] to [Volume Up].
- Allow system modifications by swiping right.
- Download SuperSU (available here: https://download.chainfire.eu/supersu).
- Transfer the archive with SuperSU to the device via MTP, and install it via the corresponding TWRP option.
Since Android version 4.1, a new feature called sideload mode has been introduced. This feature allows applying an update ZIP over ADB without copying it to the device beforehand. To sideload an update, run the adb sideload su-package.zip command, where su-package.zip is the filename of the update package on your computer.
Alternately, you can also modify a factory image to add an su binary. This can be done by unpacking an ext4 formatted system image, adding a su binary and repacking it. If this image is flashed, it will contain the su binary and the device will be rooted.
Rooting is a highly device-specific process and hence forensic investigator needs to be cautious before applying these techniques on any Android device.