
So, we need to create a few NPCs (non-playable characters). NPCs are characters within the game that help the player. Some offer special items, some are shop vendors, and some have information to give to the player. In this game, they will react to the player as he gets near. Let's program in some of this behavior.
First, create another subclass of Character. In the UE4 Editor, go to File | Add Code To Project... and choose the Character class from which you can make a subclass. Name your subclass NPC.
Now, edit your code in Visual Studio. Each NPC will have a message to tell the player, so we add in a UPROPERTY() FString property to the NPC class.
How to add the UPROPERTY() FString property to the NPC class is shown in the following code:
UCLASS()
class GOLDENEGG_API ANPC : public ACharacter
{
  GENERATED_UCLASS_BODY()
  UPROPERTY(VisibleAnywhere, BlueprintReadOnly, Category =  Collision)
  TSubobjectPtr<class USphereComponent> ProxSphere;
  // This is the NPC's message that he has to tell us.
  UPROPERTY(EditAnywhere, BlueprintReadWrite, Category =  NPCMessage)
  FString NpcMessage;
  // When you create a blueprint from this class, you want to be
  // able to edit that message in blueprints,
  // that's why we have the EditAnywhere and BlueprintReadWrite
  // properties.
}
Notice that we put the EditAnywhere and BlueprintReadWrite properties into the UPROPERTY macro. This will make the NpcMessage editable in blueprints.
Tip
Full descriptions of all the UE4 property specifiers are available at https://docs.unrealengine.com/latest/INT/Programming/UnrealArchitecture/Reference/Properties/index.html.
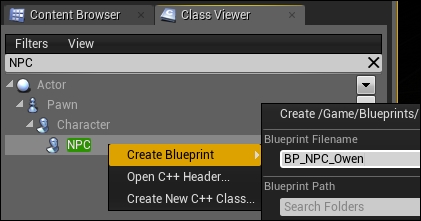
Recompile your project (as we did for the Avatar class). Then, go to the Class Viewer, right click on your NPC class, and create a blueprint from it.
Each NPC character you want to create can be a blueprint based off of the NPC class. Name each blueprint something unique, as we'll be selecting a different model mesh and message for each NPC that appears, as shown in the following screenshot:
Now, open the blueprint, select skeletal mesh from the Add Components, and adjust the capsule (as we did for BP_Avatar). You can also change the material of your new character so that he looks different from the player.
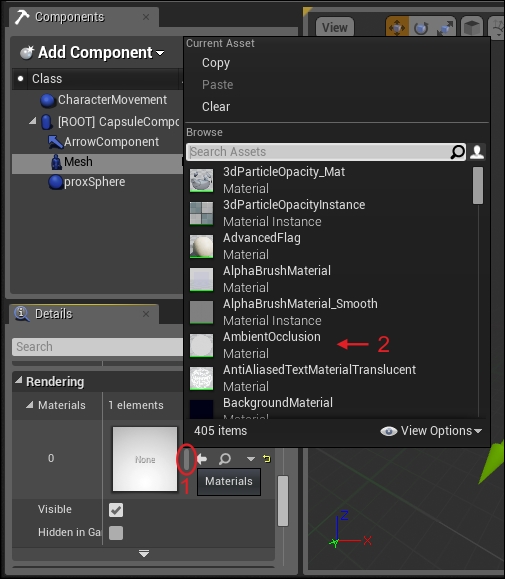
Change the material of your character in your mesh's properties. Under the Rendering tab, click on the + icon to add a new material. Then, click on the small capsule-shaped item to select a material to render with.
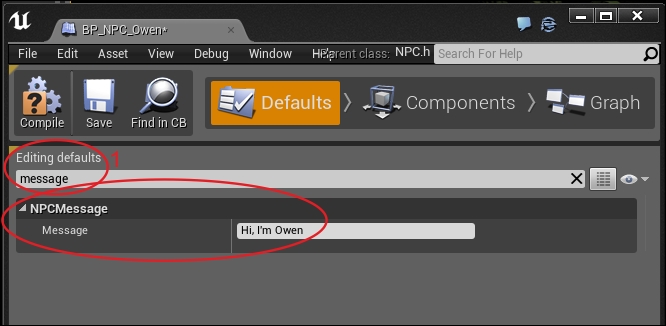
In the Defaults tab, search for the NpcMessage property. This is our connection between C++ code and blueprints: because we entered a UPROPERTY() function on the FString NpcMessage variable, that property appears editable within UE4, as shown in the following screenshot:
Now, drag BP_NPC_Owen into the scene. You can create a second or third character as well, and be sure to give them unique names, appearances, and messages.
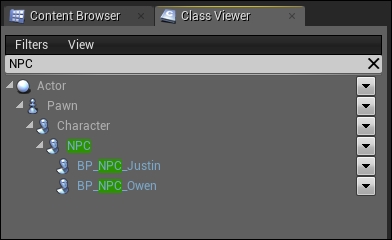
I've created two blueprints for NPCs based on the NPC base classes, BP_NPC_Justin and BP_NPC_Owen. They have different appearances and different messages for the player.
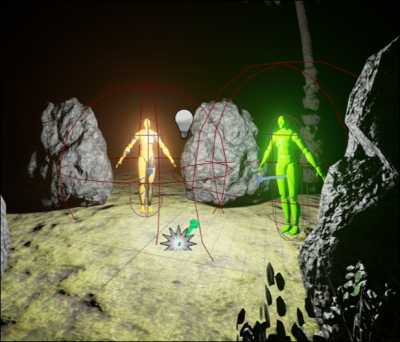
Justin and Owen in the scene